
Clorox bathroom cleaning hacks – who knew tackling that grimy grout and stubborn soap scum could actually be…dare I say…fun? Okay, maybe not *fun* in the traditional sense, but definitely satisfying! For generations, keeping our bathrooms sparkling has been a constant battle. From ancient Roman bathhouses meticulously maintained by slaves to our modern-day struggles with hard water stains, the quest for a pristine porcelain throne is a timeless one.
But let’s be honest, nobody wants to spend their entire weekend scrubbing away at bathroom grime. That’s where these ingenious DIY tricks come in! We all crave a clean and healthy home, and the bathroom, being a breeding ground for bacteria, is a crucial area to keep sanitized. These Clorox bathroom cleaning hacks aren’t just about aesthetics; they’re about creating a healthier living space for you and your family.
I’m going to share some simple, effective, and budget-friendly ways to leverage the power of Clorox to conquer even the most challenging bathroom cleaning tasks. Get ready to say goodbye to endless scrubbing and hello to a sparkling clean bathroom you can be proud of!
DIY Bathroom Cleaning Hacks Using Clorox: Sparkling Clean on a Budget!
Okay, let’s face it: cleaning the bathroom is nobody’s favorite chore. But a sparkling clean bathroom is a happy bathroom, right? And who doesn’t love saving money? That’s where these Clorox bathroom cleaning hacks come in! I’m going to share some of my favorite ways to use Clorox bleach and other Clorox products to get your bathroom gleaming without breaking the bank.
Understanding Clorox and Safety First!
Before we dive in, let’s get a few things straight. Clorox bleach is a powerful disinfectant, but it needs to be used carefully. Always wear gloves and eye protection when working with bleach. Make sure you have good ventilation – open a window or turn on the exhaust fan. And most importantly, never, ever mix bleach with ammonia or other cleaning products. This can create toxic fumes that are extremely dangerous.
Okay, safety briefing over! Let’s get cleaning!
Hack 1: The Ultimate Toilet Bowl Cleaner
This is my go-to method for a sparkling clean toilet bowl. It’s simple, effective, and uses just a few ingredients.
What You’ll Need:
* Clorox Bleach
* Toilet brush
* Toilet bowl cleaner (optional, for extra cleaning power)
Step-by-Step Instructions:
1. Flush the toilet. This clears out any debris and preps the bowl for cleaning.
2. Pour Clorox bleach into the toilet bowl. I usually use about ½ to ¾ of a cup, depending on how dirty the bowl is. Make sure to get the bleach under the rim of the bowl.
3. (Optional) Add toilet bowl cleaner. If you want an extra boost of cleaning power, squirt some toilet bowl cleaner around the rim and let it sit for a minute or two. Remember, only do this if you’re absolutely sure the toilet bowl cleaner doesn’t contain ammonia!
4. Let it sit. This is the key! Let the bleach sit in the bowl for at least 10-15 minutes. For really tough stains, you can let it sit overnight. The longer it sits, the more time the bleach has to disinfect and break down stains.
5. Scrub the bowl. After the bleach has had time to work its magic, use your toilet brush to scrub the bowl thoroughly. Pay special attention to any stains or buildup.
6. Flush the toilet. Flush the toilet to rinse away the bleach and any remaining debris.
7. Admire your sparkling clean toilet bowl! If there are any stubborn stains remaining, repeat the process.
Hack 2: Shower and Tub Mold and Mildew Remover
Mold and mildew in the shower and tub are a common problem, but Clorox bleach can help you get rid of them quickly and easily.
What You’ll Need:
* Clorox Bleach
* Spray bottle
* Water
* Sponge or scrub brush
* Gloves
* Eye protection
Step-by-Step Instructions:
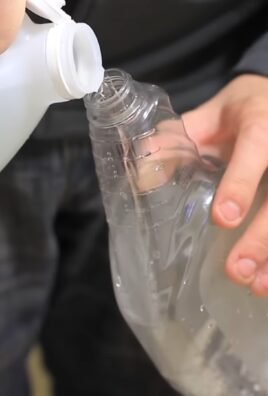
1. Prepare the bleach solution. In a well-ventilated area, mix Clorox bleach with water in a spray bottle. I usually use a 1:10 ratio (1 part bleach to 10 parts water). Always add the bleach to the water, not the other way around, to prevent splashing.
2. Spray the affected areas. Spray the bleach solution directly onto the mold and mildew in your shower or tub. Make sure to cover all affected areas thoroughly.
3. Let it sit. Let the bleach solution sit on the mold and mildew for 10-15 minutes. This will give the bleach time to kill the mold and mildew.
4. Scrub the area. After the bleach has had time to work, use a sponge or scrub brush to scrub the area. The mold and mildew should come off easily.
5. Rinse thoroughly. Rinse the area thoroughly with water to remove any remaining bleach residue.
6. Dry the area. Dry the area with a clean towel to prevent mold and mildew from returning.
Hack 3: Cleaning Grout with Clorox Bleach
Dirty grout can make your entire bathroom look dingy. Clorox bleach can help you get your grout looking bright and clean again.
What You’ll Need:
* Clorox Bleach
* Old toothbrush or grout brush
* Water
* Gloves
* Eye protection
* Small container
Step-by-Step Instructions:
1. Prepare the bleach solution. In a small container, mix Clorox bleach with water. I usually use a 1:1 ratio (equal parts bleach and water).
2. Apply the bleach solution to the grout. Dip the toothbrush or grout brush into the bleach solution and apply it directly to the grout lines.
3. Let it sit. Let the bleach solution sit on the grout for 5-10 minutes.
4. Scrub the grout. Use the toothbrush or grout brush to scrub the grout lines. You should see the dirt and grime start to come off.
5. Rinse thoroughly. Rinse the area thoroughly with water to remove any remaining bleach residue. You can use a damp sponge or cloth to wipe down the tiles.
6. Dry the area. Dry the area with a clean towel.
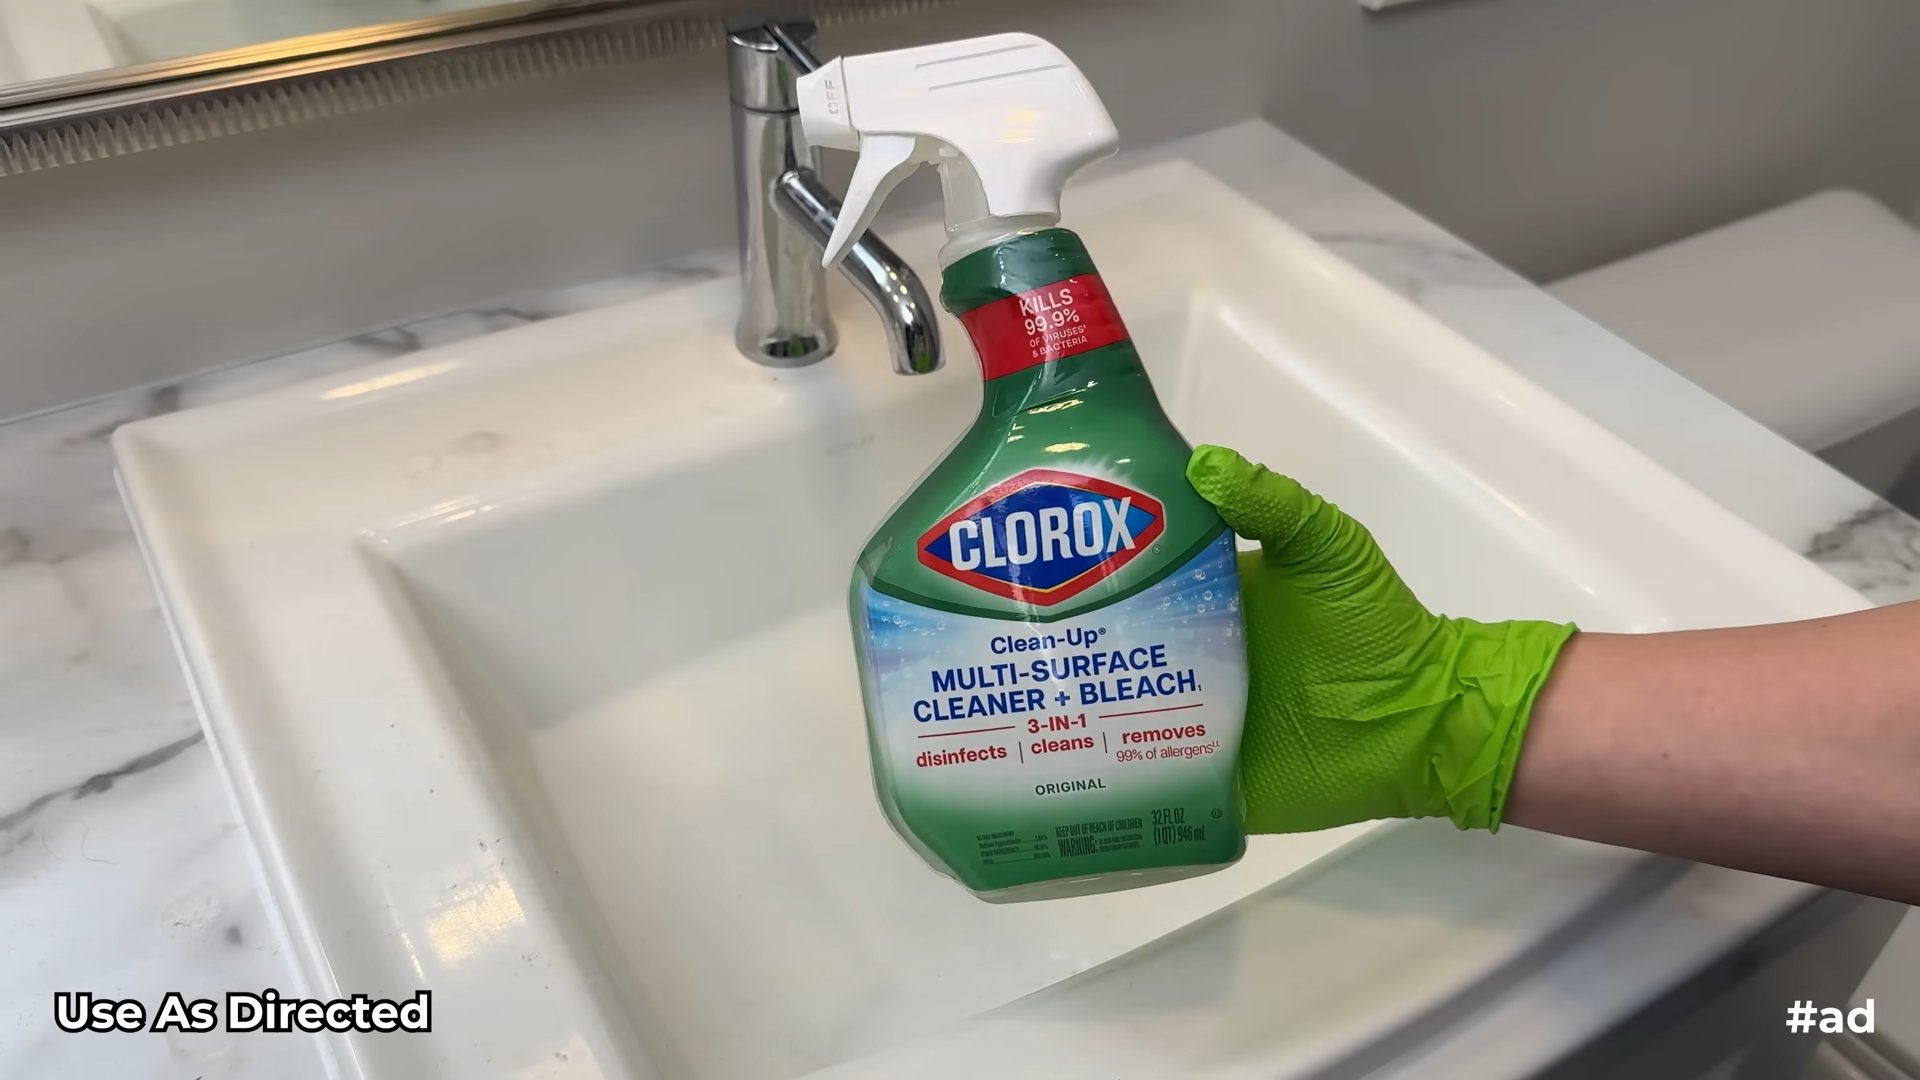
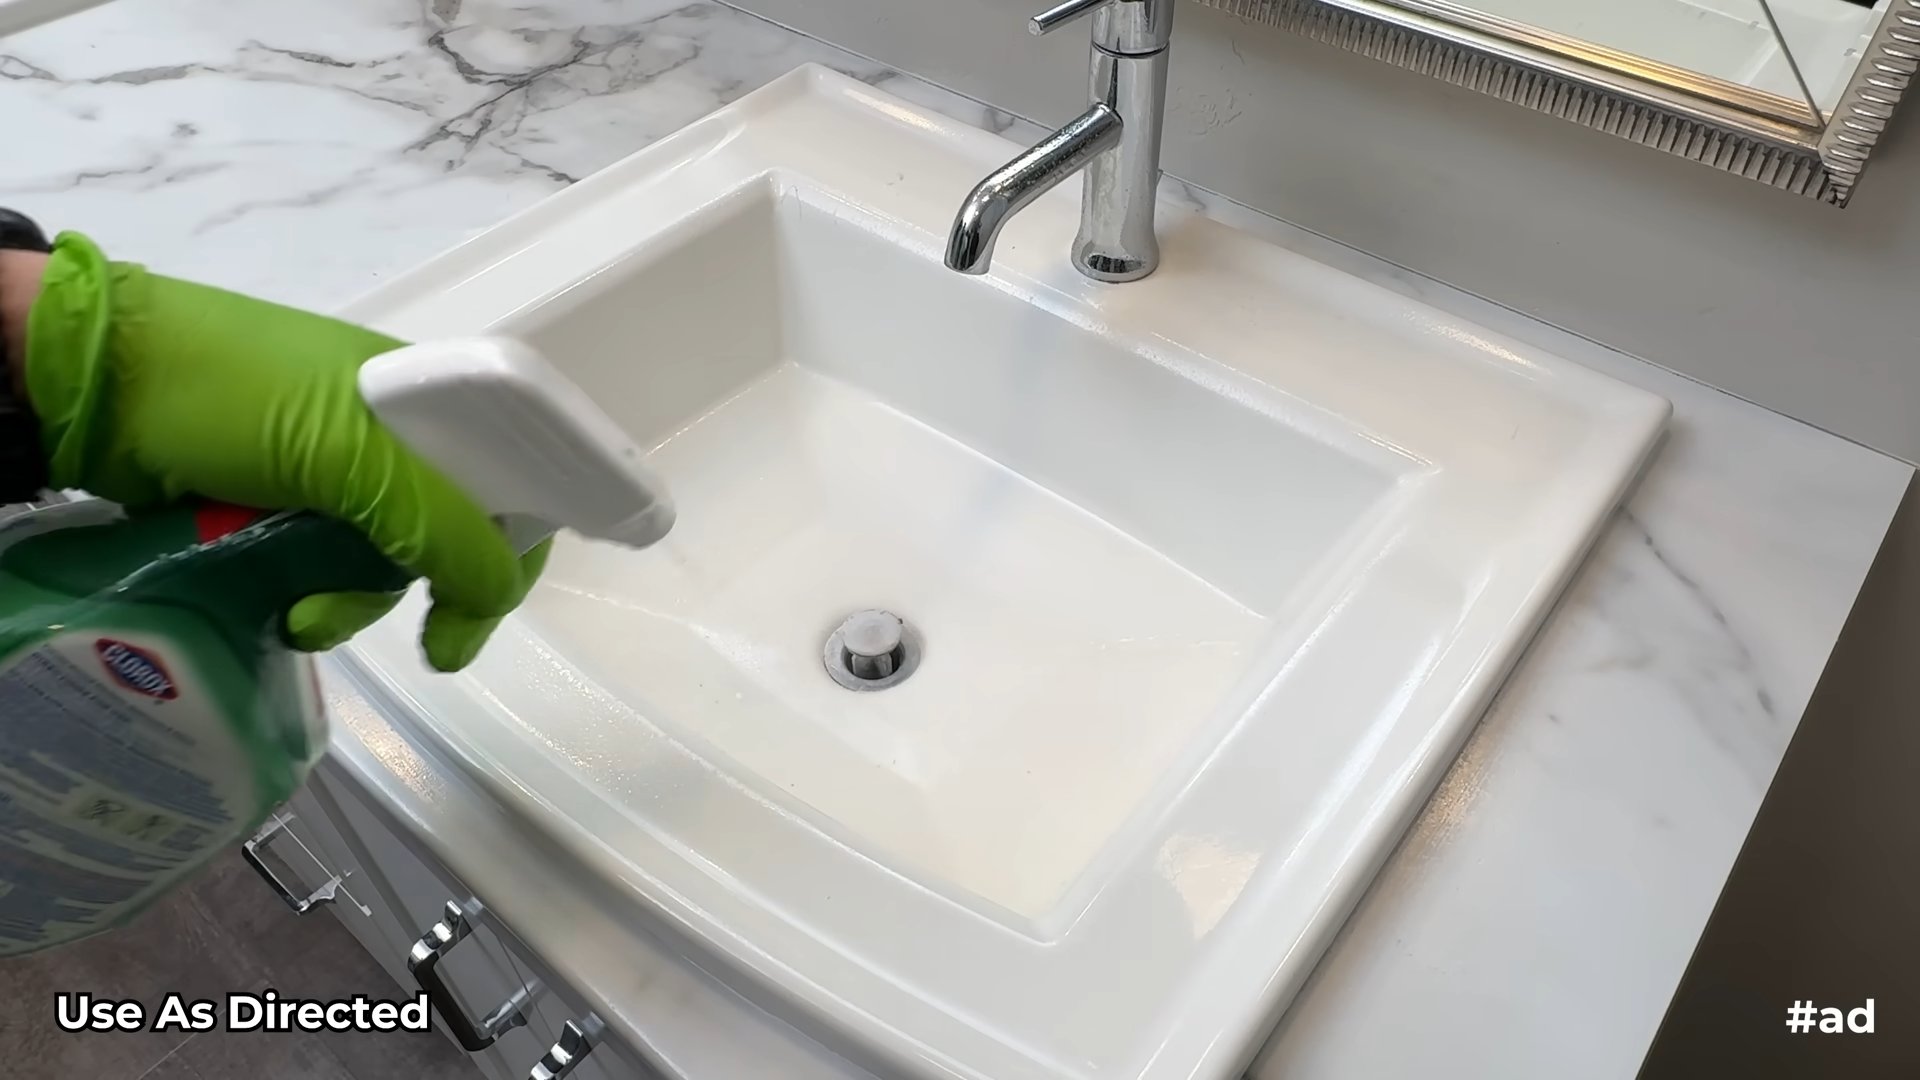
Hack 4: Disinfecting Bathroom Surfaces with Clorox Wipes
For quick and easy disinfecting of bathroom surfaces, Clorox Disinfecting Wipes are your best friend.
What You’ll Need:
* Clorox Disinfecting Wipes
Step-by-Step Instructions:
1. Grab a wipe. Take a Clorox Disinfecting Wipe from the container.
2. Wipe down surfaces. Wipe down all bathroom surfaces that you want to disinfect, such as countertops, sinks, faucets, toilet seats, and door handles.
3. Let it sit. Allow the surface to remain visibly wet for 4 minutes to kill 99.9% of germs. This is important for the wipes to properly disinfect.
4. Let air dry. Let the surface air dry. No need to rinse!
5. Dispose of the wipe. Dispose of the used wipe in the trash.
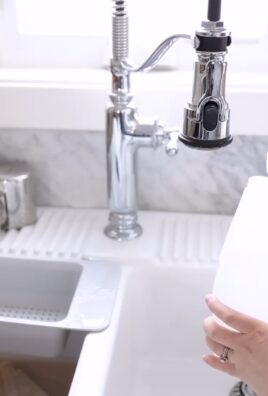
Hack 5: Cleaning and Disinfecting the Showerhead
Over time, showerheads can accumulate mineral deposits and bacteria. Here’s how to clean and disinfect them with Clorox.
What You’ll Need:
* Clorox Bleach
* Water
* Plastic bag
* Rubber band or twist tie
* Gloves
* Eye protection
Step-by-Step Instructions:
1. Prepare the bleach solution. In a plastic bag, mix Clorox bleach with water. I usually use a 1:10 ratio (1 part bleach to 10 parts water). Make sure you have enough solution to fully submerge the showerhead.
2. Submerge the showerhead. Place the plastic bag over the showerhead, ensuring that the showerhead is fully submerged in the bleach solution.
3. Secure the bag. Use a rubber band or twist tie to secure the bag to the showerhead, preventing the solution from leaking.
4. Let it soak. Let the showerhead soak in the bleach solution for at least 30 minutes, or even overnight for heavily soiled showerheads.
5. Remove the bag. Carefully remove the bag from the showerhead and discard the bleach solution.
6. Rinse thoroughly. Rinse the showerhead thoroughly with water to remove any remaining bleach residue.
7. Wipe clean. Wipe the showerhead clean with a damp cloth.
8. Run the shower. Run the shower for a few minutes to flush out any remaining bleach residue.
Hack 6: Whitening Yellowed Plastic Bathroom Fixtures
Plastic bathroom fixtures, like toilet seats or soap dishes, can sometimes yellow over time. Clorox bleach can help restore their original whiteness.
What You’ll Need:
* Clorox Bleach
* Water
* Large container or tub
* Gloves
* Eye protection
Step-by-Step Instructions:
1. Prepare the bleach solution. In a large container or tub, mix Clorox bleach with water. I usually use a 1:10 ratio (1 part bleach to 10 parts water). Make sure you have enough solution to fully submerge the plastic fixtures.
2. Submerge the fixtures. Submerge the yellowed plastic fixtures in the bleach solution.
3. Let it soak. Let the fixtures soak in the bleach solution for several hours, or even overnight. Check the fixtures periodically to see if they are whitening
Conclusion
So, there you have it! These Clorox bathroom cleaning hacks are more than just shortcuts; they’re a game-changer for anyone who wants a sparkling clean bathroom without spending hours scrubbing or breaking the bank. We’ve explored how to leverage the power of Clorox bleach and other common household items to tackle the toughest bathroom grime, from stubborn soap scum to unsightly mildew.
Why is this a must-try? Because time is precious, and no one wants to spend their entire weekend battling bathroom buildup. These hacks are efficient, effective, and utilize products you likely already have under your sink. Imagine reclaiming those precious hours and enjoying a bathroom that looks and smells fresh and inviting.
But the beauty of these Clorox bathroom cleaning hacks lies in their adaptability. Feel free to experiment and find what works best for your specific bathroom challenges. For instance, if you’re sensitive to the strong scent of bleach, consider adding a few drops of your favorite essential oil (like lavender or eucalyptus) to the cleaning solution. Just be sure to test it in an inconspicuous area first to ensure it doesn’t damage the surface.
Another variation to consider is the concentration of the Clorox bleach solution. While we’ve provided general guidelines, you might need to adjust the ratio depending on the severity of the grime. For heavily soiled areas, you can increase the bleach concentration slightly, but always exercise caution and wear appropriate protective gear, such as gloves and eye protection.
Furthermore, remember that prevention is key. Incorporating these cleaning hacks into your regular bathroom routine will prevent buildup and make future cleaning sessions even easier. A quick wipe-down after each shower or bath can go a long way in keeping your bathroom sparkling.
We’re confident that these Clorox bathroom cleaning hacks will revolutionize your cleaning routine and leave you with a bathroom you’re proud to show off. But don’t just take our word for it – try them out for yourself! We encourage you to experiment, adapt, and discover the cleaning power of these simple yet effective techniques.
And most importantly, we want to hear about your experience! Share your before-and-after photos, your favorite variations, and any tips or tricks you’ve discovered along the way. Let’s create a community of clean bathroom enthusiasts who are passionate about sharing their knowledge and helping others achieve a sparkling clean home. Head over to the comments section and tell us all about your Clorox bathroom cleaning adventures! Your insights could be just what someone else needs to transform their bathroom cleaning routine. Let’s make bathroom cleaning less of a chore and more of a satisfying accomplishment, together!
Frequently Asked Questions (FAQ)
Is it safe to mix Clorox bleach with other cleaning products?
Absolutely not! Mixing Clorox bleach with certain cleaning products, especially those containing ammonia or acids, can create dangerous and potentially deadly gases. Always use Clorox bleach on its own, following the instructions on the label. Never mix it with ammonia, vinegar, or other cleaning agents. This is crucial for your safety and the safety of those around you. If you’re unsure about the compatibility of a cleaning product with Clorox bleach, err on the side of caution and avoid mixing them.
Can I use these Clorox bathroom cleaning hacks on all bathroom surfaces?
While Clorox bleach is a powerful cleaning agent, it’s not suitable for all surfaces. Avoid using it on natural stone surfaces like marble or granite, as it can etch and damage them. It’s also best to avoid using it on porous surfaces, as it can be absorbed and potentially discolor them. Always test the cleaning solution in an inconspicuous area first to ensure it doesn’t damage the surface. For delicate surfaces, consider using a diluted solution or a bleach-free alternative.
How often should I use these Clorox bathroom cleaning hacks?
The frequency of cleaning depends on how often your bathroom is used and how quickly grime accumulates. For general cleaning, once a week is usually sufficient. However, for areas prone to mildew or soap scum buildup, such as the shower or bathtub, you may need to clean them more frequently, perhaps every few days. Regular cleaning will prevent buildup and make future cleaning sessions easier.
What safety precautions should I take when using Clorox bleach?
When using Clorox bleach, it’s essential to take certain safety precautions to protect yourself and others. Always wear gloves and eye protection to prevent skin and eye irritation. Ensure adequate ventilation by opening windows or using a fan. Avoid inhaling the fumes directly. Keep Clorox bleach out of reach of children and pets. If you accidentally get Clorox bleach on your skin or in your eyes, rinse immediately with plenty of water and seek medical attention if necessary.
What are some alternatives to Clorox bleach for those sensitive to its scent or chemicals?
If you’re sensitive to the strong scent or chemicals in Clorox bleach, there are several alternatives you can try. Vinegar is a natural cleaning agent that can effectively remove soap scum and mildew. Baking soda is another excellent option for scrubbing and deodorizing. Hydrogen peroxide is a mild disinfectant that can be used to clean and brighten surfaces. You can also find commercially available bleach-free bathroom cleaners that are formulated to be gentler on sensitive individuals.
How do I get rid of the strong smell of Clorox bleach after cleaning?
After cleaning with Clorox bleach, it’s important to ventilate the bathroom thoroughly to get rid of the strong smell. Open windows and doors to allow fresh air to circulate. You can also place a bowl of vinegar or baking soda in the bathroom to absorb odors. Another option is to use an air freshener or essential oil diffuser to mask the smell. The bleach smell should dissipate within a few hours with proper ventilation.
Can I use these hacks to clean mold in my bathroom?
Clorox bleach can be effective in killing mold and mildew in the bathroom. However, it’s important to address the underlying cause of the mold growth, such as moisture or poor ventilation. Before cleaning, ensure the area is well-ventilated and wear appropriate protective gear, including a mask, gloves, and eye protection. Apply the Clorox bleach solution to the affected area and let it sit for a few minutes before scrubbing and rinsing. If the mold infestation is severe, it’s best to consult with a professional mold remediation service.
What is the best way to store Clorox bleach?
Store Clorox bleach in a cool, dry place away from direct sunlight and heat. Keep it in its original container, tightly sealed, and out of reach of children and pets. Do not transfer Clorox bleach to other containers, as this can lead to accidental ingestion or misuse. Follow the storage instructions on the label for optimal safety and effectiveness.
How can I prevent soap scum buildup in my bathroom?
Preventing soap scum buildup is easier than removing it. After each shower or bath, wipe down the walls and fixtures with a squeegee or cloth to remove excess water and soap residue. Use liquid soap instead of bar soap, as it tends to create less soap scum. Ensure adequate ventilation in the bathroom to reduce moisture buildup. Regularly clean your bathroom with a soap scum remover to prevent buildup from becoming severe.
What do I do if Clorox bleach spills on my clothes or other fabrics?
If Clorox bleach spills on your clothes or other fabrics, rinse the affected area immediately with cold water. Do not rub the bleach, as this can spread the stain. If the fabric is colorfast, you can try blotting the stain with a diluted solution of vinegar and water. However, bleach can often cause permanent discoloration, so it’s best to avoid getting it on your clothes in the first place. Wear old clothes or an apron when cleaning with Clorox bleach to protect your clothing.
Leave a Comment