
Cleaning Routine Shortcuts – who doesn’t crave them? Let’s be honest, spending hours scrubbing and tidying isn’t exactly anyone’s idea of a good time. I know I’d rather be curled up with a good book or spending time with loved ones! But a clean and organized home is essential for our well-being, reducing stress and boosting productivity.
Throughout history, cultures worldwide have developed ingenious methods to maintain cleanliness. From ancient Roman bathhouses to traditional Japanese cleaning rituals, the pursuit of a tidy space is a timeless human endeavor. But in today’s fast-paced world, we need solutions that fit our busy schedules. That’s where these DIY cleaning hacks come in!
This article is your ultimate guide to reclaiming your weekends and transforming your cleaning routine from a chore into a breeze. I’m sharing my favorite time-saving tips and tricks, using everyday household items to achieve sparkling results. Learn how to streamline your cleaning process, tackle stubborn messes with ease, and create a cleaning schedule that actually works for you. Get ready to discover the power of cleaning routine shortcuts and say goodbye to endless hours of scrubbing!
Cleaning Routine Shortcuts: Reclaim Your Weekend!
Okay, let’s be honest, nobody *loves* cleaning. But a clean home is a happy home, right? So, I’m going to share some of my favorite cleaning routine shortcuts that have seriously saved my sanity (and my weekends!). These aren’t about being perfect, they’re about being efficient and making your life easier.
The Daily Dash: 15 Minutes to a Tidy Home
This is all about preventative maintenance. Spending just a little bit of time each day can drastically reduce the amount of deep cleaning you need to do later.
* **Make the Bed:** Seriously, this takes two minutes and instantly makes your bedroom look more put-together.
* **Wipe Down Kitchen Counters:** After every meal, give your counters a quick wipe. This prevents spills from hardening and becoming a pain to clean later.
* **One Load of Laundry:** Don’t let laundry pile up! Throw in a load every day and you’ll never be overwhelmed.
* **Sweep or Vacuum High-Traffic Areas:** A quick sweep or vacuum in the entryway and kitchen can prevent dirt from spreading throughout the house.
* **Empty Trash Cans:** Don’t let trash overflow. Empty them regularly to prevent odors and keep things tidy.
The Weekly Whirlwind: Deep Cleaning Made Easy
This is where we tackle the bigger tasks, but with a focus on efficiency.
* **Bathroom Blitz:** Clean the toilets, sinks, showers, and floors.
* **Kitchen Clean-Up:** Clean the microwave, oven, stovetop, and refrigerator.
* **Dusting Duty:** Dust all surfaces, including furniture, shelves, and picture frames.
* **Floor Focus:** Vacuum or mop all floors.
* **Linen Refresh:** Change bed linens and towels.
DIY Cleaning Solutions: Save Money and the Environment
I’m a big fan of using natural cleaning solutions whenever possible. They’re cheaper, safer for your family and pets, and better for the environment.
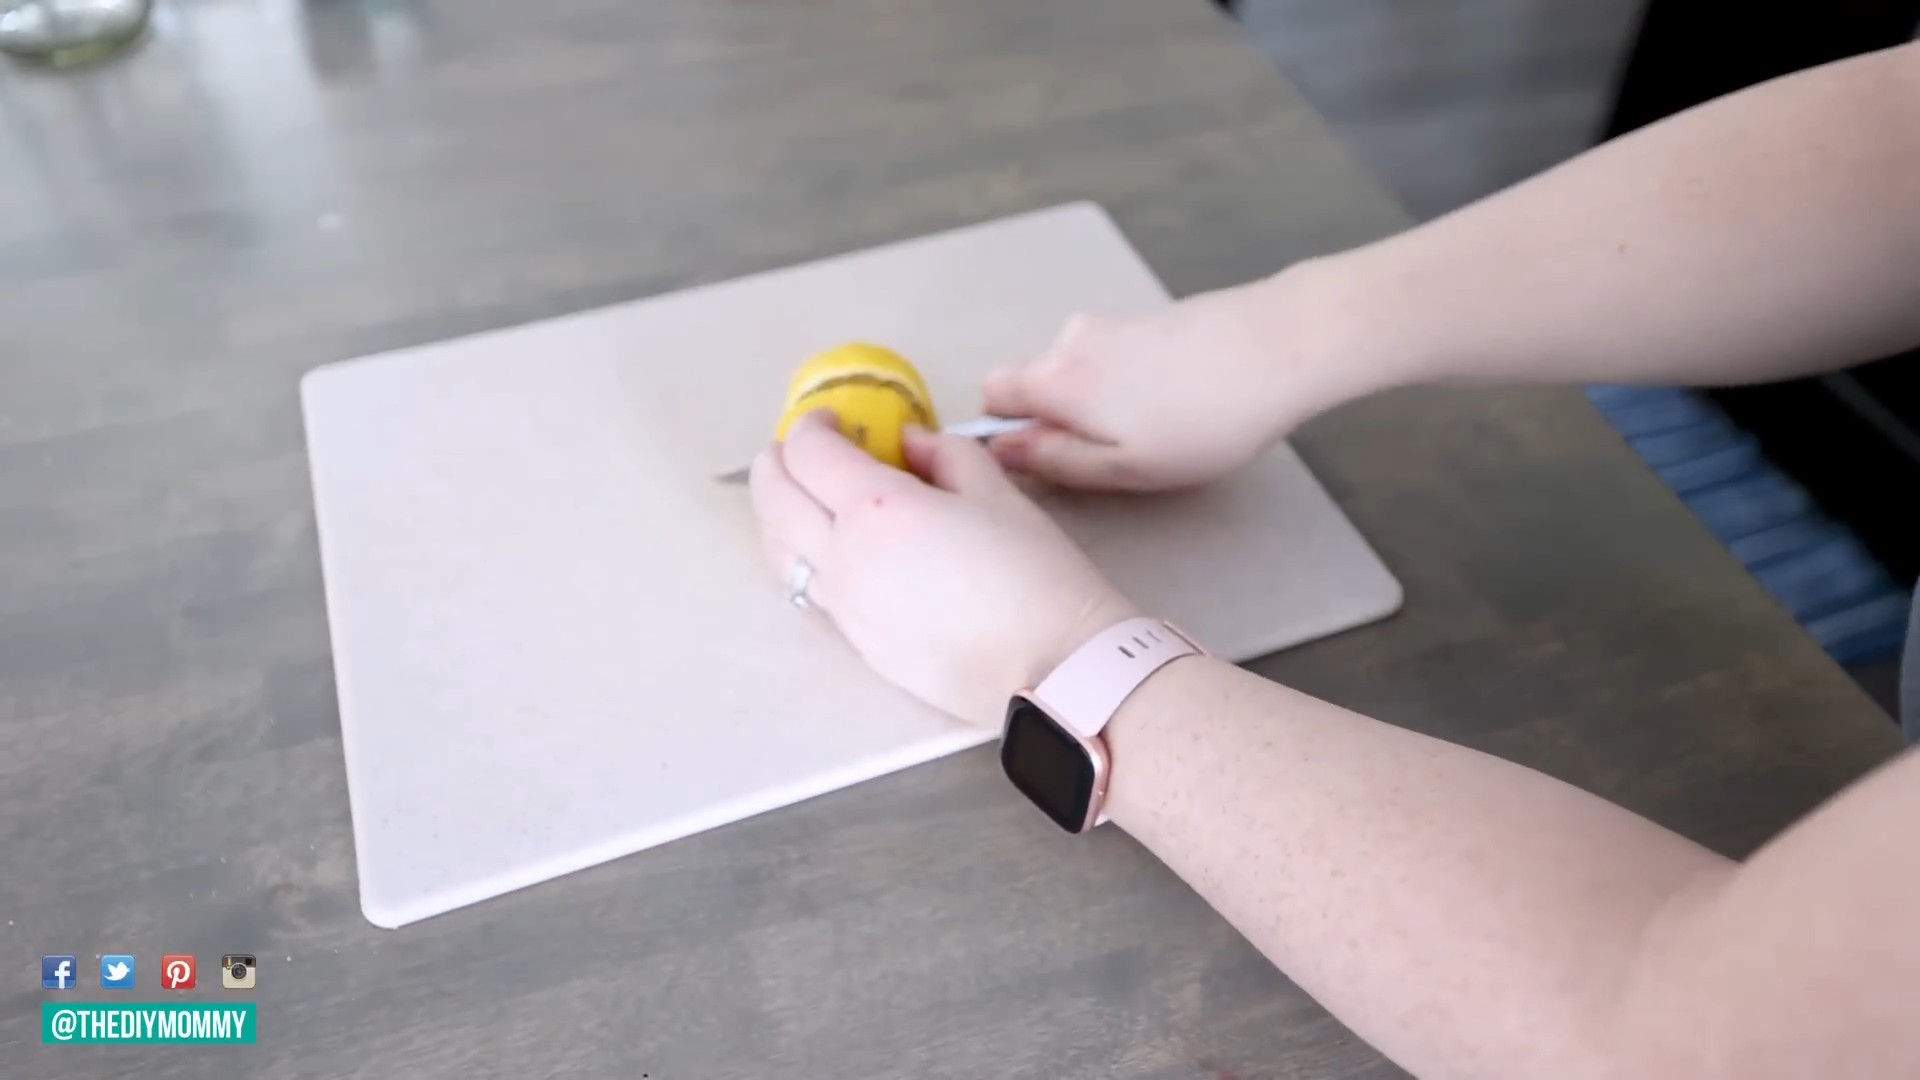
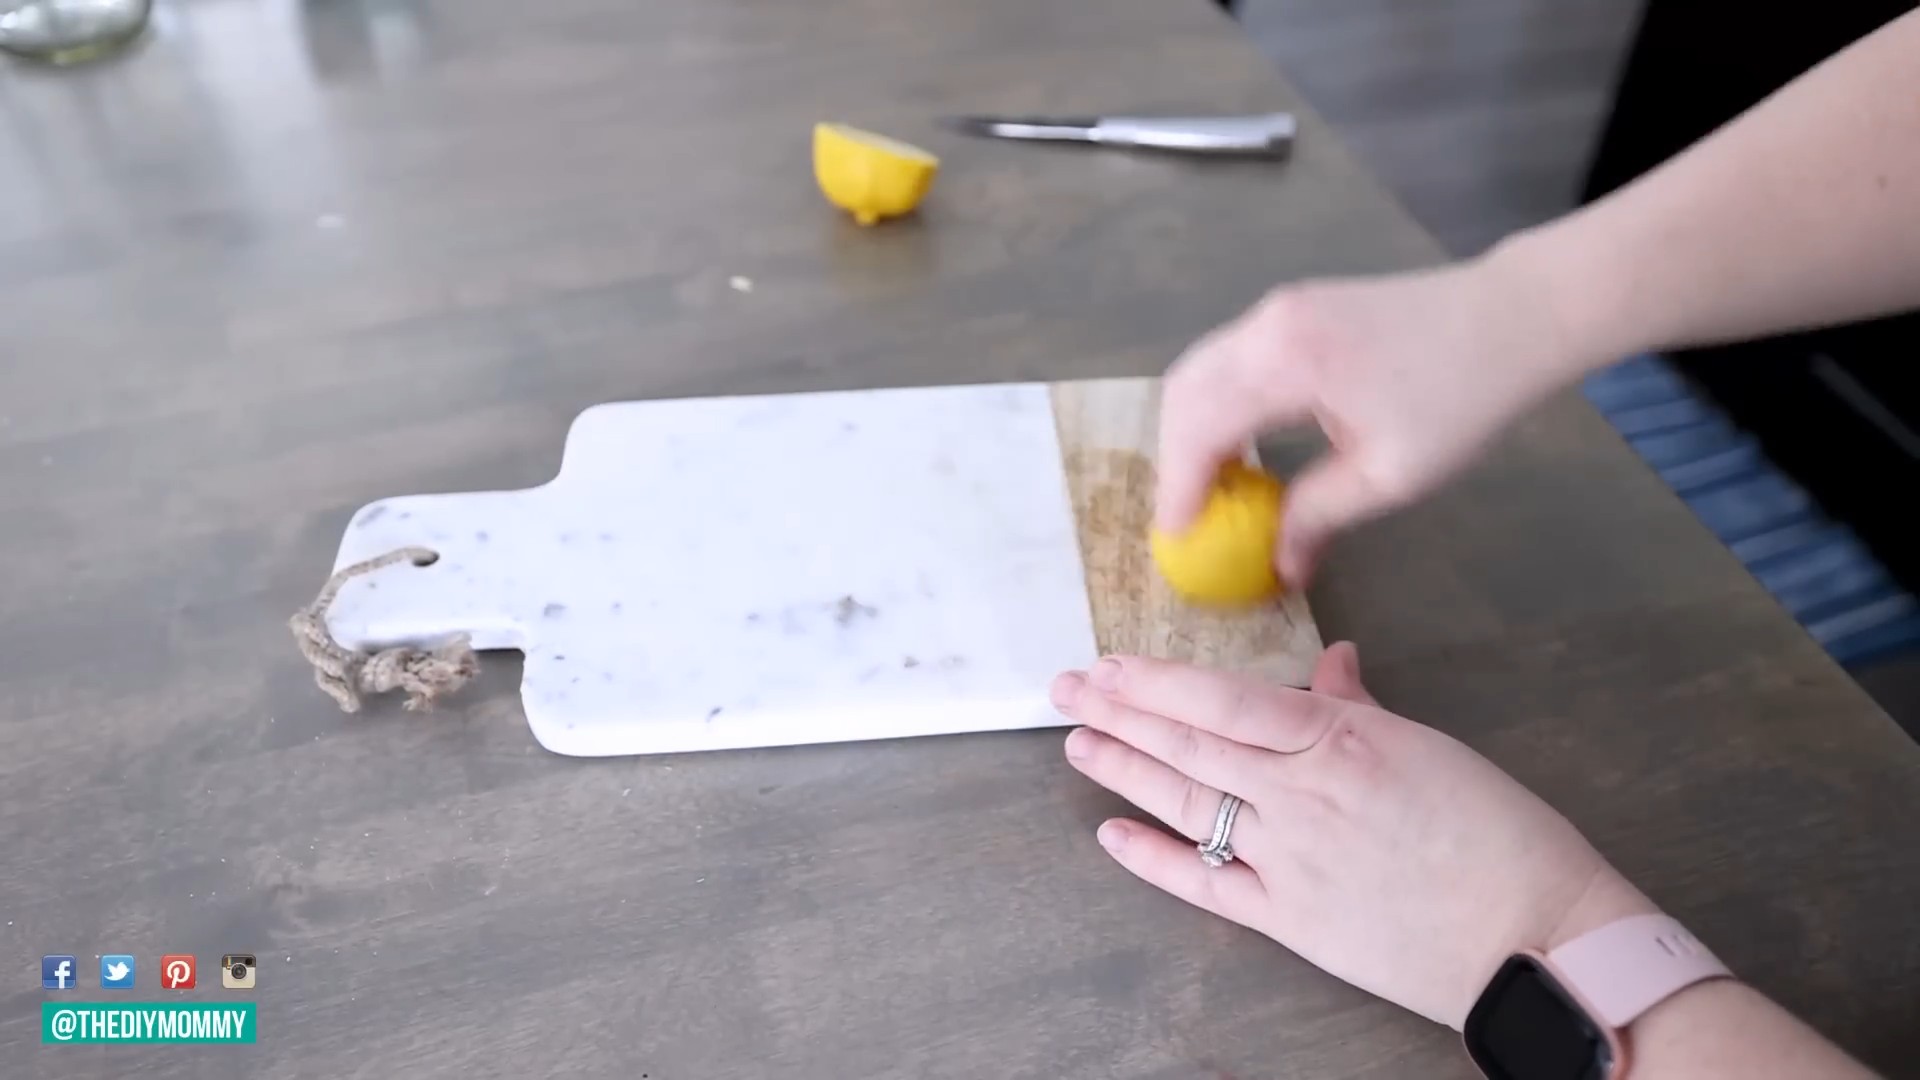
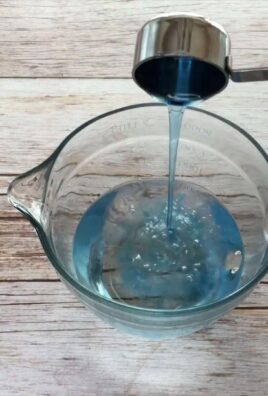
* **All-Purpose Cleaner:** Mix equal parts white vinegar and water in a spray bottle. Add a few drops of your favorite essential oil for a pleasant scent.
* **Glass Cleaner:** Mix 1/4 cup white vinegar, 1/2 teaspoon liquid dish soap, and 2 cups water in a spray bottle.
* **Oven Cleaner:** Make a paste of baking soda and water. Spread it all over the inside of your oven, let it sit overnight, and then scrub it clean.
* **Drain Cleaner:** Pour 1/2 cup baking soda down the drain, followed by 1 cup of white vinegar. Let it fizz for 30 minutes, then flush with hot water.
Step-by-Step Instructions: Let’s Get Cleaning!
Here’s a more detailed breakdown of how I tackle some of the most common cleaning tasks.
1. Bathroom Blitz: Conquering the Grime
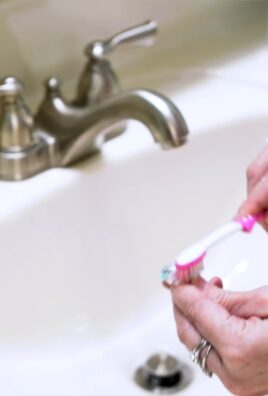
1. **Gather Your Supplies:** You’ll need: all-purpose cleaner, toilet bowl cleaner, glass cleaner, scrub brush, sponge, microfiber cloths, and rubber gloves.
2. **Toilet Time:** Apply toilet bowl cleaner under the rim and let it sit while you clean other areas.
3. **Shower Power:** Spray the shower walls and door with all-purpose cleaner. Let it sit for a few minutes to loosen soap scum.
4. **Sink Scrub:** Spray the sink and countertop with all-purpose cleaner and scrub with a sponge. Rinse thoroughly.
5. **Toilet Scrub:** Scrub the toilet bowl with a toilet brush and flush. Wipe down the exterior of the toilet with all-purpose cleaner.
6. **Shower Scrub:** Scrub the shower walls and door with a scrub brush or sponge. Rinse thoroughly.
7. **Mirror Magic:** Spray the mirror with glass cleaner and wipe clean with a microfiber cloth.
8. **Floor Finish:** Sweep or vacuum the floor, then mop with all-purpose cleaner.
9. Don’t forget the details! Clean the showerhead by soaking it in a bag filled with vinegar. This removes mineral buildup.
2. Kitchen Clean-Up: From Mess to Marvelous
1. **Gather Your Supplies:** You’ll need: all-purpose cleaner, dish soap, oven cleaner (or baking soda paste), glass cleaner, sponge, microfiber cloths, and rubber gloves.
2. **Microwave Makeover:** Heat a cup of water in the microwave for a few minutes to loosen grime. Then, wipe down the interior with a sponge.
3. **Oven Overhaul:** If using commercial oven cleaner, follow the instructions on the bottle. If using baking soda paste, spread it all over the inside of the oven, let it sit overnight, and then scrub it clean. This might take some elbow grease!
4. **Stovetop Shine:** Remove the burner grates and soak them in hot, soapy water. Wipe down the stovetop with all-purpose cleaner.
5. **Refrigerator Refresh:** Remove all items from the refrigerator. Discard any expired food. Wipe down the shelves and drawers with all-purpose cleaner.
6. **Sink Sanity:** Wash any dishes in the sink. Clean the sink with dish soap and rinse thoroughly.
7. **Floor Focus:** Sweep or vacuum the floor, then mop with all-purpose cleaner.
8. Pro Tip: Place an open box of baking soda in the refrigerator to absorb odors.
3. Dusting Duty: Banishing the Bunnies
1. **Gather Your Supplies:** You’ll need: duster, microfiber cloths, furniture polish (optional), and a vacuum cleaner with a brush attachment.
2. **Top-Down Approach:** Start dusting from the highest surfaces and work your way down. This prevents dust from falling onto already cleaned areas.
3. **Furniture Focus:** Dust all furniture, including tables, chairs, and shelves. Use furniture polish if desired.
4. **Shelf Sweep:** Remove items from shelves and dust them individually. Dust the shelves themselves before replacing the items.
5. **Picture Perfect:** Dust picture frames and artwork.
6. **Vacuum Venture:** Use the brush attachment on your vacuum cleaner to dust curtains, blinds, and upholstery.
7. Don’t forget those hard-to-reach places! Use an extension duster to reach ceiling fans and high shelves.
4. Floor Focus: From Grimy to Gleaming
1. **Gather Your Supplies:** You’ll need: vacuum cleaner, mop, bucket, floor cleaner (appropriate for your floor type), and a broom.
2. **Sweep Away:** Sweep all floors to remove loose dirt and debris.
3. **Vacuum Victory:** Vacuum all carpets and rugs.
4. **Mop Magic:** Fill a bucket with hot water and floor cleaner. Mop all hard floors, following the instructions on the floor cleaner.
5. **Rinse and Repeat:** Rinse the mop frequently to prevent spreading dirt.
6. Pay attention to corners and edges! These areas tend to accumulate dirt and grime.
5. Linen Refresh: A Fresh Start
1. **Gather Your Supplies:** You’ll need: laundry detergent, fabric softener (optional), and clean bed linens and towels.
2. **Strip the Beds:** Remove all bed linens and pillowcases.
3. **Towel Toss:** Gather all used towels.
4. **Load and Launch:** Load the washing machine with bed linens and towels. Add laundry detergent and fabric softener (if desired).
5. **Wash and Dry:** Wash and dry the linens and towels according to the care instructions.
6. **Make the Bed:** Put clean bed linens on the bed.
7. Stock Up: Place fresh towels in the bathroom.
8. Extra Tip: Wash your pillows every few months to keep them fresh and clean.
Bonus Tips for Cleaning Routine Success
* Delegate Tasks:** If you live with others, divide the cleaning tasks among everyone.
* Set a Timer:** This can help you stay focused and prevent you from getting sidetracked.
* Reward Yourself:** After you finish cleaning, treat yourself to something you enjoy.
* Invest in Good Cleaning Tools:** A good vacuum cleaner, mop, and duster can make a big difference.
* Declutter Regularly: The less stuff you have, the less you have to clean!
* Music Makes it Better: Put on some upbeat music to make cleaning more enjoyable.
* Don’t Strive for Perfection: A clean home is a happy home, but it doesn’t have to be perfect. Focus on the areas that matter most to you.
* Clean as You Go: Wipe up spills immediately and put things away after you use them. This will prevent messes from accumulating.
* Embrace the Power of a Checklist: Create a cleaning checklist to help you stay organized and on track.
* Consider a Robot Vacuum: These little helpers can keep your floors clean between deep cleanings.
These shortcuts have completely transformed my cleaning routine, and I hope they help you too! Remember, it’
Conclusion
So, there you have it! These cleaning routine shortcuts aren’t just about saving time; they’re about reclaiming your weekends and enjoying a cleaner, more comfortable home with minimal effort. We’ve explored how simple tweaks to your existing habits and the introduction of a few clever DIY tricks can drastically reduce the amount of time you spend scrubbing, dusting, and generally battling household grime.
The real beauty of these shortcuts lies in their adaptability. Feel free to experiment with different essential oil combinations in your DIY cleaning solutions to find scents you love. For example, if you’re not a fan of lemon, try orange or grapefruit for a similarly uplifting and degreasing effect. If you have particularly stubborn stains, consider adding a bit of washing soda to your all-purpose cleaner for extra cleaning power. Remember to always test any new cleaning solution in an inconspicuous area first to ensure it doesn’t damage the surface.
Don’t underestimate the power of prevention either. A quick wipe-down after cooking or a regular sweep of high-traffic areas can prevent dirt and grime from building up in the first place, making your deep cleans much less frequent and less arduous. Think of it as investing a little time now to save a lot of time later.
One of the most effective cleaning routine shortcuts we discussed is the DIY cleaning solution. It’s not only incredibly effective but also significantly cheaper and more environmentally friendly than many store-bought alternatives. Plus, you have complete control over the ingredients, ensuring that you’re not exposing yourself or your family to harsh chemicals.
We truly believe that incorporating these cleaning routine shortcuts into your daily or weekly schedule will make a noticeable difference in your life. Imagine spending less time cleaning and more time doing the things you enjoy – whether it’s pursuing a hobby, spending time with loved ones, or simply relaxing with a good book.
We’re confident that you’ll find these tips helpful, and we’re eager to hear about your experiences. Try out these cleaning routine shortcuts and let us know what works best for you! Share your own tips and tricks in the comments below – we’re always looking for new ways to make cleaning easier and more efficient. Your insights could help other readers discover even more effective ways to keep their homes sparkling clean.
So, go ahead, give these cleaning routine shortcuts a try. You might be surprised at how much time and energy you can save!
Frequently Asked Questions (FAQs)
Q: Are these DIY cleaning solutions safe for all surfaces?
A: While most of the DIY cleaning solutions mentioned are generally safe for a wide range of surfaces, it’s always crucial to test them in an inconspicuous area first. This is especially important for delicate surfaces like wood, marble, or granite. Avoid using abrasive cleaners or scrub brushes on these surfaces, as they can cause scratches or damage. For wood, a mixture of water and vinegar may be too harsh, so consider using a specialized wood cleaner or a diluted solution of mild soap and water. For marble and granite, avoid acidic cleaners like vinegar or lemon juice, as they can etch the surface. Instead, opt for a pH-neutral cleaner specifically designed for these materials. When in doubt, consult the manufacturer’s instructions for your specific surface.
Q: How often should I be doing these cleaning routine shortcuts?
A: The frequency of these cleaning routine shortcuts depends on your lifestyle, the size of your home, and your personal preferences. However, a good starting point is to incorporate the daily shortcuts, such as wiping down surfaces after cooking and making your bed, into your daily routine. Weekly shortcuts, like cleaning the bathroom and vacuuming, can be done once a week or more often if needed. Deep cleaning tasks, such as cleaning the oven or washing windows, can be done less frequently, perhaps once a month or every few months. The key is to find a schedule that works for you and helps you maintain a clean and comfortable home without feeling overwhelmed.
Q: Can I use essential oils other than the ones mentioned in the recipes?
A: Absolutely! Essential oils not only add a pleasant scent to your cleaning solutions but also offer various antibacterial and antifungal properties. Feel free to experiment with different essential oil combinations to find scents you enjoy and that suit your needs. For example, tea tree oil is known for its powerful antibacterial properties, while lavender oil has a calming and relaxing scent. Peppermint oil can help repel insects, while eucalyptus oil can help clear congestion. Just be sure to research the properties of each essential oil before using it and avoid using essential oils that you are allergic to. Also, keep in mind that some essential oils are not safe for pets, so be sure to do your research before using them in your home.
Q: What if I don’t have all the ingredients for the DIY cleaning solutions?
A: The beauty of DIY cleaning solutions is that they are often very adaptable. If you don’t have all the ingredients on hand, you can often substitute them with other common household items. For example, if you don’t have white vinegar, you can use lemon juice as a substitute. If you don’t have baking soda, you can use washing soda. If you don’t have essential oils, you can simply omit them or use a different fragrance. The key is to experiment and find what works best for you. However, be sure to research the properties of each ingredient before substituting it to ensure that it is safe and effective for your intended use.
Q: How do I store the DIY cleaning solutions?
A: It’s important to store your DIY cleaning solutions properly to ensure their effectiveness and safety. Always store them in labeled containers to avoid confusion and accidental ingestion. Use airtight containers to prevent evaporation and contamination. Store them in a cool, dark place away from direct sunlight and heat. Keep them out of reach of children and pets. For solutions containing essential oils, use dark glass bottles to protect the oils from light degradation. It’s also a good idea to make a note of the date you made the solution so you know when it’s time to discard it. Most DIY cleaning solutions will last for several months if stored properly.
Q: Are these cleaning routine shortcuts really effective?
A: Yes, these cleaning routine shortcuts are designed to be highly effective. They focus on preventative measures, efficient cleaning techniques, and the use of powerful DIY cleaning solutions. By incorporating these shortcuts into your routine, you can significantly reduce the amount of time and effort you spend cleaning while still maintaining a clean and comfortable home. The key is to be consistent and to adapt the shortcuts to your specific needs and preferences. Remember, even small changes can make a big difference in the long run.
Q: What about cleaning products that are advertised as “eco-friendly”? Are they better than DIY solutions?
A: While many commercially available “eco-friendly” cleaning products are indeed better for the environment than traditional cleaners, they can still contain ingredients that are not entirely natural or sustainable. DIY cleaning solutions, on the other hand, allow you to have complete control over the ingredients, ensuring that you’re using only natural and non-toxic substances. Furthermore, DIY solutions are often much cheaper than their store-bought counterparts. However, it’s important to research the ingredients in any “eco-friendly” product before purchasing it to ensure that it meets your standards for sustainability and safety. Ultimately, the best choice depends on your individual preferences and priorities.
Leave a Comment