
Salt hacks – who knew such a simple, everyday ingredient could be a secret weapon for so many household tasks? I’m constantly amazed by the versatility of salt, and I’m excited to share some incredible DIY tricks that will make your life a little easier (and maybe even a little more fun!).
For centuries, salt has been more than just a seasoning. From preserving food in ancient times to being used as currency in some cultures, salt has played a vital role in human history. Now, we’re rediscovering its power in unexpected ways, moving beyond the kitchen and into every corner of our homes.
Let’s face it, life can get hectic. We’re all looking for ways to save time and money, and that’s where these salt hacks come in. Whether you’re battling stubborn stains, trying to keep your flowers fresh, or even looking for a natural cleaning solution, salt might just be the answer you’ve been searching for. I’ve compiled a list of my favorite DIY tricks using salt, and I’m confident you’ll find at least a few that will become your new go-to solutions. Get ready to be amazed by the magic of salt!

DIY Salt Hacks: Unleash the Power of Sodium Chloride!
Hey there, fellow DIY enthusiasts! Get ready to be amazed by the sheer versatility of something you probably have sitting in your pantry right now: salt! Yes, that humble little box of sodium chloride is a powerhouse of potential, far beyond just seasoning your food. I’m going to walk you through some incredible salt hacks that will simplify your life, save you money, and maybe even impress your friends. Let’s dive in!
Cleaning and Stain Removal
Salt is a fantastic natural abrasive and absorbent, making it perfect for tackling all sorts of cleaning challenges. Forget harsh chemicals; let’s harness the power of salt!
* Rust Removal: Salt, lemon juice, and sunshine – a winning combination!
* Copper and Brass Polishing: Bring back the shine to your tarnished treasures.
* Cleaning Cast Iron: A gentle scrub that preserves your seasoning.
* Spill Control: Absorbing spills before they become stubborn stains.
* Grout Cleaning: Brighten up your bathroom with a simple paste.
Rust Removal with Salt and Lemon Juice
Rust can be a real eyesore, but don’t despair! This simple salt and lemon juice paste can work wonders.
1. Prepare the Surface: First, brush off any loose rust particles with a wire brush or sandpaper. This will help the paste penetrate better.
2. Make the Paste: In a small bowl, mix equal parts salt and lemon juice to form a thick paste. The amount you need will depend on the size of the rusted area. I usually start with about 2 tablespoons of each.
3. Apply the Paste: Generously apply the paste to the rusted area, making sure to cover it completely.
4. Let it Sit: Now, patience is key! Let the paste sit for at least 2-3 hours, or even overnight for heavily rusted items. The lemon juice’s acidity will help break down the rust, while the salt acts as a gentle abrasive.
5. Scrub and Rinse: After the waiting period, scrub the area with a stiff brush or scouring pad. You should see the rust lifting away. Rinse thoroughly with water and dry completely.
6. Repeat if Necessary: For stubborn rust, you may need to repeat the process. You can also try adding a little bit of baking soda to the paste for extra cleaning power.
Polishing Copper and Brass with Salt
Tarnished copper and brass can look dull and lifeless. But with a little salt, vinegar, and flour, you can restore their original shine.
1. Prepare the Paste: In a bowl, mix equal parts salt, white vinegar, and flour to create a paste. Start with about 1 tablespoon of each and adjust as needed to get a good consistency.
2. Apply the Paste: Apply the paste to the tarnished copper or brass item, making sure to cover all the affected areas.
3. Let it Sit: Allow the paste to sit for about 15-30 minutes. This gives the vinegar time to work on the tarnish.
4. Rinse and Polish: Rinse the item thoroughly with warm water. Then, using a soft cloth, polish the copper or brass until it shines. You’ll be amazed at the difference!
5. Dry Completely: Make sure to dry the item completely to prevent further tarnishing.
Cleaning Cast Iron with Salt
Cleaning cast iron can be tricky, as you don’t want to strip away the seasoning. Salt is a gentle yet effective way to clean it without damaging the protective layer.
1. Scrape Away Food Debris: After cooking, use a spatula or scraper to remove any loose food particles from the cast iron skillet while it’s still warm.
2. Add Salt and Water: Add a generous amount of coarse salt (like kosher salt) to the skillet, along with a little bit of warm water. The amount of water should be just enough to create a slightly damp paste.
3. Scrub Gently: Use a non-abrasive sponge or cloth to gently scrub the skillet. The salt will act as a mild abrasive to remove any remaining food residue.
4. Rinse and Dry: Rinse the skillet with warm water and dry it thoroughly with a clean towel.
5. Season (If Needed): After cleaning, you may want to re-season your cast iron skillet to maintain its protective layer. To do this, simply rub a thin layer of oil (like vegetable oil or flaxseed oil) over the entire surface of the skillet and heat it in the oven at 350°F (175°C) for about an hour.
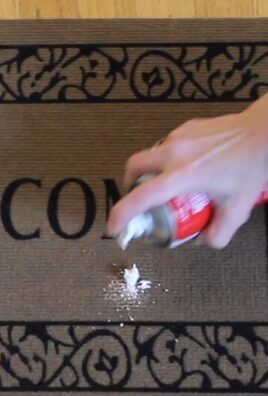
Spill Control with Salt
Spilled wine, grease, or other liquids can quickly become stubborn stains. But if you act fast and use salt, you can prevent the stain from setting.
1. Act Quickly: The key to this hack is to act as soon as the spill happens. The longer you wait, the harder it will be to remove the stain.
2. Cover with Salt: Generously cover the spill with salt. The salt will absorb the liquid and prevent it from soaking into the surface.
3. Let it Sit: Allow the salt to sit for at least 15-30 minutes, or even longer for larger spills. You’ll notice the salt becoming discolored as it absorbs the liquid.
4. Vacuum or Sweep: Once the salt has absorbed the liquid, vacuum or sweep it up.
5. Clean the Area: If necessary, clean the area with a damp cloth and a mild detergent.
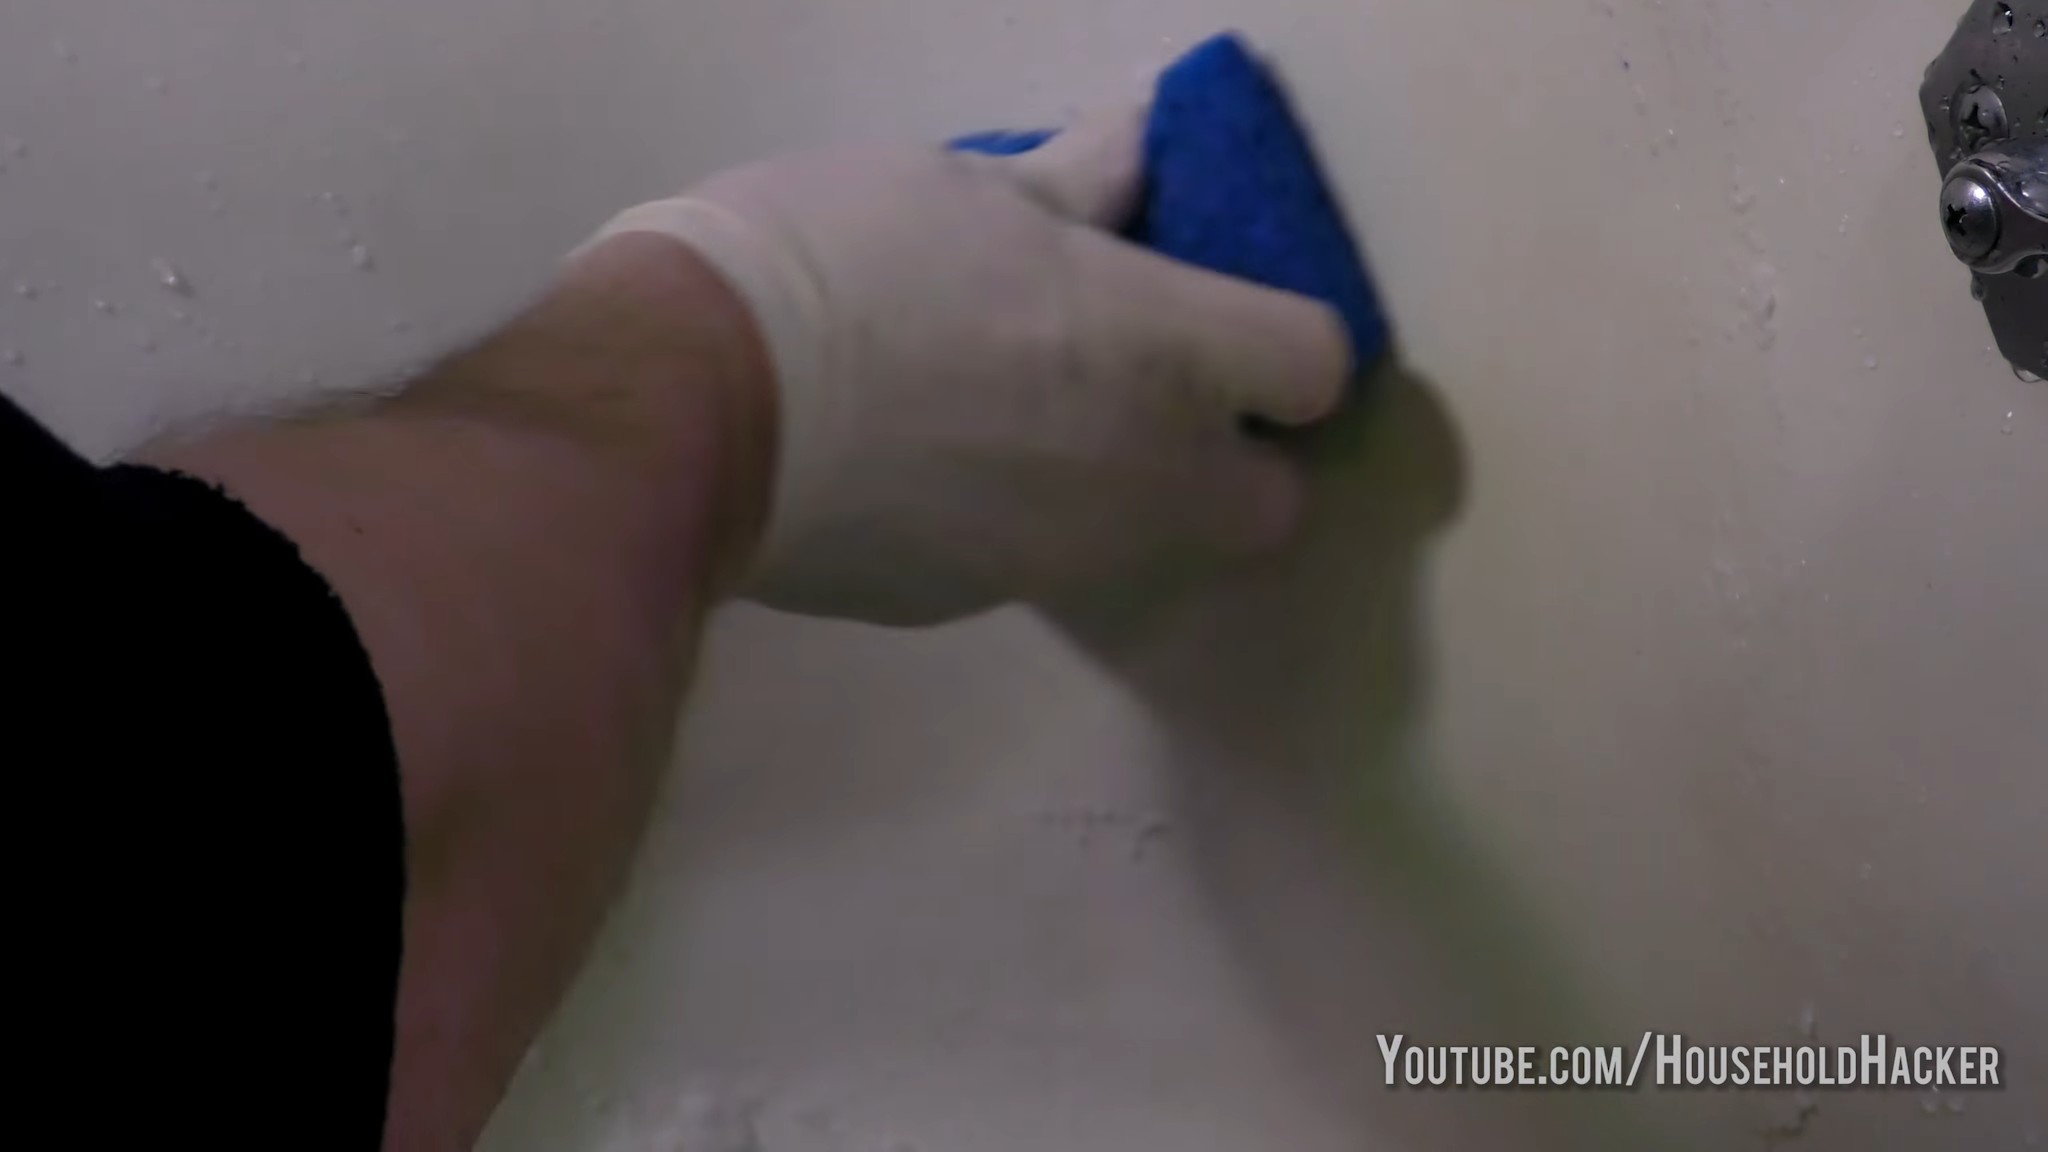
Grout Cleaning with Salt
Dirty grout can make your bathroom look dingy and uninviting. But with a simple salt paste, you can brighten up your grout and restore its original color.
1. Make the Paste: In a small bowl, mix equal parts salt and baking soda with enough water to form a thick paste.
2. Apply the Paste: Apply the paste to the grout lines, making sure to cover them completely.
3. Let it Sit: Allow the paste to sit for about 10-15 minutes.
4. Scrub and Rinse: Use a grout brush or an old toothbrush to scrub the grout lines. Rinse thoroughly with water.
5. Dry and Admire: Dry the area with a clean towel and admire your sparkling clean grout!
Household Hacks
Beyond cleaning, salt can be used for a variety of other household tasks.
* Testing Egg Freshness: A simple float test to determine if your eggs are still good.
* Preventing Fruit Browning: Keep your sliced apples and pears looking fresh.
* Cleaning Artificial Flowers: A gentle way to remove dust and dirt.
* Extinguishing Grease Fires: A safer alternative to water.
* Keeping Ants Away: A natural barrier to deter unwanted pests.
Testing Egg Freshness with Salt
Unsure if those eggs in your fridge are still good? This simple salt water test will give you a definitive answer.
1. Prepare the Salt Water: Fill a glass or bowl with water and add about 2 tablespoons of salt. Stir until the salt is dissolved.
2. Submerge the Egg: Gently place the egg into the salt water.
3. Observe the Egg:
* If the egg sinks and lies flat on its side, it’s fresh and good to use.
* If the egg sinks but stands on one end, it’s still okay to use, but use it soon.
* If the egg floats, it’s bad and should be discarded.
4. Why it Works: As eggs age, they develop an air pocket inside. The larger the air pocket, the more buoyant the egg becomes. The salt water increases the density of the water, making it easier to detect the egg’s buoyancy.
Preventing Fruit Browning with Salt
Sliced apples, pears, and other fruits can quickly turn brown due to oxidation. But a quick soak in salt water can keep them looking fresh and appetizing.
1. Prepare the Salt Water: Fill a bowl with cold water and add about 1/2 teaspoon of salt per cup of water. Stir until the salt is dissolved.
2. Soak the Fruit: Place the sliced fruit into the salt water and let it soak for about 5-10 minutes.
3. Rinse and Enjoy: Rinse the fruit with fresh water and enjoy! The salt water will help to prevent oxidation and keep the fruit from browning. You won’t taste the salt.
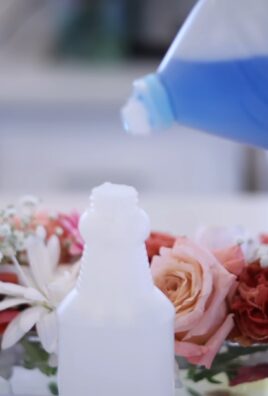
Cleaning Artificial Flowers with Salt
Artificial flowers can accumulate dust and dirt over time, making them look dull and lifeless. But a gentle cleaning with salt can restore their vibrancy.
1. Choose a Bag: Select a large paper or plastic bag that’s big enough to hold your artificial flowers.
2. Add Salt: Pour about 1/2 cup of salt into the
Conclusion
So, there you have it! A collection of simple yet incredibly effective salt hacks that can truly transform your daily life. From banishing stubborn stains to creating soothing spa treatments, the versatility of common table salt is genuinely astounding. We’ve explored how this humble ingredient can be a powerful cleaning agent, a natural beauty booster, and even a helpful tool in the kitchen.
But why is this a must-try? Because these salt hacks are not only incredibly easy to implement, requiring minimal effort and readily available ingredients, but they are also a cost-effective and eco-friendly alternative to many commercial products. Think about it: instead of reaching for harsh chemicals to scrub your bathtub or spending a fortune on expensive exfoliating scrubs, you can achieve equally impressive results with a simple solution of salt and water. You’re saving money, reducing your environmental impact, and simplifying your life all at once!
Beyond the hacks we’ve already covered, the possibilities are truly endless. Consider experimenting with different types of salt. Coarse sea salt can provide a more intense exfoliating experience, while Epsom salt (technically a magnesium sulfate compound, but often used like salt) offers muscle-relaxing benefits in a bath. You can also infuse your salt solutions with essential oils for added aromatherapy benefits. Lavender oil for relaxation, peppermint oil for invigoration, or tea tree oil for its antibacterial properties – the choice is yours!
Another variation to consider is using salt in your garden. A sprinkle of salt around your plants can deter slugs and snails, while a salt solution can help control weeds. Just be careful not to overdo it, as too much salt can harm your plants.
We’ve shown you how to make a natural air freshener using salt. You can also try adding a few drops of your favorite essential oil to the salt before adding it to the jar. This will create a more personalized and fragrant air freshener.
We are confident that incorporating these salt hacks into your routine will make a noticeable difference. They are practical, affordable, and surprisingly effective. But don’t just take our word for it – we encourage you to try them out for yourself!
We are eager to hear about your experiences with these salt hacks. Did you discover a new use for salt that we haven’t mentioned? Did you find a particular hack to be especially helpful? Share your thoughts, tips, and tricks in the comments below! Your feedback will not only help us improve this guide but also inspire other readers to explore the amazing potential of salt. Let’s build a community of salt-savvy individuals who are committed to simplifying their lives and embracing natural solutions. So go ahead, grab that salt shaker, and get ready to experience the transformative power of this everyday ingredient! We can’t wait to hear your stories!
Frequently Asked Questions (FAQ)
Q: Is it safe to use salt on all surfaces?
A: While salt is generally safe for most surfaces, it’s always a good idea to test it in an inconspicuous area first, especially on delicate materials like marble or painted surfaces. Avoid using abrasive salts like coarse sea salt on easily scratched surfaces. For cleaning, a fine table salt dissolved in water is usually the safest option. Also, be mindful of using salt on metal, as prolonged exposure to salt can cause corrosion. Rinse thoroughly with fresh water after using salt on metal surfaces.
Q: Can I use any type of salt for these hacks?
A: The type of salt you use will depend on the specific hack. For cleaning purposes, regular table salt is usually sufficient. For exfoliating scrubs, you can use finer salts like sea salt or Himalayan pink salt. Epsom salt (magnesium sulfate) is best for bath soaks and muscle relaxation. Avoid using iodized salt in certain applications where the iodine might stain or discolor surfaces. Always read the instructions carefully and choose the appropriate type of salt for the task at hand.
Q: How often can I use salt scrubs on my skin?
A: It’s generally recommended to use salt scrubs no more than once or twice a week. Over-exfoliating can strip your skin of its natural oils and cause irritation. If you have sensitive skin, start with once a week and see how your skin reacts. Always moisturize your skin after using a salt scrub to keep it hydrated and healthy.
Q: Can I use salt to clean my cast iron skillet?
A: Yes, salt is an excellent abrasive for cleaning cast iron skillets. After cooking, while the skillet is still warm, add a generous amount of coarse salt and scrub with a clean cloth or sponge. The salt will help to remove food particles without damaging the seasoning. Rinse with hot water and dry thoroughly. You may need to re-season the skillet occasionally to maintain its non-stick surface.
Q: Is it safe to use salt to deter weeds in my garden?
A: Yes, salt can be used as a natural weed killer, but it should be used with caution. Salt can harm or kill plants if it comes into contact with their roots. To use salt as a weed killer, dissolve it in water and carefully pour the solution onto the weeds, avoiding contact with desirable plants. Be aware that salt can also affect the soil’s pH and make it less suitable for plant growth in the long term. Consider using other natural weed control methods, such as vinegar or hand-pulling, as alternatives.
Q: How long will a salt air freshener last?
A: The lifespan of a salt air freshener depends on several factors, including the size of the jar, the amount of salt used, and the humidity levels in your home. Generally, a salt air freshener can last for several weeks or even months. You’ll know it’s time to replace the salt when it becomes saturated with moisture and no longer absorbs odors effectively. You can also refresh the scent by adding a few more drops of essential oil to the salt.
Q: Can I use salt to remove red wine stains from fabric?
A: Yes, salt is a surprisingly effective remedy for red wine stains. Immediately after the spill, blot the stain with a clean cloth to absorb as much liquid as possible. Then, cover the stain generously with salt and let it sit for several hours or overnight. The salt will absorb the remaining wine. Vacuum up the salt and launder the fabric as usual. This method works best on fresh stains.
Q: Are there any safety precautions I should take when using salt hacks?
A: While salt is generally safe, it’s important to take a few precautions. Avoid getting salt in your eyes, as it can cause irritation. When using salt scrubs, be gentle and avoid scrubbing too hard, especially on sensitive skin. If you have any allergies or skin conditions, consult with a dermatologist before using salt scrubs or other topical applications. When using salt for cleaning, wear gloves to protect your hands from irritation. And as always, keep salt out of reach of children and pets.
Leave a Comment