
Grow Swiss Chard Indoors? Absolutely! Imagine fresh, vibrant Swiss chard gracing your plate, even when the snow is falling outside. Forget those sad, wilted greens from the grocery store – with a few simple tricks, you can cultivate your own thriving Swiss chard patch right in the comfort of your home.
For centuries, leafy greens like Swiss chard have been a staple in diets around the world, prized for their nutritional value and versatility. From hearty stews in the Mediterranean to vibrant salads in California, Swiss chard has earned its place at the table. But what if you don’t have a sprawling garden or the perfect outdoor climate? That’s where the magic of indoor gardening comes in!
I know what you’re thinking: “Indoor gardening sounds complicated!” But trust me, it doesn’t have to be. This DIY guide is packed with easy-to-follow tips and tricks to help you successfully grow Swiss Chard Indoors, regardless of your experience level. We’ll cover everything from choosing the right containers and soil to providing the perfect amount of light and water.
Why should you bother with this DIY project? Because fresh, homegrown Swiss chard is not only delicious but also incredibly rewarding. Plus, it’s a fantastic way to reduce your carbon footprint, save money on groceries, and add a touch of green to your living space. So, let’s get started and transform your home into a thriving indoor garden!
Growing Swiss Chard Indoors: A Beginner’s Guide
Hey there, fellow plant enthusiasts! Ever thought about growing your own vibrant, nutritious Swiss chard right inside your home? It’s easier than you might think, and I’m here to guide you through the entire process. Get ready to enjoy fresh, homegrown greens all year round!
Choosing the Right Variety and Container
Before we dive into the nitty-gritty, let’s talk about choosing the right Swiss chard variety and container. This is crucial for success!
* **Variety Selection:** While all Swiss chard is delicious, some varieties are better suited for indoor growing. Look for compact varieties like ‘Bright Lights’ (for its colorful stems!) or ‘Fordhook Giant’. These tend to stay smaller and are easier to manage in pots.
* **Container Size:** Swiss chard needs room for its roots to grow. I recommend a pot that’s at least 12 inches in diameter and 12 inches deep. This will give your chard plenty of space to thrive. You can use plastic, terracotta, or even fabric pots – just make sure they have drainage holes!
* **Drainage is Key:** Speaking of drainage holes, they are absolutely essential. Swiss chard doesn’t like soggy roots, so good drainage is a must to prevent root rot.
Getting Started: Planting Your Swiss Chard
Now for the fun part – planting! Here’s a step-by-step guide to get your Swiss chard seeds started:
1. **Soaking the Seeds (Optional):** This step isn’t strictly necessary, but I find it helps speed up germination. Soak your Swiss chard seeds in lukewarm water for about 2-4 hours before planting. This softens the seed coat and encourages them to sprout faster.
2. **Preparing the Potting Mix:** Swiss chard needs well-draining, nutrient-rich soil. I like to use a mix of equal parts potting soil, compost, and perlite or vermiculite. The potting soil provides a good base, the compost adds nutrients, and the perlite or vermiculite improves drainage.
3. **Filling the Container:** Fill your chosen container with the potting mix, leaving about an inch of space at the top. Gently pat down the soil to remove any air pockets.
4. **Sowing the Seeds:** Sow the Swiss chard seeds about ½ inch deep and 1-2 inches apart. You can plant multiple seeds in the same pot, but be prepared to thin them out later if they all sprout.
5. **Watering Gently:** After sowing, water the soil gently until it’s evenly moist but not soggy. I like to use a spray bottle or watering can with a gentle rose head to avoid disturbing the seeds.
6. **Providing Warmth:** Swiss chard seeds germinate best in temperatures between 60-70°F (15-21°C). Place your pot in a warm location, or use a heat mat to provide bottom heat.
7. **Covering (Optional):** To help retain moisture and warmth, you can cover the pot with plastic wrap or a clear plastic bag. Just make sure to remove the covering once the seedlings emerge to prevent fungal diseases.
Caring for Your Indoor Swiss Chard
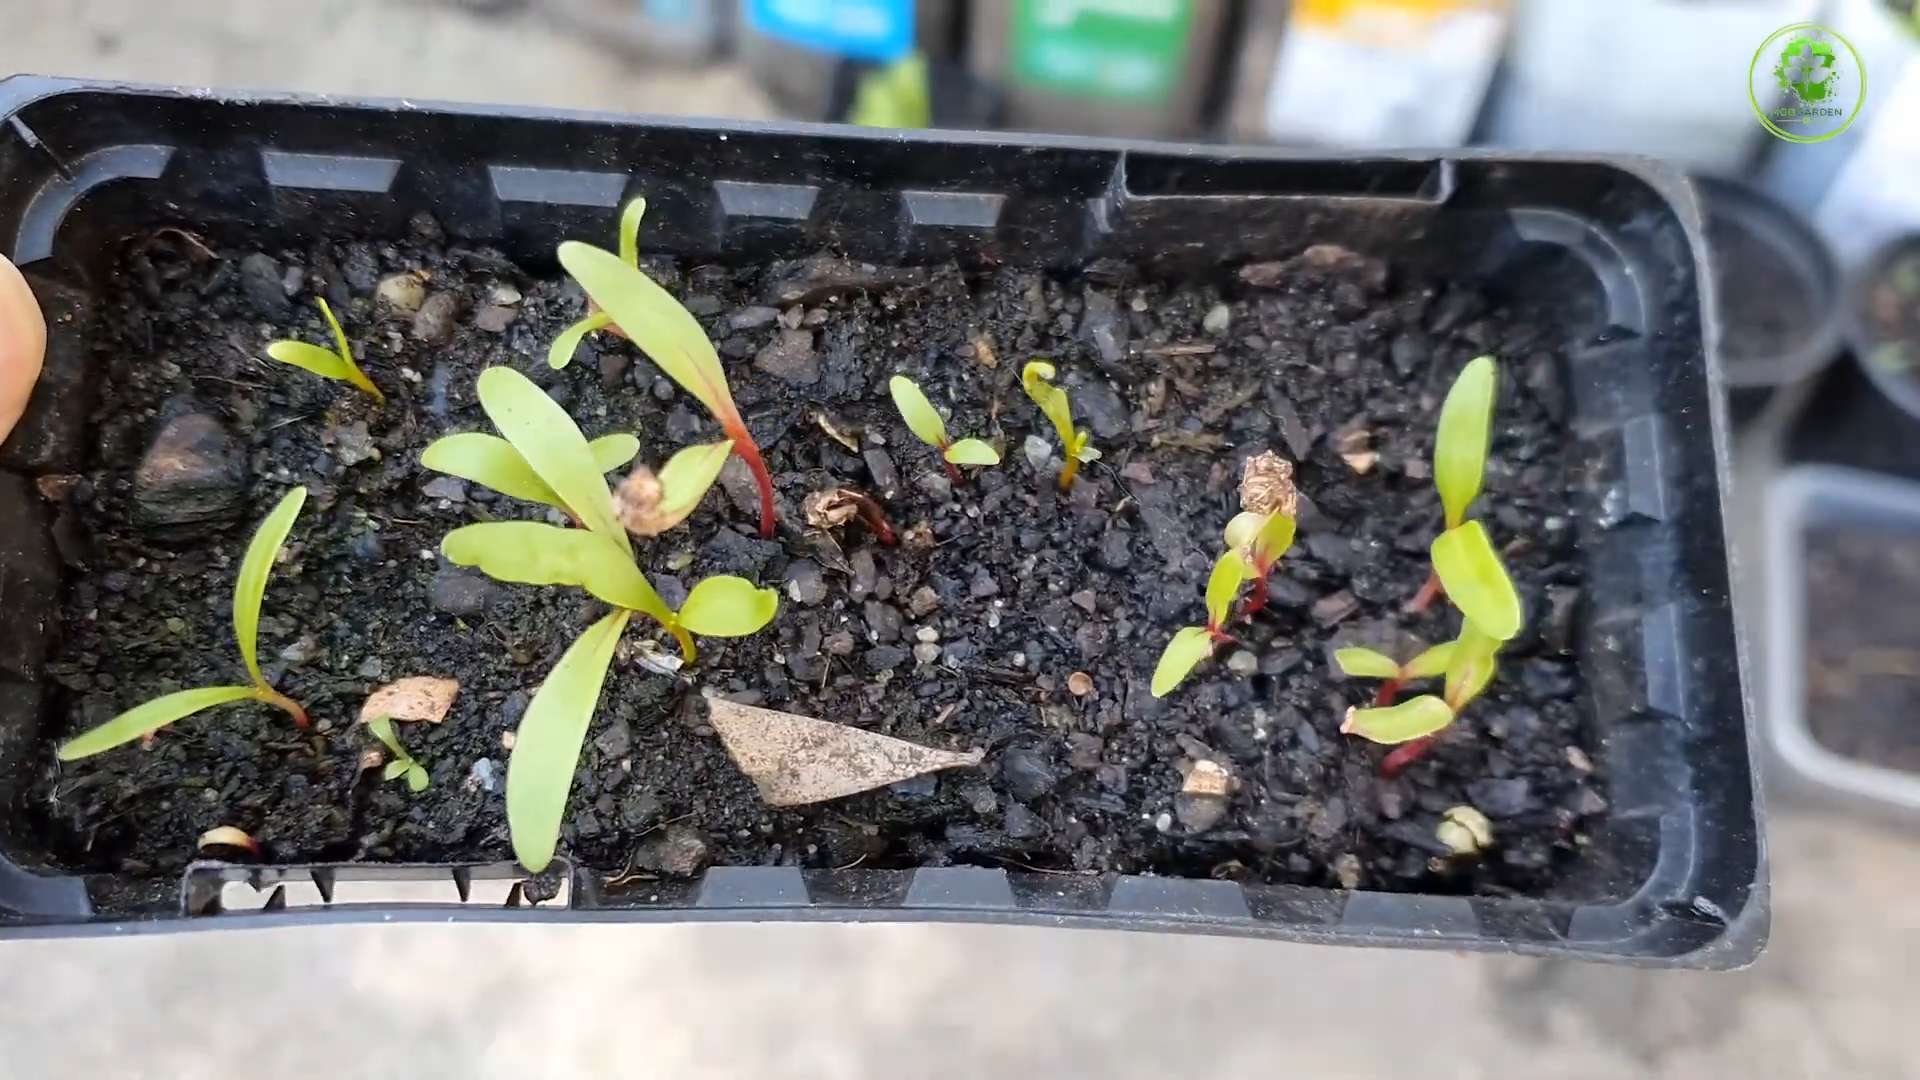
Once your Swiss chard seedlings have emerged, it’s time to provide them with the care they need to flourish.
1. **Light:** Swiss chard needs at least 6 hours of direct sunlight per day. If you don’t have a sunny window, you’ll need to supplement with grow lights. I recommend using LED grow lights, as they are energy-efficient and provide the right spectrum of light for plant growth. Position the grow lights a few inches above the plants.
2. **Watering:** Water your Swiss chard regularly, keeping the soil consistently moist but not waterlogged. Check the soil moisture by sticking your finger about an inch into the soil. If it feels dry, it’s time to water. Avoid overwatering, as this can lead to root rot.
3. **Fertilizing:** Swiss chard is a heavy feeder, so it needs regular fertilization. I recommend using a balanced liquid fertilizer diluted to half strength every 2-3 weeks. You can also amend the soil with compost or worm castings to provide a slow-release source of nutrients.
4. **Thinning:** If you planted multiple seeds in the same pot, you’ll need to thin them out once they have a few true leaves. Choose the strongest seedlings and remove the weaker ones, leaving about 4-6 inches between plants.
5. **Air Circulation:** Good air circulation is important to prevent fungal diseases. Make sure your Swiss chard is not overcrowded and that there is adequate airflow around the plants. You can also use a small fan to improve air circulation.
6. **Pest Control:** Keep an eye out for pests like aphids, spider mites, and whiteflies. If you spot any pests, you can try washing them off with a strong stream of water or using insecticidal soap.
Harvesting Your Bounty
The best part of growing your own Swiss chard is, of course, harvesting it!
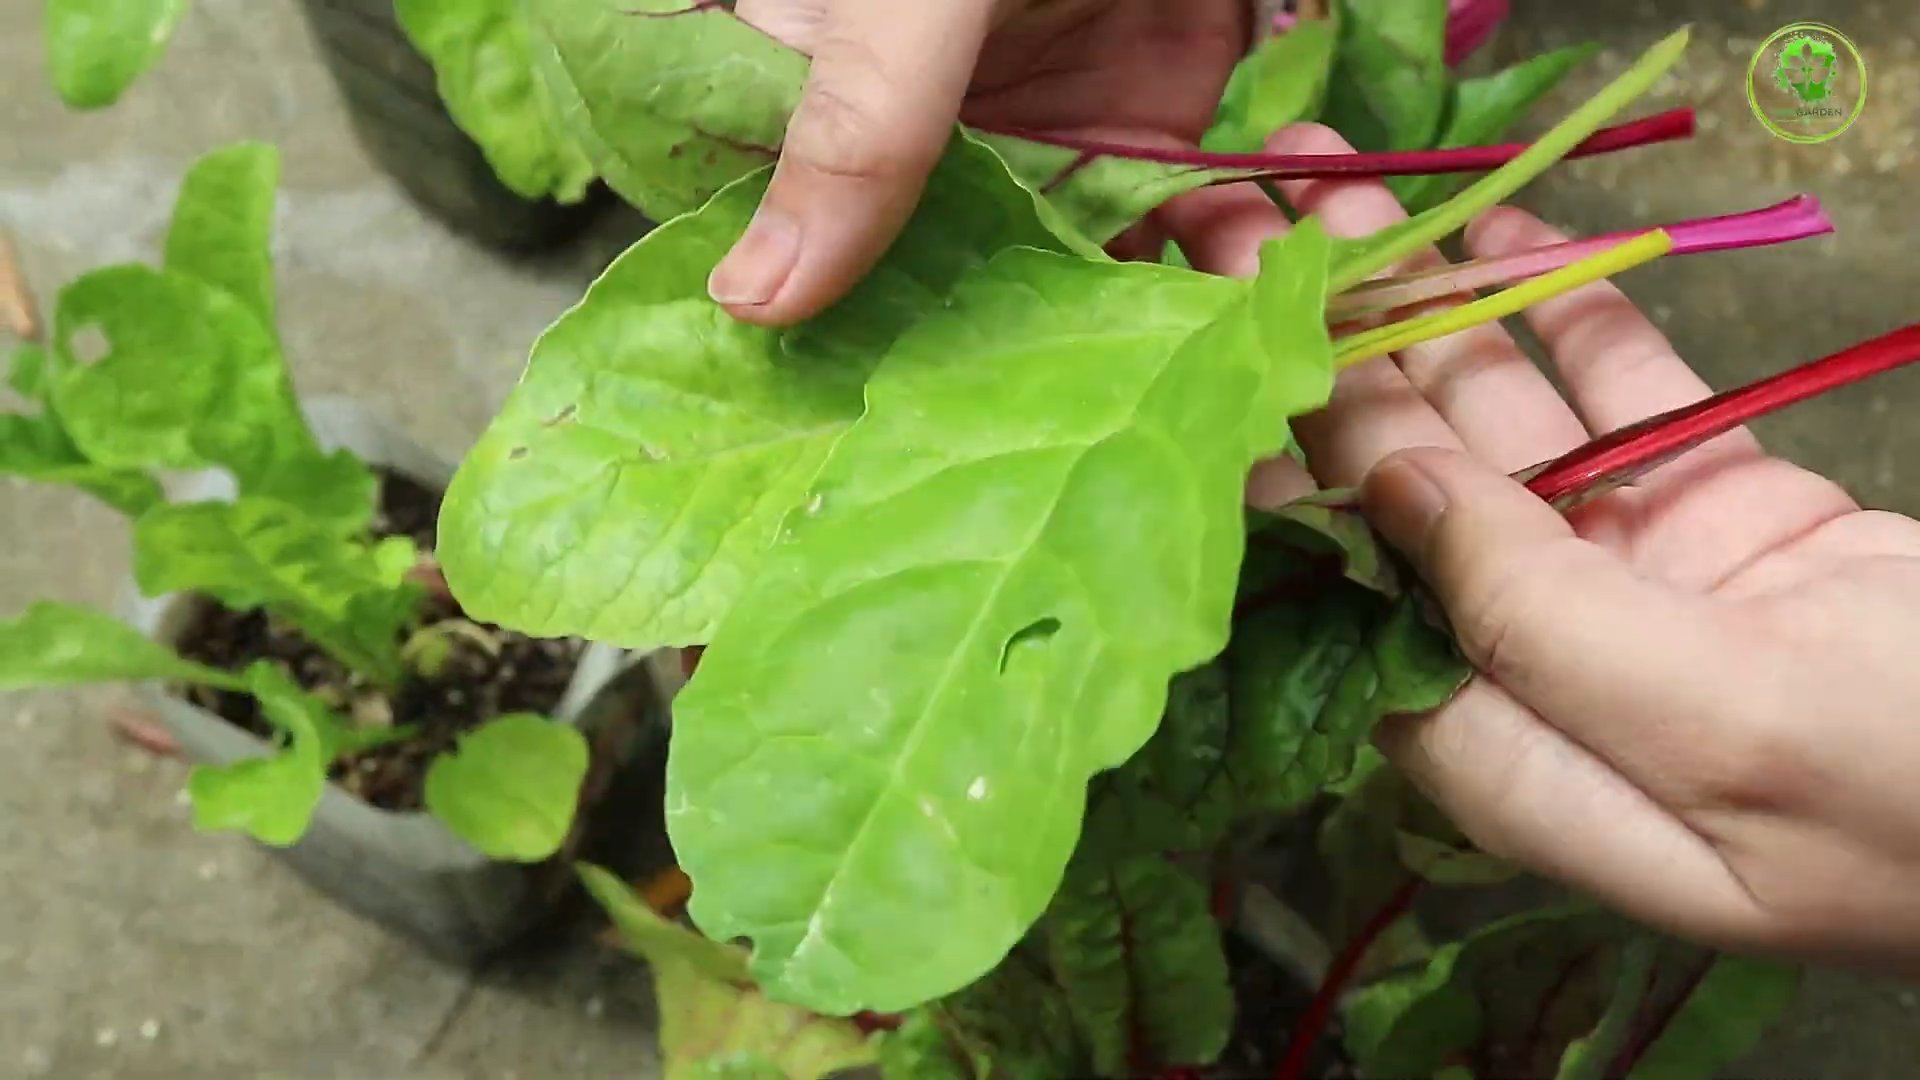
1. **When to Harvest:** You can start harvesting Swiss chard leaves when they are about 6 inches long.
2. **How to Harvest:** Harvest the outer leaves first, leaving the inner leaves to continue growing. You can use scissors or a knife to cut the leaves off at the base of the plant.
3. **Cut and Come Again:** Swiss chard is a “cut and come again” crop, meaning that you can harvest leaves repeatedly over a long period of time. As long as you leave the inner leaves intact, the plant will continue to produce new leaves.
4. **Enjoy Your Harvest:** Use your fresh Swiss chard in salads, soups, stir-fries, or any other dish that calls for leafy greens. It’s a delicious and nutritious addition to any meal!
Troubleshooting Common Issues
Even with the best care, you might encounter some problems while growing Swiss chard indoors. Here are some common issues and how to address them:
* **Yellowing Leaves:** This can be caused by overwatering, underwatering, nutrient deficiencies, or pests. Check the soil moisture and adjust your watering accordingly. Fertilize regularly and inspect the plants for pests.
* **Leggy Growth:** This is usually caused by insufficient light. Make sure your Swiss chard is getting enough sunlight or grow light.
* **Root Rot:** This is caused by overwatering and poor drainage. Make sure your pot has drainage holes and that you’re not overwatering the plants.
* **Pest Infestations:** Inspect your plants regularly for pests and take action promptly if you spot any.
Extending the Harvest
Want to keep your Swiss chard producing for as long as possible? Here are a few tips:
* **Succession Planting:** Sow new seeds every few weeks to ensure a continuous supply of fresh greens.
* **Overwintering:** Swiss chard can tolerate light frost, so you can overwinter it indoors in a cool, bright location.
* **Bolting:** Bolting (when the plant sends up a flower stalk) can occur in hot weather. To prevent bolting, keep the plants well-watered and provide shade during the hottest part of the day.
Final Thoughts
Growing Swiss chard indoors is a rewarding experience that allows you to enjoy fresh, homegrown greens all year round. With a little bit of care and attention, you can have a thriving Swiss chard plant right in your home. So, grab some seeds, get your hands dirty, and start growing! Happy gardening!
Conclusion
So, there you have it! Growing Swiss chard indoors is not only achievable, but it’s also a remarkably rewarding experience. Imagine stepping into your kitchen and harvesting fresh, vibrant leaves for your salad, stir-fry, or even a hearty soup, all year round. No more relying on wilted, overpriced greens from the grocery store. This DIY project empowers you to take control of your food source, ensuring freshness, quality, and a significant reduction in your carbon footprint.
But why is this DIY trick a must-try? Beyond the obvious benefits of fresh produce, growing Swiss chard indoors offers a unique connection to nature, even within the confines of your home. It’s a therapeutic activity, a chance to nurture something from seed to harvest, and a constant reminder of the beauty and resilience of the natural world. Plus, let’s be honest, it’s pretty cool to impress your friends and family with your indoor gardening prowess!
The beauty of this method lies in its adaptability. Feel free to experiment with different varieties of Swiss chard. ‘Bright Lights’ will add a splash of color to your indoor garden with its vibrant stems, while ‘Fordhook Giant’ offers a more traditional, robust flavor. You can also adjust the lighting and watering schedule to suit your specific environment. If you live in a particularly dry climate, consider using a humidifier to maintain optimal humidity levels. For those with limited space, vertical gardening systems can be a game-changer, allowing you to maximize your growing area.
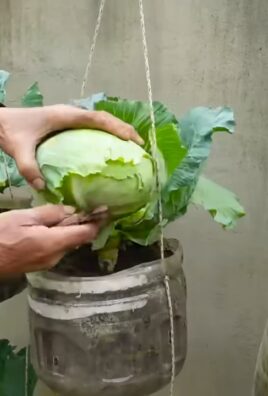
Don’t be afraid to get creative with your containers, either. While standard pots work perfectly well, you can also repurpose old buckets, baskets, or even plastic containers. Just make sure they have adequate drainage holes. And if you’re feeling particularly ambitious, you can even try hydroponic growing, which eliminates the need for soil altogether.
Ultimately, the key to success is observation and adaptation. Pay close attention to your plants, monitor their growth, and adjust your care routine as needed. Don’t be discouraged if you encounter a few bumps along the road. Gardening is a learning process, and every mistake is an opportunity to improve.
We wholeheartedly encourage you to embark on this exciting journey of growing Swiss chard indoors. It’s a simple, sustainable, and incredibly satisfying way to bring a touch of nature into your home and enjoy fresh, delicious greens all year round. Once you’ve experienced the joy of harvesting your own homegrown Swiss chard, you’ll never look at store-bought greens the same way again.
So, grab your seeds, gather your supplies, and get ready to transform your indoor space into a thriving garden. And most importantly, don’t forget to share your experiences with us! We’d love to hear about your successes, your challenges, and any tips or tricks you’ve discovered along the way. Share your photos and stories on social media using #IndoorSwissChard and let’s inspire others to join the indoor gardening revolution!
Frequently Asked Questions (FAQ)
Q: What kind of light do I need to grow Swiss chard indoors?
A: Swiss chard thrives in bright, indirect light. Ideally, you should aim for at least 6-8 hours of sunlight per day. If you don’t have access to a sunny windowsill, you can supplement with grow lights. Fluorescent or LED grow lights are excellent options, as they provide the necessary spectrum of light without generating excessive heat. Position the lights a few inches above the plants and adjust as they grow. Remember, insufficient light can lead to leggy growth and reduced yields.
Q: What type of soil is best for growing Swiss chard indoors?
A: A well-draining potting mix is crucial for growing healthy Swiss chard indoors. Avoid using garden soil, as it can become compacted and waterlogged in containers. Look for a potting mix that contains a blend of peat moss, perlite, and vermiculite. These ingredients provide good drainage, aeration, and moisture retention. You can also amend your potting mix with compost or other organic matter to provide additional nutrients.
Q: How often should I water my indoor Swiss chard?
A: The watering frequency will depend on several factors, including the size of your container, the type of potting mix, and the ambient temperature. As a general rule, water your Swiss chard when the top inch of soil feels dry to the touch. Avoid overwatering, as this can lead to root rot. When watering, water thoroughly until water drains out of the bottom of the container.
Q: How often should I fertilize my indoor Swiss chard?
A: Swiss chard is a relatively heavy feeder, so regular fertilization is essential for optimal growth. Start fertilizing your plants about two weeks after they germinate. Use a balanced liquid fertilizer diluted to half strength. Fertilize every two to three weeks during the growing season. You can also use a slow-release fertilizer incorporated into the potting mix at planting time.
Q: What are some common pests and diseases that affect indoor Swiss chard?
A: While indoor plants are generally less susceptible to pests and diseases than outdoor plants, they can still be affected. Common pests that may attack indoor Swiss chard include aphids, spider mites, and whiteflies. These pests can be controlled with insecticidal soap or neem oil. Diseases that may affect indoor Swiss chard include powdery mildew and damping-off. Powdery mildew can be prevented by ensuring good air circulation and avoiding overhead watering. Damping-off is a fungal disease that affects seedlings and can be prevented by using sterile potting mix and avoiding overwatering.
Q: When can I harvest my indoor Swiss chard?
A: You can start harvesting your Swiss chard leaves when they are about 6-8 inches long. Harvest the outer leaves first, leaving the inner leaves to continue growing. This will allow you to enjoy a continuous harvest for several weeks. To harvest, simply cut the leaves off at the base of the plant with a sharp knife or scissors.
Q: Can I grow Swiss chard from seed indoors?
A: Yes, growing Swiss chard from seed indoors is a great way to start your indoor garden. Sow the seeds about ½ inch deep in a seed-starting tray or small pots filled with seed-starting mix. Keep the soil moist and warm, and the seeds should germinate in about 7-14 days. Once the seedlings have developed a few sets of true leaves, you can transplant them into larger containers.
Q: Can I grow Swiss chard in a hydroponic system indoors?
A: Absolutely! Swiss chard thrives in hydroponic systems. You can use various hydroponic methods, such as deep water culture (DWC), nutrient film technique (NFT), or ebb and flow systems. Ensure that your hydroponic solution contains all the necessary nutrients for healthy growth. Monitor the pH and nutrient levels regularly and adjust as needed.
Q: How do I prevent my Swiss chard from bolting (going to seed)?
A: Bolting is a natural process that occurs when plants are exposed to stress, such as high temperatures or drought. To prevent your Swiss chard from bolting, keep the plants well-watered and avoid exposing them to excessive heat. Providing adequate shade during the hottest part of the day can also help.
Q: Can I eat the stems of Swiss chard?
A: Yes, the stems of Swiss chard are perfectly edible and delicious! They have a slightly different texture and flavor than the leaves, but they are equally nutritious. You can sauté, steam, or roast the stems, or add them to soups and stews. The stems of ‘Bright Lights’ Swiss chard are particularly colorful and add a beautiful touch to any dish.


Leave a Comment