
DIY Powerwash Cleaner Dawn Soap: Ever stared at your grimy patio, driveway, or even your car, wishing you had the power of a professional powerwash without the hefty price tag? I know I have! The good news is, you don’t need to break the bank to achieve that sparkling clean look. For generations, resourceful homeowners have been concocting their own cleaning solutions, drawing upon simple, readily available ingredients to tackle tough grime. Think of it as a modern twist on age-old cleaning wisdom, passed down through families and communities.
Why spend a fortune on commercial powerwash cleaners filled with harsh chemicals when you can create an equally effective, and often more environmentally friendly, solution right in your own kitchen? This DIY Powerwash Cleaner Dawn Soap recipe is not only incredibly easy to make, but it’s also surprisingly powerful. We’re talking about blasting away years of dirt, mold, and mildew with just a few simple steps. Plus, using Dawn dish soap adds a degreasing element that’s perfect for tackling oily stains and stubborn grime.
In this article, I’m going to walk you through a simple, step-by-step guide to creating your own DIY Powerwash Cleaner Dawn Soap solution. Get ready to transform your outdoor spaces and bring back that fresh, clean feeling – all while saving money and reducing your environmental impact. Let’s get started!
DIY Power Washing Solution: Unleash the Cleaning Power of Dawn!
Hey there, fellow DIY enthusiasts! Are you tired of stubborn grime clinging to your patio, siding, or driveway? Do you cringe at the thought of shelling out big bucks for expensive power washing solutions? Well, fret no more! I’m going to share my secret weapon: a super effective, budget-friendly power washing solution using good old Dawn dish soap. Yes, you read that right! Dawn isn’t just for washing dishes; it’s a grime-fighting champion that can transform your outdoor spaces.
This recipe is simple, safe for most surfaces (always test in an inconspicuous area first!), and incredibly satisfying to use. Let’s dive in and get ready to blast away that dirt!
What You’ll Need:
Before we get started, let’s gather our supplies. This is a pretty straightforward project, so you probably already have most of these items on hand.
* **Dawn Dish Soap (The Original Blue):** This is the star of the show! The grease-cutting power of Dawn is unmatched.
* **Bleach (Optional, for Mold and Mildew):** If you’re dealing with mold or mildew, a little bleach can work wonders. But remember, bleach can be harsh, so use it cautiously and always wear protective gear.
* **Water:** Clean, fresh water is essential for diluting the solution.
* **Power Washer:** Obviously! Make sure it’s in good working order.
* **Mixing Bucket:** A large bucket for mixing the solution.
* **Measuring Cup:** For accurate measurements.
* **Safety Glasses:** Protect your eyes from splashes.
* **Gloves:** Protect your hands from the cleaning solution.
* **Optional: Soft-Bristled Brush:** For scrubbing stubborn spots.
* **Optional: Garden Hose with Spray Nozzle:** For rinsing.
Understanding the Recipe: Finding the Right Balance
The key to a successful DIY power washing solution is finding the right balance of ingredients. Too much soap, and you’ll be battling excessive suds. Too little, and you won’t get the cleaning power you need. I’ve experimented with different ratios over the years, and this is what I’ve found works best:
* **Basic Recipe (for general cleaning):** 1 cup Dawn dish soap per 5 gallons of water.
* **Heavy-Duty Recipe (for stubborn grime):** 1.5 cups Dawn dish soap per 5 gallons of water.
* **Mold & Mildew Recipe (use with caution):** 1 cup Dawn dish soap + 1 cup bleach per 5 gallons of water.
Important Note: Always add the soap to the water, not the other way around. This helps prevent excessive sudsing. And remember, less is often more. You can always add more soap if needed, but it’s harder to remove it if you’ve added too much.
Step-by-Step Instructions: Mixing and Applying Your DIY Solution
Alright, let’s get down to business! Follow these steps carefully, and you’ll be amazed at the results.
1. **Prepare Your Work Area:** Before you start mixing, make sure your work area is clean and free of obstacles. Move any furniture or objects that might get in the way. If you’re working on a delicate surface, cover it with a tarp or plastic sheeting.
2. **Gather Your Ingredients:** Double-check that you have all the necessary ingredients and equipment. It’s always frustrating to have to stop in the middle of a project to run to the store.
3. **Choose Your Recipe:** Decide which recipe is best suited for your cleaning needs. If you’re unsure, start with the basic recipe and adjust as needed.
4. **Fill Your Bucket with Water:** Fill your mixing bucket with the appropriate amount of water (usually 5 gallons).
5. **Add the Dawn Dish Soap:** Carefully measure out the Dawn dish soap and add it to the water. Pour slowly to avoid creating too many bubbles.
6. **Add Bleach (Optional):** If you’re using bleach, add it now. Be extremely careful when handling bleach. Wear gloves and safety glasses, and avoid getting it on your skin or clothing.
7. **Mix Thoroughly:** Use a long-handled spoon or stick to gently mix the solution. Avoid creating excessive suds. You just want to make sure the soap and water are well combined.
8. **Test in an Inconspicuous Area:** Before you start power washing the entire surface, test the solution in a small, inconspicuous area. This will help you ensure that the solution doesn’t damage or discolor the surface. Let the solution sit for a few minutes, then rinse it off with water. Check for any adverse reactions.
9. **Fill Your Power Washer Soap Tank:** Carefully pour the mixed solution into the soap tank of your power washer. Be careful not to spill any.
10. **Connect Your Power Washer:** Connect your power washer to a water source and plug it in.
11. **Adjust Your Nozzle:** Choose the appropriate nozzle for your cleaning task. A wider nozzle is generally better for general cleaning, while a narrower nozzle is better for stubborn spots. Start with a wider nozzle and gradually increase the pressure as needed.
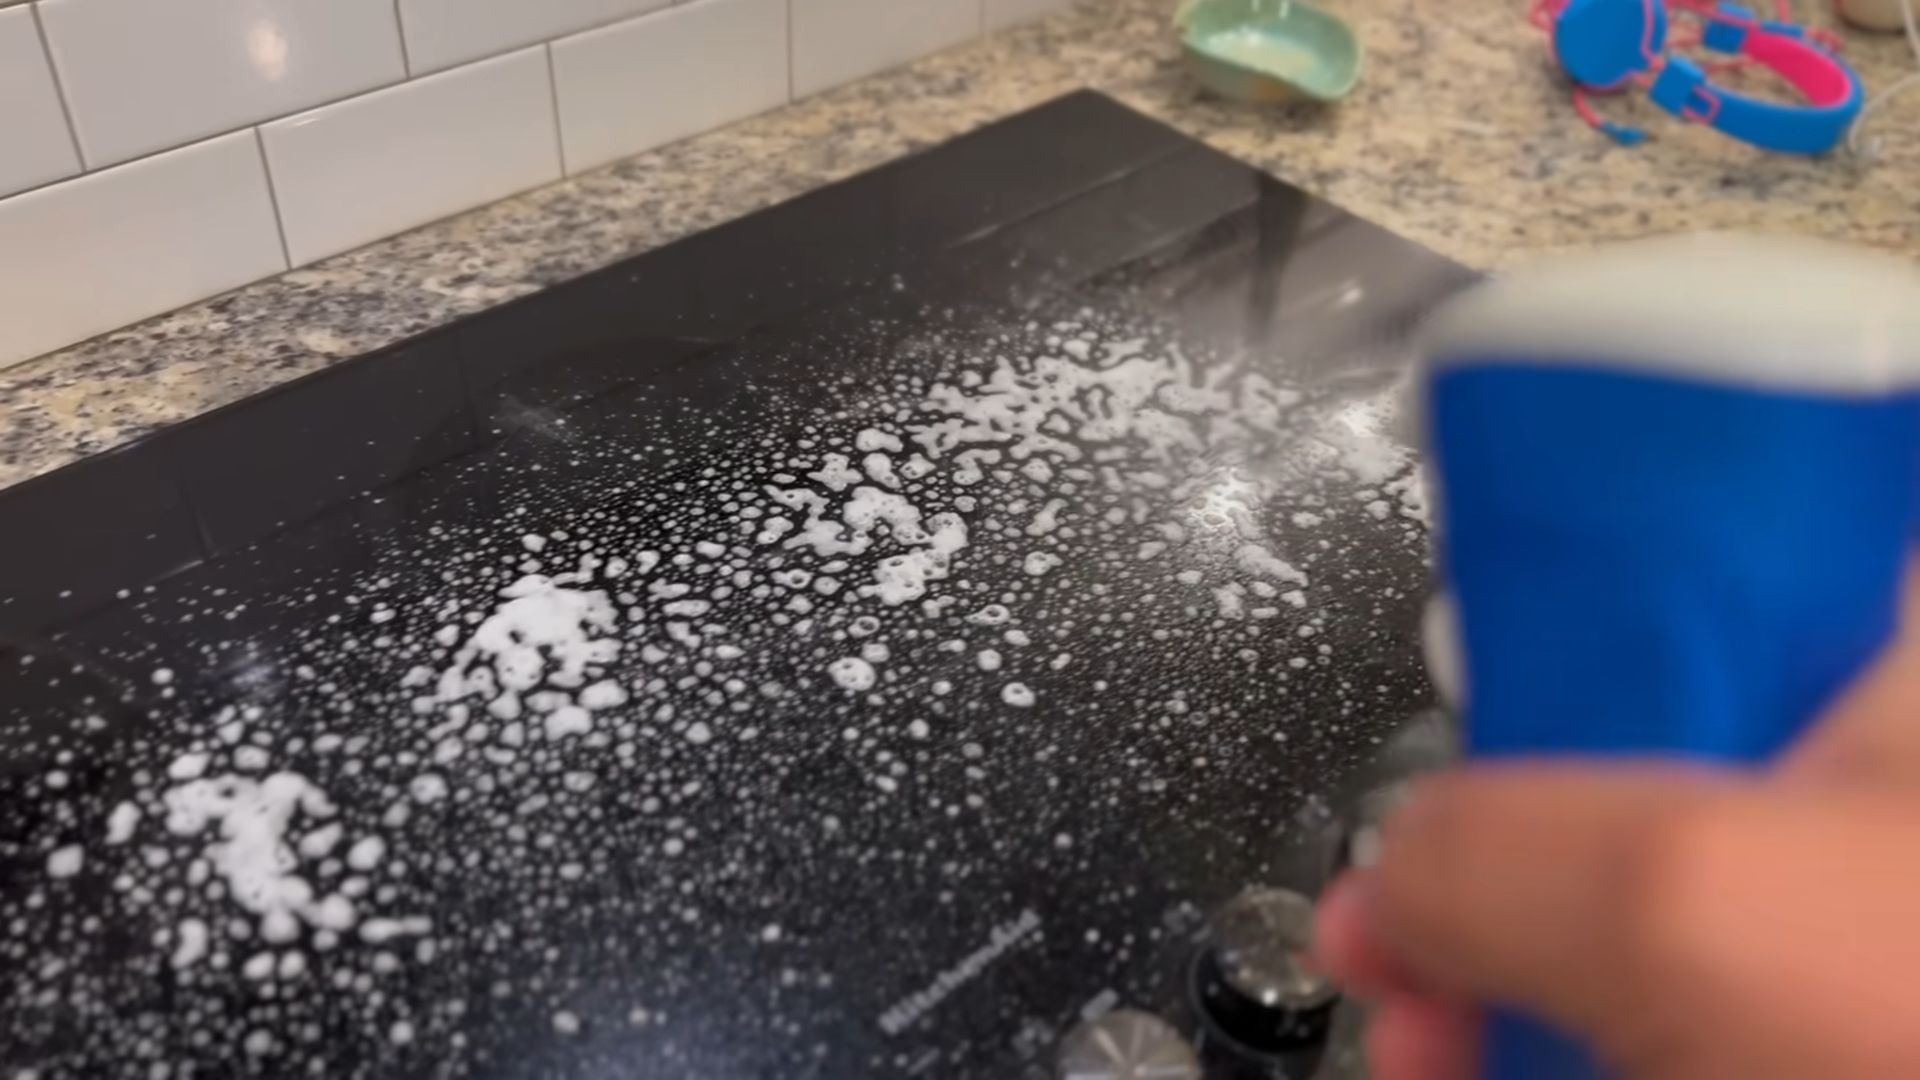
12. **Apply the Solution:** Hold the power washer wand about 12-18 inches away from the surface and begin applying the solution. Use a sweeping motion to ensure even coverage.
13. **Let the Solution Dwell:** Allow the solution to dwell on the surface for a few minutes. This will give the soap time to break down the dirt and grime. Don’t let the solution dry on the surface.
14. **Rinse Thoroughly:** After the solution has dwelled, rinse the surface thoroughly with clean water. Use a wide nozzle and a sweeping motion to ensure that all the soap residue is removed.
15. **Inspect and Repeat (If Necessary):** After rinsing, inspect the surface to see if any areas need additional cleaning. If so, repeat steps 12-14.
16. **Dry the Surface:** Allow the surface to air dry completely.
Tips and Tricks for Power Washing Like a Pro
Here are a few extra tips and tricks that I’ve learned over the years to help you get the best results:
* **Work in Sections:** Divide your work area into smaller sections and clean one section at a time. This will help you stay organized and ensure that you don’t miss any spots.
* **Start from the Top and Work Down:** When cleaning vertical surfaces, start from the top and work your way down. This will prevent dirty water from running down onto already cleaned areas.
* **Use a Soft-Bristled Brush for Stubborn Spots:** For stubborn spots, use a soft-bristled brush to gently scrub the area before rinsing.
* **Avoid Power Washing Delicate Surfaces:** Power washing can damage delicate surfaces like painted wood or stucco. If you’re unsure, test in an inconspicuous area first or consider using a gentler cleaning method.
* **Be Careful Around Plants:** Power washing can damage plants, so be careful when cleaning near gardens or landscaping. Cover plants with a tarp or plastic sheeting to protect them.
* **Don’t Power Wash Electrical Outlets or Fixtures:** Water and electricity don’t mix! Avoid power washing near electrical outlets or fixtures.
* **Clean Your Power Washer After Each Use:** After each use, flush your power washer with clean water to remove any soap residue. This will help prolong the life of your power washer.
* **Store Your Power Washer Properly:** Store your power washer in a dry, protected area when not in use. This will help prevent damage from the elements.
* Consider the Weather: Avoid power washing on extremely hot, sunny days, as the solution can dry too quickly and leave streaks. Overcast days are ideal.
* Be Mindful of Your Neighbors: Power washing can be noisy, so be mindful of your neighbors. Avoid power washing early in the morning or late at night.
Safety First: Important Precautions
Power washing can be a fun and rewarding project, but it’s important to take safety precautions to protect yourself and others.
* **Wear Safety Glasses:** Always wear safety glasses to protect your eyes from splashes.
* **Wear Gloves:** Wear gloves to protect your hands from the cleaning solution.
* **Wear Closed-Toe Shoes:** Wear closed-toe shoes to protect your feet.
* **Avoid Contact with Skin and Eyes:** Avoid getting the cleaning solution on your skin or in your eyes. If contact occurs, rinse immediately with plenty of water.
* **Keep Children and Pets Away:** Keep children and pets away from the work area.
* **Never Point the Power Washer Wand at People or Animals:** The high-pressure water stream can cause serious injury.
* **Read Your Power Washer’s Manual:** Familiarize yourself with the safety instructions in your power washer’s manual.
* Be Aware of Your Surroundings: Pay attention to your surroundings and be aware of any potential hazards.
* Use Caution on Ladders: If you need to use a ladder, make sure it’s stable and secure.
Conclusion
So, there you have it! This DIY powerwash cleaner using Dawn soap is more than just a cleaning solution; it’s a game-changer for tackling grime and restoring the sparkle to your outdoor spaces. We’ve walked you through a simple, cost-effective method to create a powerful cleaning agent that rivals store-bought options, all while being mindful of your budget and the environment.
Why is this a must-try? Because it’s effective, affordable, and customizable. Think about the satisfaction of blasting away years of accumulated dirt and mildew from your patio furniture, siding, or driveway, all with a solution you made yourself. No more expensive trips to the hardware store for harsh chemicals that might damage your surfaces or harm your plants. This DIY approach puts you in control, allowing you to adjust the concentration of Dawn soap to suit the specific cleaning task at hand.
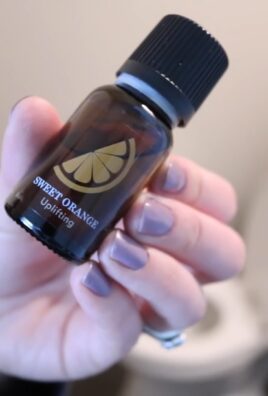
Beyond the basic recipe, the possibilities for variation are endless. Consider adding a touch of white vinegar for extra disinfecting power, especially useful for cleaning areas prone to mold and mildew growth. A few drops of essential oils, like lemon or tea tree, can not only enhance the cleaning power but also leave a fresh, invigorating scent. For particularly stubborn stains, pre-treating the area with a baking soda paste before power washing can work wonders. Remember to always test your DIY powerwash cleaner on an inconspicuous area first to ensure it doesn’t damage the surface.
This DIY powerwash cleaner with Dawn soap isn’t just about saving money; it’s about embracing a more sustainable and responsible approach to cleaning. By using readily available ingredients and reducing your reliance on commercially produced chemicals, you’re making a positive impact on the environment. Plus, the satisfaction of creating something yourself and seeing the immediate results is incredibly rewarding.
We wholeheartedly encourage you to give this DIY powerwash cleaner a try. Gather your supplies, follow the simple steps, and prepare to be amazed by the cleaning power you can achieve with just a few ingredients. Don’t forget to take before-and-after photos – we’d love to see the incredible transformations you achieve!
More importantly, we want to hear about your experience. Did you find this DIY powerwash cleaner effective? Did you try any variations or modifications? Share your tips, tricks, and success stories in the comments below. Your feedback will not only help other readers but also contribute to a community of DIY enthusiasts who are passionate about creating effective and sustainable cleaning solutions. Let’s work together to make our homes and outdoor spaces cleaner, brighter, and more environmentally friendly, one DIY project at a time. So go ahead, unleash the power of Dawn, and experience the satisfaction of a truly clean home!
Frequently Asked Questions (FAQ)
What kind of Dawn soap should I use for this DIY powerwash cleaner?
The original blue Dawn dish soap is generally recommended for its grease-cutting and cleaning properties. While other Dawn varieties may work, the original blue formula is the most widely tested and trusted for this type of application. Avoid using Dawn Ultra, as it may be too concentrated and could leave a residue.
Can I use this DIY powerwash cleaner on all surfaces?
While this DIY powerwash cleaner is generally safe for most outdoor surfaces, it’s always best to test it on an inconspicuous area first. Avoid using it on delicate surfaces like painted wood, as the pressure from the power washer could damage the paint. Be cautious when using it on surfaces that are prone to staining, such as concrete, and rinse thoroughly after cleaning.
How much Dawn soap should I use in the mixture?
The amount of Dawn soap you use will depend on the severity of the grime and the size of your power washer’s detergent tank. A good starting point is to use about 1/4 cup of Dawn soap per gallon of water. You can adjust the concentration as needed, but avoid using too much soap, as it could leave a residue.
Is this DIY powerwash cleaner safe for plants and pets?
While Dawn soap is generally considered safe, it’s still important to take precautions to protect your plants and pets. Avoid spraying the cleaner directly on plants, and rinse any areas that may have been exposed to the cleaner with water. Keep pets away from the area while you’re power washing, and ensure they don’t drink any of the cleaner.
Can I store the leftover DIY powerwash cleaner?
Yes, you can store the leftover DIY powerwash cleaner in a sealed container. However, it’s best to use it within a few weeks, as the soap may start to separate from the water over time. Be sure to label the container clearly to avoid any confusion.
Will this DIY powerwash cleaner damage my power washer?
Using this DIY powerwash cleaner should not damage your power washer, as long as you follow the manufacturer’s instructions for using detergents. Be sure to rinse the detergent tank thoroughly after each use to prevent any buildup of soap residue.
Can I add bleach to this DIY powerwash cleaner?
While adding bleach may seem like a good way to boost the cleaning power, it’s generally not recommended. Bleach can react with Dawn soap to create harmful fumes, and it can also damage certain surfaces. It’s best to stick to the basic recipe or try other natural additives like vinegar or essential oils.
How often should I use this DIY powerwash cleaner?
The frequency of use will depend on the level of dirt and grime buildup. For general cleaning, you may only need to use it once or twice a year. However, for areas that are prone to mold and mildew growth, you may need to use it more frequently.
What safety precautions should I take when using this DIY powerwash cleaner?
Always wear safety glasses and gloves when using a power washer to protect your eyes and skin from debris and chemicals. Avoid spraying the cleaner directly at yourself or others. Be mindful of your surroundings and ensure that there are no people or pets in the area while you’re power washing.
Can I use this DIY powerwash cleaner indoors?
This DIY powerwash cleaner is primarily designed for outdoor use. Using a power washer indoors can create a mess and potentially damage your surfaces. If you need to clean indoor surfaces, consider using a milder cleaning solution and a sponge or cloth.

Leave a Comment