
Grow Radish Easily, even if you think you have a brown thumb! Have you ever dreamt of harvesting your own crisp, peppery radishes, adding a vibrant crunch to your salads and snacks? I know I have! But the thought of complicated gardening techniques can be daunting. That’s where this DIY guide comes in. We’re going to unlock the secrets to effortlessly growing radishes, transforming your garden (or even a sunny windowsill!) into a radish-producing powerhouse.
Radishes have a rich history, dating back to ancient times. They were cultivated in Egypt before the pyramids were even built! These humble root vegetables have been a staple in diets across the globe for centuries, prized for their quick growth and nutritional benefits. But let’s face it, not everyone has the time or space for a sprawling vegetable garden. That’s why I’m so excited to share these simple, effective tricks that will allow you to grow radish easily, regardless of your gardening experience or available space.
In today’s fast-paced world, having access to fresh, homegrown produce is more important than ever. Radishes are packed with vitamins and antioxidants, and knowing exactly where your food comes from provides peace of mind. Plus, the satisfaction of harvesting something you’ve grown yourself is simply unbeatable! So, ditch the store-bought radishes and get ready to embark on a rewarding gardening adventure. Let’s dive in and discover how to cultivate a bountiful radish harvest with these easy-to-follow DIY tips and hacks!
Grow Radishes Like a Pro: A Simple DIY Guide
Hey there, fellow gardening enthusiasts! I’m so excited to share my foolproof method for growing radishes. These peppery little gems are incredibly easy to cultivate, even if you’re a complete beginner. Plus, they mature super fast, giving you a quick gardening win. Let’s dive in!
Choosing the Right Radish Variety
First things first, you need to pick your radish variety. There are tons of options, each with its own unique flavor, size, and color. Here are a few of my favorites:
* Cherry Belle: These are classic, round, bright red radishes with a mild flavor. They’re perfect for salads and snacking.
* French Breakfast: These are elongated, red radishes with a white tip and a slightly more pungent flavor. I love them with butter and salt.
* Easter Egg: This mix of radishes comes in a variety of colors, including red, pink, purple, and white. They’re a fun and colorful addition to any garden.
* Black Spanish: If you’re feeling adventurous, try these large, black-skinned radishes with a strong, spicy flavor. They’re great for pickling.
Consider your climate and growing season when choosing your variety. Some radishes are better suited for cooler weather, while others can tolerate warmer temperatures. Check the seed packet for specific recommendations.
Preparing Your Garden Bed
Radishes thrive in loose, well-drained soil. Here’s how I prepare my garden bed:
1. Choose a sunny spot: Radishes need at least 6 hours of sunlight per day.
2. Clear the area: Remove any weeds, rocks, or debris from the garden bed.
3. Loosen the soil: Use a garden fork or tiller to loosen the soil to a depth of at least 6 inches. This will help the radish roots grow easily.
4. Amend the soil: Radishes prefer soil that is rich in organic matter. I like to add compost or well-rotted manure to my garden bed. This will improve drainage, aeration, and fertility.
5. Level the surface: Use a rake to level the surface of the garden bed. This will ensure that the seeds are planted at a uniform depth.
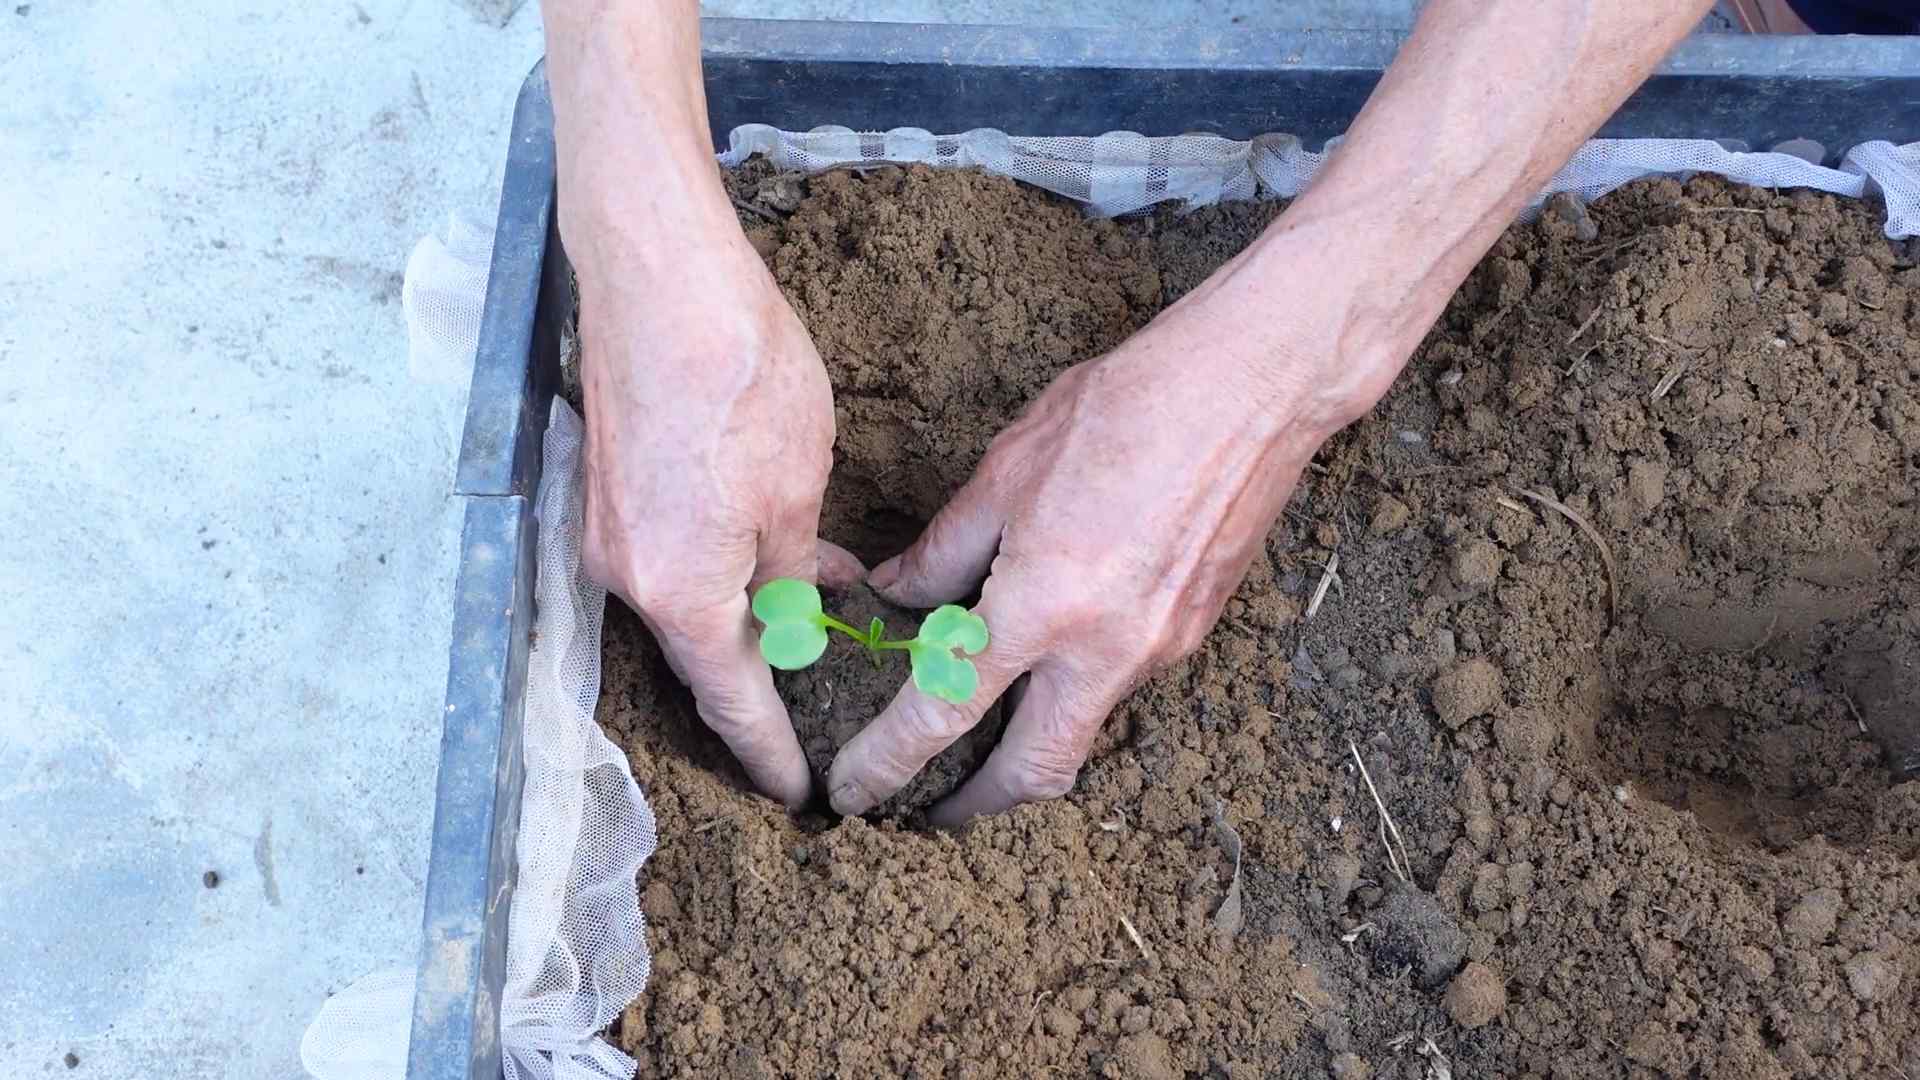
Planting Your Radish Seeds
Now for the fun part – planting the seeds! Here’s my step-by-step guide:
1. Create shallow furrows: Use your finger or a garden tool to create shallow furrows in the soil, about 1/2 inch deep and 1 inch apart.
2. Sow the seeds: Sprinkle the radish seeds evenly along the furrows, spacing them about 1 inch apart. Don’t overcrowd them!
3. Cover the seeds: Gently cover the seeds with soil.
4. Water thoroughly: Use a watering can or hose to water the garden bed thoroughly. The soil should be moist but not soggy.
5. Mark the rows: Use plant markers to label the rows of radishes. This will help you keep track of what you’ve planted.
Important Tip: Radishes are cool-season crops, so I usually plant them in early spring or late summer. Avoid planting them during the hottest months of the year, as they may bolt (go to seed) prematurely.
Caring for Your Radishes
Radishes are relatively low-maintenance, but they do need a little bit of care to thrive. Here’s what I do:
1. Water regularly: Keep the soil consistently moist, especially during dry spells. Radishes need plenty of water to grow quickly and develop crisp, flavorful roots.
2. Thin the seedlings: Once the seedlings emerge, thin them to about 2 inches apart. This will give them enough room to grow. I know it’s hard to pull out those tiny plants, but it’s essential for getting good-sized radishes.
3. Weed regularly: Keep the garden bed free of weeds, which can compete with the radishes for nutrients and water.
4. Fertilize (optional): If your soil is poor, you can fertilize the radishes with a balanced fertilizer. Follow the instructions on the fertilizer package. I usually don’t fertilize unless I see signs of nutrient deficiency, like yellowing leaves.
5. Protect from pests: Radishes can be susceptible to pests like flea beetles and root maggots. Cover the plants with row covers to protect them from these pests. You can also use organic pest control methods, such as neem oil or insecticidal soap.
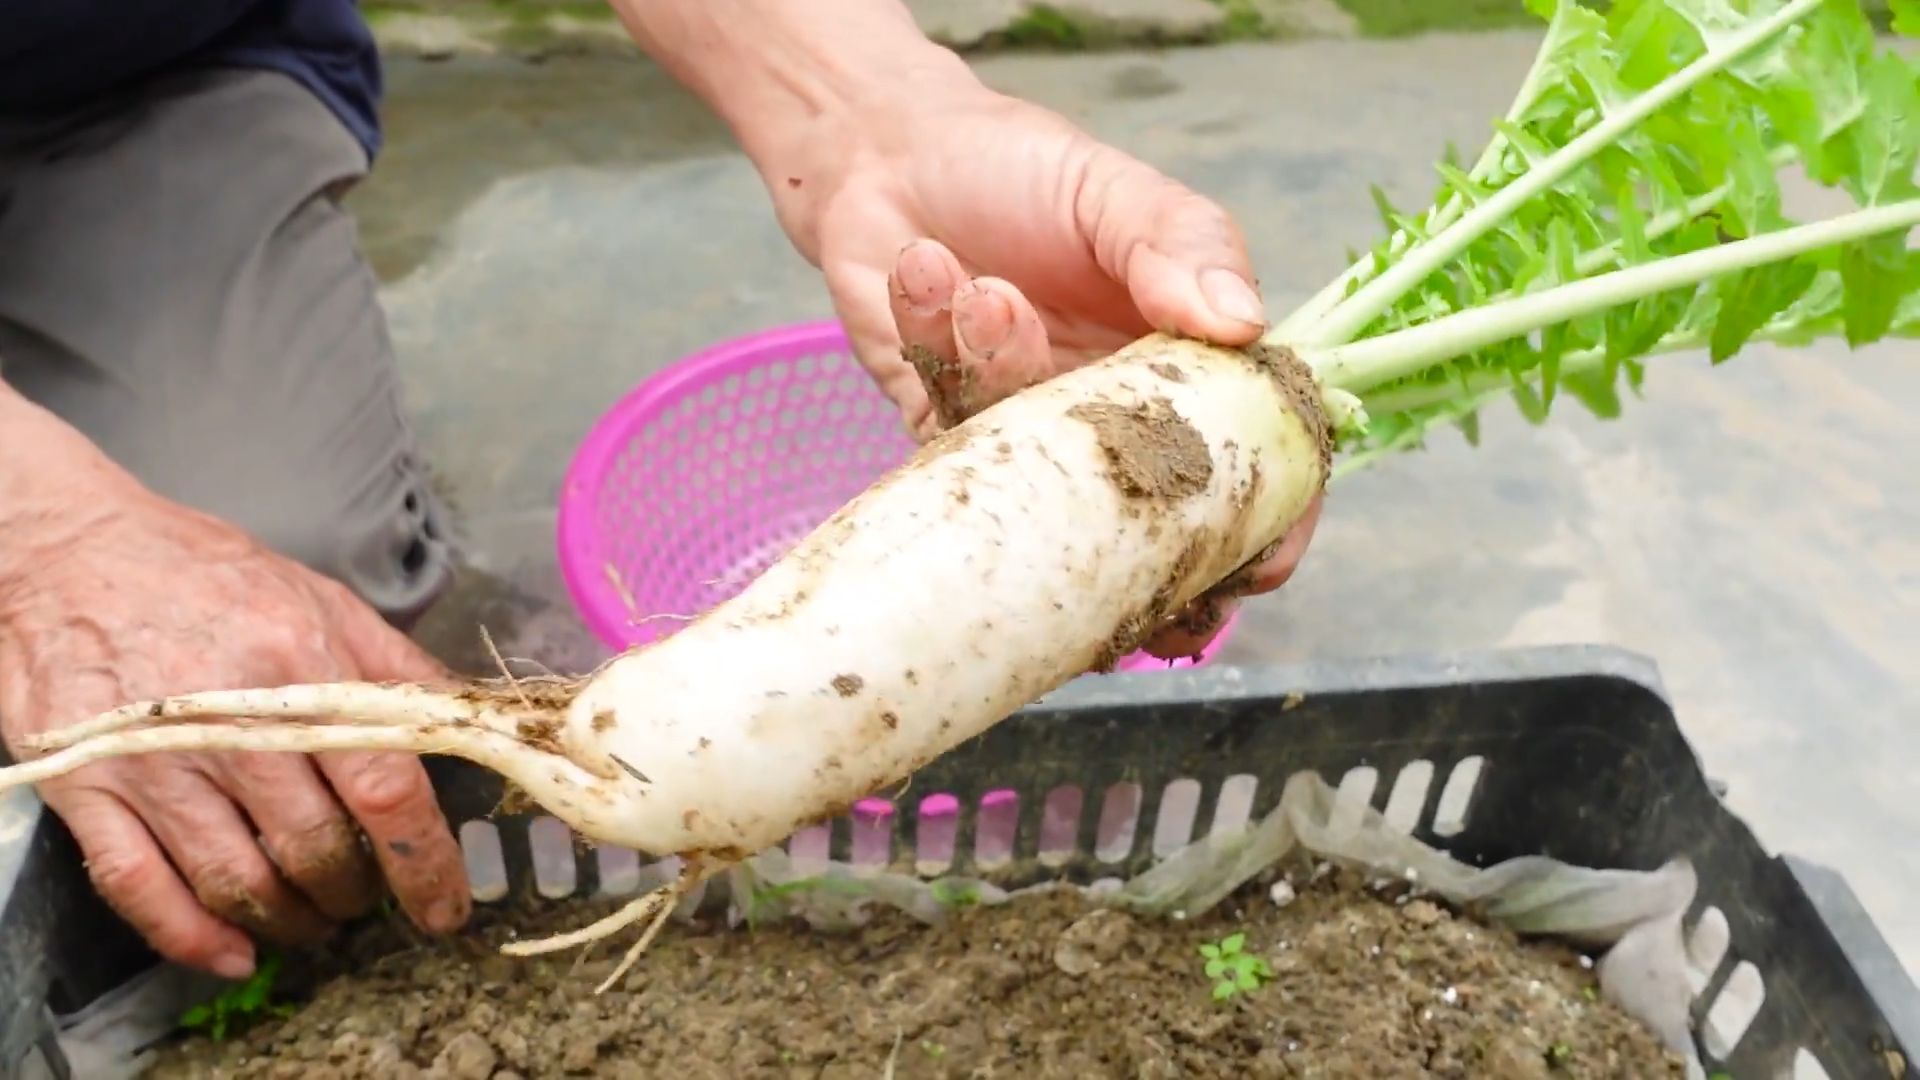
Harvesting Your Radishes
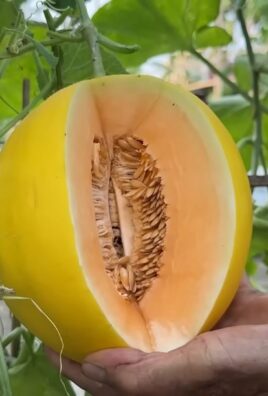
The best part about growing radishes is that they mature so quickly! Most varieties are ready to harvest in just 3-4 weeks.
1. Check for maturity: Gently brush away the soil around the base of the radish to check its size. Radishes are typically ready to harvest when they are about 1 inch in diameter.
2. Pull them up: Grasp the radish leaves near the base of the plant and gently pull it out of the ground.
3. Wash and trim: Wash the radishes thoroughly and trim off the leaves and root tips.
4. Store properly: Store the radishes in a plastic bag in the refrigerator. They will keep for about a week.
Pro Tip: Don’t let your radishes get too big, as they can become woody and bitter. Harvest them when they are the right size for the variety you’re growing.
Troubleshooting Common Radish Problems
Even with the best care, you might encounter a few problems when growing radishes. Here are some common issues and how to fix them:
* Radishes are too small: This could be due to overcrowding, lack of water, or poor soil. Thin the seedlings, water regularly, and amend the soil with compost.
* Radishes are woody or bitter: This could be due to letting them grow too large, planting them in hot weather, or not watering them enough. Harvest them when they are the right size, plant them in cool weather, and water regularly.
* Radishes are splitting: This could be due to inconsistent watering. Water regularly and evenly.
* Radishes are infested with pests: Use row covers or organic pest control methods to protect the plants from pests.
Creative Ways to Use Your Radishes
Now that you’ve harvested your radishes, it’s time to enjoy them! Here are a few of my favorite ways to use them:
* Salads: Slice or dice radishes and add them to salads for a peppery crunch.
* Snacking: Eat radishes raw with butter and salt.
* Pickling: Pickle radishes for a tangy and flavorful condiment.
* Roasting: Roast radishes with other vegetables for a sweet and savory side dish.
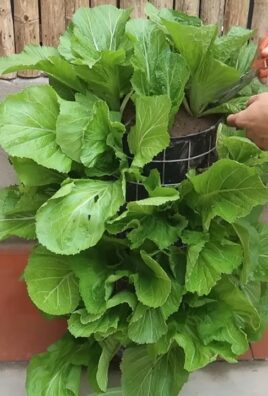
* Radish greens: Don’t throw away the radish greens! They’re edible and nutritious. Sauté them with garlic and olive oil for a delicious side dish.
Bonus Tip: I love adding thinly sliced radishes to tacos for a refreshing and spicy kick.
Succession Planting for Continuous Harvest
To enjoy a continuous harvest of radishes throughout the growing season, I practice succession planting. This means planting a new batch of seeds every 2-3 weeks. This way, you’ll always have fresh radishes to enjoy.
1. Prepare a new garden bed: Follow the steps outlined above to prepare a new garden bed for planting.
2. Sow the seeds: Sow the radish seeds as described above.
3. Water and care for the plants: Water and care for the plants as described above.
4. Harvest the radishes: Harvest the radishes when they are ready.
5. Repeat: Repeat the process every 2-3 weeks to ensure a continuous harvest.
Saving Radish Seeds (For the Advanced Gardener!)
If you’re feeling ambitious, you can even save your own radish seeds! This is a great way to preserve your favorite varieties and save money.
1. Allow some radishes to bolt: Choose a few healthy radish plants and allow them to bolt (go to seed).
2. Let the seed pods dry: Once the seed pods have formed, allow them to dry completely on the plant.
3. Harvest the seed pods: Cut the seed pods from the plant and place them in a paper bag.
4. Thresh the seeds: Crush the seed pods to release the seeds.
5. Clean the seeds: Remove any debris from the seeds.
6. Store the seeds: Store the seeds in an airtight container in a cool, dry place.
Important Note: Radishes are cross-pollinated, so if you’re saving seeds, you’ll need to isolate different varieties to prevent cross-pollination.
Final Thoughts
Growing radishes is a rewarding and easy gardening project. With a
Conclusion
So, there you have it! Growing radishes doesn’t have to be a gamble. This simple DIY trick transforms the entire process, turning potential frustration into a rewarding experience. We’ve shown you how to bypass common pitfalls like overcrowding, inconsistent watering, and poor germination rates, all of which can lead to disappointing harvests. By implementing this method, you’re not just planting seeds; you’re setting the stage for plump, crisp, and flavorful radishes every single time.
The beauty of this DIY approach lies in its adaptability. Feel free to experiment with different radish varieties. From the fiery Cherry Belle to the elongated French Breakfast, each type offers a unique flavor profile and texture. Consider using different types of soil mixes to see what works best in your local climate. Some gardeners swear by adding a bit of composted manure for extra nutrients, while others prefer a lighter, sandier mix for improved drainage.
Don’t be afraid to get creative with your container choices, too. While we’ve focused on using a standard seed tray, you can easily adapt this method to larger pots or even raised beds. Just remember to maintain consistent spacing and ensure adequate drainage. You can even try companion planting radishes with carrots or lettuce to maximize space and deter pests.
This method is particularly beneficial for those with limited garden space. Apartment dwellers and urban gardeners can easily enjoy fresh, homegrown radishes without needing a sprawling backyard. It’s also a fantastic way to introduce children to the joys of gardening, as radishes are quick to mature and provide almost instant gratification.
This DIY trick to grow radish easily is a game-changer. It simplifies the process, increases your chances of success, and allows you to enjoy the delicious taste of homegrown radishes in just a few weeks.
But the real magic happens when you try it yourself. We encourage you to give this method a shot and see the difference it makes. Once you’ve harvested your first batch of perfectly grown radishes, we’d love to hear about your experience. Share your photos, tips, and variations in the comments below. Let’s build a community of radish enthusiasts and help each other grow the best radishes possible! Happy gardening!
Frequently Asked Questions (FAQ)
What kind of soil is best for growing radishes using this DIY trick?
Radishes aren’t particularly fussy about soil, but they do prefer well-draining soil that’s rich in organic matter. A good starting point is a mix of equal parts potting soil, compost, and perlite or vermiculite. This combination provides good drainage, aeration, and nutrient retention. Avoid heavy clay soils, as they can become compacted and hinder root development. If you have clay soil, amend it with plenty of compost and other organic matter before planting. You can also purchase specialized seed starting mixes, which are often formulated to provide the ideal conditions for germination and early growth. Remember to test your soil pH; radishes prefer a slightly acidic to neutral pH of around 6.0 to 7.0.
How often should I water the radishes after planting?
Consistent moisture is crucial for radish growth. Water regularly, keeping the soil consistently moist but not waterlogged. Overwatering can lead to root rot, while underwatering can cause the radishes to become small, tough, and bitter. Check the soil moisture daily by sticking your finger about an inch into the soil. If it feels dry, it’s time to water. Water deeply and evenly, ensuring that the entire root zone is moistened. During hot, dry weather, you may need to water more frequently. Consider using a watering can with a gentle rose head or a soaker hose to avoid disturbing the delicate seedlings. Mulching around the plants can also help to retain moisture and suppress weeds.
How much sunlight do radishes need to grow well?
Radishes thrive in full sun, which means they need at least six hours of direct sunlight per day. However, they can also tolerate partial shade, especially in hotter climates. If you’re growing radishes indoors, place them near a sunny window or use grow lights to provide adequate illumination. Insufficient sunlight can result in leggy growth and smaller radishes. If you notice that your radish seedlings are stretching towards the light, it’s a sign that they need more sunlight. Rotate the container regularly to ensure that all sides of the plants receive equal exposure.
How long does it take for radishes to mature and be ready for harvest?
One of the great things about radishes is their quick growth rate. Most varieties mature in just 20 to 30 days, making them one of the fastest-growing vegetables you can grow. The exact time will depend on the variety, the growing conditions, and the weather. Check the seed packet for specific maturity dates. To determine if your radishes are ready to harvest, gently brush away the soil around the base of the plant and check the size of the root. They should be about 1 inch in diameter, but this can vary depending on the variety. Don’t wait too long to harvest, as radishes can become woody and bitter if left in the ground for too long.
What are some common pests and diseases that affect radishes, and how can I prevent them?
Radishes are generally relatively pest-free, but they can be susceptible to certain problems. Common pests include flea beetles, root maggots, and aphids. Flea beetles can chew small holes in the leaves, while root maggots can tunnel into the roots, causing them to become damaged and unmarketable. Aphids can suck the sap from the plants, weakening them and spreading diseases. To prevent pest problems, practice good garden hygiene, such as removing weeds and debris that can harbor pests. You can also use row covers to protect the plants from flea beetles and root maggots. If you notice aphids, you can spray them off with a strong stream of water or use insecticidal soap. Diseases that can affect radishes include damping-off, which can kill seedlings, and white rust, which can cause white spots on the leaves. To prevent diseases, ensure good air circulation and avoid overwatering.
Can I grow radishes in containers using this DIY trick?
Absolutely! In fact, this DIY trick is particularly well-suited for container gardening. Radishes have shallow roots and don’t require a lot of space, making them ideal for growing in pots, window boxes, or even hanging baskets. Choose a container that is at least 6 inches deep and has drainage holes. Use a well-draining potting mix and follow the same planting and watering instructions as you would for growing radishes in the ground. Container-grown radishes may dry out more quickly than those grown in the ground, so be sure to check the soil moisture regularly and water as needed.
What are some creative ways to use homegrown radishes?
Beyond the classic radish-and-butter combination, there are countless ways to enjoy your homegrown radishes. Slice them thinly and add them to salads for a peppery crunch. Roast them with other root vegetables for a sweet and savory side dish. Pickle them for a tangy and refreshing snack. Use the radish greens in salads, soups, or stir-fries. You can even make radish top pesto! Radishes can also be used as a garnish for soups, tacos, and other dishes. Get creative and experiment with different ways to incorporate radishes into your meals.
Can I save radish seeds for future planting?
Yes, you can save radish seeds, but it requires a bit more effort than simply harvesting the radishes. Radishes are biennials, meaning they typically flower and produce seeds in their second year. To save seeds, you’ll need to allow some of your radishes to overwinter in the ground. In the spring, they will bolt (send up a flower stalk) and produce seed pods. Allow the seed pods to dry completely on the plant before harvesting them. Once the pods are dry, you can break them open and collect the seeds. Store the seeds in a cool, dry place until you’re ready to plant them. Keep in mind that radishes can cross-pollinate with other radish varieties, so if you’re growing multiple varieties, you may not get true-to-type seeds.
Leave a Comment