
Fresh Dill Growing Tips: Unlock the secrets to a thriving herb garden right outside your door! Have you ever dreamed of snipping fragrant dill straight from your garden to elevate your culinary creations? Imagine the burst of flavor in your homemade pickles, creamy dips, or grilled salmon – all thanks to your own homegrown dill.
Dill, with its feathery foliage and distinctive aroma, has been cherished for centuries. Originating in the Mediterranean and Southern Russia, dill was prized by ancient Egyptians for its medicinal properties and used by the Romans as a symbol of wealth and good fortune. Today, this versatile herb continues to be a staple in kitchens worldwide.
But let’s face it, sometimes growing dill can feel like a challenge. Maybe your dill seedlings are struggling, or perhaps your plants are bolting before you can even harvest a decent amount. That’s where these DIY tricks and hacks come in! I’m here to share my tried-and-true methods for ensuring a bountiful harvest of fresh dill, even if you’re a complete beginner.
This article is packed with easy-to-follow instructions and practical tips that will empower you to cultivate healthy, vibrant dill plants. From choosing the right location and soil to mastering watering and pest control, I’ll guide you through every step of the process. Get ready to transform your garden into a fragrant oasis and enjoy the unparalleled taste of homegrown fresh dill growing tips all season long!
Growing Dill Indoors: A Beginner’s Guide to Fresh Herbs All Year Round
Hey there, fellow herb enthusiasts! I’m so excited to share my secrets to growing dill indoors. Nothing beats the taste of fresh dill in your favorite recipes, and having it readily available right in your kitchen is a game-changer. Trust me, once you start, you’ll wonder why you didn’t do it sooner!
What You’ll Need
Before we dive in, let’s gather everything we’ll need. This will make the whole process smoother and more enjoyable.
* **Dill Seeds:** Opt for a variety specifically suited for containers, if possible. Look for “dwarf” or “compact” varieties.
* **Potting Mix:** Use a high-quality, well-draining potting mix. Avoid garden soil, as it can compact and hinder drainage.
* **Container:** Choose a pot that’s at least 6 inches deep and wide. Dill has a taproot, so depth is important. Make sure it has drainage holes!
* **Grow Lights (Optional but Recommended):** Dill needs a lot of light, so if you don’t have a sunny windowsill, grow lights are essential.
* **Watering Can or Spray Bottle:** For gentle watering.
* **Small Shovel or Trowel:** For planting the seeds.
* **Seed Starting Tray (Optional):** For starting seeds indoors before transplanting.
Getting Started: Planting Your Dill Seeds
Okay, let’s get our hands dirty! This is the fun part.
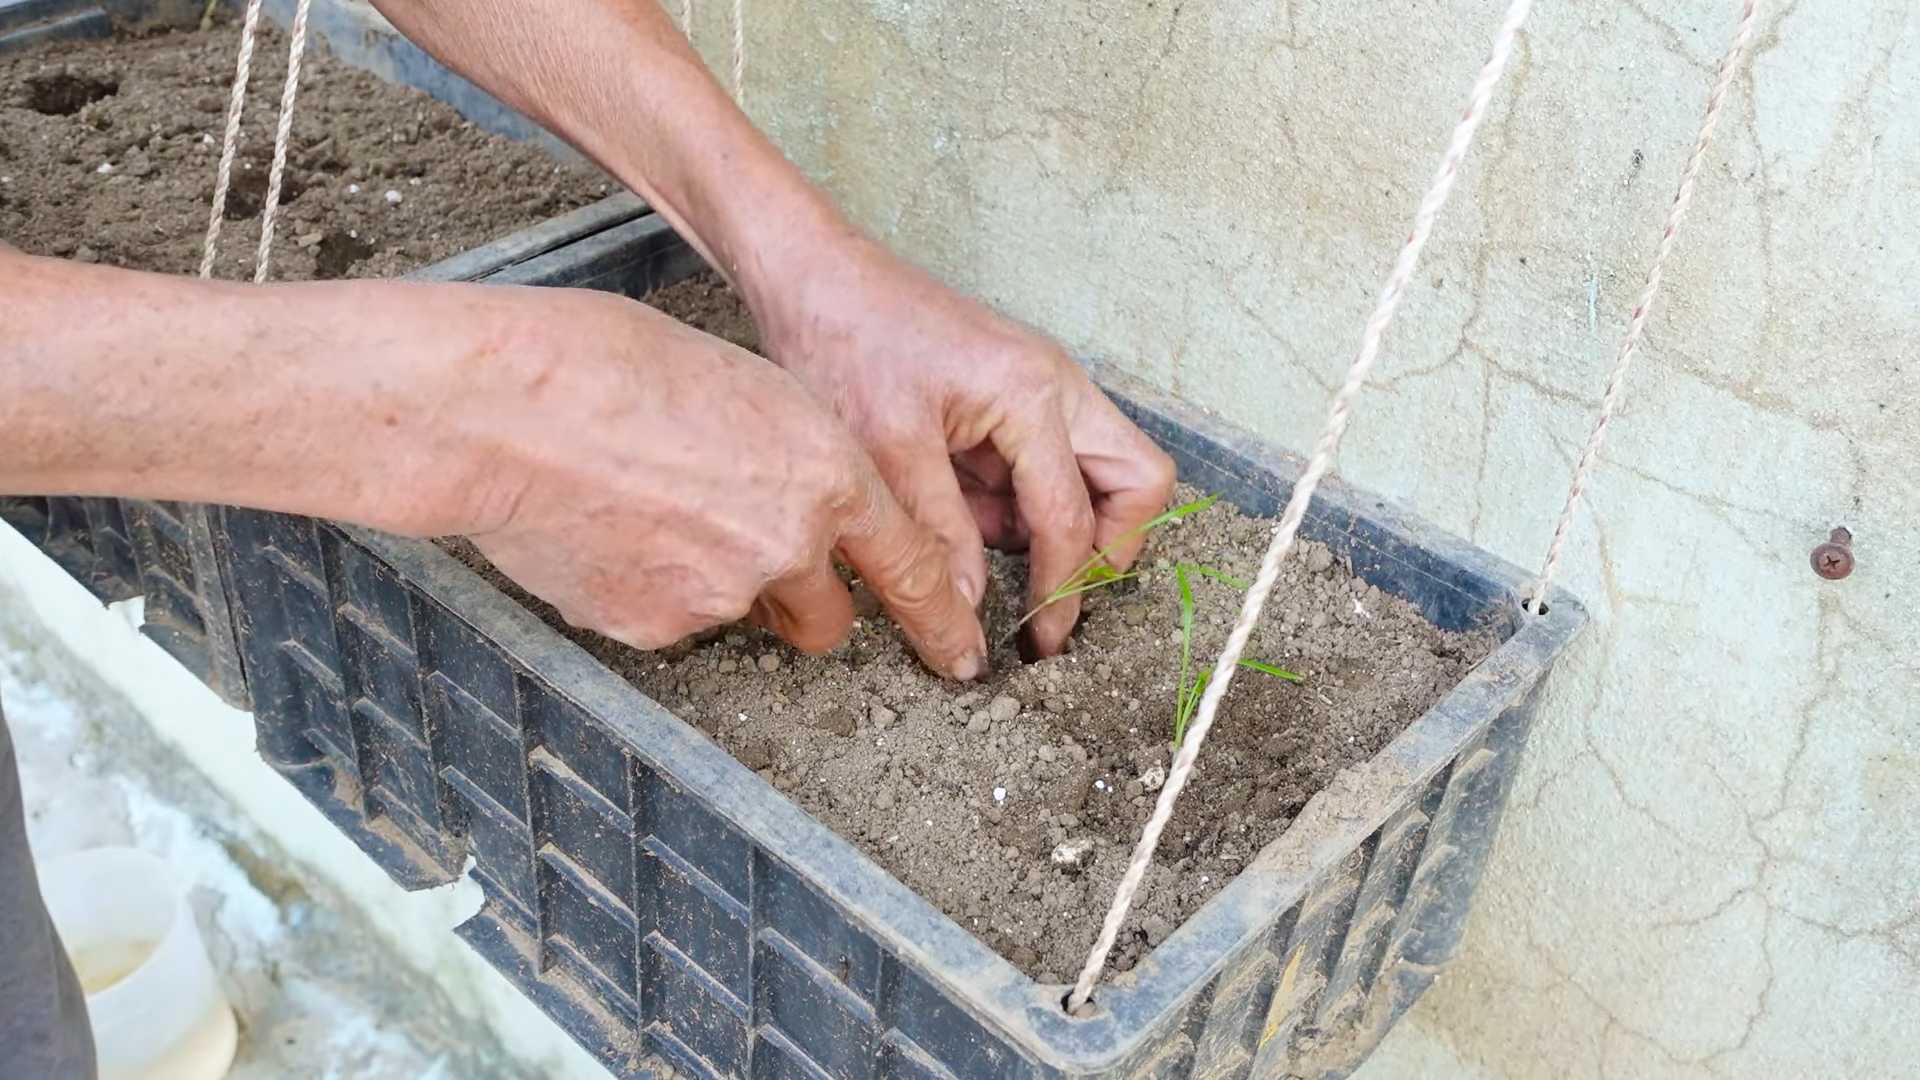
1. **Prepare Your Pot:** Fill your chosen container with the potting mix, leaving about an inch of space at the top. Gently pat down the soil to remove any large air pockets.
2. **Sow the Seeds:** Dill seeds are small, so sprinkle them evenly over the surface of the soil. I usually aim for about 5-7 seeds per pot, depending on the size. Don’t overcrowd them!
3. **Cover the Seeds:** Lightly cover the seeds with about ¼ inch of potting mix. Dill needs light to germinate, so don’t bury them too deep.
4. **Water Gently:** Use a watering can or spray bottle to gently moisten the soil. Be careful not to dislodge the seeds. The soil should be damp, but not soggy.
5. **Provide Light and Warmth:** Place the pot in a warm location with plenty of sunlight. A south-facing windowsill is ideal. If you’re using grow lights, position them a few inches above the soil surface. Dill needs at least 6 hours of sunlight (or grow light equivalent) per day.
6. **Maintain Moisture:** Keep the soil consistently moist, but not waterlogged. Check the soil moisture daily by sticking your finger about an inch into the soil. If it feels dry, water it.
Germination and Early Growth
This is where the magic happens! Watching those tiny sprouts emerge is so rewarding.
1. **Expect Germination:** Dill seeds typically germinate in 7-14 days. Be patient!
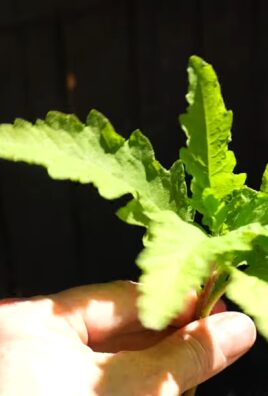
2. **Thin Seedlings (If Necessary):** Once the seedlings emerge and have a few sets of true leaves, you might need to thin them out. This means removing some of the weaker seedlings to give the stronger ones more room to grow. Aim for about 2-3 inches between plants. I know it’s hard to do, but it’s necessary for healthy growth.
3. **Rotate the Pot:** If you’re using a windowsill, rotate the pot regularly to ensure that all sides of the plant receive equal sunlight. This will prevent the plant from leaning towards the light.
4. **Fertilize Sparingly:** Dill doesn’t need a lot of fertilizer. Once the seedlings are a few weeks old, you can start fertilizing them with a diluted liquid fertilizer every 2-3 weeks. I prefer using an organic fertilizer. Follow the instructions on the fertilizer package carefully.
Caring for Your Dill Plant
Now that your dill is growing, let’s make sure it thrives!
1. **Watering:** Water your dill plant regularly, keeping the soil consistently moist but not waterlogged. Overwatering can lead to root rot. Check the soil moisture daily and water when the top inch of soil feels dry.
2. **Lighting:** Dill needs plenty of light. If you’re not getting enough natural light, use grow lights. Insufficient light can cause the plant to become leggy and weak.
3. **Temperature:** Dill prefers temperatures between 60-70°F (15-21°C). Avoid placing it near drafts or extreme temperature fluctuations.
4. **Humidity:** Dill doesn’t require high humidity, but it appreciates a little extra moisture in the air. You can increase humidity by placing a tray of water near the plant or using a humidifier.
5. **Pest Control:** Keep an eye out for pests like aphids or spider mites. If you notice any pests, treat them with insecticidal soap or neem oil. I always prefer organic solutions whenever possible.
6. **Pruning:** Pruning your dill plant encourages bushier growth. Pinch off the top growth regularly to promote side branching.
Harvesting Your Dill
The best part! Fresh dill is just a snip away.
1. **When to Harvest:** You can start harvesting dill leaves once the plant is about 6-8 inches tall.
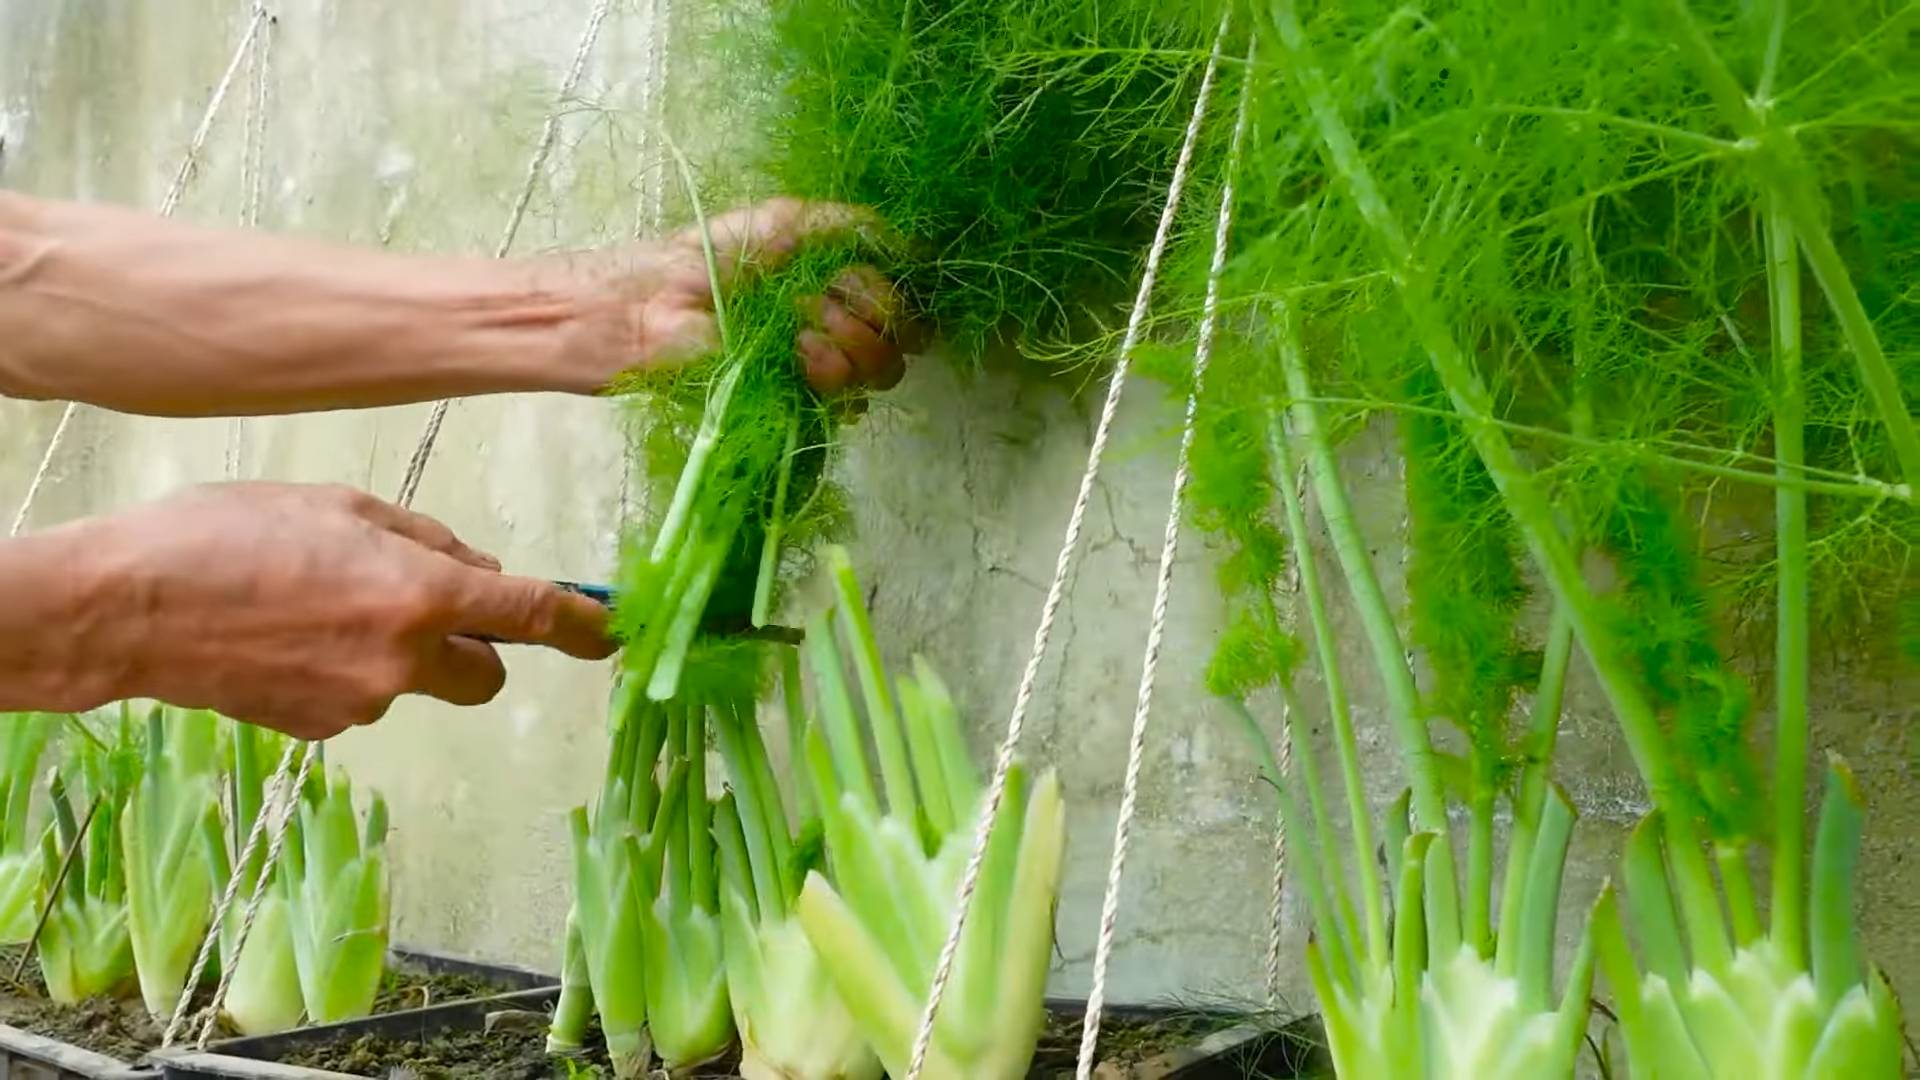
2. **How to Harvest:** Use scissors or pruning shears to snip off the leaves as needed. Cut the stems just above a leaf node to encourage new growth.
3. **Harvest Regularly:** Regular harvesting encourages the plant to produce more leaves. Don’t be afraid to harvest generously!
4. **Flowering:** Dill is an annual plant, meaning it completes its life cycle in one year. Eventually, it will start to flower. Once it flowers, the leaves will become less flavorful. To prolong the harvest, pinch off the flower buds as soon as you see them.
5. **Seed Saving (Optional):** If you want to save dill seeds for next year, allow some of the flowers to mature and dry on the plant. Once the seed heads are dry and brown, you can harvest the seeds and store them in a cool, dry place.
Troubleshooting
Even with the best care, sometimes things can go wrong. Here are some common problems and how to fix them.
* **Yellowing Leaves:** This could be a sign of overwatering, underwatering, or nutrient deficiency. Check the soil moisture and adjust your watering accordingly. If the soil is consistently moist, reduce watering. If the soil is dry, water more frequently. You can also try fertilizing the plant with a diluted liquid fertilizer.
* **Leggy Growth:** This is usually caused by insufficient light. Move the plant to a sunnier location or use grow lights.
* **Pests:** Inspect your plant regularly for pests. Treat any infestations with insecticidal soap or neem oil.
* **Slow Growth:** This could be due to a variety of factors, including insufficient light, poor soil, or nutrient deficiency. Make sure the plant is getting enough light, use a high-quality potting mix, and fertilize regularly.
Extra Tips for Dill Success
Here are a few extra tips that I’ve learned over the years:
* **Succession Planting:** To ensure a continuous supply of fresh dill, sow new seeds every few weeks.
* **Companion Planting:** Dill is a good companion plant for many vegetables, including tomatoes, cucumbers, and lettuce.
* **Drying Dill:** If you have more dill than you can use fresh, you can dry it for later use. Hang the stems upside down in a cool, dry place until they are completely dry. Then, crumble the leaves and store them in an airtight container.
* **Freezing Dill:** Another option for preserving dill is to freeze it. Chop the dill and place it in ice cube trays with water or olive oil. Once frozen, transfer the cubes to a freezer bag.
Growing dill indoors is a rewarding experience that allows you to enjoy fresh herbs all year round. With a little care and attention, you can have a thriving dill plant right in your kitchen. Happy growing!
Conclusion
So, there you have it! Mastering the art of growing fresh dill at home is not only achievable but also incredibly rewarding. We’ve walked through the essential steps, from selecting the right variety and preparing the perfect soil to nurturing your dill plants and harvesting their fragrant leaves. But why is this DIY trick a must-try?
Firstly, the flavor of homegrown dill is simply unparalleled. Forget the dried, often lackluster dill you find in the spice aisle. Freshly snipped dill boasts a vibrant, herbaceous aroma and a bright, slightly tangy flavor that elevates any dish it graces. Imagine sprinkling it over creamy potato salad, adding a burst of freshness to your favorite fish recipe, or infusing homemade pickles with its distinctive taste. The possibilities are endless!
Secondly, growing your own dill is surprisingly easy and cost-effective. Dill is a relatively low-maintenance herb that thrives in sunny locations and well-drained soil. A single packet of seeds can yield a bountiful harvest, providing you with a continuous supply of fresh dill throughout the growing season. Think of all the money you’ll save on store-bought herbs!
Thirdly, cultivating your own dill connects you to the natural world and provides a sense of accomplishment. There’s something deeply satisfying about nurturing a plant from seed to harvest, watching it grow and flourish under your care. It’s a therapeutic activity that can reduce stress and promote well-being.
But the journey doesn’t end here! Feel free to experiment with different varieties of dill, such as ‘Bouquet’ for its abundant foliage or ‘Long Island Mammoth’ for its impressive size. You can also try companion planting dill with other herbs and vegetables, such as cucumbers, tomatoes, and lettuce, to deter pests and improve their growth. Consider succession planting, sowing new seeds every few weeks, to ensure a continuous harvest throughout the season. You can even dry or freeze your excess dill to enjoy its flavor year-round.
Don’t be afraid to get creative and personalize your dill-growing experience.
We’re confident that you’ll find growing fresh dill at home to be a delightful and rewarding experience. So, grab your seeds, prepare your soil, and get ready to embark on a flavorful adventure. We encourage you to try this DIY trick and share your experiences with us. Let us know what varieties you’ve grown, what dishes you’ve used your dill in, and any tips or tricks you’ve discovered along the way. Your feedback will help us and other readers learn and grow together. Happy gardening!
Frequently Asked Questions (FAQ)
What is the best time to plant dill seeds?
The best time to plant dill seeds is in the spring, after the last frost. Dill prefers cooler temperatures for germination and early growth. You can also sow seeds in late summer for a fall harvest, but be sure to protect the plants from extreme heat. In warmer climates, you can plant dill throughout the year, but avoid planting during the hottest months. Direct sowing is generally recommended, as dill doesn’t always transplant well.
How much sunlight does dill need?
Dill thrives in full sun, requiring at least 6-8 hours of direct sunlight per day. Insufficient sunlight can lead to leggy growth and reduced flavor. If you’re growing dill indoors, place it near a sunny window or use grow lights to supplement natural light. Rotate the plant regularly to ensure even exposure to light.
What type of soil is best for growing dill?
Dill prefers well-drained soil that is rich in organic matter. Amend heavy clay soils with compost or other organic materials to improve drainage. A slightly acidic to neutral soil pH (6.0-7.0) is ideal. Before planting, work the soil to a depth of at least 6 inches and remove any rocks or debris. You can also add a slow-release fertilizer to provide essential nutrients.
How often should I water dill plants?
Water dill plants regularly, especially during dry periods. Keep the soil consistently moist but not waterlogged. Overwatering can lead to root rot. Water deeply and less frequently, rather than shallowly and often. Check the soil moisture regularly and adjust your watering schedule accordingly. Mulching around the plants can help retain moisture and suppress weeds.
When and how should I harvest dill?
You can begin harvesting dill leaves as soon as the plants are about 6 inches tall. Snip off the leaves with scissors or pruning shears, taking care not to damage the main stem. For the strongest flavor, harvest dill in the morning, after the dew has dried. Dill flowers are also edible and can be used to garnish dishes or make dill vinegar. To harvest dill seeds, allow the flower heads to dry completely on the plant. Then, cut off the flower heads and place them in a paper bag. Shake the bag to release the seeds.
How do I prevent dill from bolting (going to seed)?
Bolting is a natural process that occurs when dill plants are exposed to high temperatures or long days. To prevent bolting, plant dill in the spring or fall, when temperatures are cooler. Provide shade during the hottest part of the day. Water regularly to keep the soil moist. Pinch off any flower buds that appear to encourage leaf production. Succession planting can also help ensure a continuous supply of fresh dill leaves.
What are some common pests and diseases that affect dill?
Dill is generally resistant to pests and diseases, but it can be susceptible to aphids, spider mites, and powdery mildew. Aphids and spider mites can be controlled with insecticidal soap or neem oil. Powdery mildew can be prevented by providing good air circulation and avoiding overhead watering. If powdery mildew does occur, treat it with a fungicide. Dill is also a host plant for swallowtail butterfly caterpillars, so don’t be alarmed if you see them munching on the leaves.
Can I grow dill indoors?
Yes, you can grow dill indoors, but it requires bright light and well-drained soil. Choose a pot that is at least 6 inches in diameter and has drainage holes. Use a potting mix that is specifically formulated for herbs. Place the pot near a sunny window or use grow lights to supplement natural light. Water regularly and fertilize every few weeks. Dill grown indoors may not be as productive as dill grown outdoors, but it can still provide you with a supply of fresh leaves.
How do I store fresh dill?
To store fresh dill, wrap the stems in a damp paper towel and place them in a plastic bag in the refrigerator. Dill can also be stored in a glass of water, like cut flowers. Change the water every few days. Fresh dill will typically last for about a week in the refrigerator. You can also freeze dill for longer storage. To freeze dill, chop it finely and place it in ice cube trays. Fill the trays with water or olive oil and freeze. Once frozen, transfer the dill cubes to a freezer bag. Frozen dill can be used in soups, stews, and sauces.
What are some creative ways to use fresh dill?
Fresh dill is a versatile herb that can be used in a variety of dishes. Add it to salads, soups, stews, sauces, and dips. Use it to flavor fish, chicken, and vegetables. Make dill pickles, dill vinegar, or dill butter. Sprinkle it over potato salad, cucumber sandwiches, or scrambled eggs. Dill also pairs well with cream cheese, yogurt, and sour cream. Get creative and experiment with different ways to use fresh dill in your cooking.
Leave a Comment