
Growing Arugula Indoors: Imagine fresh, peppery arugula gracing your salads and pizzas, even when the snow is falling outside! Forget those sad, wilted greens from the grocery store. I’m here to tell you that cultivating your own vibrant arugula crop within the cozy confines of your home is not only possible, but surprisingly easy and rewarding.
Arugula, also known as rocket, has a rich history dating back to Roman times, where it was prized for its distinctive flavor and medicinal properties. From ancient feasts to modern-day culinary creations, this leafy green has consistently held a place of honor on our tables. But who says you need a sprawling garden to enjoy its peppery goodness?
In today’s fast-paced world, access to fresh, healthy produce can be a challenge. We’re often at the mercy of long supply chains and questionable farming practices. That’s where the magic of growing arugula indoors comes in! This DIY guide will empower you to take control of your food source, ensuring a constant supply of organic, flavorful arugula right at your fingertips. Plus, it’s a fantastic way to add a touch of green to your living space and connect with nature, even in the heart of the city. So, let’s ditch the store-bought greens and embark on this exciting indoor gardening adventure together!
Growing Arugula Indoors: A Beginner’s Guide
Hey there, fellow plant enthusiasts! Ever dreamt of having fresh, peppery arugula right at your fingertips, no matter the season? Well, you’re in luck! Growing arugula indoors is surprisingly easy and rewarding. I’m going to walk you through everything you need to know, from setting up your growing space to harvesting your delicious, homegrown greens. Let’s get started!
What You’ll Need
Before we dive into the nitty-gritty, let’s gather our supplies. Here’s a checklist of everything you’ll need to successfully grow arugula indoors:
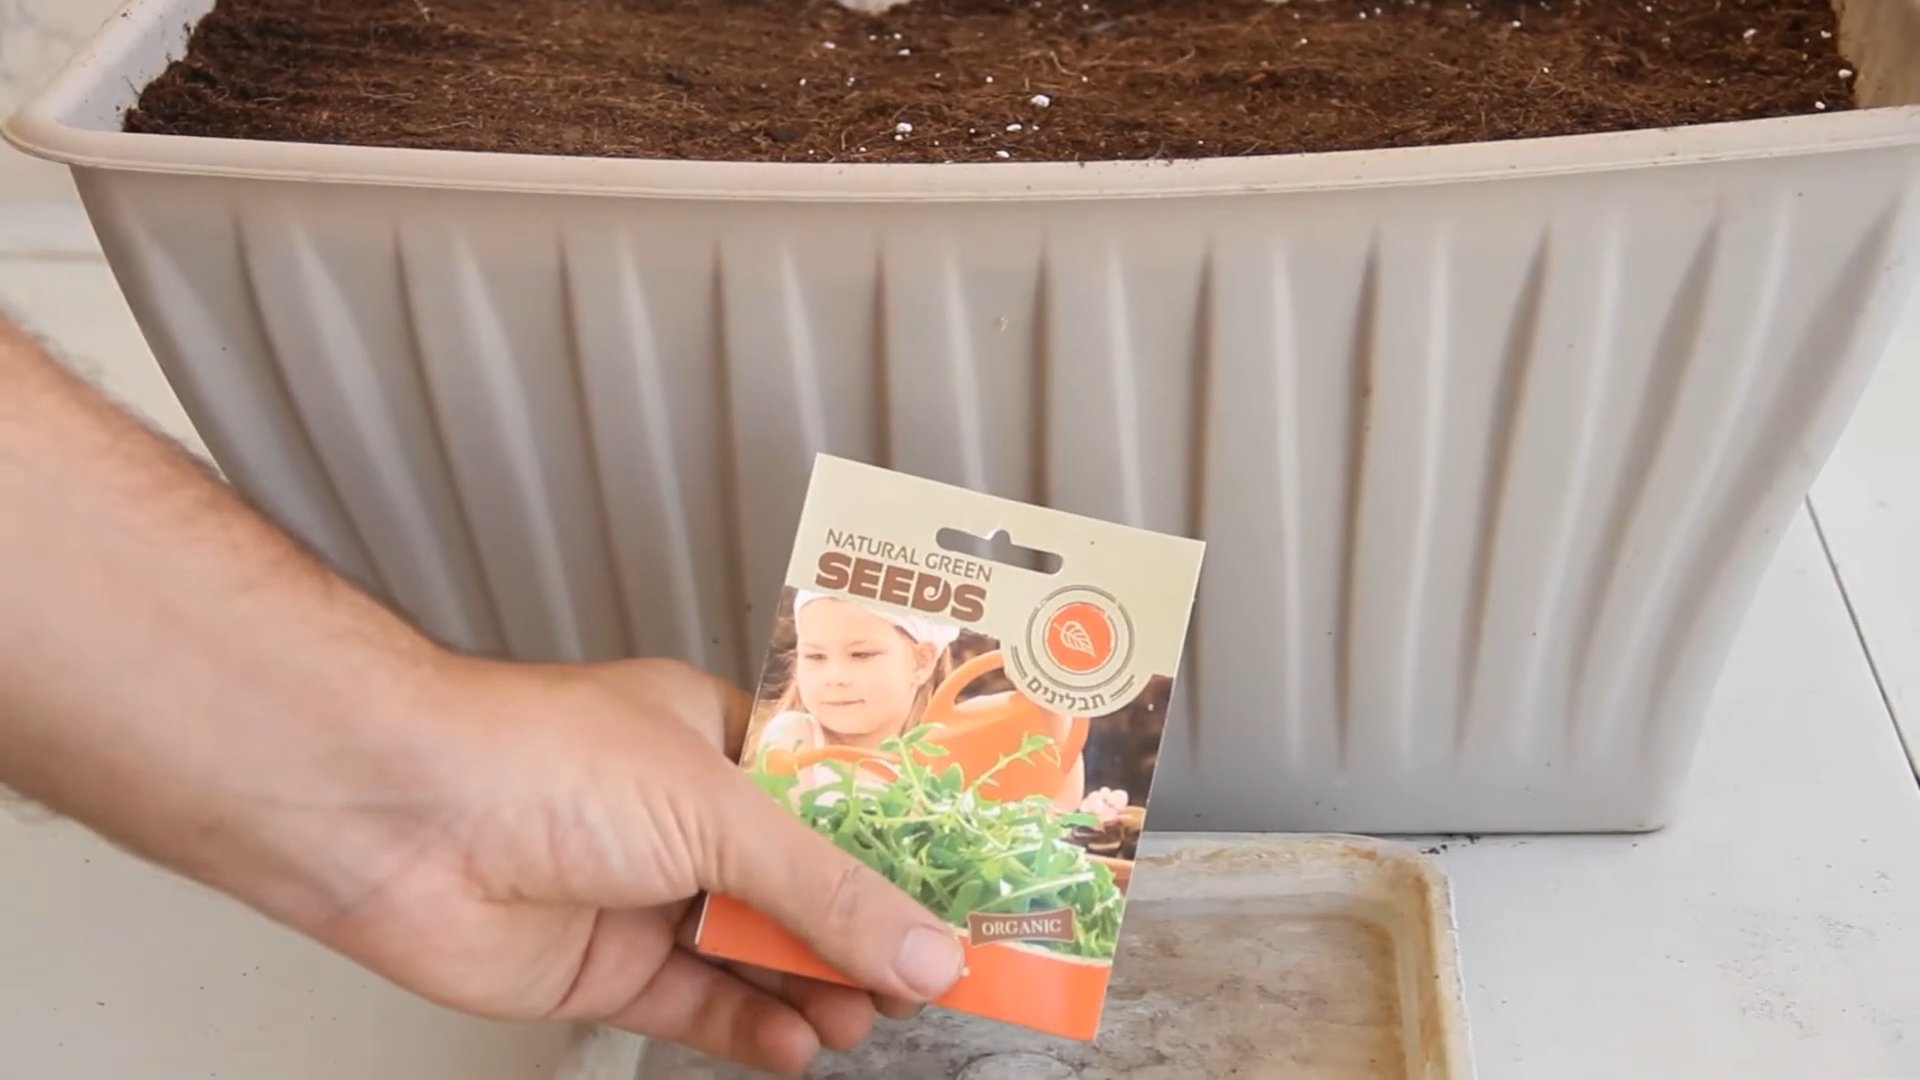
* **Arugula Seeds:** Choose a variety that you like. I personally prefer ‘Astro’ for its quick growth and robust flavor.
* **Containers:** You can use pots, trays, or even repurposed containers like yogurt cups or plastic tubs. Just make sure they have drainage holes!
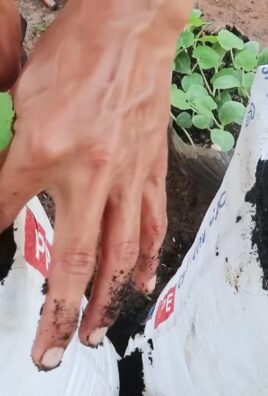
* **Potting Mix:** A well-draining potting mix is crucial. Avoid using garden soil, as it can compact and hinder growth. I recommend a mix specifically formulated for seedlings or vegetables.
* **Grow Lights (Optional but Recommended):** While arugula can tolerate some shade, it thrives under bright light. If you don’t have a sunny windowsill, invest in a grow light.
* **Watering Can or Spray Bottle:** For gentle watering.
* **Spray Bottle (for Misting):** To maintain humidity.
* **Small Shovel or Trowel:** For handling the potting mix.
* **Seed Starting Tray (Optional):** If you prefer to start your seeds in a tray before transplanting.
* **Fertilizer (Optional):** A balanced liquid fertilizer can boost growth, but it’s not essential.
Choosing the Right Location
Finding the perfect spot for your arugula is key. Here’s what to consider:
* **Light:** Arugula needs at least 6 hours of sunlight per day. A south-facing windowsill is ideal. If you don’t have enough natural light, use a grow light. Position the light a few inches above the plants and adjust as they grow.
* **Temperature:** Arugula prefers cooler temperatures, ideally between 60-70°F (15-21°C). Avoid placing your plants near heat sources like radiators or vents.
* **Air Circulation:** Good air circulation helps prevent fungal diseases. Open a window occasionally or use a small fan to circulate the air.
Planting Your Arugula Seeds
Now for the fun part! Let’s get those seeds in the soil.
1. **Prepare Your Containers:** Fill your containers with potting mix, leaving about an inch of space at the top. Gently pat down the soil to create a firm surface.
2. **Sow the Seeds:** Sprinkle the arugula seeds evenly over the surface of the soil. You can sow them quite densely, as you’ll be harvesting the leaves when they’re young.
3. **Cover the Seeds:** Lightly cover the seeds with a thin layer of potting mix, about 1/4 inch deep.
4. **Water Gently:** Use a watering can or spray bottle to gently moisten the soil. Be careful not to dislodge the seeds.
5. **Maintain Moisture:** Cover the containers with a plastic bag or clear plastic wrap to create a humid environment. This will help the seeds germinate.
6. **Place in a Warm Location:** Place the containers in a warm location, around 70°F (21°C).
7. **Wait for Germination:** Arugula seeds typically germinate within 5-7 days. Once the seedlings emerge, remove the plastic covering.
Caring for Your Arugula Plants
Once your arugula seedlings have sprouted, it’s time to provide them with the care they need to thrive.
1. **Watering:** Keep the soil consistently moist, but not soggy. Water when the top inch of soil feels dry to the touch. Avoid overwatering, as this can lead to root rot.
2. **Lighting:** Ensure your arugula plants receive adequate light. If you’re using a grow light, adjust its position as the plants grow to maintain a distance of a few inches.
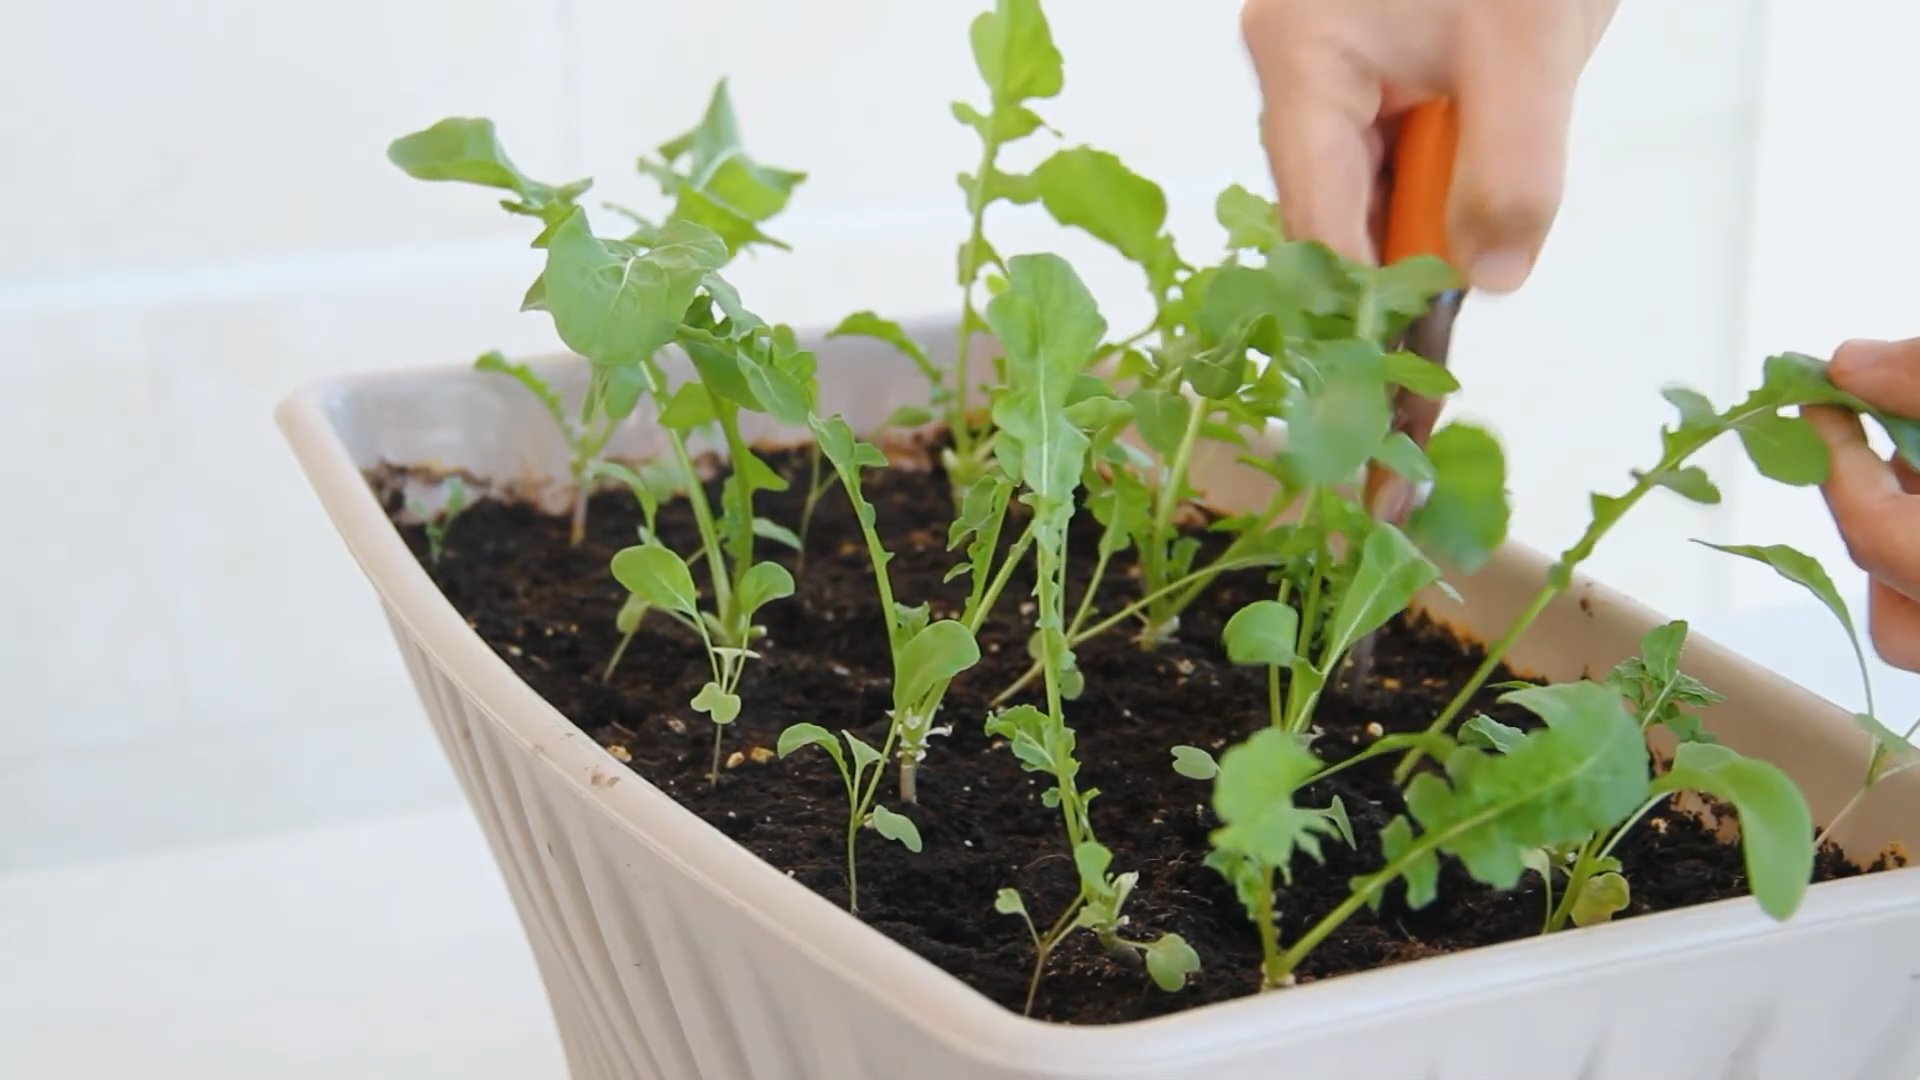
3. **Thinning (Optional):** If your seedlings are too crowded, you can thin them out by snipping off some of the weaker plants at the soil line. This will give the remaining plants more room to grow. I usually don’t bother with this step, as I like to harvest the thinnings as baby greens.
4. **Fertilizing (Optional):** If you want to give your arugula plants a boost, you can fertilize them every 2-3 weeks with a balanced liquid fertilizer. Follow the instructions on the fertilizer label.
5. **Pest Control:** Arugula is generally pest-resistant, but you may occasionally encounter aphids or other small insects. If you notice any pests, you can try spraying them with insecticidal soap or neem oil. I prefer to just wash them off with a strong stream of water.
6. **Humidity:** Arugula prefers moderate humidity. If the air in your home is dry, you can mist the plants with water regularly.
Harvesting Your Arugula
The best part of growing arugula indoors is, of course, harvesting your fresh, peppery greens!
1. **When to Harvest:** You can start harvesting arugula leaves when they are about 2-3 inches long.
2. **How to Harvest:** Use scissors or your fingers to snip off the outer leaves, leaving the inner leaves to continue growing. This is known as a “cut-and-come-again” harvesting method.
3. **Harvest Regularly:** Harvesting regularly will encourage your arugula plants to produce more leaves.
4. **Enjoy Your Harvest:** Use your fresh arugula in salads, sandwiches, pizzas, or as a garnish. It’s also delicious sautéed with garlic and olive oil.
Troubleshooting
Even with the best care, you may encounter some challenges when growing arugula indoors. Here are some common problems and how to fix them:
* **Leggy Seedlings:** This is usually caused by insufficient light. Make sure your arugula plants are receiving enough sunlight or grow light.
* **Yellowing Leaves:** This can be caused by overwatering, underwatering, or nutrient deficiencies. Check the soil moisture and adjust your watering accordingly. If you suspect a nutrient deficiency, try fertilizing your plants.
* **Slow Growth:** This can be caused by cool temperatures, insufficient light, or poor soil. Make sure your arugula plants are in a warm, sunny location and that the soil is well-draining.
* **Pests:** As mentioned earlier, aphids and other small insects can sometimes be a problem. Treat them with insecticidal soap, neem oil, or a strong stream of water.
Extending Your Harvest
Arugula is a cool-season crop, so it tends to bolt (go to seed) in hot weather. To extend your harvest, try these tips:
* **Succession Planting:** Sow new seeds every 2-3 weeks to ensure a continuous supply of arugula.
* **Keep Plants Cool:** Provide shade during the hottest part of the day.
* **Harvest Regularly:** Harvesting regularly will prevent the plants from bolting.
* **Consider Bolting-Resistant Varieties:** Some arugula varieties are more resistant to bolting than others.
Seed Saving (Optional)
If you want to save seeds from your arugula plants, allow a few plants to bolt and flower. Once the seed pods are dry and brown, you can harvest them and store the seeds in a cool, dry place.
Different Container Options
Let’s explore some container options for your indoor arugula garden:
* **Standard Pots:** These are readily available in various sizes and materials. Choose pots with drainage holes.
* **Window Boxes:** Perfect for growing arugula on a windowsill.
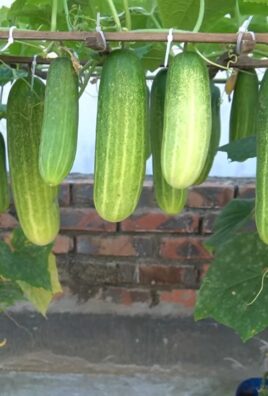
* **Hanging Baskets:** A great way to add greenery to your home and save space.
* **Repurposed Containers:** Get creative and use yogurt cups, plastic tubs, or even old shoes as planters. Just make sure they have drainage holes.
* **Self-Watering Containers:** These containers have a built-in reservoir that provides water to the plants as needed. They’re a great option for busy gardeners.
Choosing the Right Potting Mix
The type of potting mix you use can significantly impact the growth of your arugula plants. Here are some things to consider:
* **Well-Draining:** Arugula needs a well-draining potting mix to prevent root rot.
* **Nutrient-Rich:** Choose a potting mix that is rich in nutrients to support healthy growth.
* **pH Level:** Arugula prefers a slightly acidic to neutral pH level (6.0-7.0).
* **Avoid Garden Soil:** Garden soil can compact and hinder drainage, so it’s best to avoid using it in containers.
I usually use a mix of peat moss, perlite, and vermiculite. You can also find pre-made potting mixes specifically formulated for seedlings or vegetables.
Grow Light Considerations
If you’re using a grow light, here are some things to keep in mind:
* **
Conclusion
So, there you have it! Growing arugula indoors is not only achievable, but it’s also incredibly rewarding. Imagine having a constant supply of fresh, peppery greens right at your fingertips, ready to elevate your salads, sandwiches, and pizzas. No more last-minute trips to the grocery store or settling for wilted, pre-packaged arugula. This DIY method offers a superior flavor profile and the satisfaction of knowing exactly where your food comes from.
But why is this DIY trick a must-try? Beyond the convenience and superior taste, growing your own arugula indoors is a sustainable and cost-effective solution. You’re reducing your carbon footprint by eliminating transportation and packaging waste, and you’re saving money in the long run by avoiding frequent grocery store purchases. Plus, it’s a fantastic way to connect with nature and learn about the growing process, even if you don’t have a traditional garden.
Don’t be afraid to experiment with variations! Try different types of arugula seeds, such as wild arugula for a more intense flavor or slow-bolt arugula for a longer harvest period. You can also experiment with different containers, from repurposed yogurt containers to stylish terracotta pots. Consider adding companion plants like basil or chives to your indoor garden for added flavor and pest control.
Ready to embark on your indoor arugula adventure? We wholeheartedly encourage you to give this DIY trick a try. It’s easier than you might think, and the results are well worth the effort. Once you’ve harvested your first batch of homegrown arugula, we’d love to hear about your experience! Share your tips, tricks, and photos in the comments below. Let’s build a community of indoor arugula enthusiasts and inspire others to embrace the joys of homegrown goodness. Let us know how your indoor arugula garden is flourishing!
Frequently Asked Questions (FAQ)
Q: What kind of container should I use for growing arugula indoors?
A: The best container for growing arugula indoors should be at least 6 inches deep to allow for adequate root growth. It should also have drainage holes to prevent waterlogging, which can lead to root rot. You can use a variety of containers, including plastic pots, terracotta pots, or even repurposed containers like yogurt tubs or plastic storage bins. Just make sure to clean them thoroughly before planting. The size of the container will depend on how much arugula you want to grow. A container that is 12 inches in diameter can comfortably accommodate several arugula plants.
Q: What type of soil is best for growing arugula indoors?
A: Arugula thrives in well-draining soil that is rich in organic matter. A good option is a potting mix specifically formulated for vegetables or herbs. You can also create your own potting mix by combining equal parts of peat moss, perlite, and vermiculite. Avoid using garden soil, as it can be too heavy and may contain pests or diseases. Adding compost to your potting mix will provide essential nutrients and improve drainage.
Q: How much sunlight does arugula need when grown indoors?
A: Arugula requires at least 6 hours of sunlight per day to thrive. If you don’t have a sunny windowsill, you can supplement with artificial lighting, such as a grow light. Place the grow light about 6-12 inches above the plants and keep it on for 12-14 hours per day. Rotate the plants regularly to ensure that all sides receive adequate light. Insufficient light can result in leggy growth and a less flavorful harvest.
Q: How often should I water my indoor arugula plants?
A: Water your arugula plants when the top inch of soil feels dry to the touch. Avoid overwatering, as this can lead to root rot. Water deeply, allowing the excess water to drain out of the drainage holes. Check the soil moisture regularly, especially during hot or dry weather. A good rule of thumb is to water every 2-3 days, but this will vary depending on the temperature, humidity, and type of container you are using.
Q: How long does it take for arugula to germinate and be ready for harvest?
A: Arugula seeds typically germinate within 5-7 days. You can start harvesting the leaves when they are about 2-3 inches long, which is usually around 3-4 weeks after planting. Harvest the outer leaves first, allowing the inner leaves to continue growing. You can harvest arugula multiple times from the same plant.
Q: How do I prevent pests and diseases from affecting my indoor arugula plants?
A: To prevent pests and diseases, start with clean containers and fresh potting mix. Inspect your plants regularly for any signs of pests or diseases. If you notice any problems, address them promptly. Common pests that can affect arugula include aphids, flea beetles, and spider mites. You can control these pests by spraying the plants with insecticidal soap or neem oil. To prevent fungal diseases, avoid overwatering and ensure good air circulation.
Q: Can I grow arugula indoors year-round?
A: Yes, you can grow arugula indoors year-round, provided you have adequate light and temperature control. Arugula prefers cooler temperatures, so keep the room temperature between 60-70°F (15-21°C). If the room is too warm, the arugula may bolt (go to seed) prematurely.
Q: How do I harvest arugula leaves?
A: To harvest arugula leaves, use scissors or your fingers to snip off the outer leaves, leaving the inner leaves to continue growing. Harvest the leaves when they are about 2-3 inches long for the best flavor. You can harvest arugula multiple times from the same plant.
Q: What are some ways to use homegrown arugula?
A: Homegrown arugula can be used in a variety of dishes. It’s a great addition to salads, sandwiches, pizzas, and pasta dishes. You can also use it to make pesto or add it to soups and stews. Arugula has a peppery flavor that adds a unique touch to any dish.
Q: My arugula is bolting (going to seed). What should I do?
A: Bolting is a natural process that occurs when arugula is exposed to high temperatures or long days. Once arugula bolts, the leaves become bitter. To prevent bolting, keep the room temperature cool and provide adequate shade during hot weather. You can also try planting slow-bolt varieties of arugula. If your arugula has already bolted, you can still harvest the seeds for future planting.
Leave a Comment