
Clean Frying Pan with Vinegar: Are you tired of scrubbing endlessly at stubborn grease and burnt food stuck to your frying pans? I know I was! It felt like I was spending more time cleaning up after cooking than actually enjoying the meal. But what if I told you there’s a simple, natural, and incredibly effective way to restore your frying pans to their former glory, using something you probably already have in your pantry?
Vinegar, a staple in kitchens for centuries, has a rich history not just as a culinary ingredient, but also as a powerful cleaning agent. From ancient civilizations using it to preserve food to modern households relying on its disinfecting properties, vinegar has proven its versatility time and time again. Think of your grandmother’s cleaning tips – chances are, vinegar was involved!
In today’s busy world, who has time to spend hours scrubbing pots and pans? That’s where this DIY trick comes in. Learning how to clean frying pan with vinegar is not just about saving time and elbow grease; it’s about embracing a more sustainable and eco-friendly approach to cleaning. No more harsh chemicals or expensive cleaning products – just simple, effective, and affordable vinegar power. So, ditch the frustration and let’s get those frying pans sparkling clean!
DIY: Restore Your Frying Pan’s Shine with Vinegar!
Hey there, fellow home cooks! Are you tired of staring at a frying pan that looks like it’s seen better days? Burnt-on food, stubborn grease, and that overall dull appearance can really take the joy out of cooking. But don’t despair! Before you toss that pan in the trash, let me share a simple, effective, and budget-friendly DIY hack using something you probably already have in your pantry: vinegar!
I’ve personally used this method countless times to revive my own cookware, and I’m always amazed at the results. It’s a fantastic way to avoid harsh chemicals and give your trusty frying pan a new lease on life. So, grab your vinegar, and let’s get started!
What You’ll Need
Before we dive into the cleaning process, let’s gather our supplies. This is a pretty straightforward project, so you won’t need a ton of fancy equipment. Here’s what I recommend:
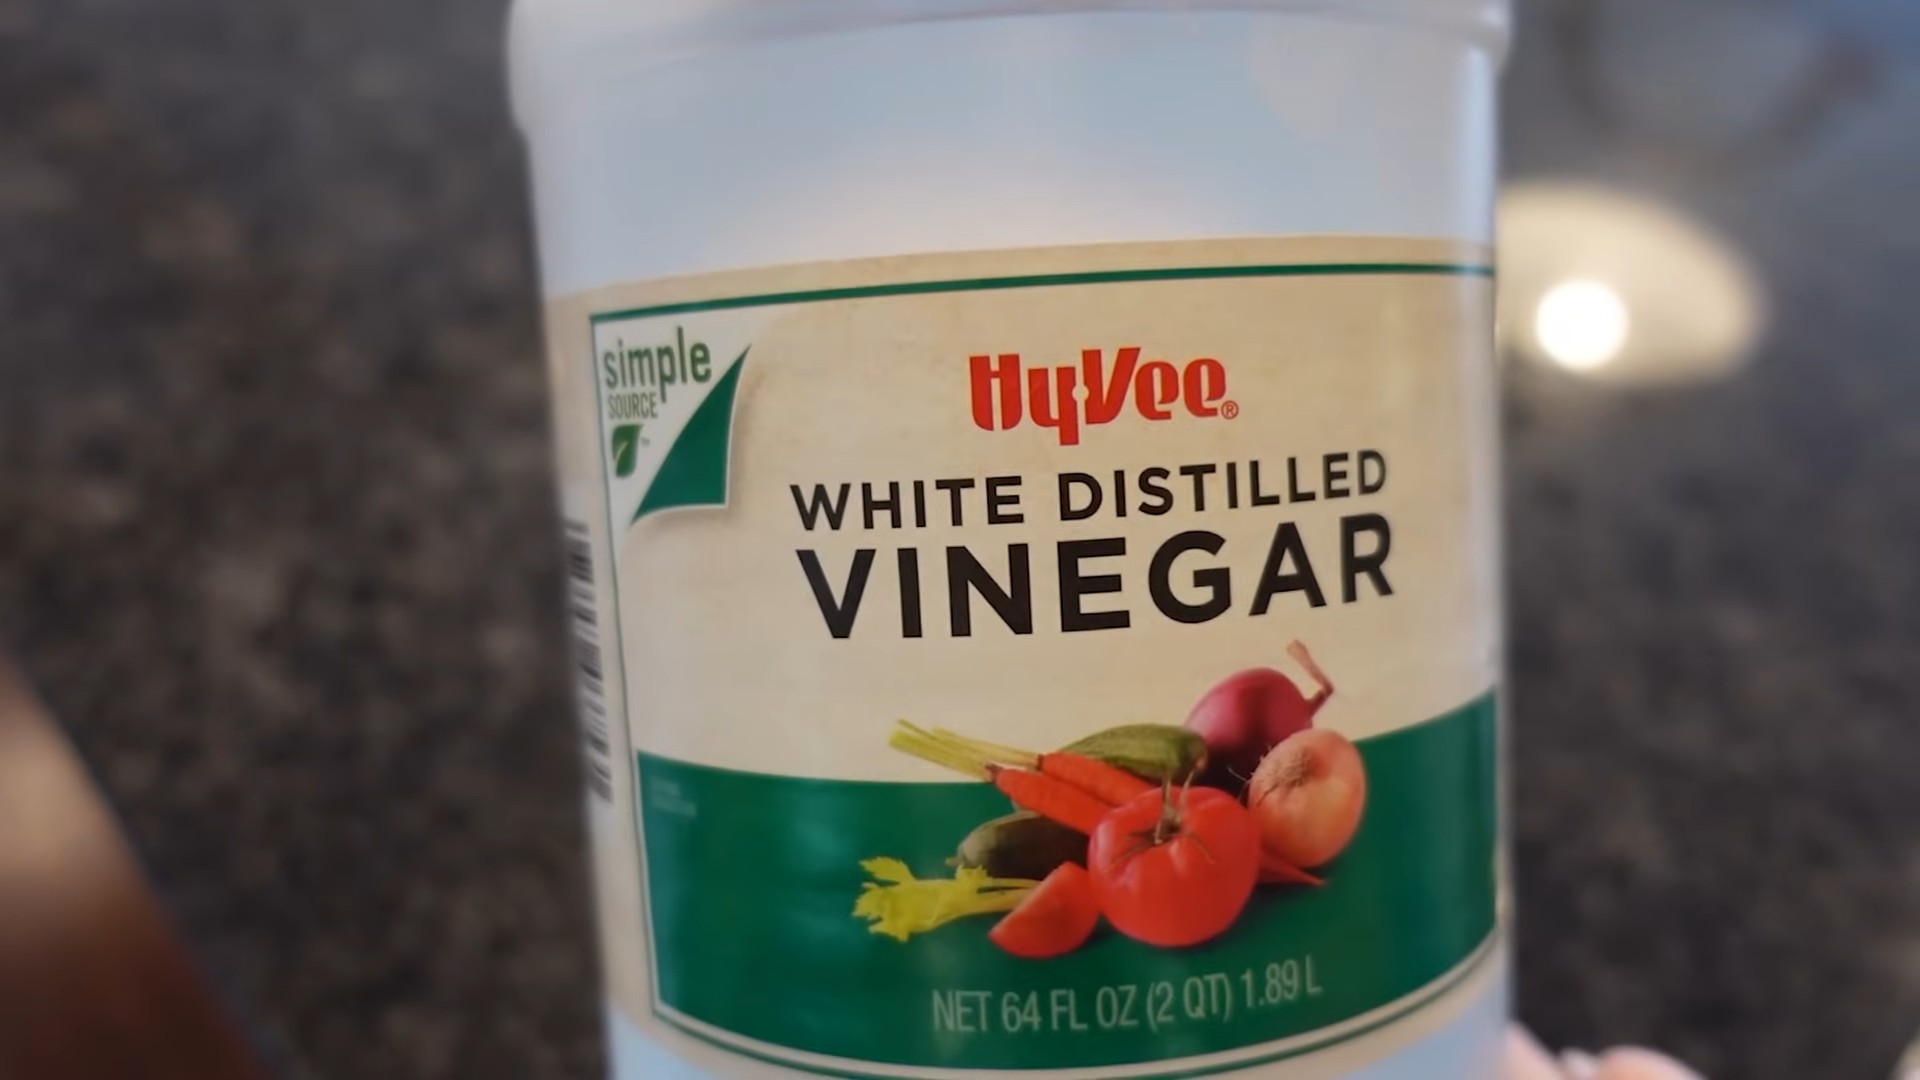
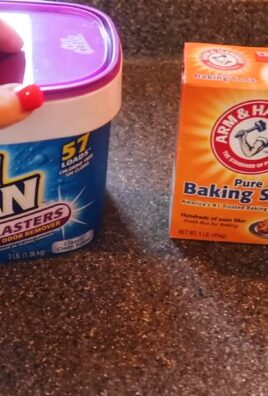
* White Vinegar: This is the star of the show! The acidity of the vinegar helps to break down grease and loosen burnt-on food particles.
* Baking Soda: Baking soda acts as a gentle abrasive, helping to scrub away stubborn stains without scratching the pan.
* Water: We’ll need water to dilute the vinegar and create a paste with the baking soda.
* Dish Soap: A little dish soap will help to cut through any remaining grease and leave your pan sparkling clean.
* Scrubbing Sponge or Brush: Choose a non-abrasive scrubbing sponge or brush to avoid damaging the pan’s surface. I prefer a sponge with a slightly rough side for extra scrubbing power.
* Soft Cloth or Paper Towels: For wiping and drying the pan.
* Optional: Rubber Gloves: If you have sensitive skin, you might want to wear rubber gloves to protect your hands from the vinegar.
* Optional: Old Toothbrush: An old toothbrush is great for getting into those hard-to-reach corners and crevices.
Step-by-Step Cleaning Guide
Alright, now that we have everything we need, let’s get down to business! I’ve broken down the cleaning process into easy-to-follow steps.
Section 1: Initial Soak (For Heavily Soiled Pans)
If your frying pan is seriously caked with burnt-on food, I highly recommend starting with an initial soak. This will help to loosen the grime and make the cleaning process much easier.
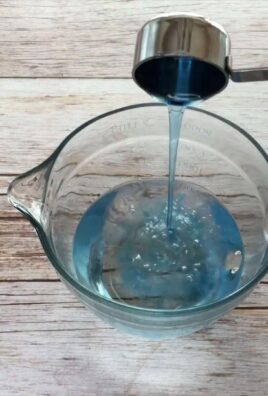
1. Fill the Pan with Water and Vinegar: Pour equal parts water and white vinegar into the frying pan, enough to cover the burnt areas. For a really tough mess, you can use a slightly higher concentration of vinegar.
2. Bring to a Simmer: Place the pan on the stovetop and bring the mixture to a simmer over medium heat. Let it simmer for about 5-10 minutes. You should start to see the burnt food particles loosening and floating to the surface.
3. Let it Cool: Remove the pan from the heat and let it cool completely. This will prevent you from burning yourself and allow the vinegar to continue working its magic.
Section 2: Baking Soda Paste Application
Now that the pan has had a good soak (or if your pan wasn’t too bad to begin with, you can skip straight to this step), it’s time to apply the baking soda paste.
1. Drain the Pan: Carefully drain the vinegar and water mixture from the pan.
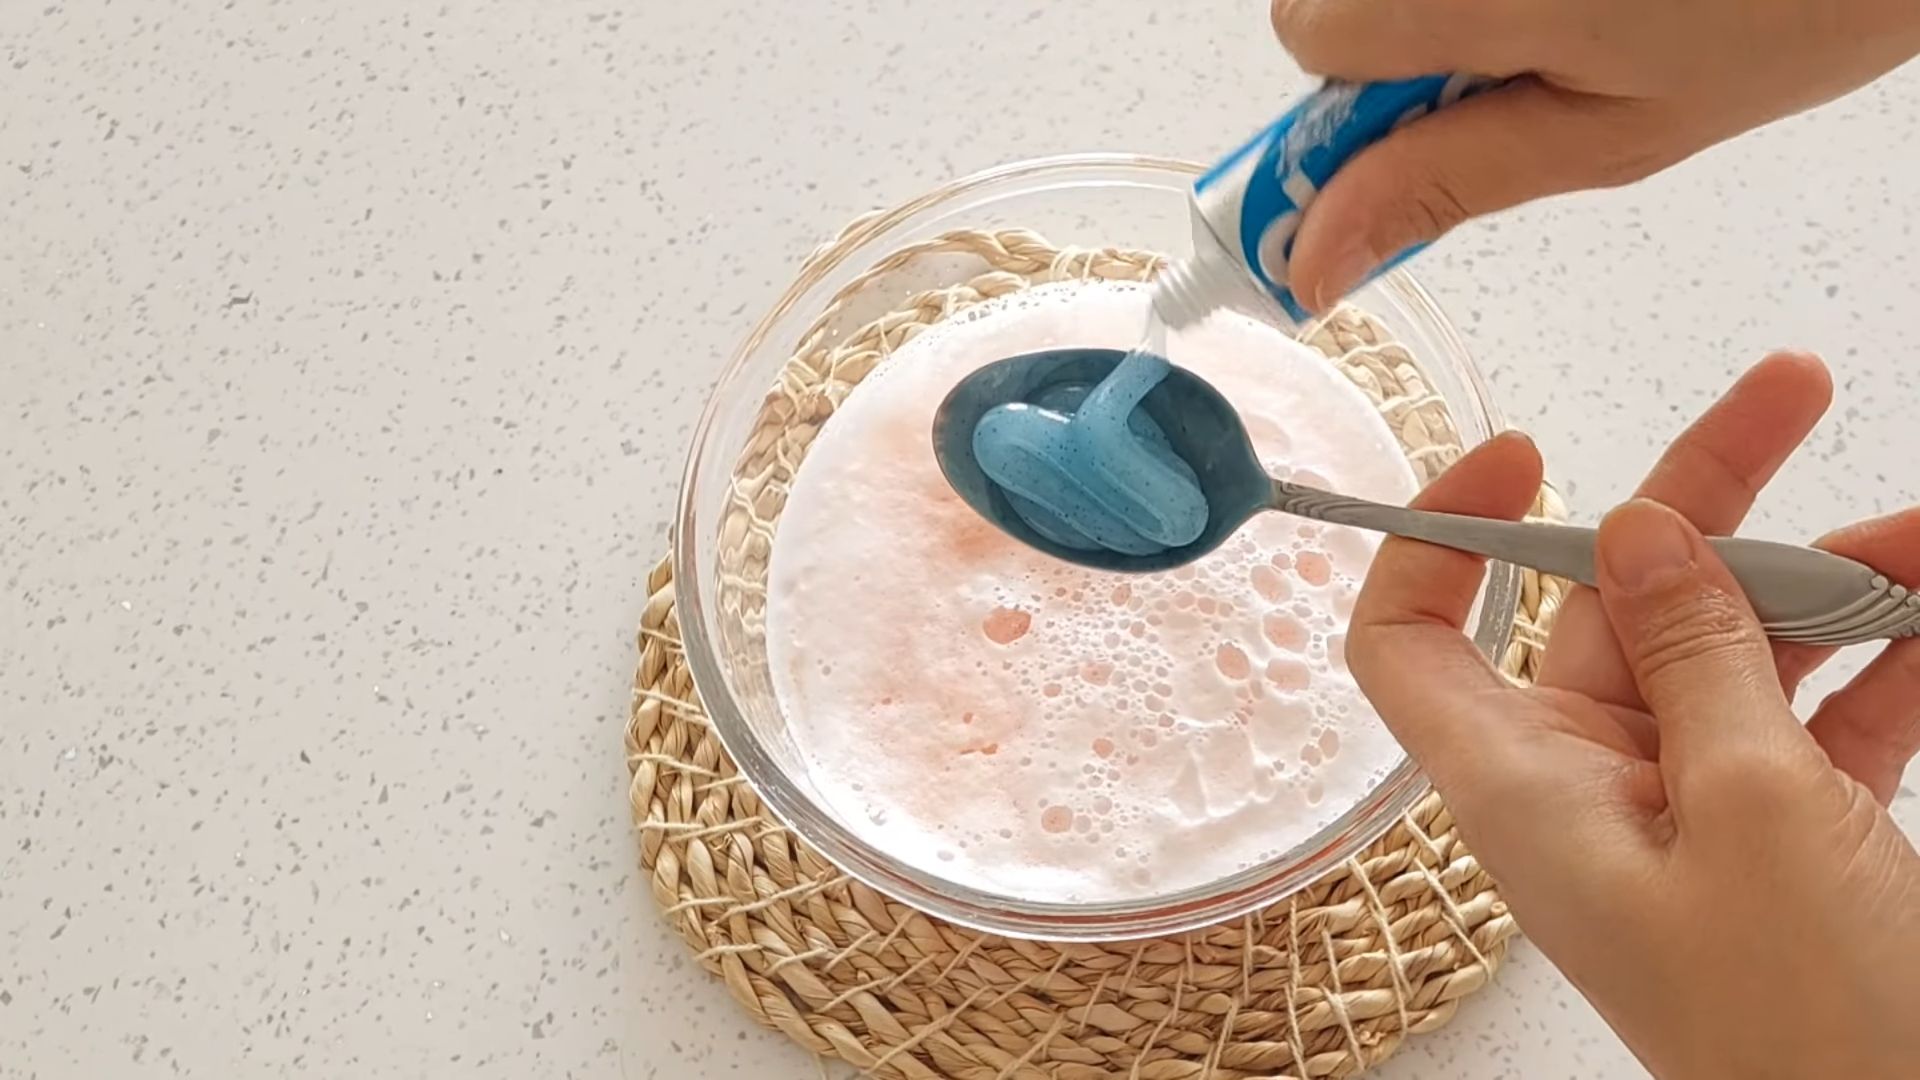
2. Create a Baking Soda Paste: In a small bowl, mix baking soda with a little bit of water to create a thick paste. The consistency should be similar to toothpaste.
3. Apply the Paste: Using your fingers or a spoon, spread the baking soda paste evenly over the burnt areas of the pan. Make sure to cover all the stubborn stains and grime.
4. Let it Sit: Allow the baking soda paste to sit on the pan for at least 30 minutes. For really tough stains, you can let it sit for a few hours or even overnight. The longer it sits, the more effective it will be.
Section 3: Scrubbing and Cleaning
This is where the elbow grease comes in! But don’t worry, the vinegar and baking soda have already done a lot of the work.
1. Scrub the Pan: Using your scrubbing sponge or brush, start scrubbing the pan in a circular motion. Apply gentle pressure at first, and gradually increase the pressure as needed. You should see the burnt food particles and stains starting to lift away.
2. Focus on Stubborn Areas: Pay extra attention to those stubborn areas that are still clinging on. You can use an old toothbrush to get into those hard-to-reach corners and crevices.
3. Rinse Thoroughly: Once you’ve scrubbed the pan to your satisfaction, rinse it thoroughly with warm water. Make sure to remove all traces of baking soda paste.
4. Wash with Dish Soap: Wash the pan with dish soap and water to remove any remaining grease and grime. This will also help to neutralize the vinegar smell.
5. Rinse Again: Rinse the pan thoroughly with warm water to remove all traces of dish soap.
Section 4: Drying and Polishing
Almost there! Now it’s time to dry and polish your pan to bring back its shine.
1. Dry the Pan: Use a soft cloth or paper towels to dry the pan thoroughly. Make sure to get into all the nooks and crannies to prevent water spots.
2. Polish (Optional): For an extra shine, you can use a stainless steel cleaner or polish to buff the pan. Follow the instructions on the product label.
3. Admire Your Work: Step back and admire your sparkling clean frying pan! You’ve successfully revived it with a simple and effective DIY hack.
Tips and Tricks for Extra Cleaning Power
Here are a few extra tips and tricks that I’ve learned over the years to boost the cleaning power of this method:
* For Extra Stubborn Stains: If you’re dealing with extremely stubborn stains, you can try adding a tablespoon of salt to the baking soda paste. The salt acts as an extra abrasive, helping to scrub away the grime.
* Vinegar Steam: For a quick and easy way to loosen burnt-on food, you can try steaming the pan with vinegar. Simply pour a cup of vinegar into the pan and bring it to a boil. Let it simmer for a few minutes, and the steam will help to loosen the grime.
* Prevention is Key: The best way to keep your frying pan clean is to prevent food from burning in the first place. Use medium heat, stir frequently, and don’t overcrowd the pan.
* Don’t Use Abrasive Cleaners: Avoid using abrasive cleaners or steel wool on your frying pan, as they can scratch the surface and damage the non-stick coating.
* Regular Cleaning: Clean your frying pan after each use to prevent food from building up and becoming difficult to remove.
Dealing with Different Types of Frying Pans
This cleaning method generally works well on most types of frying pans, but here are a few things to keep in mind depending on the material:
* Stainless Steel: This method is perfect for stainless steel frying pans. You can be a bit more aggressive with the scrubbing if needed.
* Non-Stick: Be gentle when scrubbing non-stick frying pans to avoid damaging the coating. Use a soft sponge and avoid abrasive cleaners.
* Cast Iron: While you can use vinegar on cast iron, be careful not to soak it for too long, as it can remove the seasoning. After cleaning, make sure to re-season the pan.
* Copper: This method is generally safe for copper frying pans, but you may want to use a copper-specific cleaner for extra shine.
Safety Precautions
While this DIY cleaning hack is relatively safe, it’s always a good idea to take a few precautions:
* Ventilation: Make sure to work in a well-ventilated area, especially when simmering vinegar on the stovetop.
* Gloves: If you have sensitive skin, wear rubber gloves to protect your hands from the vinegar.
* Eye Protection: Although unlikely, consider wearing eye protection to prevent any splashes from getting into your eyes.
* Heat Safety: Be careful when handling hot pans and liquids. Use oven mitts or pot holders to protect your hands from burns.
I hope this guide helps you restore your frying pan to its former glory! It’s a simple, effective, and affordable way to keep your cookware looking its best. Happy cleaning, and happy cooking!
Conclusion
So, there you have it! A simple, effective, and surprisingly eco-friendly way to breathe new life into your grimy frying pans. This DIY cleaning trick, using nothing more than vinegar and a little elbow grease, is a game-changer for anyone who cooks regularly. Forget spending hours scrubbing away at stubborn grease and burnt-on food residue. Forget harsh chemicals that leave behind unpleasant odors and potential health concerns. This method is not only gentler on your cookware but also on the environment and your wallet.
Why is this DIY cleaning trick a must-try? Because it works! It’s a practical solution to a common kitchen problem, saving you time, money, and frustration. Imagine the satisfaction of seeing your once-dull and stained frying pans gleaming like new again. Think of the peace of mind knowing you’re using a natural cleaning agent that won’t harm your family or the planet.
But the beauty of this method lies not only in its simplicity but also in its adaptability. Feel free to experiment with variations to suit your specific needs and preferences. For instance, if you’re dealing with particularly stubborn stains, you can add a tablespoon of baking soda to the vinegar solution for extra cleaning power. The fizzing action helps to lift away grime and grease more effectively. Alternatively, for cast iron pans, be sure to season them properly after cleaning to prevent rusting. A light coating of oil and a brief bake in the oven will do the trick.
Another variation involves the type of vinegar you use. While white vinegar is the most common and readily available option, apple cider vinegar can also be used with similar results. Some people even prefer the slightly milder scent of apple cider vinegar. The key is to ensure that the vinegar has a sufficient acidity level to dissolve the grease and grime.
We understand that every kitchen and every frying pan is different, so don’t be afraid to adjust the method to fit your specific circumstances. If you find that the initial soak doesn’t completely remove all the residue, simply repeat the process or increase the soaking time. The goal is to find what works best for you and your cookware.
Ultimately, this DIY cleaning trick is about more than just cleaning frying pans; it’s about embracing a more sustainable and mindful approach to cooking and cleaning. It’s about taking control of your kitchen and creating a space that is both functional and enjoyable.
We are confident that once you try this method, you’ll be amazed by the results. So, grab your vinegar, gather your grimy frying pans, and get ready to experience the satisfaction of a sparkling clean kitchen.
We wholeheartedly encourage you to try this DIY cleaning trick and share your experience with us! Let us know what worked for you, what variations you tried, and any tips or tricks you discovered along the way. Your feedback is invaluable and helps us to refine and improve our methods. Share your before-and-after photos on social media using #CleanFryingPanWithVinegar and inspire others to embrace this simple and effective cleaning solution. Let’s create a community of clean-pan enthusiasts!
Frequently Asked Questions
What kind of vinegar should I use?
White vinegar is the most commonly recommended type of vinegar for cleaning frying pans due to its high acidity and availability. However, apple cider vinegar can also be used as a substitute. While it has a slightly milder scent, it still possesses sufficient acidity to effectively dissolve grease and grime. Avoid using flavored vinegars, as they may leave behind unwanted residues or scents. The key is to ensure the vinegar has a sufficient acidity level, typically around 5%, to effectively break down the buildup on your frying pan.
How long should I soak the frying pan in vinegar?
The soaking time depends on the severity of the grime and burnt-on food. For lightly soiled pans, a 30-minute soak may be sufficient. However, for pans with heavy buildup, you may need to soak them for several hours or even overnight. Check the pan periodically to assess the progress. If the residue is still stubborn, extend the soaking time or add baking soda to the vinegar solution for extra cleaning power. Remember to always supervise the soaking process and avoid leaving the pan unattended for extended periods.
Can I use this method on all types of frying pans?
This method is generally safe for most types of frying pans, including stainless steel, non-stick, and ceramic. However, caution should be exercised when cleaning cast iron pans. Vinegar can strip away the seasoning from cast iron, making it susceptible to rust. If you choose to use this method on cast iron, be sure to re-season the pan immediately after cleaning. This involves coating the pan with a thin layer of oil and baking it in the oven at a high temperature to create a protective layer. Always consult the manufacturer’s instructions for your specific frying pan before using any cleaning method.
What if the vinegar doesn’t remove all the grime?
If the vinegar alone doesn’t remove all the grime, there are several steps you can take to enhance the cleaning process. First, try adding a tablespoon of baking soda to the vinegar solution. The fizzing action will help to lift away stubborn residue. Second, use a non-abrasive scrubbing pad or sponge to gently scrub the pan after soaking. Avoid using steel wool or abrasive cleaners, as they can scratch the surface of the pan. Third, repeat the soaking process if necessary. For extremely stubborn stains, you may need to soak the pan multiple times or use a stronger cleaning solution.
How do I prevent my frying pan from getting so dirty in the first place?
Prevention is always better than cure! To prevent your frying pan from getting excessively dirty, try these tips:
* **Clean your pan immediately after each use:** Don’t let food residue sit and harden.
* **Use the appropriate heat setting:** High heat can cause food to burn and stick to the pan.
* **Use enough oil or cooking spray:** This will create a barrier between the food and the pan.
* **Avoid overcrowding the pan:** Overcrowding can lower the temperature and cause food to steam instead of sear.
* **Store your pans properly:** Avoid stacking pans on top of each other, as this can scratch the surface.
Is the vinegar smell going to linger in my kitchen?
The vinegar smell is temporary and should dissipate quickly after cleaning. To minimize the odor, ensure proper ventilation by opening windows or turning on the exhaust fan. You can also add a few drops of essential oil, such as lemon or lavender, to the vinegar solution to mask the smell. After cleaning, thoroughly rinse the pan with water and dry it completely to remove any residual vinegar. The smell should disappear within a few hours.
Can I use this method to clean other cookware besides frying pans?
Yes, this method can be used to clean other types of cookware, such as pots, baking sheets, and casserole dishes. The same principles apply: soak the cookware in a vinegar solution, scrub gently, and rinse thoroughly. However, be mindful of the materials of your cookware and adjust the method accordingly. For example, avoid using vinegar on aluminum cookware, as it can cause discoloration. Always test the method on a small, inconspicuous area first to ensure it doesn’t damage the surface.
Is this method safe for the environment?
Yes, this method is considered environmentally friendly because it uses a natural cleaning agent (vinegar) and avoids harsh chemicals. Vinegar is biodegradable and non-toxic, making it a safer alternative to commercial cleaning products. By using this DIY cleaning trick, you can reduce your environmental footprint and contribute to a more sustainable lifestyle.
Leave a Comment