
High yield carrot harvest – that’s the dream, isn’t it? Imagine baskets overflowing with vibrant orange carrots, fresh from your own backyard! Forget those bland, store-bought carrots; we’re talking about sweet, crisp, and incredibly satisfying homegrown goodness. But let’s be honest, achieving a truly bountiful carrot harvest can sometimes feel like a gardener’s myth.
For centuries, carrots have been a staple crop, evolving from their humble, often purple or white, wild ancestors to the vibrant orange variety we know and love today. Their cultivation dates back to ancient times, and they’ve nourished civilizations across the globe. But even with all that history, getting a high yield carrot harvest still requires a little know-how.
That’s where these DIY tricks and hacks come in! I’m going to share some simple, yet incredibly effective, techniques that will transform your carrot growing game. Are you tired of pulling up tiny, stunted carrots? Do you dream of a garden bursting with plump, juicy roots? Then you’re in the right place! These tips will help you overcome common challenges like poor soil, overcrowding, and pesky pests, ensuring you get the most out of your carrot patch. Let’s get digging!
Maximize Your Carrot Harvest: A DIY Guide to Bumper Crops
Okay, fellow gardening enthusiasts! Are you tired of pulling up tiny, underwhelming carrots from your garden? I know I was! But fear not, because I’m going to share my secrets to achieving a truly impressive carrot harvest. This isn’t just about planting seeds; it’s about creating the *perfect* environment for those orange beauties to thrive. Get ready to be amazed!
Section 1: Preparing Your Carrot Paradise
Before we even think about seeds, we need to get the soil just right. Carrots are notoriously picky about their growing conditions, so this is where we lay the foundation for success.
* Soil is Key: Carrots need loose, well-drained soil. Rocks, clumps of clay, or even too much organic matter can cause them to fork, split, or just plain struggle.
* Sunlight Matters: Aim for at least 6 hours of direct sunlight per day. More is even better!
* pH Balance: Carrots prefer a slightly acidic soil pH, ideally between 6.0 and 6.8.
Step-by-Step Soil Preparation
1. Clear the Area: Start by removing any weeds, rocks, or debris from your planting area. I like to use a garden fork to loosen the soil and make it easier to work with.
2. Amend the Soil: This is the most crucial step. If you have heavy clay soil, you’ll need to amend it with plenty of sand and compost. If your soil is already sandy, you can focus on adding compost to improve its water retention and nutrient content. I usually add about 2-3 inches of compost to my garden bed.
3. Incorporate Amendments: Use a garden fork or tiller to thoroughly mix the amendments into the top 12 inches of soil. This ensures that the soil is evenly textured and provides a consistent growing environment for your carrots.
4. Remove Rocks and Clumps: Go through the soil carefully and remove any remaining rocks, clumps of clay, or other obstacles. This is tedious, but it’s worth it in the long run. Remember, even a small rock can cause a carrot to fork.
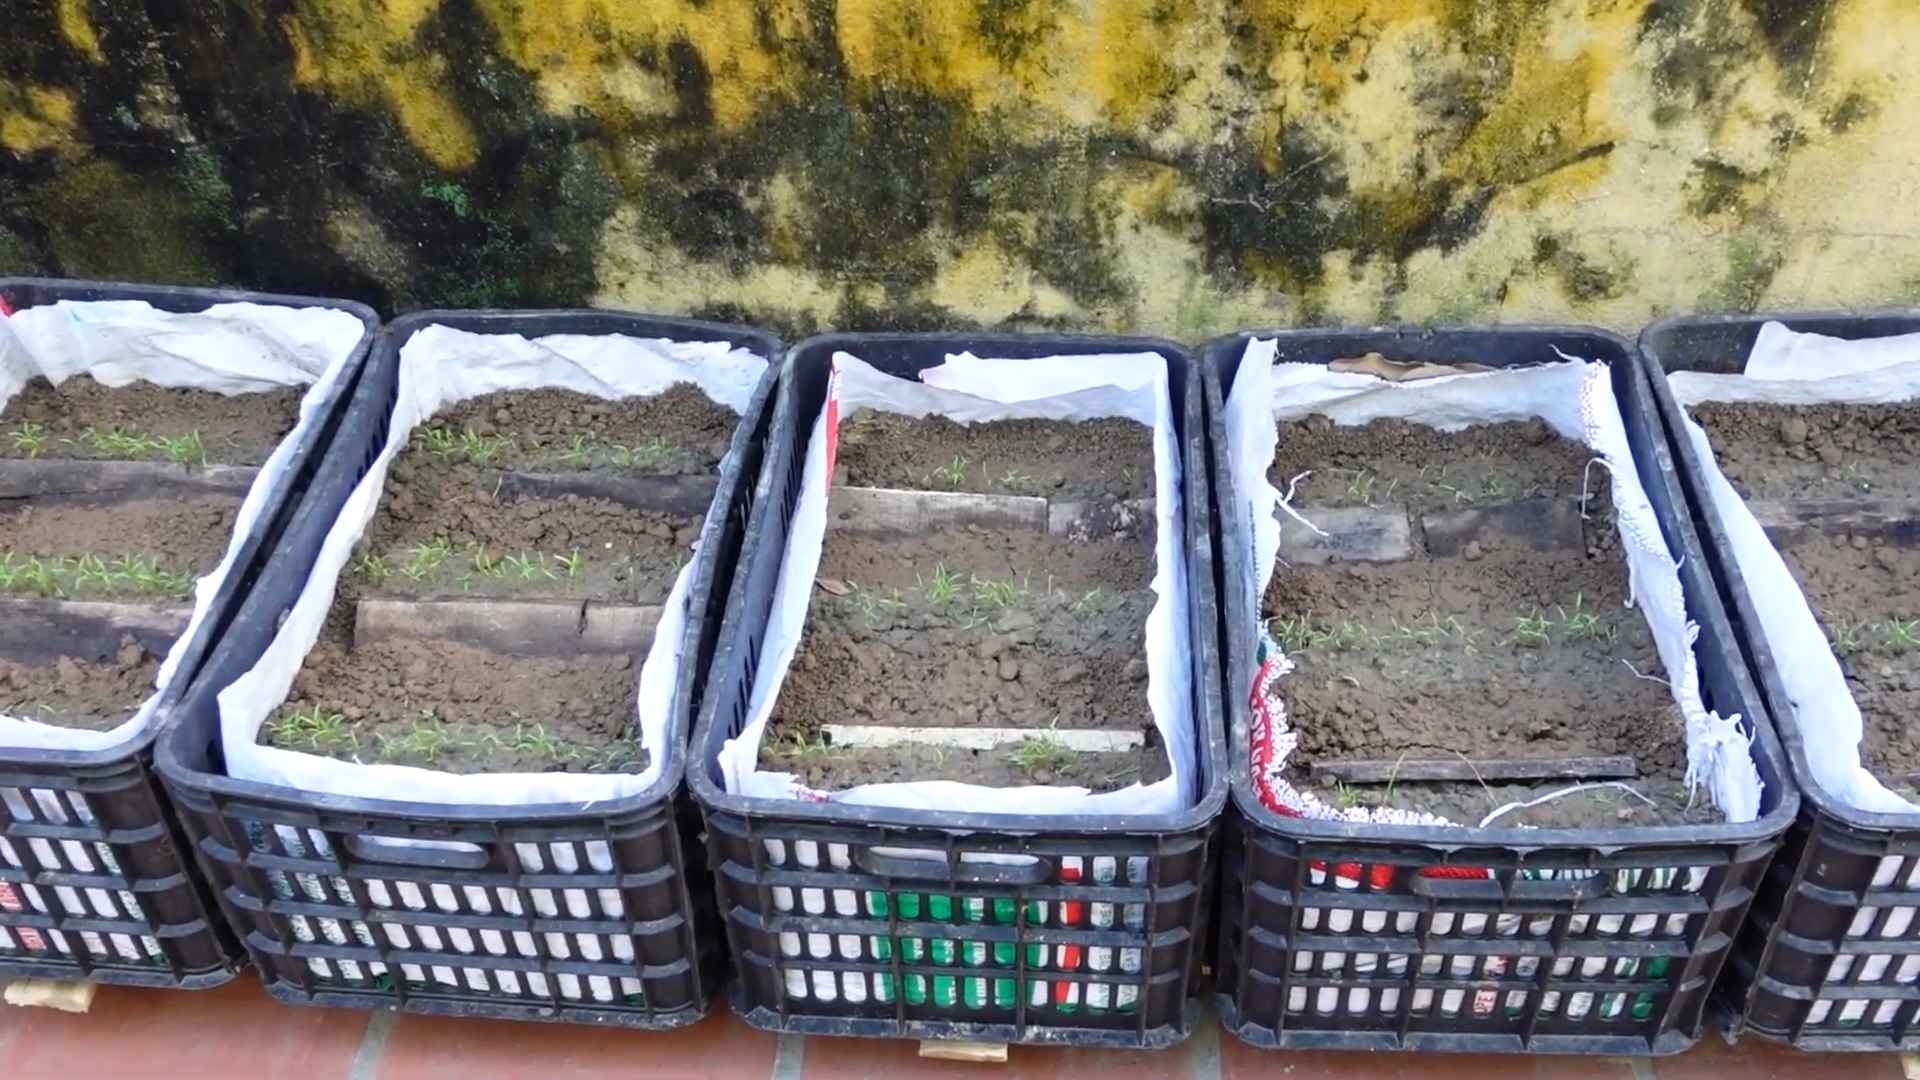
5. Create Raised Beds (Optional): If you have particularly poor drainage, consider creating raised beds. This will help to improve drainage and prevent your carrots from rotting. I find that raised beds also make it easier to control weeds.
6. Test Your Soil pH: Use a soil testing kit to determine the pH of your soil. If it’s too alkaline (above 7.0), you can lower it by adding sulfur or peat moss. If it’s too acidic (below 6.0), you can raise it by adding lime. Follow the instructions on the soil testing kit and the amendment packaging carefully.
7. Rake Smooth: Once you’ve amended the soil and removed any obstacles, rake the surface smooth. This will make it easier to sow your carrot seeds evenly.
Section 2: Sowing the Seeds of Success
Now that our soil is prepped and ready, it’s time to plant those tiny carrot seeds! This is another area where precision is key.
* Timing is Everything: Carrots are a cool-season crop, so you’ll want to plant them in early spring or late summer for a fall harvest. Check your local frost dates to determine the best time to plant in your area.
* Seed Spacing: Carrots need plenty of space to grow. Sow seeds about 1/4 to 1/2 inch deep and 1-2 inches apart.
* Watering: Keep the soil consistently moist until the seeds germinate.
Step-by-Step Seed Sowing
1. Create Furrows: Use a hoe or your finger to create shallow furrows in the soil, about 1/4 to 1/2 inch deep. Space the furrows 1-2 inches apart.
2. Sow the Seeds: Sprinkle the carrot seeds evenly along the furrows. Carrot seeds are tiny, so it can be difficult to sow them thinly. I like to mix the seeds with sand to make them easier to handle.
3. Cover the Seeds: Gently cover the seeds with a thin layer of soil.
4. Water Thoroughly: Water the soil thoroughly with a gentle spray. Avoid using a strong stream of water, as this can wash away the seeds.
5. Mark the Rows: Use plant markers to label the rows of carrots. This will help you to keep track of what you’ve planted and avoid accidentally weeding them out.
6. Consider Succession Planting: To extend your harvest, sow a new batch of carrot seeds every 2-3 weeks. This will ensure that you have a continuous supply of fresh carrots throughout the growing season.
Section 3: Nurturing Your Growing Carrots
Once your carrot seeds have germinated, it’s important to provide them with the care they need to thrive.
* Thinning: This is crucial! Once the seedlings are a few inches tall, thin them to 2-3 inches apart. This gives the remaining carrots enough space to develop properly.
* Weeding: Keep the area around your carrots free of weeds. Weeds compete with carrots for nutrients and water, so it’s important to remove them regularly.
* Watering: Water your carrots regularly, especially during dry periods. Aim for about 1 inch of water per week.
* Fertilizing: Carrots are not heavy feeders, but they will benefit from a light feeding of fertilizer. Use a balanced fertilizer or one that is specifically formulated for root vegetables.
Step-by-Step Carrot Care
1. Thinning Seedlings: This is probably the hardest part for me, because it feels like I’m killing baby plants! But trust me, it’s essential. When the seedlings are about 2-3 inches tall, carefully thin them so that they are spaced 2-3 inches apart. Use small scissors to snip the unwanted seedlings at the soil line, rather than pulling them out, which can disturb the roots of the remaining plants.
2. Weeding Regularly: Weeds are the enemy of a good carrot harvest. They steal nutrients, water, and sunlight from your precious carrots. Hand-pull weeds regularly, being careful not to disturb the carrot roots. You can also use a hoe to cultivate the soil between the rows, but be careful not to damage the carrots.
3. Watering Consistently: Carrots need consistent moisture to grow properly. Water them deeply and regularly, especially during dry periods. Aim for about 1 inch of water per week. You can use a rain gauge to monitor rainfall and adjust your watering accordingly.
4. Fertilizing Sparingly: Carrots don’t need a lot of fertilizer, but a light feeding can help them to grow strong and healthy. Use a balanced fertilizer or one that is specifically formulated for root vegetables. Follow the instructions on the fertilizer packaging carefully. Avoid over-fertilizing, as this can cause the carrots to fork or split. I like to use a liquid fertilizer diluted to half strength and apply it every 2-3 weeks.
5. Mulching (Optional): Mulching around your carrots can help to conserve moisture, suppress weeds, and regulate soil temperature. Use organic mulch, such as straw, hay, or wood chips. Apply a 2-3 inch layer of mulch around the plants, being careful not to cover the crowns.
6. Pest and Disease Control: Keep an eye out for pests and diseases. Common carrot pests include carrot rust flies, aphids, and nematodes. Common carrot diseases include leaf blight and root rot. If you notice any signs of pests or diseases, take action immediately. You can use organic pest control methods, such as insecticidal soap or neem oil, to control pests. You can also use organic fungicides to control diseases.
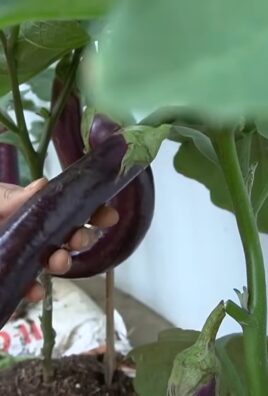
Section 4: Harvesting Your Bountiful Crop
The moment we’ve all been waiting for! Harvesting your carrots is the most rewarding part of the process.
* When to Harvest: Carrots are typically ready to harvest 60-80 days after planting. Check the seed packet for specific maturity dates.
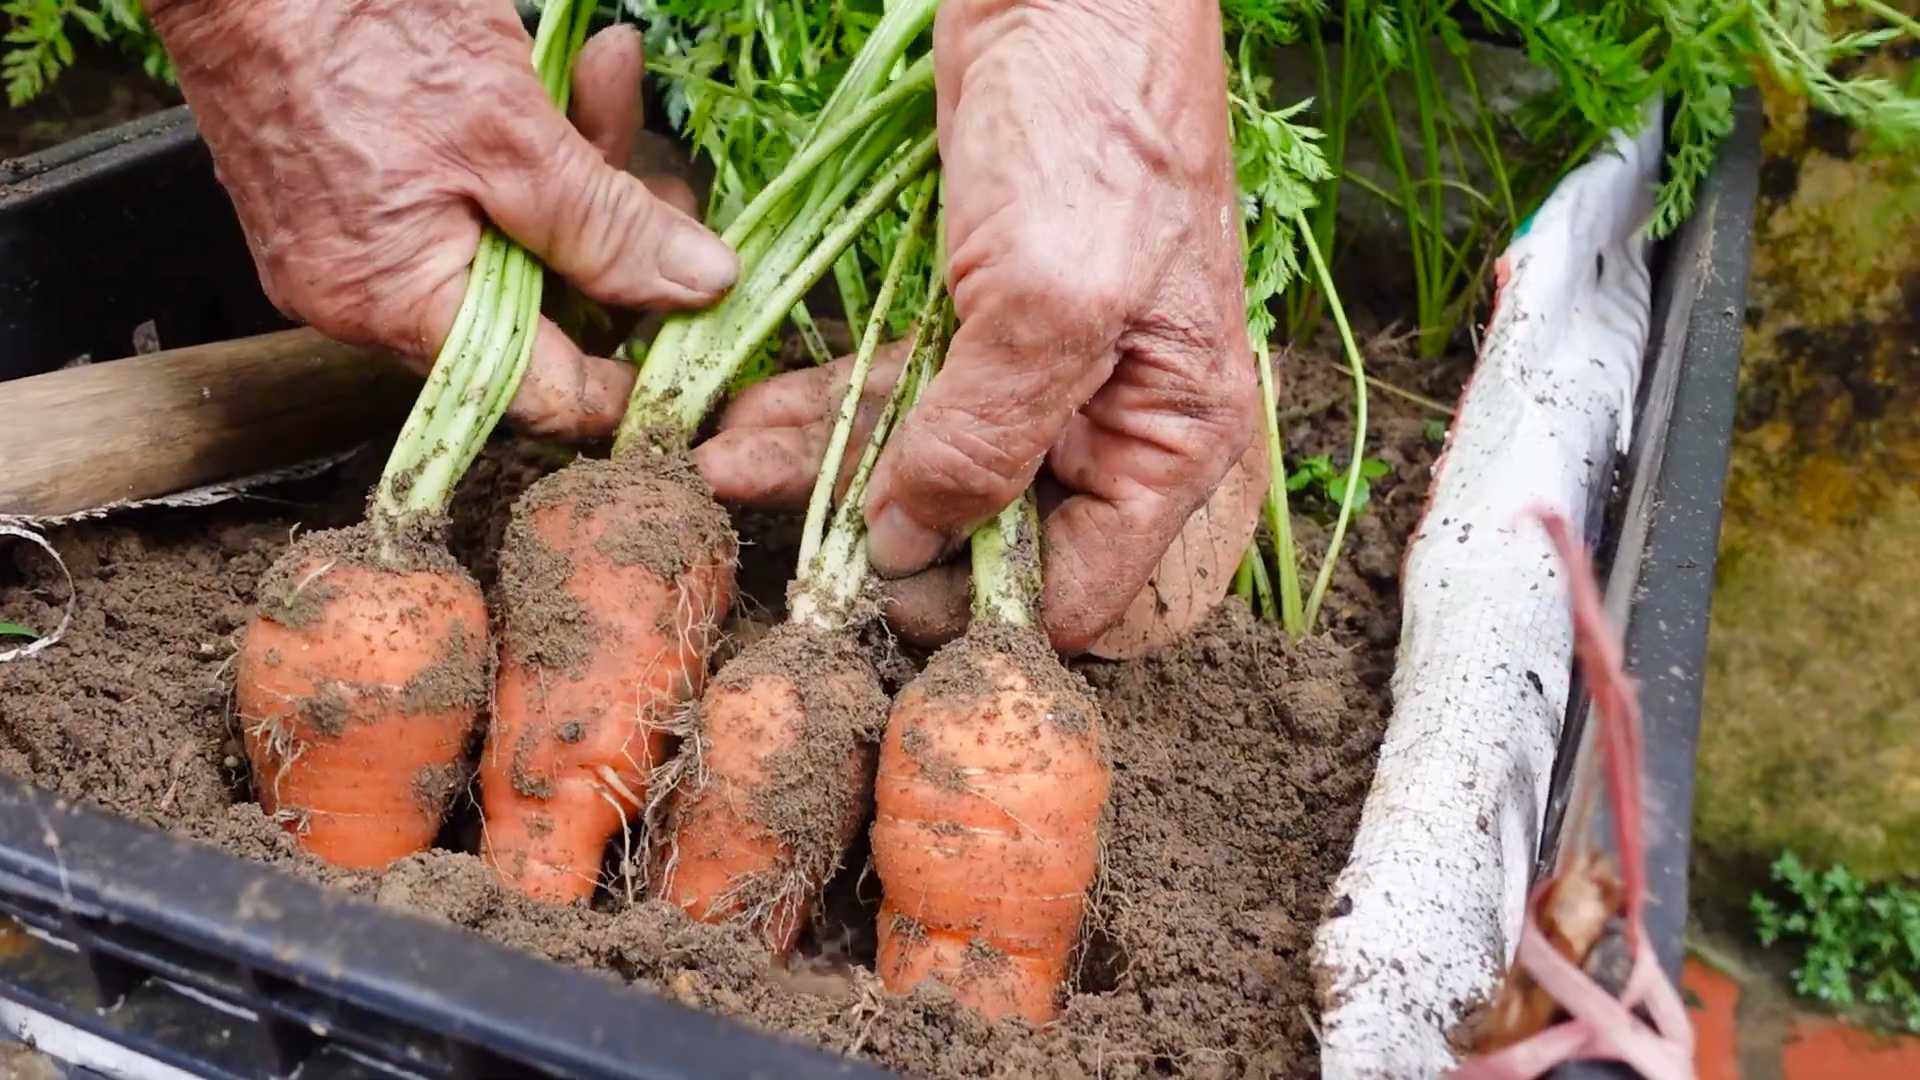
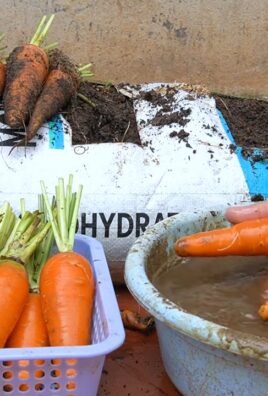
* How to Harvest: Gently loosen the soil around the carrots with a garden fork. Then, grasp the tops of the carrots and pull them straight up.
* Storage: Store carrots in a cool, dark, and humid place.
Step-by-Step Harvesting
1. Check for Readiness: The best way to determine if your carrots are ready to harvest is to check the seed packet for the expected maturity date. You can also gently brush away some soil around the top of a carrot to check its size. Carrots are typically ready to harvest when they are about 1-2 inches in diameter at the top.
2. Loosen the Soil: Before you try to pull the carrots out of the ground, loosen the soil around them with a garden fork. This will make it easier to pull them out and prevent them from breaking. Be careful not to damage the
Conclusion
So, there you have it! This simple, yet incredibly effective DIY trick for achieving a high yield carrot harvest is more than just a gardening hack; it’s a pathway to unlocking the full potential of your garden. We’ve explored how proper soil preparation, strategic spacing, and consistent watering, all enhanced by this easy-to-implement technique, can transform your carrot patch from a sparse collection to a bountiful treasure trove.
Why is this a must-try? Because it addresses the core needs of carrot development. Carrots thrive in loose, well-drained soil, and this method ensures precisely that. By creating an optimal environment for root growth, you’re not just increasing the quantity of carrots you harvest, but also improving their quality – their size, shape, and even their sweetness. Imagine pulling up vibrant, uniformly shaped carrots, bursting with flavor, knowing you played a direct role in their success.
But the beauty of gardening lies in its adaptability. Feel free to experiment with variations to suit your specific needs and preferences. For instance, if you’re dealing with particularly heavy clay soil, consider amending it with even more organic matter, such as well-rotted compost or aged manure. You could also try different types of organic fertilizers to provide your carrots with the nutrients they need to flourish. Companion planting is another avenue to explore. Marigolds, for example, are known to deter nematodes, which can damage carrot roots.
Don’t be afraid to get creative with your watering schedule, too. While consistent moisture is crucial, avoid overwatering, which can lead to root rot. A good rule of thumb is to water deeply but infrequently, allowing the soil to dry out slightly between waterings. Mulching around your carrot plants can also help retain moisture and suppress weeds.
This DIY trick isn’t just about following instructions; it’s about understanding the principles behind successful carrot cultivation and tailoring them to your unique gardening environment. It’s about connecting with nature and experiencing the satisfaction of nurturing life from seed to harvest.
We are confident that by implementing this technique, you’ll be amazed by the results. You’ll not only enjoy a significantly larger carrot harvest, but you’ll also gain a deeper appreciation for the art and science of gardening.
So, what are you waiting for? Grab your gardening tools, prepare your soil, and get ready to experience the joy of a truly abundant carrot harvest. We encourage you to try this DIY trick and share your experiences with us. Let us know what worked well for you, what challenges you encountered, and any variations you tried. Your feedback will help us refine this technique and empower other gardeners to achieve similar success. Share your photos and stories on our social media channels using #HighYieldCarrotHarvest and let’s celebrate the bounty of our gardens together! Happy gardening!
Frequently Asked Questions (FAQ)
What type of soil is best for carrots?
Carrots thrive in loose, well-drained soil that is rich in organic matter. Sandy loam is ideal, as it allows the roots to easily penetrate the soil without encountering resistance. Heavy clay soil can hinder root growth, resulting in short, stubby, or misshapen carrots. If you have clay soil, amend it with plenty of compost, aged manure, or other organic materials to improve drainage and aeration. Raised beds or containers filled with a suitable potting mix are also excellent options for growing carrots in challenging soil conditions. The pH of the soil should be between 6.0 and 6.8 for optimal growth.
How often should I water my carrots?
Consistent watering is essential for healthy carrot growth. Aim to keep the soil consistently moist, but not waterlogged. Water deeply whenever the top inch of soil feels dry to the touch. The frequency of watering will depend on factors such as the weather, soil type, and drainage. During hot, dry periods, you may need to water more frequently. Mulching around your carrot plants can help retain moisture and reduce the need for frequent watering. Avoid overhead watering, as this can promote fungal diseases. Instead, water at the base of the plants or use a soaker hose.
What are the best companion plants for carrots?
Companion planting can be a beneficial strategy for improving carrot growth and deterring pests. Some excellent companion plants for carrots include:
* **Onions and Garlic:** These plants repel carrot root flies, a common pest that can damage carrot roots.
* **Marigolds:** Marigolds deter nematodes, microscopic worms that can feed on carrot roots.
* **Rosemary and Sage:** These herbs repel carrot rust flies and other pests.
* **Lettuce and Radishes:** These fast-growing crops can be planted between rows of carrots to provide shade and suppress weeds.
* **Beans and Peas:** These legumes fix nitrogen in the soil, which can benefit carrot growth.
Avoid planting carrots near dill or fennel, as these plants can attract aphids and other pests that can harm carrots.
How do I prevent carrot root fly?
Carrot root fly is a common pest that can cause significant damage to carrot crops. The larvae of the carrot root fly feed on carrot roots, creating tunnels and making them unmarketable. Here are some tips for preventing carrot root fly:
* **Use row covers:** Cover your carrot plants with fine mesh row covers to prevent carrot root flies from laying their eggs on the soil.
* **Plant resistant varieties:** Some carrot varieties are more resistant to carrot root fly than others. Look for varieties that are specifically bred for resistance.
* **Practice crop rotation:** Avoid planting carrots in the same location year after year, as this can allow carrot root fly populations to build up in the soil.
* **Remove infested carrots:** If you find carrots that are infested with carrot root fly larvae, remove them from the garden and dispose of them properly.
* **Use nematodes:** Beneficial nematodes can be used to control carrot root fly larvae in the soil.
When is the best time to harvest carrots?
Carrots can be harvested at any time once they have reached a usable size. However, they typically taste best when they are fully mature. The maturity time for carrots varies depending on the variety, but it is generally between 60 and 80 days after planting. To check if your carrots are ready to harvest, gently pull back the soil around the base of the plant to expose the top of the carrot. If the carrot is the desired size and color, it is ready to harvest. You can also harvest carrots gradually as needed, leaving the remaining carrots in the ground until you are ready to use them. In colder climates, carrots can be left in the ground over winter with a thick layer of mulch for protection.
Can I grow carrots in containers?
Yes, carrots can be successfully grown in containers, provided that you choose a container that is deep enough to accommodate the roots. A container that is at least 12 inches deep is recommended. Use a well-draining potting mix and ensure that the container has drainage holes to prevent waterlogging. Container-grown carrots may require more frequent watering and fertilization than carrots grown in the ground. Choose a sunny location for your container carrots and protect them from extreme temperatures. Shorter, rounder carrot varieties are often better suited for container growing than long, slender varieties.
What are some common problems when growing carrots and how can I fix them?
Several common problems can affect carrot growth. Here are a few and how to address them:
* **Forked or stunted roots:** This is often caused by compacted soil or rocks in the soil. Ensure the soil is loose and well-drained, removing any rocks or debris.
* **Bitter taste:** This can be due to inconsistent watering or hot weather. Maintain consistent soil moisture and provide shade during the hottest part of the day.
* **Cracked carrots:** This is usually caused by uneven watering, especially after a period of drought. Water regularly and deeply.
* **Pests:** Carrot root flies, aphids, and nematodes can damage carrots. Use row covers, companion planting, or organic pest control methods to protect your plants.
* **Diseases:** Fungal diseases can affect carrots, especially in humid conditions. Ensure good air circulation and avoid overhead watering. Use a fungicide if necessary.
Leave a Comment