
DIY Laundry Soap Vinegar Cleaner: Tired of shelling out big bucks for laundry detergents packed with questionable chemicals? I hear you! I was too, until I discovered the magic of crafting my own laundry solutions. For generations, resourceful homemakers have been concocting their own cleaning supplies, drawing upon the power of simple, natural ingredients. Think back to your grandmother’s era – she likely had a few tricks up her sleeve for keeping things sparkling clean without breaking the bank or harming the environment.
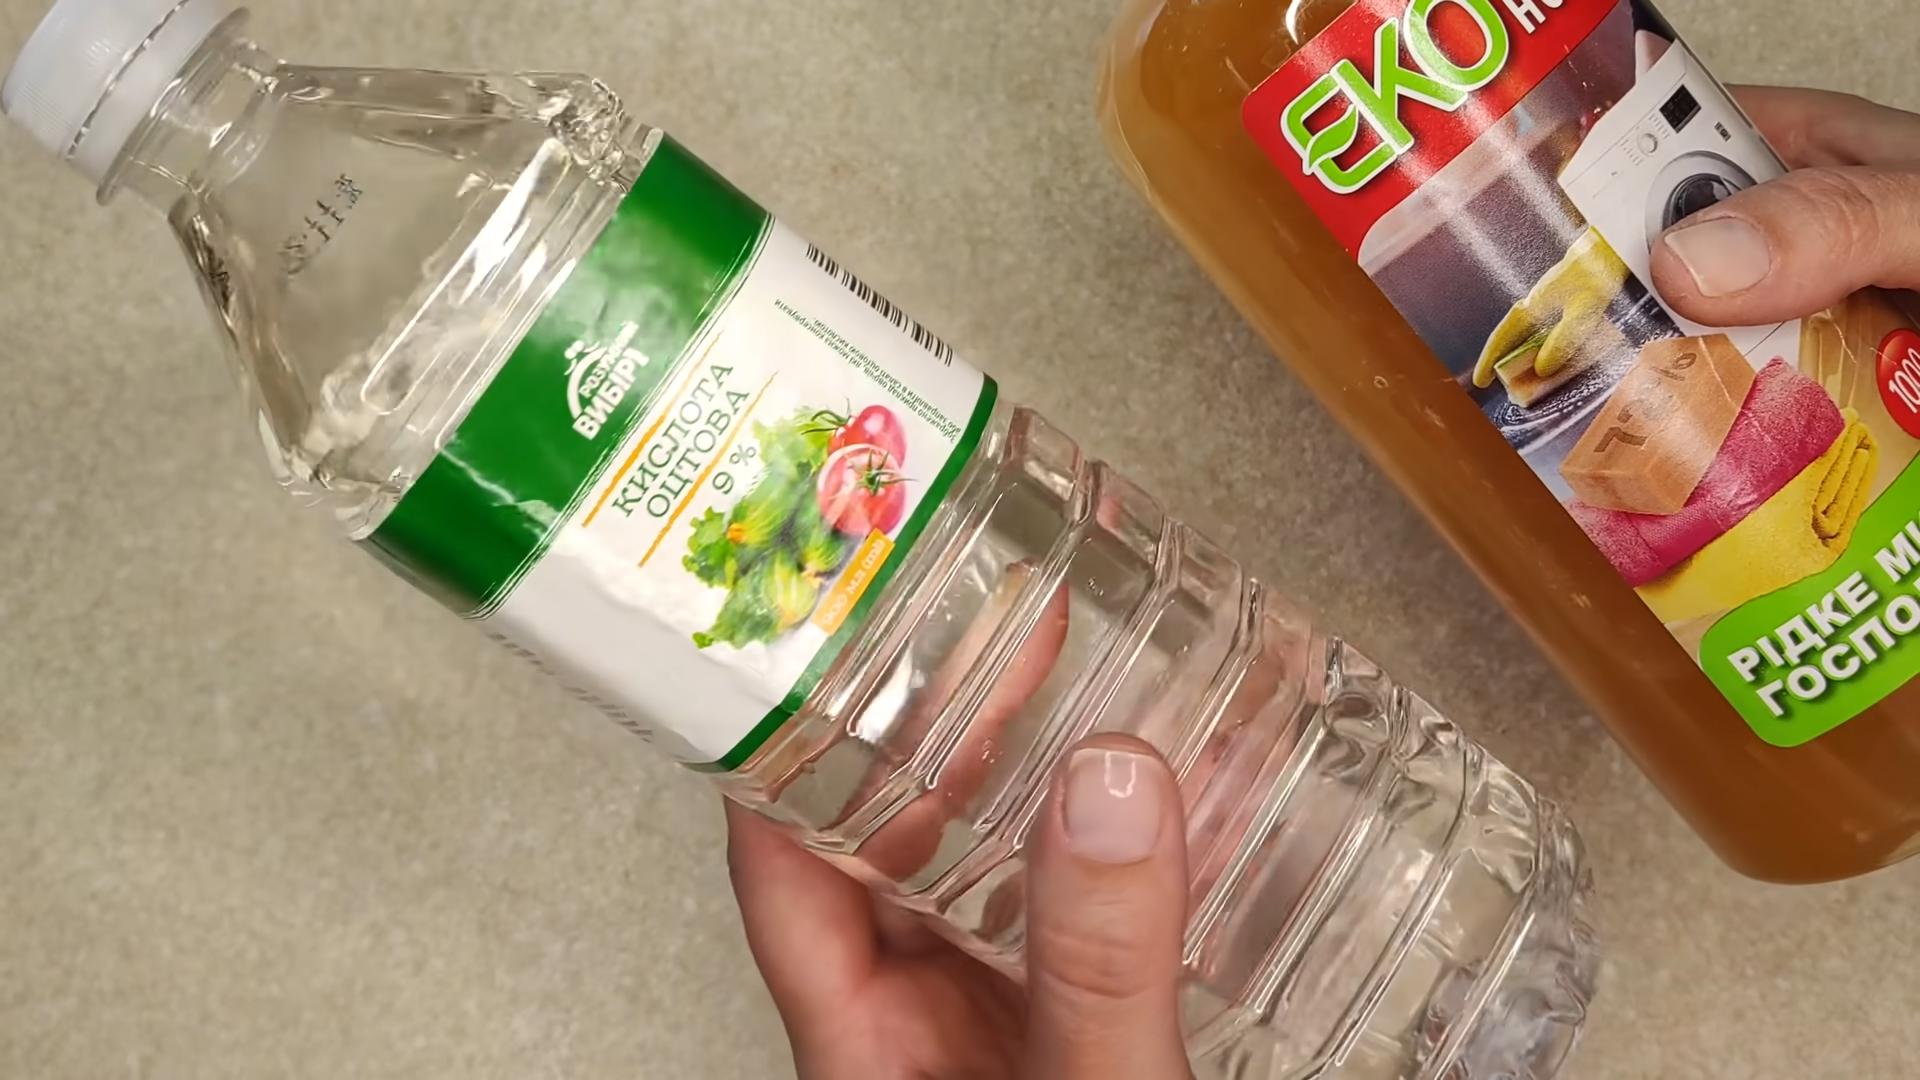
Today, we’re bringing that wisdom back with a modern twist. In this article, I’m going to share my favorite DIY laundry soap vinegar cleaner recipe, a powerhouse combination that’s gentle on your clothes, tough on stains, and incredibly budget-friendly. You might be wondering, “Why vinegar?” Well, vinegar acts as a natural fabric softener and brightener, helping to remove residue and odors that commercial detergents often leave behind. Plus, it’s a fantastic alternative for those with sensitive skin or allergies.
This DIY trick is a game-changer because it empowers you to take control of what goes into your laundry and, ultimately, what comes into contact with your skin. Not only will you save money and reduce your environmental impact, but you’ll also gain the satisfaction of knowing exactly what’s cleaning your clothes. So, let’s dive in and unlock the secrets to a cleaner, greener, and more affordable laundry routine with this amazing DIY Laundry Soap Vinegar Cleaner!
Grow Your Own Angled Luffa Sponges: A Beginner’s Guide
Alright, plant enthusiasts! Ever thought about growing your own sponges? I know, it sounds a bit crazy, but trust me, it’s incredibly rewarding. We’re talking about angled luffa, also known as Chinese okra or ridge gourd. It’s a vigorous vine that produces delicious edible gourds when young, and fantastic exfoliating sponges when mature. Let’s dive into how you can cultivate these amazing plants right in your backyard!
Choosing the Right Variety and Starting Seeds
First things first, you need to get your hands on some angled luffa seeds. You can find them online or at most garden centers. Make sure you’re getting *angled* luffa (Luffa acutangula), not smooth luffa (Luffa aegyptiaca), unless you specifically want that one.
Here’s how to get those seeds started:
1. Soaking the Seeds: Luffa seeds have a tough outer shell, so soaking them helps with germination. Place your seeds in a small bowl of warm water for 24-48 hours. You’ll notice they swell up a bit – that’s a good sign!
2. Preparing Seed Starting Mix: While the seeds are soaking, get your seed starting mix ready. I like to use a mix of peat moss, vermiculite, and perlite. You can also buy pre-made seed starting mix from the store. Make sure it’s well-draining.
3. Planting the Seeds: Fill small pots or seed trays with your seed starting mix. Make a small hole about 1 inch deep in each pot. Place one or two seeds in each hole and cover them gently with soil.
4. Watering and Warmth: Water the soil gently, making sure not to dislodge the seeds. Keep the soil consistently moist but not soggy. Luffa seeds need warmth to germinate, so place your seed trays in a warm location, like on top of a refrigerator or using a heat mat. The ideal temperature is around 70-80°F (21-27°C).
5. Patience is Key: Germination can take anywhere from 7 to 21 days, so be patient. Once the seedlings emerge, provide them with plenty of sunlight. If you’re starting them indoors, a grow light is a great investment.
Preparing the Garden Bed and Transplanting
Luffa vines are vigorous growers and need plenty of space and sunshine. Choose a location in your garden that gets at least 6-8 hours of direct sunlight per day.
1. Soil Preparation: Luffa plants thrive in well-drained, fertile soil. Amend your garden soil with compost or well-rotted manure to improve its fertility and drainage. I usually dig in a generous amount – about 4-6 inches deep.
2. Building a Strong Trellis: This is crucial! Luffa vines are heavy and need a sturdy trellis to climb on. You can use a fence, an arbor, or build your own trellis using wood or metal. Make sure it’s at least 6-8 feet tall and strong enough to support the weight of the mature vines and gourds. I’ve seen people use cattle panels bent into an arch, which works great.
3. Hardening Off Seedlings: Before transplanting your seedlings outdoors, you need to “harden them off.” This means gradually exposing them to outdoor conditions over a period of 7-10 days. Start by placing them outside for an hour or two each day, gradually increasing the amount of time they spend outdoors. This helps them adjust to the sun, wind, and temperature changes.
4. Transplanting: Once your seedlings are hardened off and the danger of frost has passed, it’s time to transplant them into your garden. Space the plants about 2-3 feet apart along the trellis. Dig a hole slightly larger than the root ball of the seedling. Gently remove the seedling from its pot and place it in the hole. Backfill with soil and water thoroughly.
Caring for Your Luffa Vines
Now that your luffa vines are in the ground, it’s time to provide them with the care they need to thrive.
1. Watering: Luffa plants need consistent watering, especially during hot, dry weather. Water deeply and regularly, making sure the soil stays moist but not waterlogged. I usually water them every other day, or more frequently during heat waves.
2. Fertilizing: Feed your luffa vines with a balanced fertilizer every 2-3 weeks. You can use a liquid fertilizer or a slow-release granular fertilizer. Look for a fertilizer with a ratio of 10-10-10 or something similar.
3. Pruning: Pruning can help improve air circulation and encourage fruit production. Remove any yellowing or dead leaves. You can also prune the tips of the vines to encourage branching.
4. Pest and Disease Control: Luffa plants are generally pest-resistant, but they can be susceptible to certain pests, such as squash bugs and vine borers. Inspect your plants regularly for signs of pests and take action if necessary. You can use insecticidal soap or neem oil to control pests. Powdery mildew can also be a problem, especially in humid climates. Improve air circulation by pruning and avoid overhead watering.
5. Pollination: Luffa plants have separate male and female flowers. The female flowers have a small immature gourd behind them. Bees and other pollinators are essential for pollination. If you’re not seeing many bees in your garden, you may need to hand-pollinate the flowers. To hand-pollinate, use a small paintbrush to transfer pollen from the male flowers to the female flowers.
Harvesting and Processing Your Luffa Sponges
This is the exciting part! Knowing when to harvest and how to process your luffa is key to getting those perfect sponges.
1. Harvesting for Eating: If you want to eat the luffa, harvest them when they are young and tender, about 6-8 inches long. They should be firm and have smooth skin. You can cook them like zucchini or squash.
2. Harvesting for Sponges: To harvest for sponges, wait until the gourds are fully mature and the skin has turned brown and dry. The gourd will feel lightweight and the seeds will rattle inside. This usually happens in the late fall.
3. Processing the Sponges: This is where the magic happens!
* Peeling the Skin: Once harvested, you need to remove the outer skin. You can do this by soaking the gourds in water for a few days to soften the skin. Then, use your hands or a knife to peel off the skin. It can be a bit messy, so do it outside or in a well-ventilated area.
* Removing the Seeds: After peeling, shake out the seeds. You can save these seeds for planting next year. Rinse the sponge thoroughly to remove any remaining pulp or seeds.
* Cleaning and Drying: Wash the luffa sponge with soap and water to remove any remaining debris. You can also soak it in a diluted bleach solution (1 part bleach to 10 parts water) for a few minutes to disinfect it. Rinse thoroughly and hang the sponge to dry completely. Make sure it’s in a well-ventilated area to prevent mold growth.
* Bleaching (Optional): If you want a whiter sponge, you can soak it in a diluted bleach solution for a longer period of time. However, this can weaken the fibers, so use caution.
4. Cutting and Shaping: Once the sponge is dry, you can cut it into smaller pieces or leave it whole. You can also trim any rough edges.
Enjoying Your Homegrown Luffa Sponges
Congratulations! You’ve successfully grown and processed your own luffa sponges. Now it’s time to enjoy the fruits (or rather, sponges) of your labor.
* Exfoliating: Luffa sponges are great for exfoliating your skin. Use them in the shower or bath to gently scrub away dead skin cells.
* Cleaning: Luffa sponges can also be used for cleaning dishes, countertops, and other surfaces. They’re a natural and eco-friendly alternative to synthetic sponges.
* Crafting: Get creative! You can use luffa sponges in various craft projects, such as making soap dishes or decorative items.
Growing angled luffa is a rewarding experience that provides you with both delicious food and useful sponges. With a little bit of effort and patience, you can enjoy the benefits of this amazing plant right in your own backyard. Happy gardening!
Conclusion
So, there you have it! Ditching the store-bought chemicals and embracing this DIY laundry soap vinegar cleaner is more than just a trend; it’s a game-changer for your laundry routine, your wallet, and the environment. We’ve walked you through the simple steps to create a powerful, effective cleaner that rivals, and in many cases surpasses, the performance of commercial brands.
Why is this a must-try? Because it’s incredibly effective at cleaning clothes, removing odors, and leaving your laundry feeling fresh and revitalized. The combination of the gentle cleaning power of homemade laundry soap with the natural deodorizing and softening properties of vinegar creates a synergistic effect that tackles even the toughest stains and smells. Plus, you know exactly what’s going into your cleaner – no hidden chemicals or harsh additives that can irritate sensitive skin or damage your washing machine.
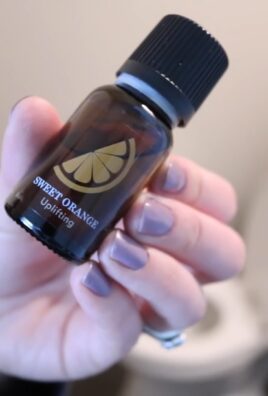
Beyond the basic recipe, there’s plenty of room for customization. Want a boost of freshness? Add a few drops of your favorite essential oil, like lavender, lemon, or eucalyptus, to the vinegar solution. For extra stain-fighting power, consider adding a tablespoon of borax to the laundry soap mixture. If you have hard water, you might want to increase the amount of vinegar slightly to help soften the water and improve cleaning performance. Experiment with different ratios and ingredients to find the perfect blend that suits your needs and preferences. You can even create different versions for different types of laundry – a gentler formula for delicates and a more powerful one for heavily soiled items.
This DIY laundry soap vinegar cleaner is not just about saving money; it’s about taking control of the ingredients you use in your home and making a conscious choice to reduce your environmental impact. By switching to homemade cleaner, you’re reducing your reliance on plastic packaging and minimizing the amount of harmful chemicals that end up in our waterways. It’s a small change that can make a big difference.
We’re confident that once you try this DIY laundry soap vinegar cleaner, you’ll be hooked. The results speak for themselves – cleaner, fresher laundry, a healthier home, and a lighter footprint on the planet. So, gather your ingredients, follow the simple steps, and prepare to be amazed.
Don’t just take our word for it, though. We encourage you to try this DIY trick and share your experience with us! Let us know what variations you tried, what scents you added, and how it worked for your laundry. Share your tips and tricks in the comments below, and let’s build a community of eco-conscious cleaners together. We can’t wait to hear your success stories!
Frequently Asked Questions (FAQ)
What type of vinegar should I use?
White distilled vinegar is the best choice for laundry cleaning. It’s clear, inexpensive, and doesn’t contain any dyes or additives that could stain your clothes. Avoid using other types of vinegar, such as apple cider vinegar or balsamic vinegar, as they may leave a residue or discolor fabrics. The acidity of white distilled vinegar is perfect for breaking down dirt, grime, and odors without damaging your washing machine or clothing.
Will the vinegar smell linger on my clothes?
No, the vinegar smell will dissipate during the wash cycle and especially during the drying process. You won’t be left with a vinegary scent on your clean laundry. If you’re particularly sensitive to smells, you can add a few drops of essential oil to the vinegar solution to mask any lingering odor. However, most people find that the vinegar smell is completely gone once the laundry is dry.
Is this DIY laundry soap vinegar cleaner safe for all types of fabrics?
Generally, yes, this cleaner is safe for most fabrics, including cotton, linen, and synthetic blends. However, it’s always a good idea to test a small, inconspicuous area of the fabric first, especially if you’re dealing with delicate materials like silk or wool. Avoid using this cleaner on fabrics that require dry cleaning. If you’re unsure about a particular fabric, consult the care label or contact a professional cleaner.
Can I use this cleaner in a high-efficiency (HE) washing machine?
Yes, this DIY laundry soap vinegar cleaner is safe to use in both standard and high-efficiency (HE) washing machines. In fact, it can actually help to keep your HE machine clean and free of residue buildup. Just be sure to use the appropriate amount of cleaner for your machine’s load size. For HE machines, you may need to use slightly less cleaner than you would for a standard machine.
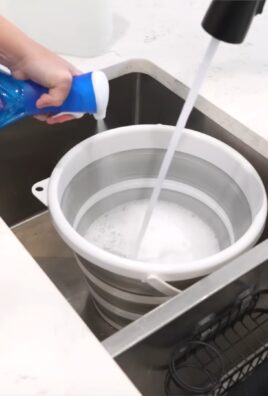
How much of the DIY laundry soap vinegar cleaner should I use per load?
The amount of cleaner you use will depend on the size of your load and the level of soil. As a general guideline, use about 1/4 cup of the laundry soap mixture and 1/2 cup of vinegar for a regular-sized load. For heavily soiled loads, you can increase the amount of laundry soap to 1/2 cup. For smaller loads, reduce the amount accordingly. It’s always better to start with less cleaner and add more if needed.
Can I add fabric softener to the wash when using this DIY cleaner?
You don’t need to add fabric softener when using this DIY laundry soap vinegar cleaner, as the vinegar acts as a natural fabric softener. In fact, adding commercial fabric softener can actually counteract the benefits of the vinegar and leave a residue on your clothes. If you prefer a softer feel, you can add a few drops of essential oil to the vinegar solution or use dryer balls in the dryer.
How long will this DIY laundry soap vinegar cleaner last?
The laundry soap mixture will typically last for several weeks or even months if stored in an airtight container in a cool, dry place. The vinegar solution doesn’t expire. However, it’s best to use the cleaner within a reasonable timeframe to ensure optimal effectiveness. If you notice any changes in the appearance or smell of the cleaner, it’s best to discard it and make a fresh batch.
What if I have hard water? Will this cleaner still work?
Yes, this cleaner can still work with hard water, but you may need to adjust the amount of vinegar you use. Hard water can interfere with the cleaning process, so increasing the amount of vinegar can help to soften the water and improve cleaning performance. You can also add a tablespoon of borax to the laundry soap mixture to help soften the water.
Can I use this cleaner to pre-treat stains?
Yes, you can use this cleaner to pre-treat stains. Simply apply a small amount of the laundry soap mixture directly to the stain and let it sit for 15-30 minutes before washing. For tough stains, you can also add a small amount of vinegar to the stain before applying the laundry soap. Be sure to test the cleaner on a small, inconspicuous area of the fabric first to ensure that it doesn’t cause any discoloration.
What are the benefits of using DIY laundry soap vinegar cleaner compared to store-bought detergents?
There are several benefits to using DIY laundry soap vinegar cleaner:
* **Cost-effective:** Homemade cleaner is significantly cheaper than store-bought detergents.
* **Environmentally friendly:** It reduces your reliance on plastic packaging and minimizes the amount of harmful chemicals that end up in our waterways.
* **Gentle on skin:** It’s free of harsh chemicals and additives that can irritate sensitive skin.
* **Effective cleaning:** It effectively cleans clothes, removes odors, and leaves laundry feeling fresh.
* **Customizable:** You can customize the recipe to suit your needs and preferences.
* **Reduced residue:** It leaves less residue on your clothes and in your washing machine.

Leave a Comment