
Grow Celery Backyard DIY: Ever dream of snipping fresh, crisp celery stalks right from your own backyard? I know I have! Forget those limp, store-bought bunches – imagine the vibrant flavor and satisfying crunch of homegrown celery gracing your salads, soups, and snack plates. This isn’t just about saving a few bucks at the grocery store; it’s about connecting with nature and enjoying the fruits (or rather, vegetables!) of your labor.
Celery has a fascinating history, dating back to ancient times where it was used medicinally before becoming a culinary staple. From the Mediterranean to your backyard, this humble vegetable has come a long way. But let’s be honest, growing celery can seem a little intimidating. That’s where this DIY guide comes in!
Many people struggle with growing celery because it requires specific conditions and a little know-how. But don’t worry, I’m here to share my tried-and-true secrets for a successful grow celery backyard DIY project. We’ll break down the process into easy-to-follow steps, from seed starting to harvesting, ensuring you’ll be enjoying delicious, homegrown celery in no time. Get ready to ditch the store-bought stuff and embrace the joy of growing your own!
Grow Your Own Celery: A Beginner’s Guide to Backyard Success
Hey there, fellow garden enthusiasts! Ever thought about growing your own celery? It’s surprisingly rewarding, and nothing beats the fresh, crisp taste of homegrown celery sticks. I’m going to walk you through everything you need to know to cultivate your own celery patch, from seed to harvest. Don’t worry if you’re a beginner; I’ll break it down into easy-to-follow steps.
Getting Started: Planning and Preparation
Before we get our hands dirty, let’s plan our celery adventure. Celery can be a bit finicky, but with the right preparation, you’ll be munching on your own stalks in no time.
* Choosing the Right Variety: There are several celery varieties to choose from. ‘Utah Improved’ is a popular and reliable choice, known for its crisp stalks and good flavor. ‘Golden Self-Blanching’ is another option, although it’s less common these days. I personally prefer ‘Utah Improved’ for its robust growth.
* Timing is Key: Celery needs a long growing season, about 120-140 days from seed to harvest. That means you’ll likely need to start your seeds indoors about 10-12 weeks before the last expected frost. I usually start mine in late February or early March.
* Soil Preparation: Celery loves rich, well-drained soil that’s high in organic matter. Before planting, amend your garden bed with plenty of compost or well-rotted manure. This will provide the nutrients your celery needs to thrive. The ideal pH for celery is between 6.0 and 6.8.
* Sunlight Requirements: Celery needs at least 6 hours of sunlight per day. Choose a location in your garden that receives plenty of sunshine.
* Water, Water, Water: Celery is a thirsty plant! Consistent moisture is crucial for its growth. Make sure you have a reliable water source nearby.
Step-by-Step Instructions: From Seed to Seedling
Now for the fun part! Let’s get those celery seeds started.
1. Sowing the Seeds: Celery seeds are tiny, so handle them with care. I like to use a seed starting tray with individual cells. Fill the cells with a seed starting mix. Moisten the mix thoroughly. Sprinkle a few seeds into each cell. Celery seeds need light to germinate, so don’t bury them too deeply. Gently press them into the surface of the soil.
2. Creating a Humid Environment: To help with germination, cover the seed starting tray with a clear plastic dome or plastic wrap. This will create a humid environment that the seeds love. Place the tray in a warm location, ideally around 70-75°F (21-24°C).
3. Maintaining Moisture: Keep the soil consistently moist, but not soggy. I use a spray bottle to gently mist the soil whenever it starts to dry out.
4. Germination Time: Celery seeds can take a while to germinate, usually 14-21 days. Be patient! Once the seedlings emerge, remove the plastic dome or wrap.
5. Providing Light: Once the seedlings have sprouted, they need plenty of light. If you don’t have a sunny windowsill, use a grow light. I keep my grow light on for about 16 hours a day.
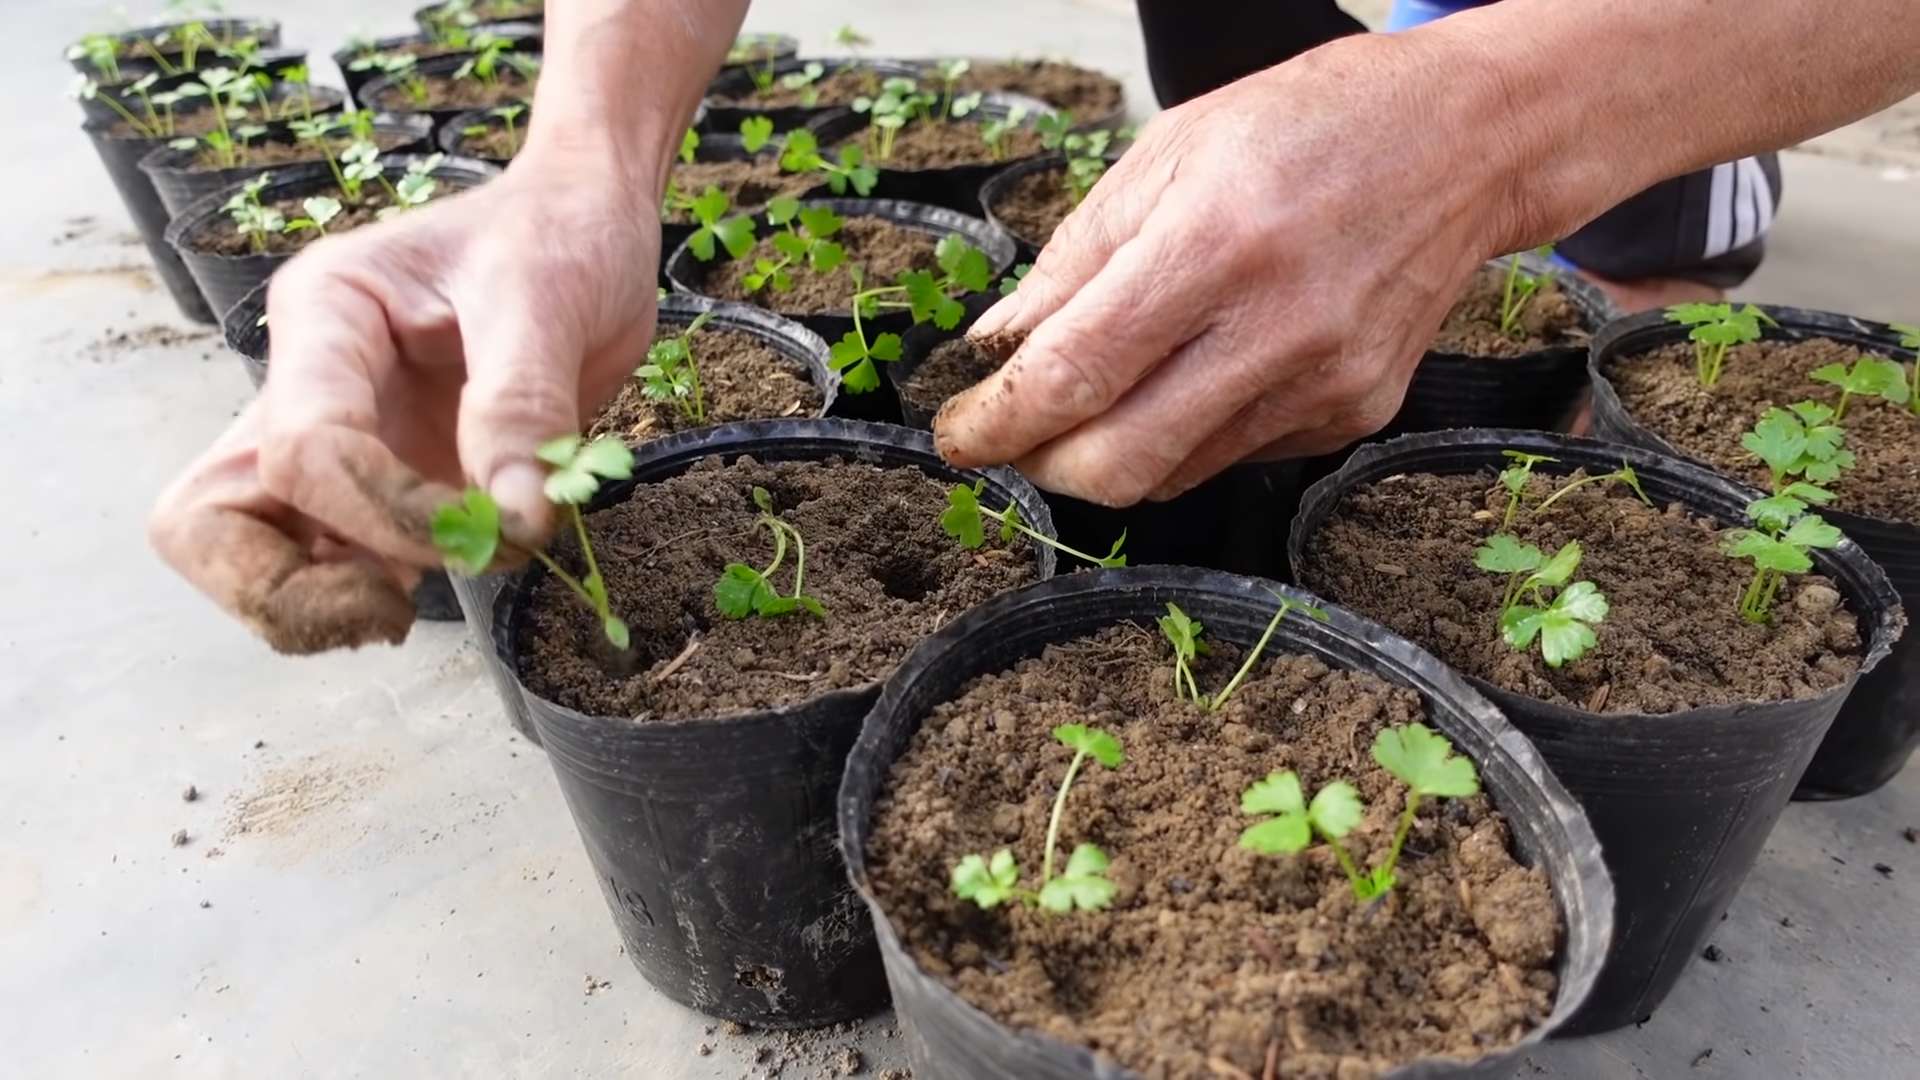
6. Thinning the Seedlings: Once the seedlings have developed a few true leaves, thin them out so that only one strong seedling remains in each cell. Use small scissors to snip off the weaker seedlings at the soil line.
7. Hardening Off: Before transplanting the seedlings outdoors, you need to harden them off. This means gradually acclimating them to outdoor conditions. Start by placing the seedlings outdoors in a sheltered location for a few hours each day. Gradually increase the amount of time they spend outdoors over the course of a week or two.
Transplanting Your Celery Seedlings
Okay, your seedlings are strong and ready to face the world! Let’s get them into the garden.
1. Preparing the Garden Bed: Make sure your garden bed is well-prepared with plenty of compost or well-rotted manure. The soil should be loose and well-drained.
2. Spacing the Seedlings: Space the seedlings about 6-8 inches apart in rows that are 18-24 inches apart. This will give them enough room to grow.
3. Planting Depth: Plant the seedlings at the same depth they were growing in the seed starting tray.
4. Watering After Planting: Water the seedlings thoroughly after planting. This will help them settle into their new home.
5. Mulching: Apply a layer of mulch around the celery plants. This will help to retain moisture, suppress weeds, and regulate soil temperature. I like to use straw or shredded leaves.
Caring for Your Celery Plants
Now that your celery is in the ground, it’s time to provide the care it needs to thrive.
1. Watering: Celery needs consistent moisture. Water deeply and regularly, especially during hot, dry weather. Aim for at least 1 inch of water per week. I check the soil moisture regularly and water whenever the top inch feels dry.
2. Fertilizing: Celery is a heavy feeder. Fertilize every 2-3 weeks with a balanced fertilizer. I like to use a liquid fertilizer diluted to half strength.
3. Weed Control: Keep the garden bed free of weeds. Weeds compete with celery for water and nutrients. Hand-pull weeds regularly or use a hoe to cultivate the soil.
4. Pest and Disease Control: Celery can be susceptible to certain pests and diseases. Keep an eye out for aphids, celery leaf tiers, and fungal diseases. If you notice any problems, take action promptly. I prefer to use organic pest control methods whenever possible. Insecticidal soap can be effective against aphids, and copper fungicide can help to control fungal diseases.
5. Blanching (Optional): Blanching celery stalks makes them milder and more tender. About 2-3 weeks before harvest, you can blanch the stalks by wrapping them with newspaper or cardboard. Leave the tops of the stalks exposed to sunlight. This will prevent them from turning green and bitter. However, modern varieties are often self-blanching and don’t require this step. I usually skip this step unless I’m looking for a particularly mild flavor.
Harvesting Your Celery
The moment you’ve been waiting for! It’s time to harvest your homegrown celery.
1. Harvest Time: Celery is ready to harvest when the stalks are at least 8 inches tall and have reached a good size.
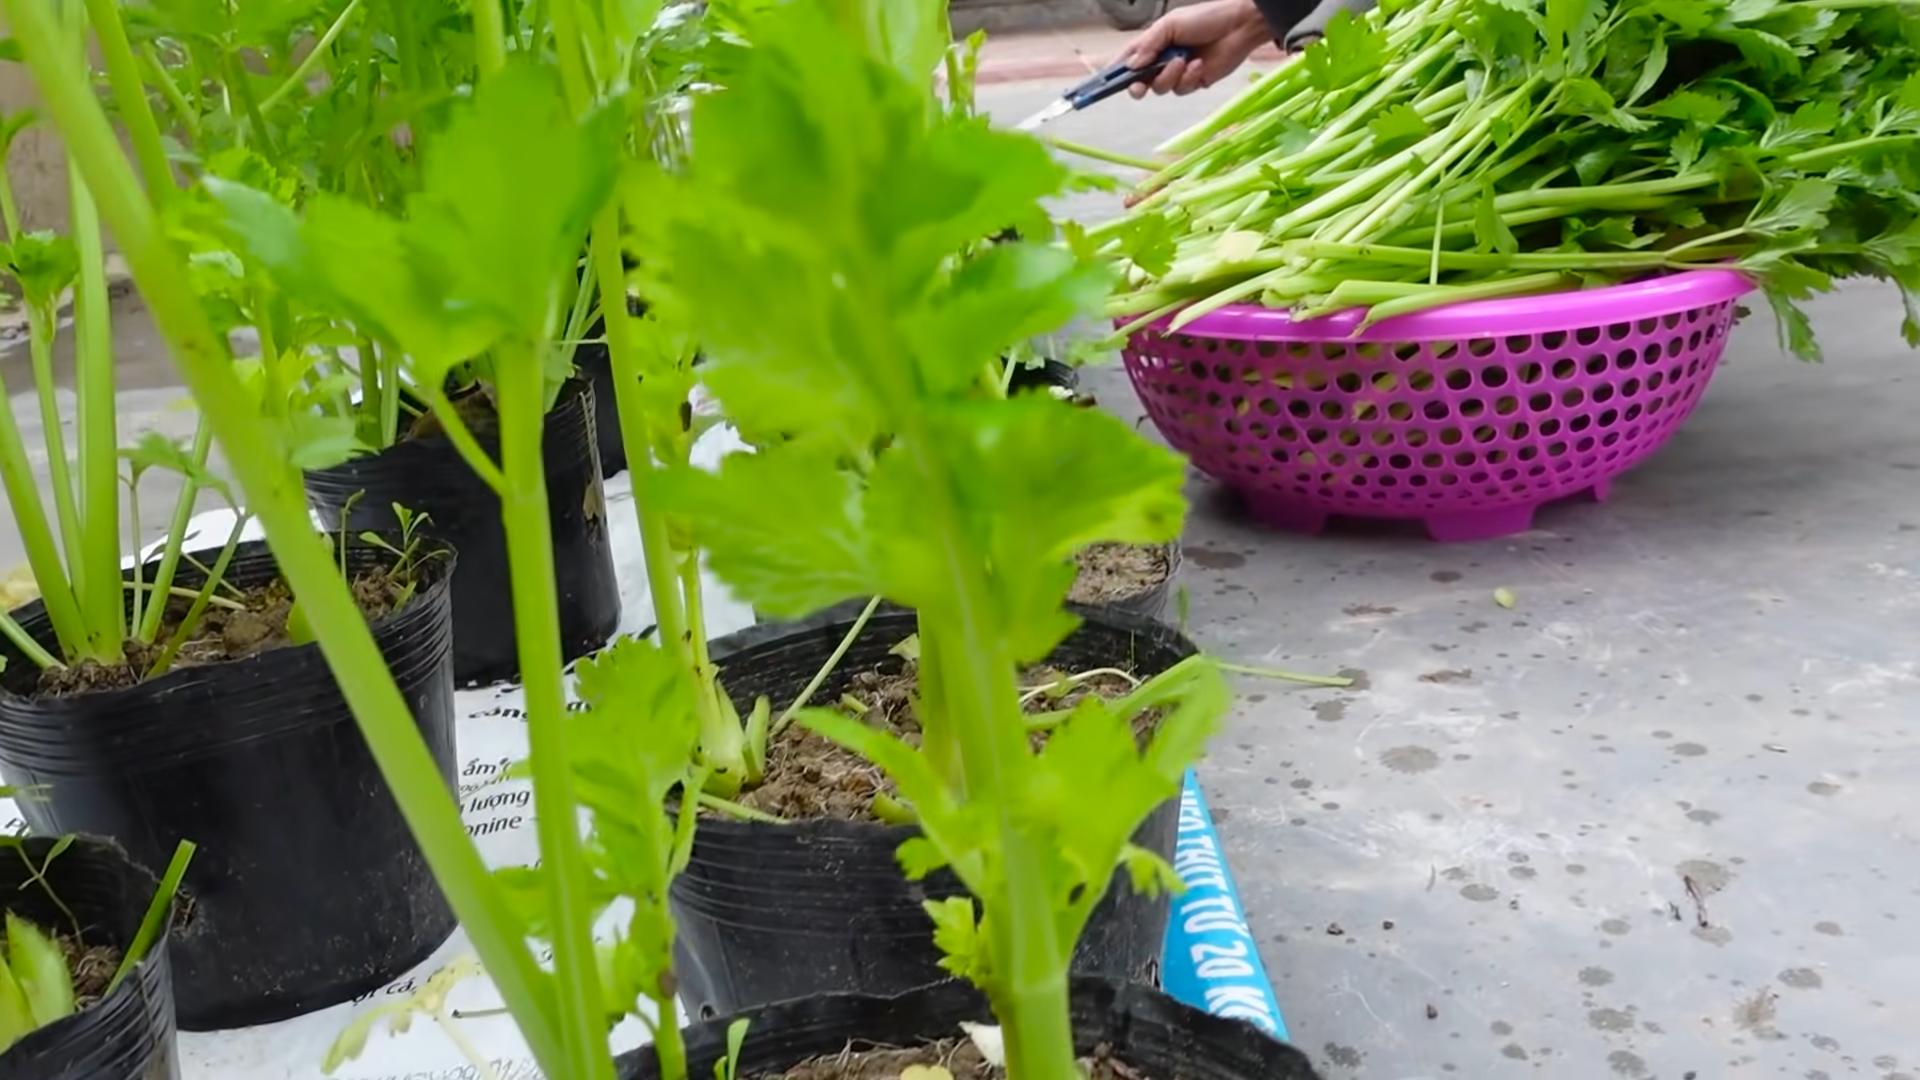
2. Harvesting Method: To harvest, simply cut the stalks at the base of the plant with a sharp knife. You can harvest the entire plant at once, or you can harvest individual stalks as needed.
3. Storing Celery: Celery can be stored in the refrigerator for several weeks. Wrap the stalks in a damp paper towel and place them in a plastic bag.
Troubleshooting Common Celery Problems
Even with the best care, you might encounter some challenges along the way. Here are a few common problems and how to address them:
* Bolting: Bolting occurs when celery plants prematurely produce flower stalks. This can be caused by stress, such as hot weather or inconsistent watering. To prevent bolting, provide consistent moisture and shade during hot weather.
* Pests: Aphids, celery leaf tiers, and other pests can damage celery plants. Inspect your plants regularly and take action promptly if you notice any pests.
* Diseases: Fungal diseases, such as early blight and late blight, can affect celery plants. To prevent diseases, provide good air circulation and avoid overhead watering.
* Yellowing Leaves: Yellowing leaves can be a sign of nutrient deficiency or overwatering. Check the soil moisture and fertilize if necessary.
Enjoying Your Homegrown Celery
Congratulations! You’ve successfully grown your own celery. Now it’s time to enjoy the fruits (or rather, stalks) of your labor.
* Snacking: Celery sticks are a healthy and refreshing snack. Pair them with peanut butter, hummus, or your favorite dip.
* Cooking: Celery is a versatile ingredient that can be used in soups, stews, salads, and stir-fries.
* Juicing: Celery juice is a popular health drink. It’s packed with vitamins and minerals.
Growing your own celery is a rewarding experience. With a little patience and care, you can enjoy the fresh, crisp taste of homegrown celery all season long. Happy gardening!
Conclusion
So, there you have it! Growing celery in your backyard isn’t just a whimsical gardening project; it’s a genuinely rewarding experience that puts fresh, crisp stalks right at your fingertips. Forget the wilted, often tasteless celery from the grocery store. With this simple DIY trick, you can cultivate celery that bursts with flavor and is packed with nutrients.
Why is this a must-try? Because it’s empowering! You’re taking control of your food source, reducing your reliance on commercially grown produce, and minimizing your environmental impact. Plus, the taste difference is undeniable. Homegrown celery has a sweetness and vibrancy that store-bought varieties simply can’t match. Imagine the satisfying crunch in your salads, the depth it adds to your soups and stews, or the refreshing coolness it brings to your smoothies – all thanks to your own green thumb.
But the benefits extend beyond just taste and convenience. Growing your own celery is a fantastic way to connect with nature, de-stress, and learn about the fascinating process of plant growth. It’s a project the whole family can enjoy, fostering a love for gardening and healthy eating habits.
Don’t be afraid to experiment! Once you’ve mastered the basics, consider trying different celery varieties. ‘Utah Tall’ is a classic choice, known for its long, crisp stalks. ‘Golden Self-Blanching’ offers a milder flavor and doesn’t require as much hilling. You can also play around with companion planting. Celery thrives alongside tomatoes, onions, and cabbage, creating a mutually beneficial ecosystem in your garden.
And if you’re feeling adventurous, why not try growing celery from the base of a store-bought stalk? Simply cut off the bottom two inches, place it in a shallow dish of water, and watch it sprout new growth. It’s a fun and sustainable way to recycle food scraps and get a head start on your next celery crop.
We wholeheartedly encourage you to give this DIY trick a try. It’s easier than you might think, and the rewards are well worth the effort. Embrace the joy of homegrown celery and discover the satisfaction of nurturing your own food.
Once you’ve harvested your first batch of homegrown celery, we’d love to hear about your experience! Share your tips, tricks, and photos in the comments below. Let’s build a community of backyard celery growers and inspire others to embrace the joys of sustainable gardening. What are you waiting for? Get your hands dirty and start growing celery today!
Frequently Asked Questions (FAQ)
What are the best conditions for growing celery?
Celery thrives in cool weather, ideally between 60-70°F (15-21°C). It requires at least six hours of sunlight per day and consistently moist, well-drained soil. Amending your soil with compost or well-rotted manure before planting will provide essential nutrients and improve drainage. Celery is a heavy feeder, so regular fertilization is crucial for optimal growth. A balanced fertilizer, such as 10-10-10, applied every few weeks will keep your plants healthy and productive.
How often should I water my celery plants?
Consistent moisture is key to growing healthy celery. Celery plants need at least 1 inch of water per week, and more during hot, dry periods. Water deeply and regularly, ensuring the soil remains consistently moist but not waterlogged. Avoid overhead watering, as this can lead to fungal diseases. Using a soaker hose or drip irrigation system is the best way to deliver water directly to the roots. Mulching around your plants with straw or wood chips will help retain moisture and suppress weeds.
What are some common pests and diseases that affect celery?
Celery can be susceptible to several pests and diseases, including aphids, celery leaf tiers, and fungal diseases like early blight and late blight. Regularly inspect your plants for signs of infestation or disease. Aphids can be controlled with insecticidal soap or a strong blast of water from a hose. Celery leaf tiers can be handpicked or treated with Bacillus thuringiensis (Bt). To prevent fungal diseases, ensure good air circulation around your plants, avoid overhead watering, and apply a fungicide if necessary. Crop rotation can also help reduce the risk of soilborne diseases.
When is the best time to harvest celery?
Celery is typically ready to harvest 85-120 days after planting. The stalks should be at least 6-8 inches long and firm to the touch. You can harvest individual stalks as needed or harvest the entire plant at once. To harvest, simply cut the stalks at the base of the plant with a sharp knife. After harvesting, remove any yellow or damaged leaves and store the celery in the refrigerator. Celery can be stored for several weeks if properly refrigerated.
Can I grow celery in containers?
Yes, you can successfully grow celery in containers, provided you choose a large enough container (at least 12 inches in diameter) and use a well-draining potting mix. Container-grown celery may require more frequent watering and fertilization than celery grown in the ground. Make sure the container has drainage holes to prevent waterlogging. Place the container in a sunny location and protect it from strong winds.
How do I blanch celery?
Blanching celery is a technique used to reduce bitterness and improve the flavor of the stalks. It involves excluding light from the stalks for a few weeks before harvest. You can blanch celery by hilling up soil around the stalks, wrapping them in newspaper or cardboard, or using blanching collars. Make sure to leave the tops of the stalks exposed to sunlight. Blanching is not essential, but it can enhance the flavor and tenderness of your celery. Some varieties, like ‘Golden Self-Blanching,’ don’t require blanching.
Is it possible to grow celery from seed?
Yes, but growing celery from seed can be challenging, as the seeds are very small and require specific conditions to germinate. It’s best to start celery seeds indoors 10-12 weeks before the last expected frost. Sow the seeds thinly on the surface of a seed-starting mix and gently press them into the soil. Keep the soil consistently moist and provide bottom heat to encourage germination. Once the seedlings have developed a few true leaves, transplant them into individual pots. Harden off the seedlings before transplanting them into the garden.
What are some creative ways to use homegrown celery?
Beyond the usual salads and soups, homegrown celery can be used in a variety of creative ways. Try juicing it for a refreshing and healthy beverage. Add it to stir-fries for a crunchy texture and subtle flavor. Use it as a base for homemade vegetable stock. Pickle it for a tangy and flavorful condiment. Or simply enjoy it as a snack with your favorite dip. The possibilities are endless!
What if my celery stalks are stringy?
Stringy celery stalks are often a sign of insufficient watering or nutrient deficiencies. Ensure your plants are receiving adequate water and fertilizer. You can also try peeling the outer layer of the stalks to remove the stringy fibers. Choosing a variety that is less prone to stringiness can also help.
Can I save celery seeds for next year?
Saving celery seeds is possible, but it requires allowing the plant to bolt (flower and produce seeds) in its second year. This can be challenging in colder climates, as celery is a biennial plant. If you live in a warmer climate, you can leave a few plants in the ground over winter and allow them to flower in the spring. Once the seed heads have dried, harvest them and store the seeds in a cool, dry place. Keep in mind that celery seeds can lose viability quickly, so it’s best to use them within a year or two.
Leave a Comment