
Grow Winged Beans
Have you ever dreamt of having a vibrant, bountiful garden bursting with fresh, exotic vegetables, right outside your back door? I know I have! That’s why I’m so excited to share my passion for growing winged beans with you. This isn’t just about planting seeds; it’s about unlocking a world of flavor and self-sufficiency, one delicious winged bean at a time. This article is packed with easy-to-follow Grow Winged Beans tips and DIY tricks that will transform your gardening experience, no matter your skill level.
Winged beans, with their unique appearance and nutritious value, hold a special place in many Southeast Asian cultures. For centuries, they’ve been a staple food, a testament to their resilience and versatility. But their popularity is spreading globally, as more and more people discover the joys of cultivating these fascinating plants. Beyond their culinary uses, growing winged beans offers a rewarding connection to nature and a sense of accomplishment.
Why You Need These Grow Winged Beans Hacks
In today’s world, where access to fresh, healthy produce can be a challenge, knowing how to grow your own food is more important than ever. These Grow Winged Beans techniques will empower you to cultivate your own supply of this nutrient-rich vegetable, reducing your reliance on supermarkets and ensuring you have access to delicious, homegrown goodness. Whether you’re a seasoned gardener or just starting out, these DIY tips will help you overcome common challenges and maximize your yield. From seed starting to pest control, we’ll cover everything you need to know to successfully grow winged beans.
So, let’s get our hands dirty and embark on this exciting journey together! Prepare to be amazed by the ease and satisfaction of growing your own winged beans. Let’s dive into the practical tips and tricks that will guarantee a successful harvest.
Growing Winged Beans: A Comprehensive DIY Guide
Winged beans are a fascinating and rewarding crop to grow, offering both beautiful flowers and nutritious pods. This guide will walk you through the entire process, from seed to harvest.
Phase 1: Planning and Preparation
- Choose your location: Winged beans need plenty of sunshine – at least 6-8 hours a day. Select a sunny spot in your garden with well-drained soil. Poor drainage can lead to root rot.
- Prepare the soil: Winged beans thrive in fertile, well-drained soil. Amend heavy clay soils with compost or other organic matter to improve drainage and aeration. For sandy soils, add organic matter to improve water retention.
- Decide on your growing method: You can grow winged beans directly from seed, or start them indoors in seed trays for a head start. Starting indoors is particularly useful in cooler climates.
- Gather your supplies: You’ll need winged bean seeds (available online or at garden centers), seed starting mix (if starting indoors), gardening gloves, a trowel or spade, watering can, and possibly a trellis or support system.
Phase 2: Sowing the Seeds
- Starting seeds indoors (optional): Fill seed trays with seed starting mix, moisten it thoroughly, and sow the seeds about 1 inch deep and 2 inches apart. Gently cover the seeds with soil. Keep the soil consistently moist but not soggy. Place the trays in a warm, sunny location.
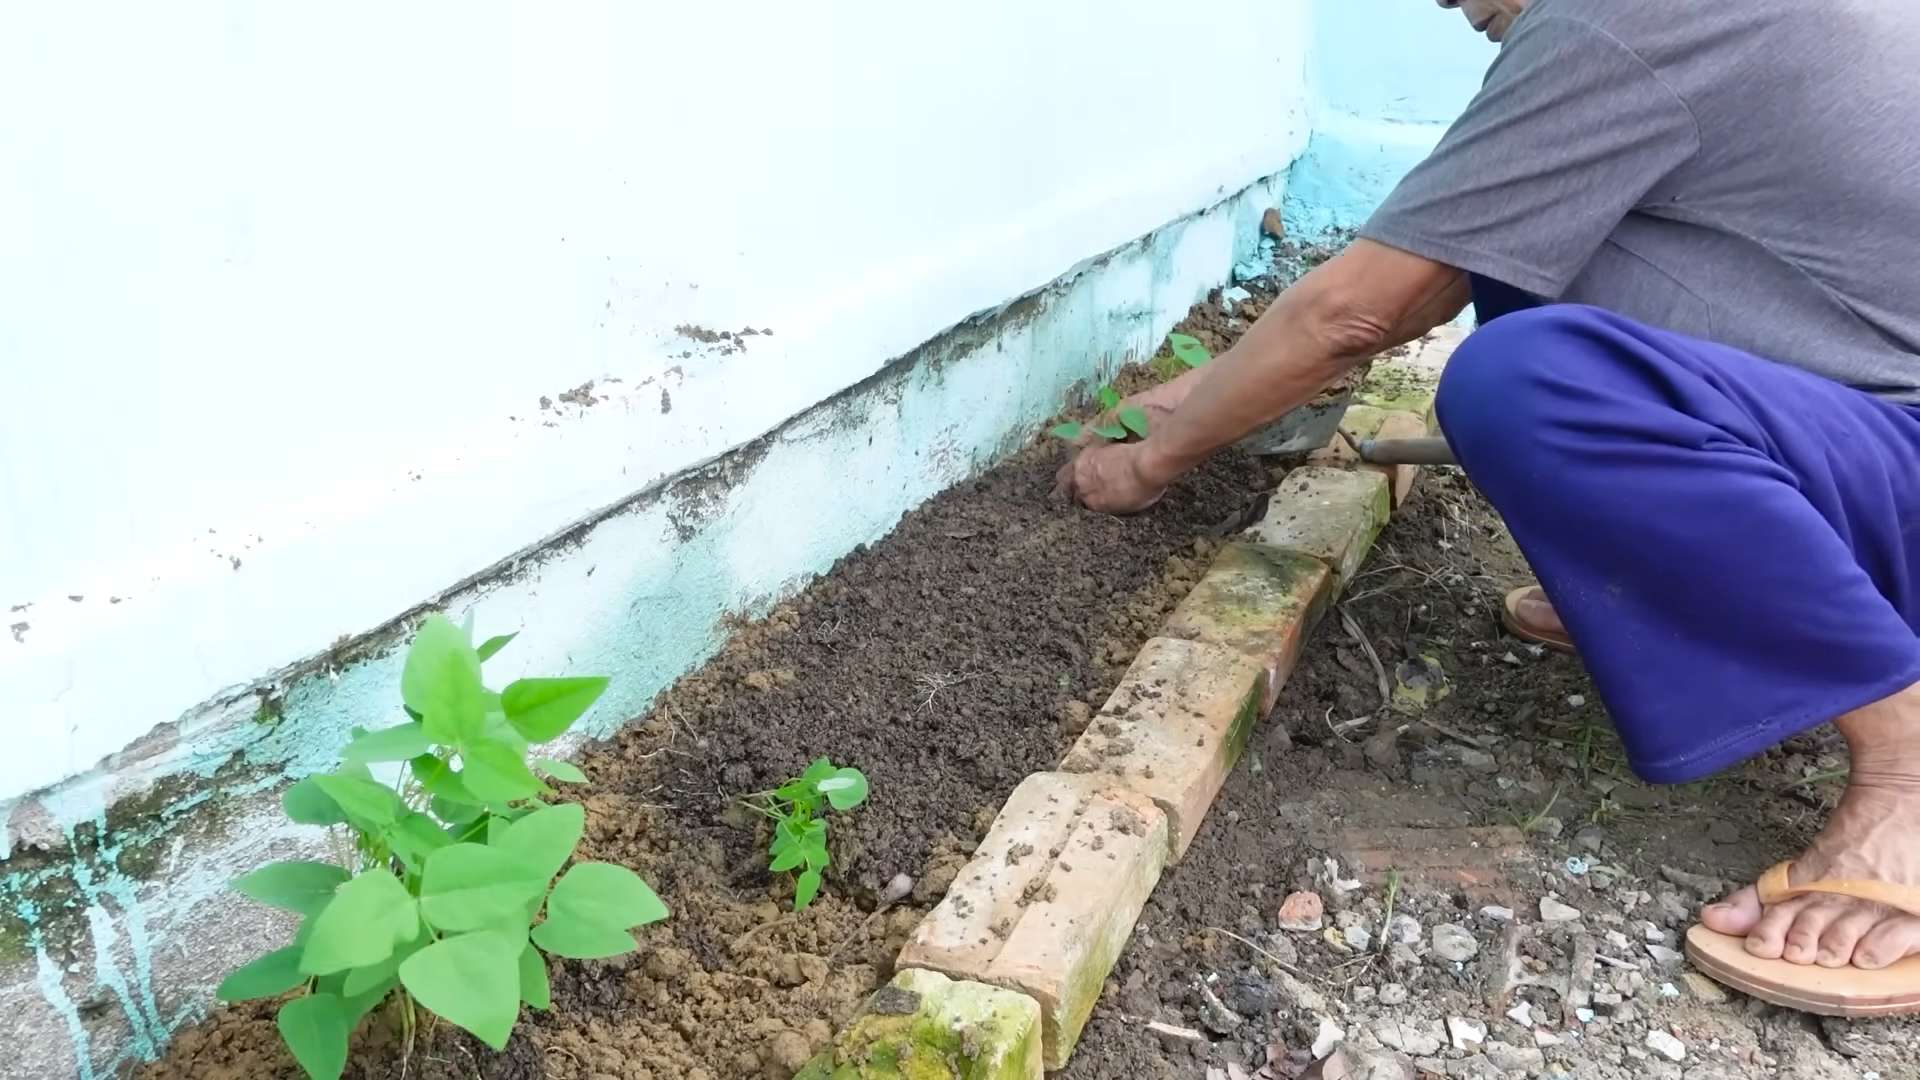
- Direct sowing: Once the soil has warmed up (after the last frost), you can sow seeds directly into the garden. Prepare the soil by loosening it and removing any weeds. Dig small holes about 1 inch deep and 2 inches apart. Plant the seeds and gently cover them with soil.
- Watering: Water gently after sowing, ensuring the soil is moist but not waterlogged. Avoid overwatering, which can lead to seed rot.
- Germination: Germination typically takes 1-3 weeks, depending on the temperature and soil conditions. Keep the soil consistently moist during this period.
Phase 3: Plant Care and Maintenance
- Thinning (if necessary): If you direct-sowed, thin the seedlings to one plant every 12-18 inches once they have a few true leaves. This gives each plant enough space to grow.
- Watering: Water regularly, especially during dry periods. Aim for consistent moisture, avoiding both drought and waterlogging. A deep watering once or twice a week is generally better than frequent shallow waterings.
- Fertilizing: Winged beans are relatively low-maintenance, but a balanced fertilizer can promote vigorous growth. Apply a slow-release fertilizer at planting time or use a liquid fertilizer every few weeks during the growing season. Follow the instructions on the fertilizer packaging.
- Pest and disease control: Regularly inspect your plants for pests and diseases. Common pests include aphids and bean beetles. Handpick pests or use insecticidal soap if necessary. Good air circulation can help prevent fungal diseases.
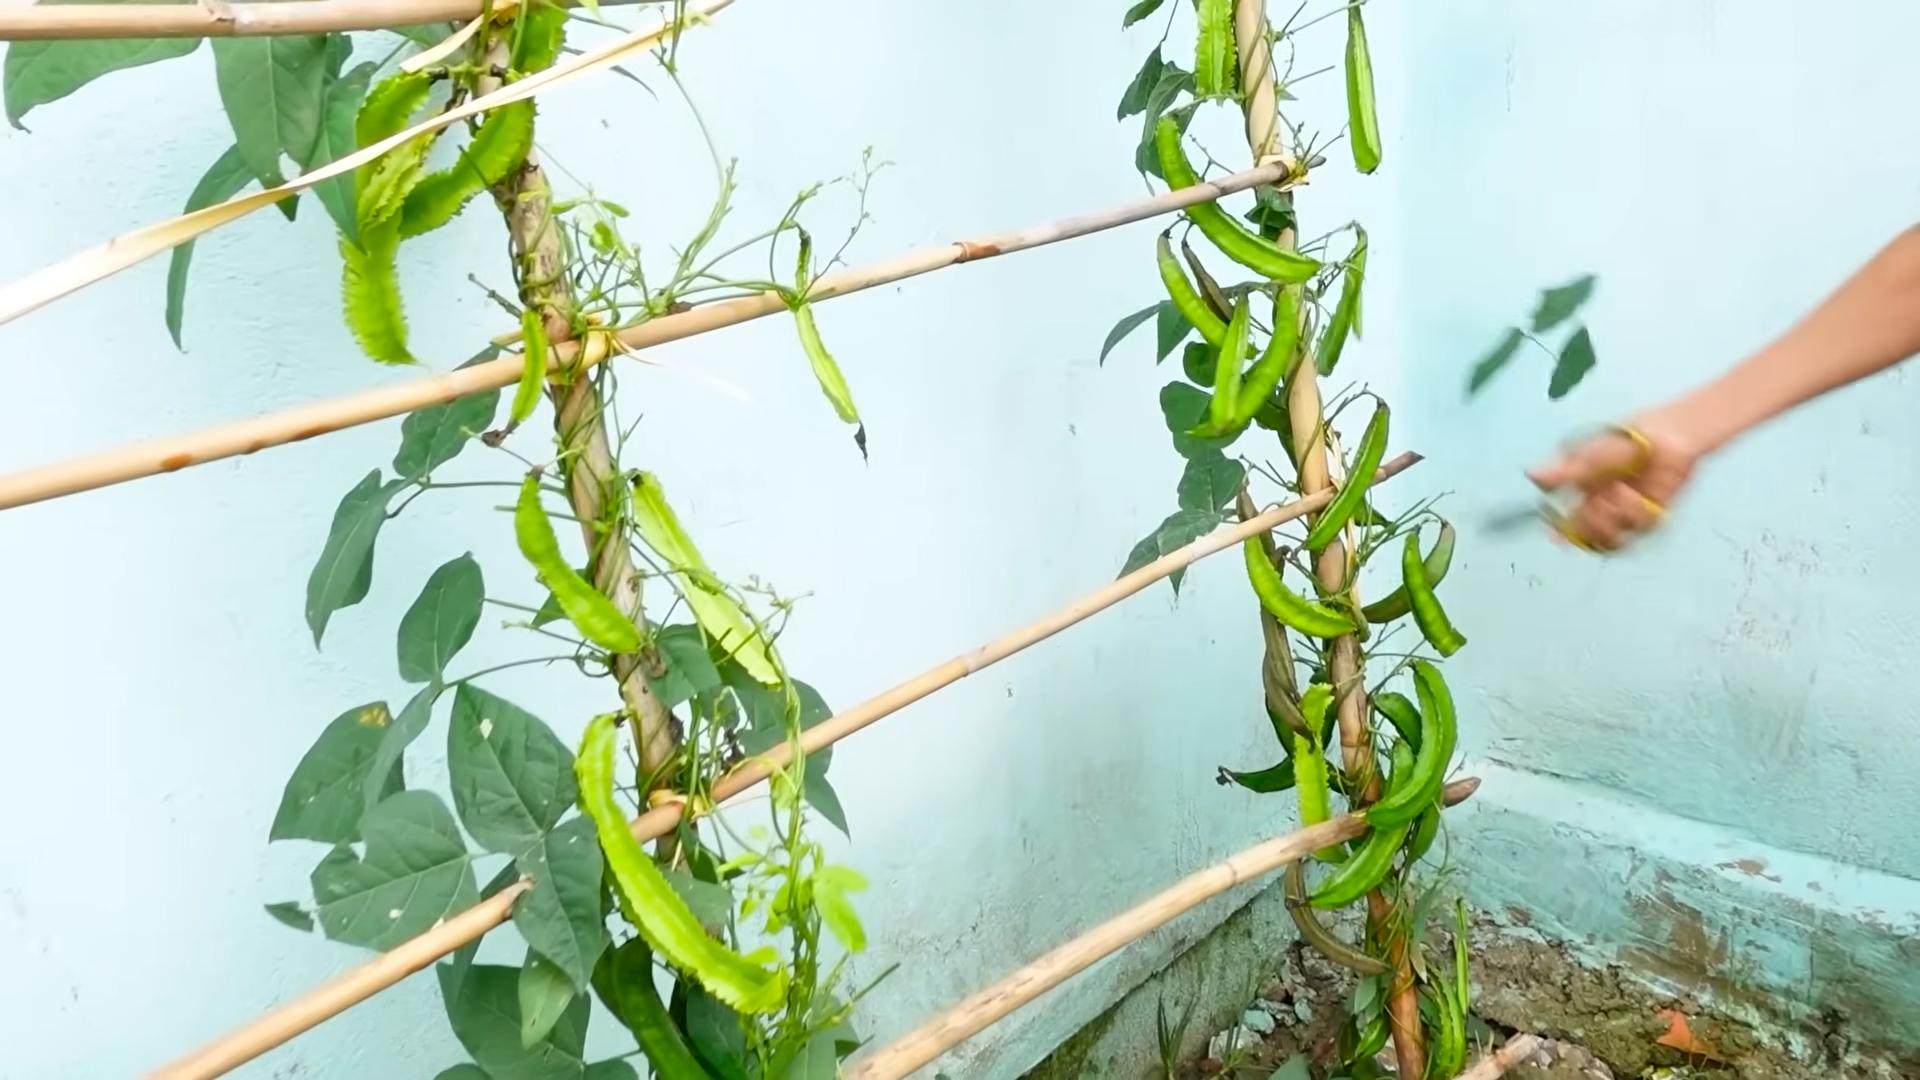
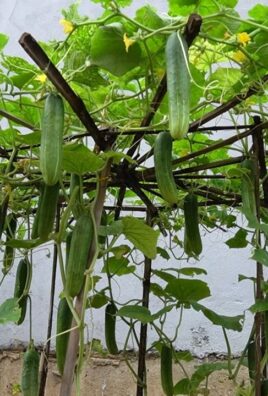
- Providing Support: Winged beans are vigorous climbers. Provide a strong trellis, fence, or other support system for the plants to climb on. This will prevent the plants from sprawling on the ground and improve air circulation, reducing the risk of disease.
Phase 4: Harvesting
- Harvesting the pods: Winged bean pods are ready for harvest when they are young and tender, typically 4-6 weeks after flowering. The pods should be firm and bright green. Harvest regularly to encourage continued production.
- Harvesting the seeds: If you want to save seeds for next year, allow some pods to mature fully on the plant until they turn brown and dry. Collect the seeds from the dried pods and store them in a cool, dry place.
- Harvesting the flowers: The flowers of the winged bean are also edible and can be used in salads or as a garnish. Harvest them when they are fresh and vibrant.
- Harvesting the leaves: The leaves of the winged bean are also edible and can be used in stir-fries or other dishes. Harvest them as needed.
Phase 5: Troubleshooting
Common Problems and Solutions:
- Yellowing leaves: This can indicate nutrient deficiencies, overwatering, or underwatering. Check the soil moisture and adjust your watering schedule accordingly. Consider applying a balanced fertilizer.
- Wilting plants: Wilting can be caused by drought stress, pests, or diseases. Check the soil moisture and look for signs of pests or diseases. Water thoroughly if the soil is dry.
- Poor flowering: Poor flowering can be due to insufficient sunlight, nutrient deficiencies, or unfavorable temperatures. Ensure your plants receive adequate sunlight and consider applying a fertilizer.
- Pest infestations: Regularly inspect your plants for pests. Handpick pests or use insecticidal soap if necessary. Consider using companion planting to deter pests.
Important Note:
Always research the specific needs of your winged bean variety, as growing conditions can vary slightly depending on the cultivar.
Conclusion
So there you have it – a comprehensive guide to growing winged beans, a truly rewarding experience for home gardeners. This DIY approach to cultivating these nutritious and versatile legumes offers a unique opportunity to connect with nature and enjoy the fruits (or rather, the beans!) of your labor. Growing winged beans from seed is surprisingly straightforward, even for beginners, and the resulting harvest is incredibly satisfying. The vibrant green vines, the unusual winged pods, and the delicious, subtly sweet beans themselves make this a truly special addition to any garden.
Beyond the simple satisfaction of growing your own food, winged beans offer a wealth of benefits. They are incredibly nutritious, packed with protein, vitamins, and minerals. Their unique flavor profile adds a delightful twist to various dishes, from stir-fries and salads to curries and even snacks. And let’s not forget the environmental advantages – growing your own food reduces your carbon footprint and promotes sustainable living. This DIY method allows you to control the growing process, ensuring that your winged beans are free from harmful pesticides and chemicals.
We encourage you to experiment with different growing techniques and variations. Try different companion plants to enhance growth and deter pests. Consider using trellises of varying heights and designs to support the climbing vines. Explore different varieties of winged beans to discover your favorite flavor profiles and pod shapes. You might even try experimenting with different soil compositions to optimize growth in your specific climate. The possibilities are endless!
Don’t be afraid to get your hands dirty and embrace the learning process. Growing winged beans is a journey, not just a destination, and each step along the way offers valuable lessons and rewards. Share your experiences with us! We’d love to hear about your successes, challenges, and any unique tips you’ve discovered. Post your photos and stories on social media using #GrowWingedBeans and inspire others to embark on their own winged bean adventures. Let’s build a community of winged bean enthusiasts, sharing knowledge and celebrating the joy of homegrown goodness.
Ultimately, the decision to grow your own winged beans is an investment in yourself, your family, and the environment. It’s a chance to connect with nature, learn new skills, and enjoy the incredible taste and nutritional benefits of this unique legume. So, what are you waiting for? Grab some seeds, prepare your soil, and get ready to experience the magic of growing your own winged beans. You won’t regret it!
Frequently Asked Questions
What type of soil is best for growing winged beans?
Winged beans thrive in well-drained, fertile soil with a slightly acidic to neutral pH (6.0-7.0). Amend heavy clay soils with compost or other organic matter to improve drainage and aeration. Sandy soils may benefit from the addition of organic matter to retain moisture.
How much sunlight do winged beans need?
Winged beans require at least 6-8 hours of direct sunlight per day to grow optimally. Choose a sunny location in your garden that receives ample sunlight throughout the day. Partial shade may reduce yields.
How often should I water my winged beans?
Consistent watering is crucial, especially during dry periods. Aim to keep the soil consistently moist but not waterlogged. Water deeply and less frequently rather than shallowly and often. The frequency of watering will depend on your climate and soil type.
How long does it take for winged beans to mature?
The time it takes for winged beans to mature varies depending on the variety and growing conditions. Generally, you can expect to harvest beans within 60-90 days from planting, but some varieties may take longer.
What are some common pests and diseases that affect winged beans?
Winged beans are relatively pest-resistant, but they can be susceptible to certain pests and diseases, including aphids, bean beetles, and fungal diseases like root rot. Regular monitoring and preventative measures, such as proper spacing and good air circulation, can help minimize problems. Organic pest control methods are often effective.
Can I grow winged beans in containers?
Yes, you can grow winged beans in large containers, provided they are at least 12-18 inches deep and wide to accommodate the extensive root system. Ensure the containers have adequate drainage holes to prevent waterlogging.
When is the best time to plant winged beans?
The best time to plant winged beans is after the last frost in spring, when soil temperatures have warmed up. You can also start seeds indoors 4-6 weeks before the last frost for an earlier harvest.
What are some ways to preserve harvested winged beans?
Winged beans can be preserved in several ways, including freezing, canning, and drying. Freezing is a convenient method for preserving the beans’ flavor and texture. Canning requires proper sterilization techniques to ensure food safety. Drying is a good option for long-term storage.
Are winged beans difficult to grow?
No, winged beans are relatively easy to grow, even for beginner gardeners. With proper care and attention, you can enjoy a bountiful harvest of these nutritious and delicious legumes. Following the steps outlined in this guide will significantly increase your chances of success.
Where can I buy winged bean seeds?
Winged bean seeds are readily available online from various seed suppliers and also at some local nurseries and garden centers. Be sure to choose high-quality seeds from a reputable source to ensure good germination rates.

Leave a Comment