
Year Round Tomato Growing might seem like a far-fetched dream, especially if you live in a region with harsh winters. But guess what? It’s totally achievable with a little know-how and some clever DIY tricks! For centuries, humans have been captivated by the vibrant flavors and versatility of tomatoes. From their origins in South America, where they were initially viewed with suspicion, to their current status as a global culinary staple, tomatoes have woven themselves into the fabric of our food culture.
But let’s face it, relying solely on the traditional growing season can be frustrating. Imagine biting into a juicy, sun-ripened tomato in the dead of winter – a taste of summer when you need it most! That’s where these DIY hacks come in. I’m going to share some simple, cost-effective methods that will empower you to extend your tomato harvest and enjoy fresh, homegrown goodness all year round tomato growing.
Whether you’re a seasoned gardener or just starting out, these tips will help you overcome the challenges of climate and space, allowing you to savor the delightful taste of homegrown tomatoes whenever you please. So, ditch the bland, store-bought varieties and get ready to embark on a journey towards a continuous supply of delicious, homegrown tomatoes!
Tomatenanbau rund ums Jahr: Mein DIY-Gewächshaus-Hack
Ich liebe frische Tomaten! Und ich finde, es gibt nichts Schlimmeres, als wenn die Tomatensaison vorbei ist. Deshalb habe ich mich auf die Suche nach einer Möglichkeit gemacht, das ganze Jahr über Tomaten anzubauen. Und rate mal was? Ich habe es geschafft! Mit diesem DIY-Gewächshaus-Hack kannst auch du deine eigenen, saftigen Tomaten ernten, egal welche Jahreszeit gerade ist.
Was du brauchst: Die Materialliste
Bevor wir loslegen, hier eine Liste aller Materialien, die du für dieses Projekt benötigst. Keine Sorge, es ist nicht super teuer und vieles hast du vielleicht schon zu Hause!
* PVC-Rohre (ca. 2-3 cm Durchmesser): Die Menge hängt von der Größe deines Gewächshauses ab. Ich empfehle, zuerst den Bereich auszumessen, den du abdecken möchtest, und dann die Rohre entsprechend zu kaufen. Denk daran, dass du auch Verbindungsstücke brauchst!
* PVC-Verbindungsstücke (T-Stücke, Winkelstücke): Diese sind unerlässlich, um die PVC-Rohre miteinander zu verbinden und die Struktur deines Gewächshauses zu formen.
* Gewächshausfolie: Eine robuste, UV-beständige Folie ist wichtig, um deine Tomaten vor den Elementen zu schützen. Achte darauf, dass sie groß genug ist, um die gesamte Struktur abzudecken.
* Klammern oder Clips: Um die Folie an den PVC-Rohren zu befestigen. Wäscheklammern gehen auch, aber spezielle Clips sind langlebiger.
* Holzbretter oder Ziegelsteine: Für die Basis des Gewächshauses. Sie helfen, die Struktur zu stabilisieren und die Folie am Boden zu befestigen.
* Bohrmaschine und Schrauben: Um die Basis zu befestigen (optional, je nachdem, wie du deine Basis gestaltest).
* Schere oder Cutter: Zum Zuschneiden der Gewächshausfolie.
* Maßband: Um alles genau auszumessen.
* Tomatensamen oder Jungpflanzen: Na klar, ohne Tomaten keine Tomaten!
* Pflanztöpfe oder -behälter: Je nachdem, ob du deine Tomaten in Töpfen oder direkt im Boden anbauen möchtest.
* Hochwertige Blumenerde: Für ein optimales Wachstum deiner Tomaten.
* Gartenschere: Zum Beschneiden der Tomatenpflanzen.
* Gießkanne oder Gartenschlauch: Zum Bewässern deiner Tomaten.
* Dünger: Speziell für Tomaten, um ihnen die nötigen Nährstoffe zu geben.
* Thermometer: Um die Temperatur im Gewächshaus zu überwachen.
* Optional: Heizlüfter oder Wärmelampe: Für sehr kalte Wintertage.
* Optional: Belüftungssystem (z.B. kleiner Ventilator): Um die Luftzirkulation zu verbessern und Schimmelbildung vorzubeugen.
Phase 1: Das Gerüst – Der Bau des PVC-Gewächshauses
Jetzt geht’s ans Eingemachte! Wir bauen das Gerüst für unser Gewächshaus. Keine Angst, es ist einfacher als es aussieht.
1. Planung ist alles: Bevor du anfängst, skizziere dein Gewächshaus. Überlege dir, wie groß es sein soll und welche Form es haben soll (z.B. Tunnelform, rechteckig). Das hilft dir, die richtige Menge an PVC-Rohren und Verbindungsstücken zu kaufen. Ich habe mich für eine Tunnelform entschieden, weil sie einfach zu bauen ist und gut aussieht.
2. Zuschnitt der PVC-Rohre: Schneide die PVC-Rohre in die benötigten Längen. Für eine Tunnelform brauchst du lange Rohre für die Bögen und kürzere Rohre für die Verbindungen. Achte darauf, dass du saubere Schnitte machst, damit die Rohre gut in die Verbindungsstücke passen.
3. Zusammenbau der Bögen: Verbinde die langen PVC-Rohre mit den Winkelstücken, um die Bögen zu formen. Ich habe für mein Gewächshaus drei Bögen verwendet.
4. Verbindung der Bögen: Verbinde die Bögen mit den kürzeren PVC-Rohren und den T-Stücken, um die Längsstruktur des Gewächshauses zu bilden. Das gibt dem Ganzen Stabilität.
5. Befestigung der Basis: Lege die Holzbretter oder Ziegelsteine als Basis für dein Gewächshaus aus. Befestige das PVC-Gerüst an der Basis, entweder mit Schrauben (wenn du Holzbretter verwendest) oder indem du die Rohre in die Ziegelsteine einsetzt. Das verhindert, dass das Gewächshaus bei Wind wegfliegt.
Phase 2: Die Hülle – Folie anbringen und abdichten
Das Gerüst steht! Jetzt kommt die Folie dran, die unsere Tomaten vor Wind und Wetter schützt.
1. Zuschnitt der Folie: Rolle die Gewächshausfolie aus und schneide sie so zu, dass sie die gesamte Struktur des Gewächshauses abdeckt. Lass an allen Seiten etwas Überstand, damit du die Folie gut befestigen kannst.
2. Anbringen der Folie: Lege die Folie über das PVC-Gerüst. Achte darauf, dass sie straff sitzt, aber nicht zu eng, da sie sich bei Temperaturschwankungen noch ausdehnen und zusammenziehen wird.
3. Befestigung der Folie: Befestige die Folie mit den Klammern oder Clips an den PVC-Rohren. Beginne an der Oberseite und arbeite dich dann zu den Seiten vor. Achte darauf, dass die Folie gut befestigt ist, damit sie nicht vom Wind abgerissen wird.
4. Abdichten der Ränder: Befestige die Folie am Boden, indem du sie entweder unter die Holzbretter oder Ziegelsteine klemmst oder sie mit Erde beschwerst. Das verhindert, dass kalte Luft in das Gewächshaus eindringt.
5. Tür oder Öffnung: Schneide eine Tür oder Öffnung in die Folie, damit du in das Gewächshaus gelangen kannst. Befestige die Tür mit Scharnieren oder Klettverschluss, damit du sie leicht öffnen und schließen kannst.
Phase 3: Das Innenleben – Tomaten pflanzen und pflegen
Das Gewächshaus steht! Jetzt können wir endlich unsere Tomaten pflanzen und pflegen.
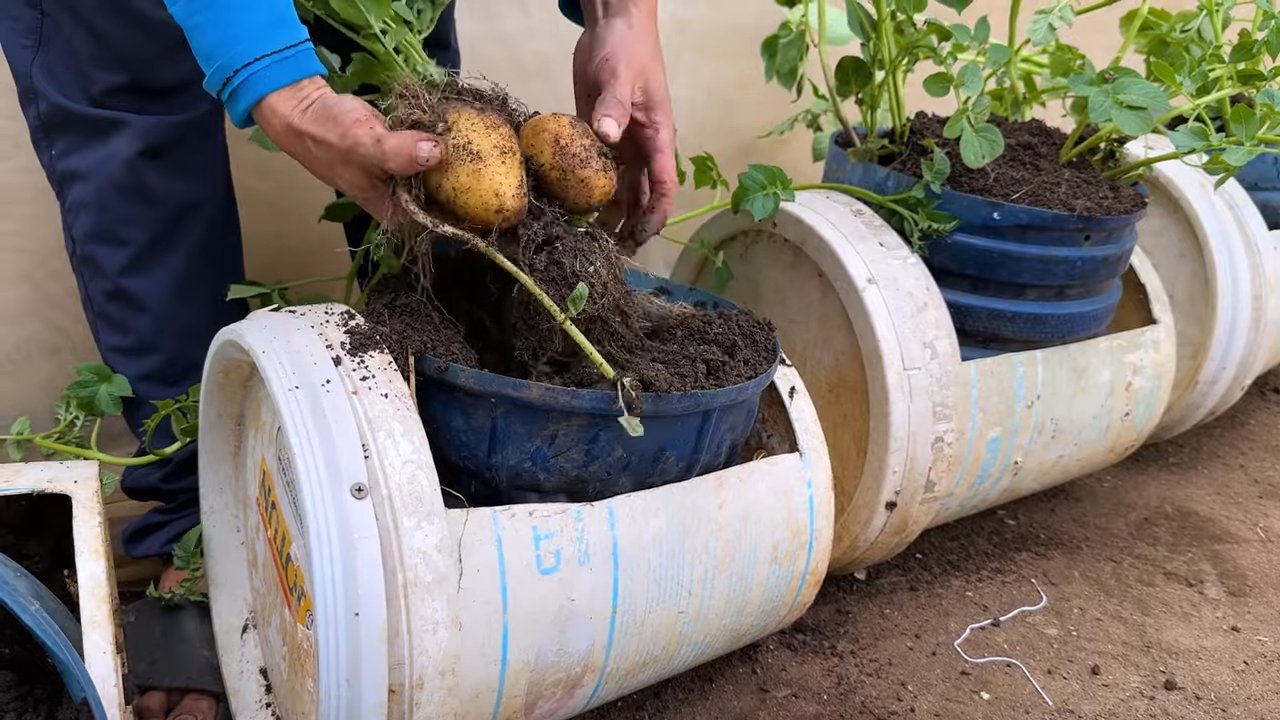
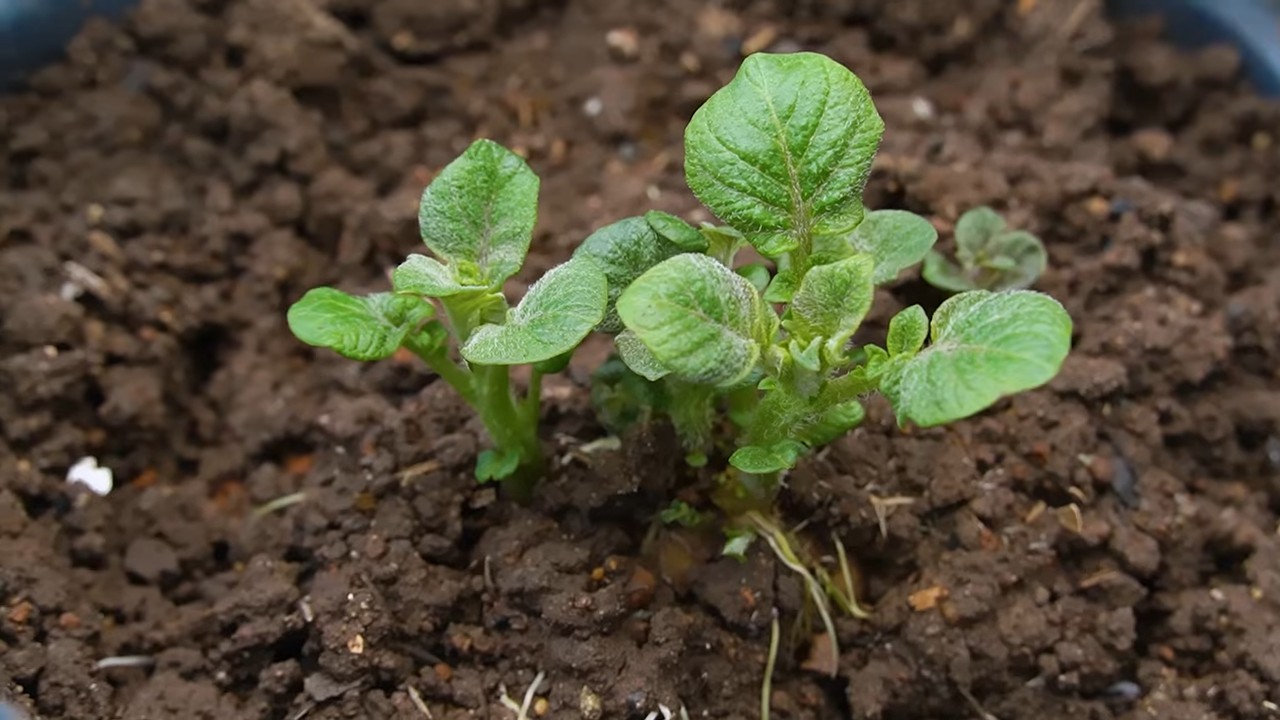
1. Vorbereitung der Pflanzgefäße: Fülle die Pflanztöpfe oder -behälter mit hochwertiger Blumenerde. Wenn du deine Tomaten direkt im Boden anbauen möchtest, lockere den Boden auf und mische Kompost unter.
2. Pflanzen der Tomaten: Pflanze die Tomatensamen oder Jungpflanzen in die Pflanzgefäße oder in den Boden. Achte darauf, dass du genügend Abstand zwischen den Pflanzen lässt, damit sie genügend Platz zum Wachsen haben.
3. Bewässerung: Gieße die Tomaten regelmäßig, besonders während der Wachstumsphase. Achte darauf, dass die Erde feucht, aber nicht nass ist.
4. Düngung: Dünge die Tomaten regelmäßig mit einem speziellen Tomatendünger. Das gibt ihnen die nötigen Nährstoffe für ein gesundes Wachstum und eine reiche Ernte.
5. Beschneiden: Beschneide die Tomatenpflanzen regelmäßig, um Seitentriebe zu entfernen und die Bildung von Früchten zu fördern.
6. Belüftung: Sorge für eine gute Belüftung im Gewächshaus, besonders an warmen Tagen. Öffne die Tür oder die Öffnung, um die Luftzirkulation zu verbessern und Schimmelbildung vorzubeugen. Ein kleiner Ventilator kann hier auch Wunder wirken.
7. Temperaturkontrolle: Überwache die Temperatur im Gewächshaus mit einem Thermometer. An sehr kalten Tagen kannst du einen Heizlüfter oder eine Wärmelampe verwenden, um die Temperatur zu erhöhen.
8. Schutz vor Schädlingen: Kontrolliere die Tomatenpflanzen regelmäßig auf Schädlinge und Krankheiten. Bei Bedarf kannst du natürliche Schädlingsbekämpfungsmittel verwenden.
Zusätzliche Tipps für den ganzjährigen Tomatenanbau
* Wähle die richtigen Tomatensorten: Einige Tomatensorten sind besser für den Anbau im Gewächshaus geeignet als andere. Informiere dich, welche Sorten in deiner Region gut w
Conclusion
So, there you have it! Mastering the art of year-round tomato growing is not just a gardener’s dream; it’s an achievable reality with a little planning and the right techniques. We’ve explored the essential elements, from selecting the right varieties and providing adequate light to controlling temperature and ensuring proper pollination. The beauty of this approach lies in its adaptability. Whether you’re a seasoned gardener with a dedicated greenhouse or a beginner experimenting on a sunny windowsill, you can tailor these methods to suit your space and resources.
Why is this DIY trick a must-try? Because it empowers you to enjoy the unparalleled flavor of homegrown tomatoes, regardless of the season. Imagine biting into a juicy, sun-ripened tomato in the dead of winter – a taste of summer amidst the cold. Beyond the flavor, year-round tomato growing offers a sense of accomplishment and connection to nature, providing fresh, healthy produce for your family and reducing your reliance on store-bought options.
Don’t be afraid to experiment with variations! Try different tomato varieties known for their suitability for indoor growing, such as dwarf or determinate types. Explore hydroponic systems for a soilless approach, or consider using grow bags for easy mobility. You can also adjust the lighting schedule to mimic the natural day length of different seasons, further optimizing your tomato production. Consider companion planting within your indoor garden to deter pests and improve pollination. Basil, marigolds, and even certain herbs can create a symbiotic relationship that benefits your tomato plants.
The key to success is observation and adaptation. Pay close attention to your plants’ needs, adjusting watering, fertilization, and lighting as necessary. Don’t be discouraged by initial setbacks; learning from your mistakes is part of the process. With patience and persistence, you’ll be rewarded with a bountiful harvest of delicious, homegrown tomatoes all year long.
We wholeheartedly encourage you to embark on this rewarding journey of year-round tomato growing. It’s a fantastic way to connect with nature, enjoy fresh produce, and enhance your gardening skills. Once you’ve tried it, we’d love to hear about your experience! Share your tips, challenges, and successes in the comments below. Let’s build a community of year-round tomato growers and inspire others to cultivate their own delicious harvests. What varieties did you find most successful? What challenges did you face, and how did you overcome them? Your insights can help others achieve their gardening goals and enjoy the fruits (or vegetables!) of their labor. Happy growing!
Frequently Asked Questions (FAQ)
1. What are the best tomato varieties for year-round indoor growing?
Choosing the right tomato variety is crucial for success. Determinate or dwarf varieties are generally preferred for indoor growing due to their compact size and shorter growing season. Some excellent options include:
* **Roma:** A classic determinate variety known for its paste-type tomatoes, ideal for sauces and canning.
* **Patio:** A compact determinate variety perfect for containers and small spaces, producing small to medium-sized tomatoes.
* **Tiny Tim:** An ultra-dwarf variety that thrives in small pots, yielding cherry tomatoes in abundance.
* **Bonsai:** Another excellent dwarf variety that produces small, sweet tomatoes.
* **Early Girl:** While technically a semi-determinate, Early Girl is known for its early and prolific yields, making it a good choice for extending the growing season.
Consider the size of your growing space and your desired tomato type when selecting your varieties. Experimenting with different varieties can also help you discover which ones perform best in your specific indoor environment.
2. How much light do indoor tomato plants need?
Adequate light is essential for tomato growth and fruit production. Indoor tomato plants typically require 14-16 hours of light per day. If you don’t have a naturally sunny location, you’ll need to supplement with artificial lighting.
* **LED Grow Lights:** LED grow lights are energy-efficient and provide the full spectrum of light needed for plant growth. They are a popular choice for indoor gardening.
* **Fluorescent Grow Lights:** Fluorescent grow lights are another option, but they may not be as efficient as LEDs.
* **Placement:** Position your grow lights close enough to the plants to provide adequate light intensity, but not so close that they burn the leaves. A distance of 6-12 inches is generally recommended.
Monitor your plants closely for signs of insufficient light, such as leggy growth or pale leaves. Adjust the lighting as needed to ensure optimal growth.
3. What is the ideal temperature for growing tomatoes indoors?
Tomatoes thrive in warm temperatures. The ideal temperature range for indoor tomato growing is:
* **Daytime:** 70-80°F (21-27°C)
* **Nighttime:** 60-70°F (15-21°C)
Avoid exposing your plants to extreme temperature fluctuations. Use a thermometer to monitor the temperature in your growing area and adjust heating or cooling as needed.
4. How do I pollinate my indoor tomato plants?
Tomatoes are self-pollinating, but they often need assistance with pollination indoors, where there are no wind or insects to help. Here are a few methods you can use:
* **Hand Pollination:** Gently shake the tomato plants or use a small brush to transfer pollen from one flower to another.
* **Electric Toothbrush:** Vibrate the stem of the plant near the flowers with an electric toothbrush to release pollen.
* **Fan:** Use a small fan to circulate air around the plants, which can help to distribute pollen.
Pollinate your plants every few days, especially when they are flowering. You’ll know pollination has been successful when the base of the flower starts to swell and develop into a tomato.
5. What type of soil should I use for indoor tomato growing?
Use a well-draining potting mix specifically formulated for vegetables. Avoid using garden soil, as it can be too heavy and may contain pests or diseases. A good potting mix will provide adequate drainage and aeration for the roots. You can also amend your potting mix with compost or other organic matter to improve its fertility.
6. How often should I water my indoor tomato plants?
Water your tomato plants when the top inch of soil feels dry to the touch. Water deeply, until water drains out of the bottom of the pot. Avoid overwatering, as this can lead to root rot. The frequency of watering will depend on the size of the pot, the temperature, and the humidity.
7. What type of fertilizer should I use for indoor tomato plants?
Use a balanced fertilizer specifically formulated for tomatoes. Look for a fertilizer with an NPK ratio (nitrogen, phosphorus, potassium) that is appropriate for tomato growth. Follow the instructions on the fertilizer label carefully. Fertilize your plants every 2-3 weeks during the growing season.
8. How do I deal with pests and diseases on my indoor tomato plants?
Inspect your plants regularly for signs of pests or diseases. Common pests that can affect indoor tomato plants include aphids, whiteflies, and spider mites. Common diseases include powdery mildew and blossom end rot.
* **Pest Control:** Use insecticidal soap or neem oil to control pests. You can also try introducing beneficial insects, such as ladybugs, to your growing area.
* **Disease Control:** Ensure good air circulation to prevent fungal diseases. Remove any infected leaves or plants promptly. For blossom end rot, ensure adequate calcium levels in the soil.
9. How long does it take to grow tomatoes indoors?
The time it takes to grow tomatoes indoors will depend on the variety you are growing and the growing conditions. Generally, it takes about 60-85 days from transplanting seedlings to harvesting ripe tomatoes.
10. Can I grow tomatoes indoors without a greenhouse?
Yes, you can absolutely grow tomatoes indoors without a greenhouse! A sunny windowsill or a dedicated indoor growing area with artificial lighting can provide the necessary conditions for successful tomato growing. The key is to provide adequate light, warmth, and humidity, and to choose the right tomato varieties for indoor growing.


Leave a Comment