
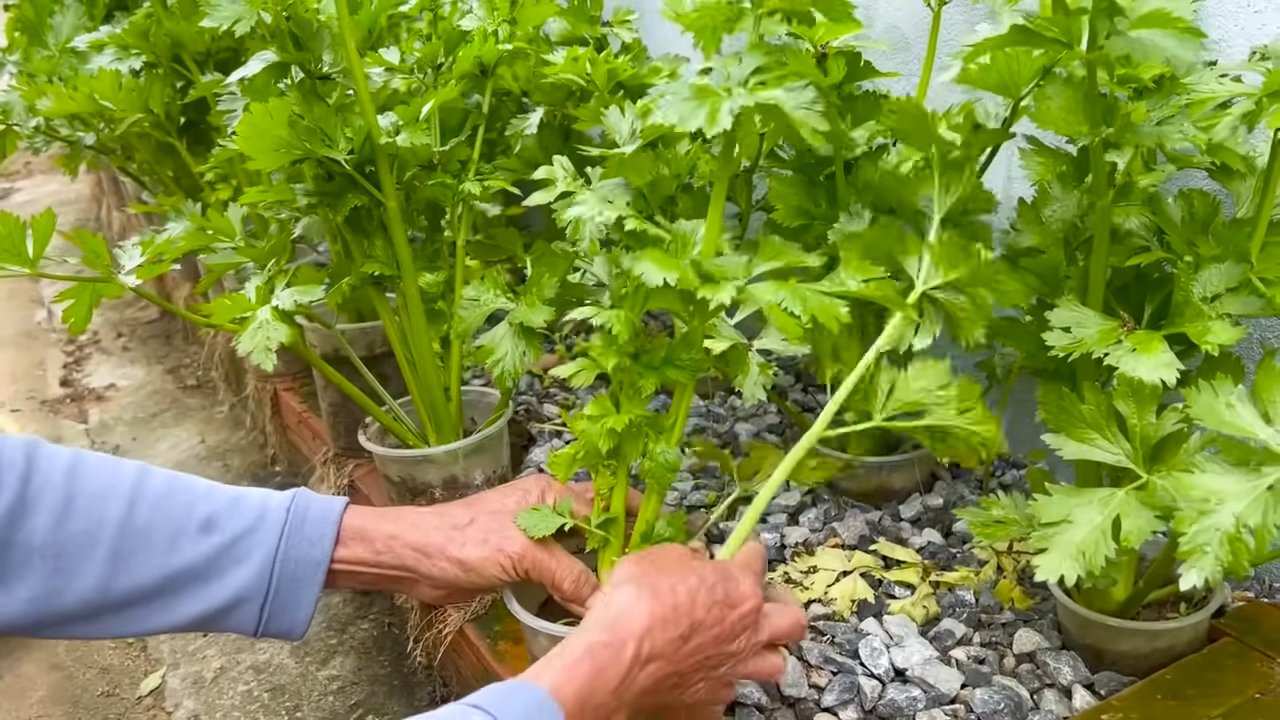
River stones for celery? Sounds a bit unusual, right? But trust me, this simple DIY trick can be a game-changer for your home garden, especially if you’re dreaming of crisp, juicy celery stalks. For centuries, gardeners have been experimenting with different techniques to coax the best flavors and textures from their crops. While we might not think of river stones as a traditional gardening tool, their unique properties can offer a surprising boost to your celery-growing efforts.
Celery, with its refreshing crunch, has been enjoyed since ancient times, even appearing in Homer’s Odyssey! But growing it at home can be tricky. One of the biggest challenges is maintaining consistent moisture around the roots without waterlogging the soil. That’s where our river stone hack comes in! We all know the frustration of celery that’s either too bitter, too stringy, or simply doesn’t thrive. This simple, inexpensive solution can help you avoid those common pitfalls and achieve the delicious, homegrown celery you’ve always wanted.
This DIY article will show you exactly how to use river stones for celery to improve drainage, retain moisture, and even regulate soil temperature. Get ready to unlock the secrets to a thriving celery patch, one stone at a time! I’m excited to share this simple yet effective method with you, so let’s get started!
Verhindere, dass dein Sellerie im Kühlschrank welk wird: Ein DIY-Trick mit Flusssteinen
Hey Leute! Kennt ihr das auch? Ihr kauft einen frischen Staudensellerie, freut euch auf knackige Snacks oder eine leckere Suppe, und ein paar Tage später ist er nur noch schlapp und welk. Super ärgerlich, oder? Ich habe lange nach einer Lösung gesucht, um das zu verhindern, und bin auf einen genialen Trick gestoßen, der wirklich funktioniert: Flusssteine! Ja, richtig gelesen. Mit ein paar einfachen Flusssteinen und etwas Wasser bleibt dein Sellerie im Kühlschrank viel länger frisch und knackig. Lasst uns loslegen!
Was du brauchst:
* Ein Bund Staudensellerie
* Eine Schüssel oder ein Behälter, der hoch genug ist, um den Sellerie aufrecht zu halten (am besten mit Deckel)
* Flusssteine (sauber und ungiftig – am besten aus dem Zoohandel oder einem Gartencenter)
* Frisches Wasser
* Ein Messer
* Ein Schneidebrett
Warum Flusssteine?
Flusssteine helfen dabei, die Feuchtigkeit im Behälter zu regulieren. Sie schaffen eine Art Mikroklima, das dem Sellerie gefällt. Die Steine geben langsam Feuchtigkeit ab, wodurch der Sellerie nicht austrocknet, aber auch nicht im Wasser liegt und fault. Außerdem sehen sie auch noch hübsch aus!
Schritt-für-Schritt-Anleitung: So bleibt dein Sellerie knackig
1. Sellerie vorbereiten: Zuerst schneidest du den unteren Teil des Selleries ab, wo die Wurzeln waren. Entferne auch die äußeren, welken oder beschädigten Stangen. So verhinderst du, dass diese den Rest des Selleries beeinträchtigen.
2. Steine vorbereiten: Die Flusssteine müssen sauber sein, bevor sie in den Behälter kommen. Spüle sie gründlich unter fließendem Wasser ab, um Schmutz und Ablagerungen zu entfernen. Du kannst sie auch kurz in kochendem Wasser abkochen, um sie zu desinfizieren. Lass sie danach gut abkühlen.
3. Behälter vorbereiten: Wähle einen Behälter, der hoch genug ist, um den Sellerie aufrecht zu halten. Eine hohe Schüssel oder ein Plastikbehälter mit Deckel sind ideal. Der Deckel hilft, die Feuchtigkeit im Behälter zu halten.
4. Steine einfüllen: Verteile die sauberen Flusssteine gleichmäßig am Boden des Behälters. Die Steine sollten etwa 2-3 cm hoch liegen. Das ist genug, um den Sellerie vom direkten Kontakt mit dem Wasser zu isolieren.
5. Wasser hinzufügen: Gieße nun vorsichtig Wasser in den Behälter, bis die Steine etwa zur Hälfte bedeckt sind. Achte darauf, dass das Wasser nicht bis zum Sellerie reicht.
6. Sellerie einsetzen: Stelle den vorbereiteten Sellerie mit dem abgeschnittenen Ende nach unten in den Behälter. Die Stangen sollten aufrecht stehen und nicht im Wasser liegen.
7. Behälter verschließen: Wenn du einen Behälter mit Deckel hast, verschließe ihn. Wenn nicht, kannst du den Behälter auch mit Frischhaltefolie abdecken. Achte darauf, dass die Folie nicht direkt den Sellerie berührt.
8. Im Kühlschrank lagern: Stelle den Behälter mit dem Sellerie in den Kühlschrank. Am besten im Gemüsefach, da es dort nicht zu kalt ist.
9. Wasserstand kontrollieren: Überprüfe regelmäßig den Wasserstand im Behälter. Die Steine sollten immer feucht sein, aber der Sellerie sollte nicht im Wasser stehen. Füge bei Bedarf Wasser hinzu.
10. Sellerie genießen: Dein Sellerie bleibt so viel länger frisch und knackig! Du kannst ihn jederzeit für Snacks, Salate oder zum Kochen verwenden.
Zusätzliche Tipps für noch längere Frische
* Sellerie nicht waschen: Wasche den Sellerie erst kurz vor der Verwendung. Feuchtigkeit beschleunigt den Verderb.
* Welke Stangen entfernen: Entferne regelmäßig welke oder beschädigte Stangen, um zu verhindern, dass sie den Rest des Selleries beeinträchtigen.
* Wasser wechseln: Wechsle das Wasser im Behälter alle paar Tage, um die Bildung von Bakterien zu verhindern.
* Sellerie aufbewahren: Wenn du nur einzelne Stangen benötigst, kannst du den Rest des Selleries in einem feuchten Küchentuch einwickeln und im Kühlschrank aufbewahren.
Häufige Fragen (FAQ)
Welche Art von Steinen kann ich verwenden?
Am besten verwendest du Flusssteine, die speziell für Aquarien oder Terrarien verkauft werden. Diese sind ungiftig und geben keine schädlichen Stoffe ins Wasser ab. Du kannst sie in Zoohandlungen oder Gartencentern finden. Vermeide Steine, die aus der Natur stammen, da diese möglicherweise Schadstoffe enthalten oder die Wasserqualität beeinträchtigen können.
Wie oft muss ich das Wasser wechseln?
Ich empfehle, das Wasser alle 2-3 Tage zu wechseln. So verhinderst du die Bildung von Bakterien und hältst den Sellerie länger frisch.
Kann ich diesen Trick auch für andere Gemüsesorten verwenden?
Dieser Trick funktioniert besonders gut für Staudensellerie, aber du kannst ihn auch für andere Gemüsesorten wie Karotten oder Spargel ausprobieren. Achte jedoch darauf, dass die Gemüsesorten nicht direkt im Wasser liegen, da sie sonst faulen können.
Was mache ich, wenn der Sellerie trotzdem welk wird?
Wenn der Sellerie trotz aller Bemühungen welk wird, kannst du ihn für kurze Zeit in Eiswasser legen. Das kann ihn wieder etwas aufpäppeln. Allerdings ist es besser, den Sellerie so schnell wie möglich zu verbrauchen.
Warum dieser Trick funktioniert: Die Wissenschaft dahinter
Der Trick mit den Flusssteinen basiert auf dem Prinzip der Feuchtigkeitsregulierung. Sellerie besteht zu einem großen Teil aus Wasser und verliert dieses im Kühlschrank schnell. Die Flusssteine geben langsam Feuchtigkeit ab, wodurch der Sellerie nicht austrocknet. Gleichzeitig verhindern sie, dass der Sellerie im Wasser liegt und fault. Das Ergebnis ist ein optimales Mikroklima, das den Sellerie länger frisch und knackig hält.
Fazit
Mit diesem einfachen DIY-Trick mit Flusssteinen kannst du verhindern, dass dein Staudensellerie im Kühlschrank welk wird. Es ist eine kostengünstige und umweltfreundliche Methode, um Lebensmittelverschwendung zu reduzieren und deinen Sellerie länger frisch zu halten. Probiere es aus und überzeuge dich selbst! Ich bin sicher, du wirst begeistert sein. Und denk daran: Ein knackiger Sellerie ist ein glücklicher Sellerie (und ein glücklicher Koch!). Viel Spaß beim Ausprobieren!
Conclusion
So, there you have it! Transforming ordinary river stones into the perfect celery storage solution is not just a clever hack; it’s a game-changer for anyone who values fresh, crisp celery. We’ve explored how this simple DIY trick extends the life of your celery, prevents that dreaded limpness, and reduces food waste – all while adding a touch of natural beauty to your refrigerator.
Why is this a must-try? Because it’s effective, economical, and environmentally conscious. You’re not relying on expensive gadgets or disposable plastic containers. Instead, you’re harnessing the power of nature to create an optimal environment for your celery. The river stones provide the perfect amount of moisture, mimicking the conditions in which celery thrives. This method significantly slows down the wilting process, keeping your celery crunchy and ready to use for days, even weeks, longer than traditional storage methods.
But the benefits extend beyond just longevity. Think about the convenience! No more last-minute trips to the grocery store because your celery turned to mush. No more throwing away perfectly good vegetables because they weren’t stored properly. This simple trick empowers you to plan your meals with confidence, knowing that your celery will be fresh and ready when you need it.
Ready to take your celery game to the next level?
Don’t be afraid to experiment with variations! While river stones are our preferred choice, you could also try using other types of stones, such as decorative glass pebbles or even thoroughly cleaned marbles. The key is to choose a material that is non-porous, easy to clean, and safe for food contact.
Another variation to consider is the type of container you use. While a glass container is ideal for visibility and aesthetics, a plastic container with a tight-fitting lid will also work well. Just make sure the container is large enough to accommodate the celery stalks and the stones, with enough room for air circulation.
For an extra boost of freshness, you can add a tablespoon of white vinegar to the water in the container. The vinegar helps to inhibit the growth of bacteria and further extend the shelf life of your celery. Just be sure to rinse the celery thoroughly before using it.
We are confident that once you try this DIY trick, you’ll never go back to storing celery the old way. It’s a simple, effective, and sustainable solution that will save you money, reduce food waste, and ensure that you always have fresh, crisp celery on hand.
So, grab some river stones, gather your celery, and give it a try! We’re eager to hear about your experience. Share your results, tips, and variations in the comments below. Let’s build a community of celery-loving enthusiasts who are committed to reducing food waste and enjoying the freshest produce possible. Let us know if this **river stones for celery** trick worked for you!
Frequently Asked Questions (FAQ)
What kind of river stones should I use?
The best river stones to use are smooth, non-porous stones that are free of any cracks or crevices. Avoid using stones that are too rough or jagged, as they could damage the celery stalks. Also, ensure the stones are clean and free of any dirt or debris before using them. You can find suitable river stones at most garden centers, craft stores, or even online retailers. Before using them for the first time, thoroughly wash and sanitize the stones by boiling them in water for a few minutes. This will help to remove any potential contaminants and ensure they are safe for food contact.
How often should I change the water in the container?
It’s recommended to change the water in the container every 2-3 days, or more frequently if the water becomes cloudy or discolored. Fresh water helps to maintain the humidity level and prevent the growth of bacteria. When changing the water, also take the opportunity to rinse the celery stalks and the river stones to remove any accumulated debris. This will help to keep your celery fresh and crisp for longer.
Can I use this method for other vegetables besides celery?
While this method is particularly effective for celery, it can also be used for other vegetables that benefit from high humidity, such as carrots, asparagus, and leafy greens. The key is to adjust the amount of water and the size of the container to suit the specific vegetable. For example, carrots may require less water than celery, while leafy greens may benefit from a larger container with more air circulation. Experiment with different vegetables and see what works best for you.
Will this method work if my refrigerator is already very humid?
Even if your refrigerator is already humid, this method can still be beneficial. The river stones create a microclimate around the celery, providing a consistent level of humidity that is ideal for maintaining freshness. Additionally, the stones help to prevent the celery from coming into direct contact with the bottom of the container, which can lead to spoilage. However, if your refrigerator is excessively humid, you may need to adjust the amount of water in the container to prevent the celery from becoming waterlogged.
How long will celery last using this method?
With proper care, celery stored using this method can last for several weeks, sometimes even a month or more. The exact lifespan will depend on the initial freshness of the celery, the humidity level in your refrigerator, and how frequently you change the water. However, you can expect to see a significant improvement in the shelf life of your celery compared to traditional storage methods. Keep an eye on the celery for any signs of spoilage, such as wilting, discoloration, or a slimy texture. If you notice any of these signs, discard the affected stalks immediately.
Is it safe to use stones from a natural source like a river?
While it’s possible to use stones from a natural source like a river, it’s important to take extra precautions to ensure they are clean and safe for food contact. Thoroughly wash the stones with soap and water to remove any dirt, debris, or algae. Then, sanitize them by boiling them in water for at least 10 minutes. This will help to kill any harmful bacteria or microorganisms that may be present. Even after cleaning and sanitizing, it’s still best to avoid using stones from areas that may be contaminated with pollutants or chemicals. If you’re unsure about the safety of stones from a natural source, it’s best to purchase them from a reputable retailer.
What if I don’t have river stones? What else can I use?
If you don’t have river stones readily available, there are a few alternatives you can try. Clean marbles or glass pebbles can work similarly, providing a non-porous surface to hold moisture. You could also use a damp paper towel at the bottom of the container, although this will need to be replaced more frequently than stones. The key is to find a material that can retain moisture without becoming soggy and that is easy to clean and sanitize.
My celery is already a little limp. Can this method revive it?
While this method is primarily for preventing celery from wilting, it can also help to revive slightly limp celery. Before placing the celery in the container with the river stones, soak it in a bowl of ice water for about 30 minutes. This will help to rehydrate the celery and restore some of its crispness. Then, follow the instructions for storing the celery with the river stones. While it may not completely restore the celery to its original state, it can significantly improve its texture and flavor.
Does the type of container matter?
Yes, the type of container does matter to some extent. A glass container is often preferred because it allows you to easily see the celery and monitor its freshness. It’s also non-reactive and easy to clean. However, a plastic container with a tight-fitting lid can also work well. The most important thing is to choose a container that is large enough to accommodate the celery stalks and the stones, with enough room for air circulation. Avoid using containers that are too small or too tightly sealed, as this can lead to condensation and spoilage.


Leave a Comment