
Alcohol cleaner effectiveness is something I’ve been experimenting with in my home for ages, and let me tell you, the results have been nothing short of amazing! Are you tired of harsh chemicals and expensive cleaning products that promise the world but deliver little? Do you yearn for a simpler, more natural way to keep your home sparkling clean? Then you’re in the right place! This article is packed with DIY tricks and hacks that harness the power of alcohol, a readily available and surprisingly versatile cleaning agent.
The use of alcohol as a cleaning agent isn’t new. In fact, its antiseptic properties have been recognized for centuries, dating back to ancient civilizations who used fermented beverages for wound care and disinfection. While we’ve come a long way from those early days, the fundamental principle remains the same: alcohol’s ability to kill germs and dissolve grime makes it an incredibly effective cleaner.
But why should you ditch the store-bought stuff and embrace the alcohol cleaner effectiveness for your home? Well, for starters, it’s incredibly cost-effective. A bottle of rubbing alcohol is significantly cheaper than most commercial cleaners, and it can be used for a wide range of tasks. Plus, it’s a much gentler option for those with sensitivities to harsh chemicals. I’ve found it particularly useful for cleaning surfaces that come into contact with food, like countertops and cutting boards. So, get ready to unlock the secrets of alcohol cleaning and discover how to create a healthier, cleaner home without breaking the bank!
DIY Alcohol Cleaner: Your Guide to Sparkling Clean Surfaces
Hey there, fellow DIY enthusiasts! I’m excited to share my go-to recipe and guide for creating an incredibly effective alcohol cleaner. This isn’t just about mixing alcohol and water; we’re diving deep into the science and art of crafting a cleaner that tackles grime, disinfects, and leaves your surfaces gleaming. Plus, it’s a fantastic way to save money and reduce your reliance on harsh chemicals. Let’s get started!
What Makes Alcohol a Great Cleaner?
Before we jump into the recipe, let’s understand why alcohol is such a cleaning powerhouse.
* Disinfecting Properties: Alcohol, specifically isopropyl alcohol (also known as rubbing alcohol) and ethyl alcohol (found in some spirits), is a potent disinfectant. It works by denaturing proteins and dissolving lipids, effectively killing many bacteria, viruses, and fungi.
* Fast Evaporation: One of the best things about alcohol is how quickly it evaporates. This means no streaks or residue left behind, making it perfect for cleaning glass and shiny surfaces.
* Solvent Power: Alcohol is a good solvent, meaning it can dissolve a variety of substances, including grease, grime, and some types of adhesives.
* Versatility: You can use alcohol cleaners on a wide range of surfaces, from countertops and mirrors to electronics and even fabrics (with caution, of course!).
Choosing the Right Alcohol: Isopropyl vs. Ethyl
The type of alcohol you choose matters. Here’s a quick breakdown:
* Isopropyl Alcohol (Rubbing Alcohol): This is the most common and readily available option. Look for a concentration of 70% or higher for effective disinfection. I usually opt for 91% isopropyl alcohol and dilute it down.
* Ethyl Alcohol (Ethanol): This is the alcohol found in alcoholic beverages. While you *can* use it, it’s generally more expensive and less readily available in a pure form. If you’re using a spirit like vodka, make sure it’s at least 40% alcohol by volume (80 proof).
Important Note: Never use denatured alcohol (alcohol that has additives to make it undrinkable) unless you know exactly what those additives are. Some denaturants can be harmful or leave a residue.
DIY Alcohol Cleaner Recipe: My Tried-and-True Formula
This recipe is my go-to for an all-purpose alcohol cleaner. It’s simple, effective, and customizable.
Ingredients:
* 1 cup Isopropyl Alcohol (70% or 91%)
* 1/2 cup Distilled Water (tap water can work in a pinch, but distilled is best to avoid mineral buildup)
* 10-20 drops Essential Oil (optional, for fragrance and added cleaning power)
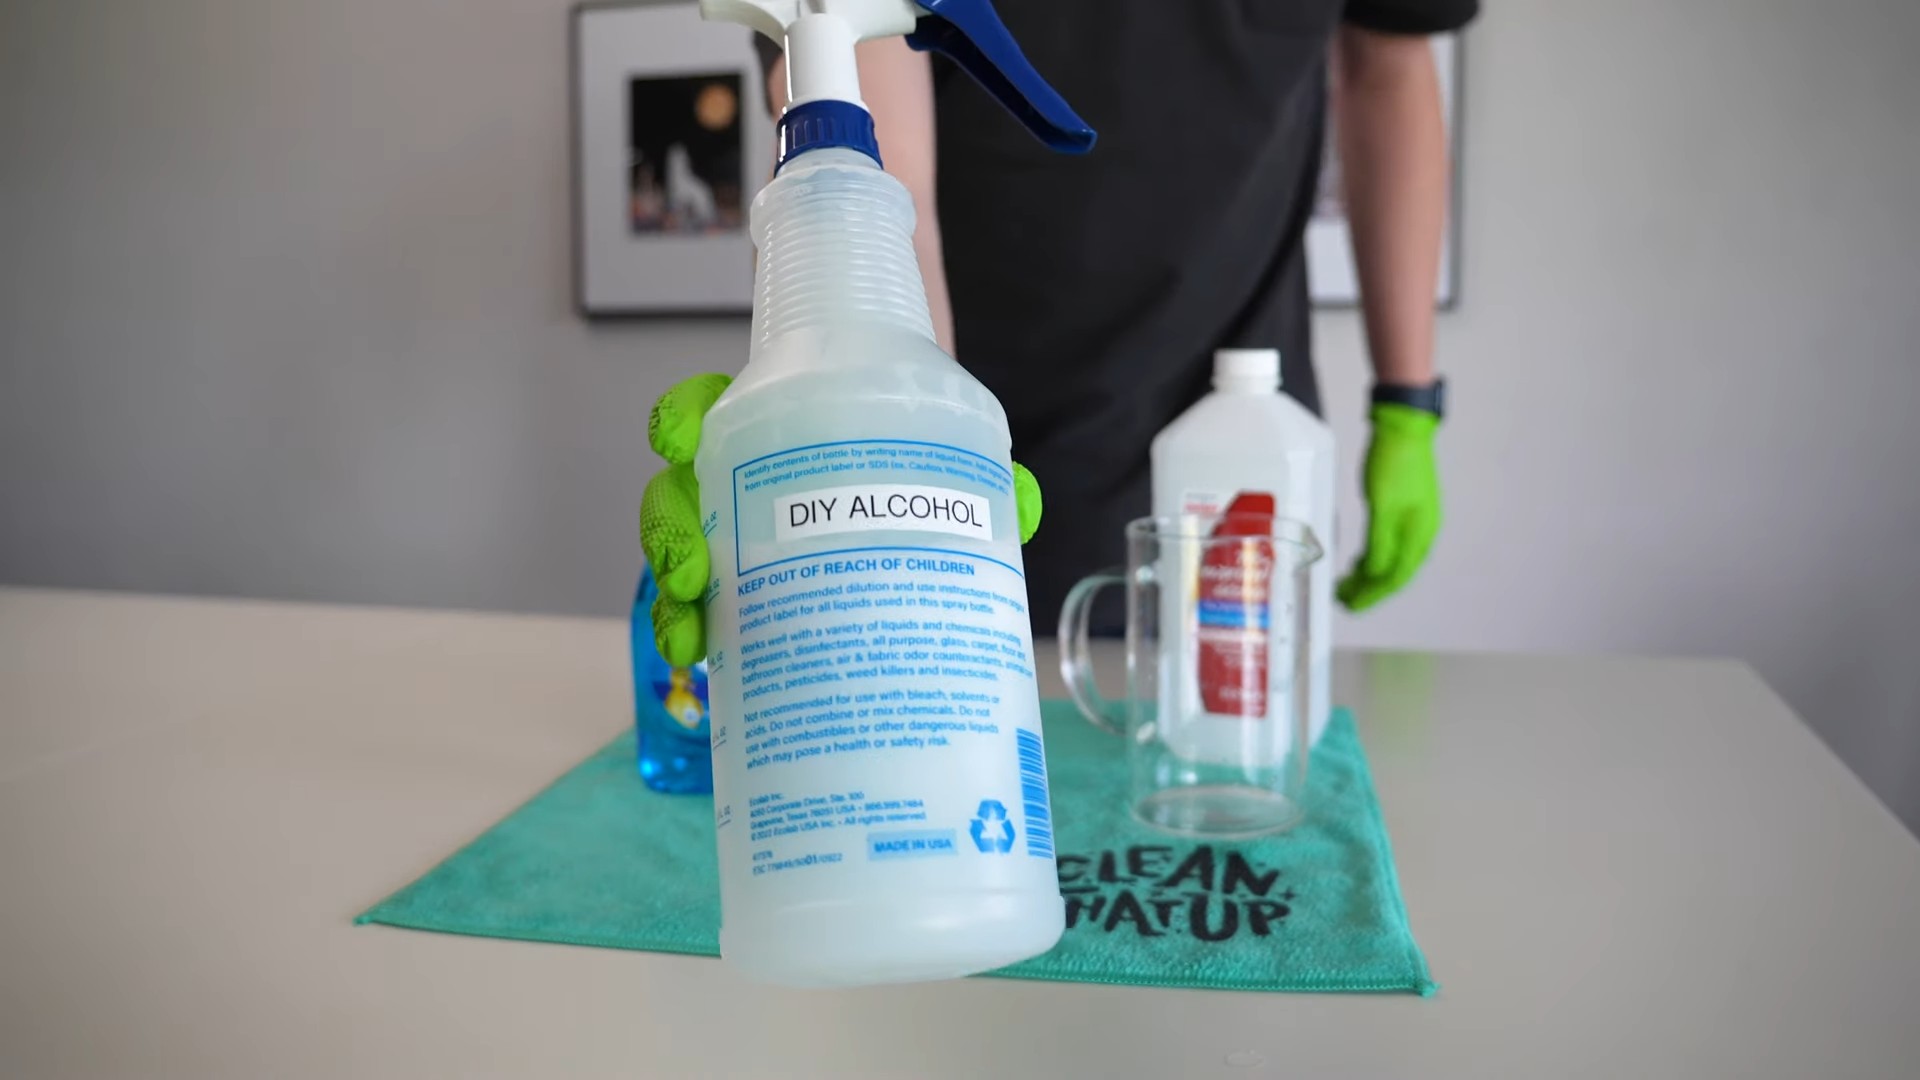
* Spray Bottle (preferably dark-colored to protect essential oils from light)
Equipment:
* Measuring cups
* Funnel (optional, but helpful for pouring)
* Mixing bowl (optional, for pre-mixing)
Step-by-Step Instructions: Creating Your Alcohol Cleaner
Here’s how I make my alcohol cleaner, step-by-step:
1. Gather Your Supplies: Make sure you have all your ingredients and equipment ready to go. This will make the process smoother and more efficient.
2. Choose Your Alcohol Concentration: If you’re using 91% isopropyl alcohol, you’ll need to dilute it to around 70%. To do this, use the following ratio: For every 3 parts of 91% alcohol, add 1 part of water. So, for this recipe, you’d use about 3/4 cup of 91% alcohol and 3/4 cup of water. If you’re using 70% isopropyl alcohol, you can skip this step and use 1 cup of the 70% solution.
3. Mix the Alcohol and Water: In a mixing bowl (optional), combine the alcohol and distilled water. Stir gently to ensure they are well mixed. If you’re using 70% alcohol, simply pour it directly into your spray bottle.
4. Add Essential Oils (Optional): This is where you can customize your cleaner! Essential oils not only add a pleasant scent but also offer additional cleaning and disinfecting properties. Some of my favorites include:
* Lemon: Great for cutting through grease and grime.
* Tea Tree: A powerful antibacterial and antifungal agent.
* Lavender: Adds a calming scent and has mild antiseptic properties.
* Eucalyptus: Helps to disinfect and has a refreshing aroma.
Add 10-20 drops of your chosen essential oil(s) to the alcohol and water mixture. Start with a smaller amount and add more to your liking. Be sure to research the safety of essential oils before using them, especially if you have pets or allergies.
5. Pour into Spray Bottle: Using a funnel (if desired), carefully pour the alcohol cleaner mixture into your spray bottle. Leave a little space at the top to allow for shaking.
6. Shake Well: Secure the spray nozzle onto the bottle and shake well to ensure all the ingredients are thoroughly combined.
7. Label Your Bottle: This is crucial! Clearly label your spray bottle as “Alcohol Cleaner” and include the date you made it. This will prevent accidental misuse and help you keep track of its freshness.
Using Your DIY Alcohol Cleaner: Tips and Tricks
Now that you have your homemade alcohol cleaner, here’s how to use it effectively:
* Test on an Inconspicuous Area: Before cleaning an entire surface, always test the cleaner on a small, hidden area to ensure it doesn’t damage or discolor the material. This is especially important for delicate surfaces like painted wood or certain fabrics.
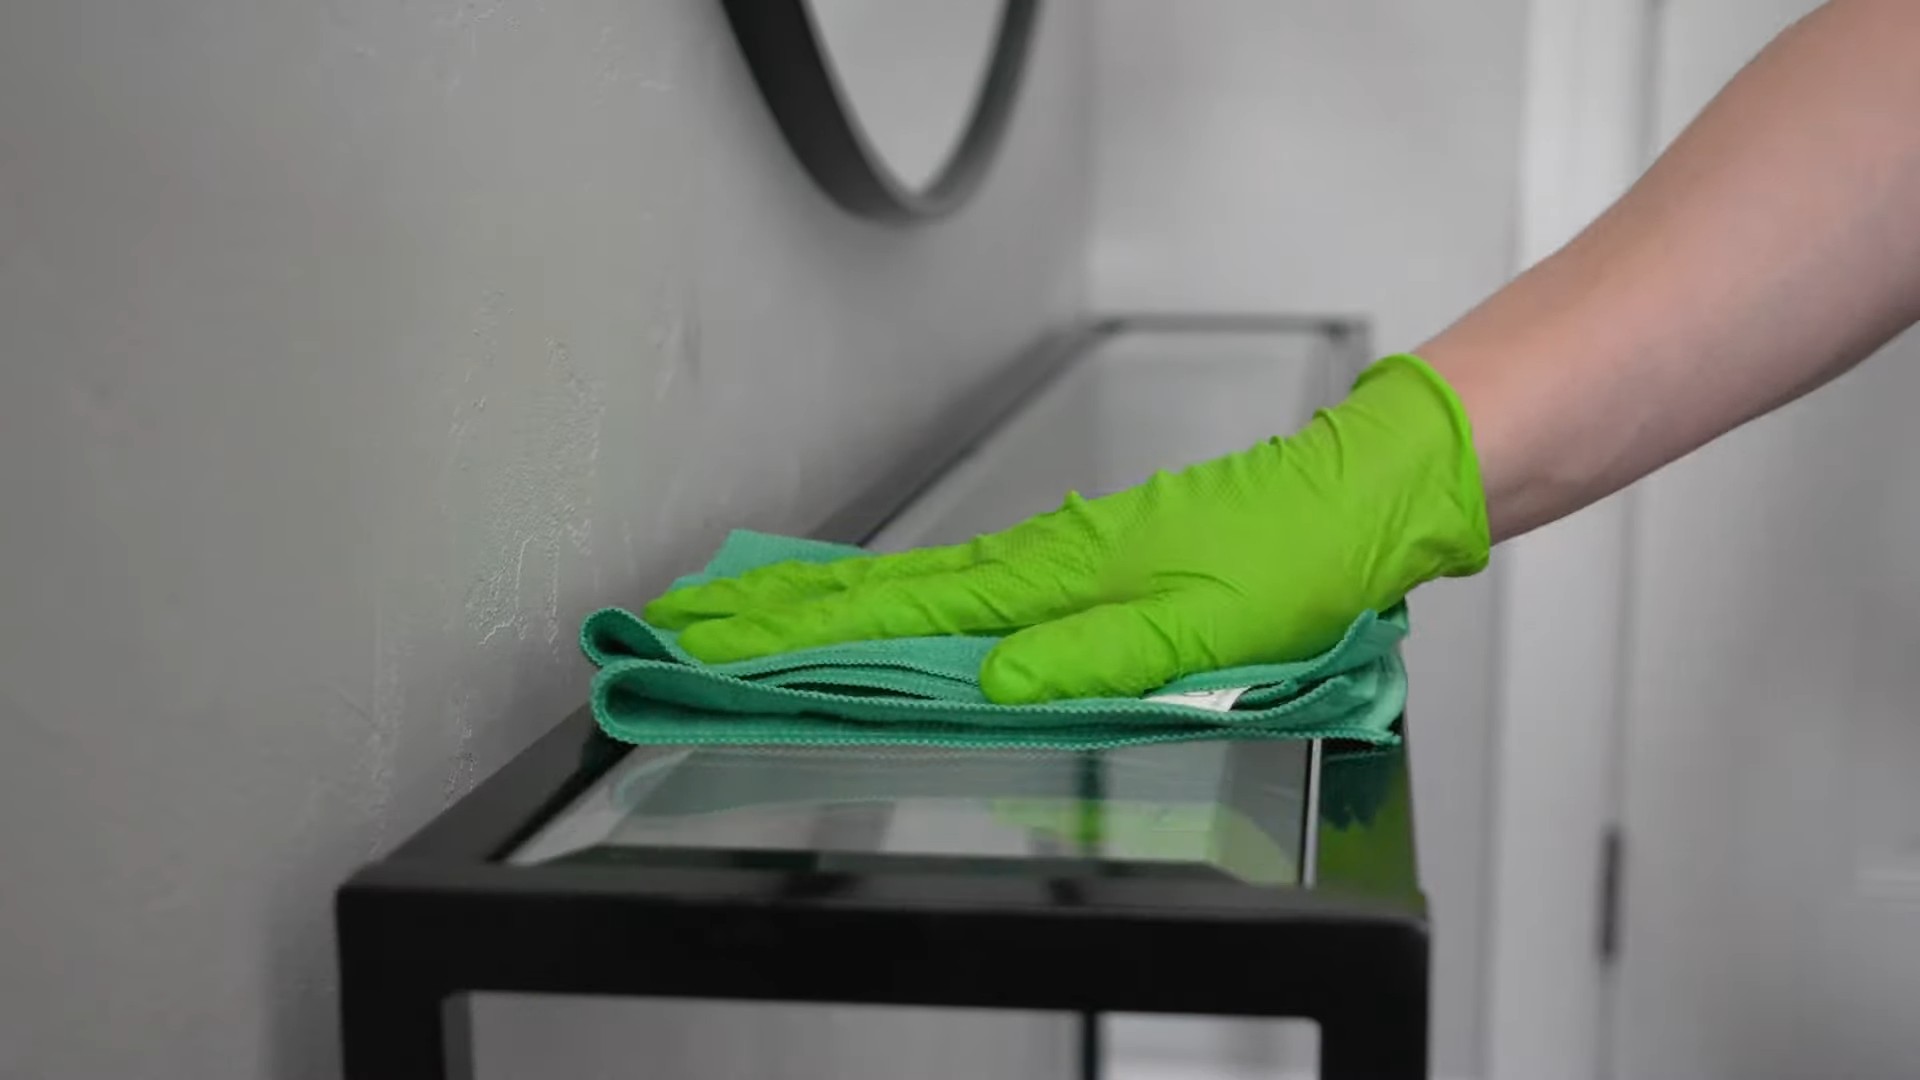
* Spray and Wipe: Spray the cleaner directly onto the surface you want to clean. Use a clean microfiber cloth to wipe away dirt, grime, and residue.
* For Disinfecting: To properly disinfect a surface, spray it with the alcohol cleaner and let it sit for at least 30 seconds before wiping it away. This allows the alcohol to effectively kill germs.
* Cleaning Glass and Mirrors: Alcohol cleaner is fantastic for glass and mirrors! Spray lightly and wipe with a clean microfiber cloth for a streak-free shine.
* Cleaning Electronics: Use caution when cleaning electronics. Never spray the cleaner directly onto the device. Instead, spray a small amount onto a microfiber cloth and gently wipe the surface. A
Hey there, fellow DIY enthusiasts! I’m excited to share my go-to recipe and guide for creating an incredibly effective alcohol cleaner. This isn’t just about mixing alcohol and water; we’re diving deep into the science and art of crafting a cleaner that tackles grime, disinfects, and leaves your surfaces gleaming. Plus, it’s a fantastic way to save money and reduce your reliance on harsh chemicals. Let’s get started!
What Makes Alcohol a Great Cleaner?
Before we jump into the recipe, let’s understand why alcohol is such a cleaning powerhouse.
* Disinfecting Properties: Alcohol, specifically isopropyl alcohol (also known as rubbing alcohol) and ethyl alcohol (found in some spirits), is a potent disinfectant. It works by denaturing proteins and dissolving lipids, effectively killing many bacteria, viruses, and fungi.
* Fast Evaporation: One of the best things about alcohol is how quickly it evaporates. This means no streaks or residue left behind, making it perfect for cleaning glass and shiny surfaces.
* Solvent Power: Alcohol is a good solvent, meaning it can dissolve a variety of substances, including grease, grime, and some types of adhesives.
* Versatility: You can use alcohol cleaners on a wide range of surfaces, from countertops and mirrors to electronics and even fabrics (with caution, of course!).
Choosing the Right Alcohol: Isopropyl vs. Ethyl
The type of alcohol you choose matters. Here’s a quick breakdown:
* Isopropyl Alcohol (Rubbing Alcohol): This is the most common and readily available option. Look for a concentration of 70% or higher for effective disinfection. I usually opt for 91% isopropyl alcohol and dilute it down.
* Ethyl Alcohol (Ethanol): This is the alcohol found in alcoholic beverages. While you *can* use it, it’s generally more expensive and less readily available in a pure form. If you’re using a spirit like vodka, make sure it’s at least 40% alcohol by volume (80 proof).
Important Note: Never use denatured alcohol (alcohol that has additives to make it undrinkable) unless you know exactly what those additives are. Some denaturants can be harmful or leave a residue.
DIY Alcohol Cleaner Recipe: My Tried-and-True Formula
This recipe is my go-to for an all-purpose alcohol cleaner. It’s simple, effective, and customizable.
Ingredients:
* 1 cup Isopropyl Alcohol (70% or 91%)
* 1/2 cup Distilled Water (tap water can work in a pinch, but distilled is best to avoid mineral buildup)
* 10-20 drops Essential Oil (optional, for fragrance and added cleaning power)
* Spray Bottle (preferably dark-colored to protect essential oils from light)
Equipment:
* Measuring cups
* Funnel (optional, but helpful for pouring)
* Mixing bowl (optional, for pre-mixing)
Step-by-Step Instructions: Creating Your Alcohol Cleaner
Here’s how I make my alcohol cleaner, step-by-step:
1. Gather Your Supplies: Make sure you have all your ingredients and equipment ready to go. This will make the process smoother and more efficient.
2. Choose Your Alcohol Concentration: If you’re using 91% isopropyl alcohol, you’ll need to dilute it to around 70%. To do this, use the following ratio: For every 3 parts of 91% alcohol, add 1 part of water. So, for this recipe, you’d use about 3/4 cup of 91% alcohol and 3/4 cup of water. If you’re using 70% isopropyl alcohol, you can skip this step and use 1 cup of the 70% solution.
3. Mix the Alcohol and Water: In a mixing bowl (optional), combine the alcohol and distilled water. Stir gently to ensure they are well mixed. If you’re using 70% alcohol, simply pour it directly into your spray bottle.
4. Add Essential Oils (Optional): This is where you can customize your cleaner! Essential oils not only add a pleasant scent but also offer additional cleaning and disinfecting properties. Some of my favorites include:
* Lemon: Great for cutting through grease and grime.
* Tea Tree: A powerful antibacterial and antifungal agent.
* Lavender: Adds a calming scent and has mild antiseptic properties.
* Eucalyptus: Helps to disinfect and has a refreshing aroma.
Add 10-20 drops of your chosen essential oil(s) to the alcohol and water mixture. Start with a smaller amount and add more to your liking. Be sure to research the safety of essential oils before using them, especially if you have pets or allergies.
5. Pour into Spray Bottle: Using a funnel (if desired), carefully pour the alcohol cleaner mixture into your spray bottle. Leave a little space at the top to allow for shaking.
6. Shake Well: Secure the spray nozzle onto the bottle and shake well to ensure all the ingredients are thoroughly combined.
7. Label Your Bottle: This is crucial! Clearly label your spray bottle as “Alcohol Cleaner” and include the date you made it. This will prevent accidental misuse and help you keep track of its freshness.
Using Your DIY Alcohol Cleaner: Tips and Tricks
Now that you have your homemade alcohol cleaner, here’s how to use it effectively:
* Test on an Inconspicuous Area: Before cleaning an entire surface, always test the cleaner on a small, hidden area to ensure it doesn’t damage or discolor the material. This is especially important for delicate surfaces like painted wood or certain fabrics.
* Spray and Wipe: Spray the cleaner directly onto the surface you want to clean. Use a clean microfiber cloth to wipe away dirt, grime, and residue.
* For Disinfecting: To properly disinfect a surface, spray it with the alcohol cleaner and let it sit for at least 30 seconds before wiping it away. This allows the alcohol to effectively kill germs.
* Cleaning Glass and Mirrors: Alcohol cleaner is fantastic for glass and mirrors! Spray lightly and wipe with a clean microfiber cloth for a streak-free shine.
* Cleaning Electronics: Use caution when cleaning electronics. Never spray the cleaner directly onto the device. Instead, spray a small amount onto a microfiber cloth and gently wipe the surface. Avoid getting any liquid into openings or ports.
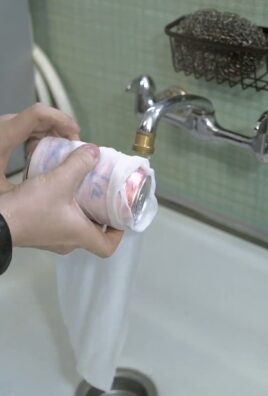
* Cleaning Fabrics: Alcohol can be used to remove some stains from fabrics, but it’s important to test it first. Dab a small amount of cleaner onto the stain and blot with a clean cloth. Avoid rubbing, as this can spread the stain.
* Ventilation: Always use alcohol cleaner in a well-ventilated area. The fumes can be irritating to some people.
Surfaces to Avoid: Where *Not* to Use Alcohol Cleaner
While alcohol cleaner is versatile, there are some surfaces you should avoid:
* Acrylic and Some Plastics: Alcohol can damage or cloud acrylic and some types of plastic. Always test in an inconspicuous area first.
* Painted Surfaces (Especially Antique Furniture): Alcohol can strip paint, especially on older furniture.
* Leather: Alcohol can dry out leather and cause it to crack.
* Shellac: Alcohol is a solvent for shellac and will dissolve it.
Troubleshooting: Common Issues and Solutions
* Streaking: If you’re experiencing streaking, try using a clean, dry microfiber cloth. You may also be using too much cleaner.
* Strong Alcohol Smell: The alcohol smell should dissipate quickly as it evaporates. If it’s too strong, try adding more essential oils or diluting the cleaner slightly with more water.
* Residue: If you’re noticing a residue, it could be due to hard water. Try using distilled water instead.
* Cleaner Not Effective: Make sure you’re using alcohol with a concentration of at least 70%. Also, ensure you’re allowing the cleaner to sit on the surface for at least 30 seconds for disinfecting purposes.
Safety Precautions: Keeping Yourself Safe
* Flammability: Alcohol is flammable, so keep it away from open flames and heat sources.
* Ventilation: Use alcohol cleaner in a well-ventilated area to avoid inhaling fumes.
* Skin Irritation: Alcohol can be drying to the skin. Wear gloves if you have sensitive skin or are using the cleaner frequently.
* Eye Contact: Avoid getting alcohol cleaner in your eyes. If contact occurs, rinse thoroughly with water.
* Keep Out of Reach of Children and Pets: Store your alcohol cleaner in a safe place, out of reach of children and pets.
Storage: Keeping Your Cleaner Fresh
* Dark-Colored Bottle: Store your alcohol cleaner in a dark-colored spray bottle to protect the essential oils from light
Conclusion
So, there you have it! This simple yet incredibly effective DIY alcohol cleaner trick is a game-changer for anyone looking to maintain a sparkling clean and germ-free environment without resorting to harsh chemicals or breaking the bank. We’ve walked you through the process, highlighting its ease of preparation and the multitude of surfaces it can safely and effectively sanitize.
Why is this a must-try? Because it’s more than just a cleaning solution; it’s a sustainable, cost-effective, and health-conscious approach to keeping your home or workspace pristine. Think about the money you’ll save on commercial cleaners, the reduced exposure to potentially harmful ingredients, and the peace of mind knowing you’re using a solution that’s both powerful and gentle.
But the benefits don’t stop there. This DIY alcohol cleaner is incredibly versatile. Feel free to experiment with different essential oils to create your own signature scent. A few drops of lavender oil can add a calming aroma, while lemon or tea tree oil can boost its antibacterial properties. You can also adjust the alcohol-to-water ratio depending on your specific needs. For heavily soiled areas, a higher concentration of alcohol might be beneficial, while for delicate surfaces, a more diluted solution is recommended.
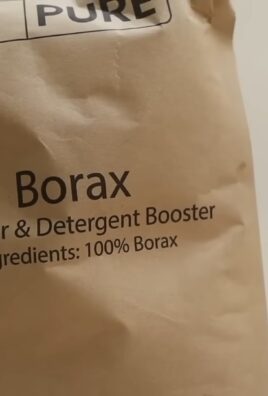
Consider adding a small amount of white vinegar (about a tablespoon per cup of solution) for extra cleaning power, especially for tackling hard water stains or soap scum. Just be mindful of the surfaces you’re using it on, as vinegar can be acidic and may damage certain materials. Always test in an inconspicuous area first.
We’re confident that once you try this DIY alcohol cleaner, you’ll be amazed by its effectiveness and simplicity. It’s a truly transformative cleaning solution that empowers you to take control of your cleaning routine and create a healthier living environment.
Now, it’s your turn! We wholeheartedly encourage you to give this DIY trick a try. We’re eager to hear about your experiences, your favorite variations, and any tips or tricks you discover along the way. Share your thoughts in the comments below – let’s build a community of DIY cleaning enthusiasts and learn from each other! Your feedback is invaluable and will help us refine and improve this guide for future readers. So, grab your ingredients, mix up a batch, and prepare to be amazed by the power of this simple, effective, and eco-friendly DIY alcohol cleaner. Happy cleaning!
Frequently Asked Questions (FAQ)
What type of alcohol should I use for this DIY cleaner?
The best type of alcohol to use is isopropyl alcohol (also known as rubbing alcohol) with a concentration of at least 70%. A higher concentration, such as 91% or 99%, is even more effective at killing germs, but it’s important to dilute it properly with water to prevent it from evaporating too quickly and potentially damaging certain surfaces. Avoid using denatured alcohol or other types of alcohol that may contain additives that could be harmful or leave a residue.
Can I use this alcohol cleaner on all surfaces?
While this DIY alcohol cleaner is generally safe for most surfaces, it’s always a good idea to test it in an inconspicuous area first, especially on delicate materials like painted wood, leather, or certain plastics. Avoid using it on surfaces that are sensitive to alcohol, such as shellac or varnish. It’s also important to note that alcohol can sometimes discolor or damage certain fabrics, so be cautious when using it on upholstery or clothing.
How do I dilute the alcohol properly?
The ideal dilution ratio depends on the concentration of the alcohol you’re using and the intended use of the cleaner. For general cleaning and disinfecting, a 70% alcohol solution is usually sufficient. If you’re using 91% or 99% alcohol, you’ll need to dilute it with water to achieve a similar concentration. A common ratio is 2 parts alcohol to 1 part water for 91% alcohol, or 3 parts alcohol to 1 part water for 99% alcohol. Always use distilled water to avoid introducing minerals or impurities that could leave a residue.
Is this alcohol cleaner safe to use around children and pets?
While this DIY alcohol cleaner is generally safer than many commercial cleaners, it’s still important to exercise caution when using it around children and pets. Keep the solution out of their reach and avoid spraying it directly on them. Ensure that the area is well-ventilated when using the cleaner, and allow surfaces to dry completely before allowing children or pets to come into contact with them. If you’re concerned about potential exposure, consider using a more diluted solution or opting for a natural alternative like vinegar or baking soda.
How long does this alcohol cleaner last?
This DIY alcohol cleaner typically has a shelf life of several months, as alcohol is a natural preservative. However, it’s best to store it in a cool, dark place away from direct sunlight to prevent the alcohol from evaporating or degrading. You can also add a few drops of essential oils to help preserve the solution and add a pleasant scent. If you notice any changes in the appearance or odor of the cleaner, it’s best to discard it and make a fresh batch.
Can I add other ingredients to this alcohol cleaner?
Yes, you can customize this DIY alcohol cleaner by adding other ingredients to enhance its cleaning power or scent. As mentioned earlier, essential oils can be added for fragrance and antibacterial properties. White vinegar can also be added for extra cleaning power, especially for tackling hard water stains or soap scum. However, be mindful of the surfaces you’re using it on, as vinegar can be acidic and may damage certain materials. Always test in an inconspicuous area first. You can also add a small amount of dish soap for extra degreasing power, but be sure to use a mild, pH-neutral soap to avoid damaging surfaces.
What are the benefits of using a DIY alcohol cleaner compared to commercial cleaners?
There are several benefits to using a DIY alcohol cleaner compared to commercial cleaners. First, it’s more cost-effective, as you can make a large batch of cleaner for a fraction of the cost of buying commercial products. Second, it’s more environmentally friendly, as you’re reducing your reliance on plastic bottles and potentially harmful chemicals. Third, it’s healthier, as you’re avoiding exposure to harsh chemicals that can irritate your skin, lungs, or eyes. Finally, it’s more customizable, as you can adjust the ingredients and concentration to suit your specific needs and preferences.
How do I store the DIY alcohol cleaner?
Store your DIY alcohol cleaner in a clean, airtight spray bottle or container. Label the bottle clearly with the contents and date of preparation. Keep it in a cool, dark place away from direct sunlight and heat sources. This will help to preserve the effectiveness of the alcohol and prevent it from evaporating. Make sure to keep it out of reach of children and pets.
What safety precautions should I take when making and using this cleaner?
When making and using this DIY alcohol cleaner, it’s important to take certain safety precautions. Always work in a well-ventilated area to avoid inhaling the alcohol fumes. Wear gloves to protect your skin from irritation. Avoid spraying the cleaner directly into your eyes or mouth. If you accidentally get the cleaner in your eyes, rinse them thoroughly with water. Keep the cleaner away from open flames or heat sources, as alcohol is flammable. Never mix alcohol with bleach, as this can create toxic fumes.
Leave a Comment