
Chili pepper home gardening – the fiery secret to spicing up your life, right from your own backyard! Have you ever dreamed of plucking a vibrant, sun-ripened chili straight from the plant and adding it to your favorite dish? I know I have! It’s not just about the flavor; it’s about the satisfaction of growing something amazing yourself.
For centuries, chili peppers have been more than just food; they’ve been a symbol of passion, a staple in diverse cuisines, and even used for medicinal purposes. From the ancient Aztecs to modern-day foodies, the allure of the chili pepper endures. But let’s face it, sometimes growing these little firecrackers can feel a bit intimidating, especially if you’re new to gardening.
That’s where this DIY guide comes in! I’m going to share some simple, yet effective, tricks and hacks that will help you master chili pepper home gardening, even if you have a small space or limited experience. Imagine the joy of harvesting a bountiful crop of chilies, knowing you nurtured them from seed to spicy perfection. No more expensive grocery store runs for subpar peppers! We’ll cover everything from choosing the right varieties to pest control, ensuring you have a thriving chili pepper garden that will be the envy of all your neighbors. So, grab your gardening gloves, and let’s get started!
Growing Fiery Friends: A Beginner’s Guide to Chili Pepper Home Gardening
Okay, so you want to grow your own chili peppers? Awesome! Trust me, there’s nothing quite like the satisfaction of harvesting peppers you’ve nurtured from tiny seeds. Plus, fresh, homegrown chilies taste amazing! This guide will walk you through everything you need to know to successfully grow chili peppers at home, even if you’ve never gardened before. I’ll break it down into easy-to-follow steps, so let’s get started!
Choosing Your Chili Pepper Varieties
First things first, what kind of heat are you craving? Chili peppers come in a dazzling array of varieties, from mild bell peppers (yes, they’re technically chilies!) to scorching ghost peppers. Consider your spice tolerance and what you plan to use the peppers for.
Here are a few popular choices, ranging from mild to super-hot:
* **Bell Peppers:** Sweet and mild, perfect for salads and stuffing.
* **Poblano:** Mild heat, great for chili rellenos.
* **Jalapeño:** Medium heat, versatile for salsas, pickling, and grilling.
* **Serrano:** Hotter than jalapeños, adds a kick to sauces and dips.
* **Cayenne:** Hot, used for drying and making chili powder.
* **Habanero:** Very hot, fruity flavor, use sparingly!
* **Scotch Bonnet:** Similar heat to habanero, with a distinct flavor.
* **Ghost Pepper (Bhut Jolokia):** Extremely hot, handle with care!
* **Carolina Reaper:** The current world record holder for heat, only for the brave!
Once you’ve decided on your varieties, you can purchase seeds online, at your local garden center, or even from some grocery stores.
Starting Your Chili Pepper Seeds
Chili peppers need a long growing season, so starting them indoors is usually the best way to go, especially if you live in a cooler climate. I typically start my seeds about 8-10 weeks before the last expected frost.
Here’s what you’ll need:
* Chili pepper seeds
* Seed starting trays or small pots
* Seed starting mix (a light, sterile soil mix)
* Spray bottle with water
* Heat mat (optional, but helpful)
* Grow light (optional, but recommended)
* Clear plastic dome or plastic wrap
Now, let’s get planting!
1. **Prepare your seed starting trays:** Fill each cell or pot with seed starting mix. Gently tap the tray to settle the soil.
2. **Sow the seeds:** Place 2-3 seeds in the center of each cell or pot, about ¼ inch deep.
3. **Cover the seeds:** Lightly cover the seeds with more seed starting mix.
4. **Water gently:** Use a spray bottle to moisten the soil. Avoid overwatering, which can lead to rot.
5. **Create a humid environment:** Cover the tray with a clear plastic dome or plastic wrap to retain moisture.
6. **Provide warmth:** Place the tray on a heat mat, if using. Chili pepper seeds germinate best in warm temperatures (around 80-85°F).
7. **Provide light:** Place the tray under a grow light, if using. If not, place it in a sunny window, but avoid direct sunlight, which can overheat the seedlings.
8. **Monitor and water:** Check the soil moisture daily. Keep the soil consistently moist, but not soggy. Water with a spray bottle as needed.
9. **Remove the cover:** Once the seeds germinate (usually within 7-14 days), remove the plastic dome or plastic wrap.
10. **Thin the seedlings:** Once the seedlings have their first true leaves (the second set of leaves), thin them to one seedling per cell or pot. Choose the strongest seedling and snip off the others at the soil line.
Transplanting Your Chili Pepper Seedlings
Once your seedlings are about 6-8 inches tall and the weather has warmed up (nighttime temperatures consistently above 50°F), it’s time to transplant them outdoors.
Here’s what you’ll need:
* Chili pepper seedlings
* Gardening gloves
* Trowel or shovel
* Well-draining soil
* Compost or other organic matter
* Watering can or hose
* Stakes or cages (optional, but recommended for taller varieties)
1. **Harden off the seedlings:** Before transplanting, you need to “harden off” the seedlings to acclimate them to outdoor conditions. Gradually expose them to sunlight and wind for increasing periods of time over a week or two. Start with an hour or two of shade and gradually increase the amount of sunlight and wind exposure each day.
2. **Prepare the planting site:** Choose a sunny location with well-draining soil. Chili peppers need at least 6-8 hours of sunlight per day. Amend the soil with compost or other organic matter to improve drainage and fertility.
3. **Dig the holes:** Dig holes that are slightly larger than the root balls of the seedlings. Space the holes about 18-24 inches apart, depending on the variety.
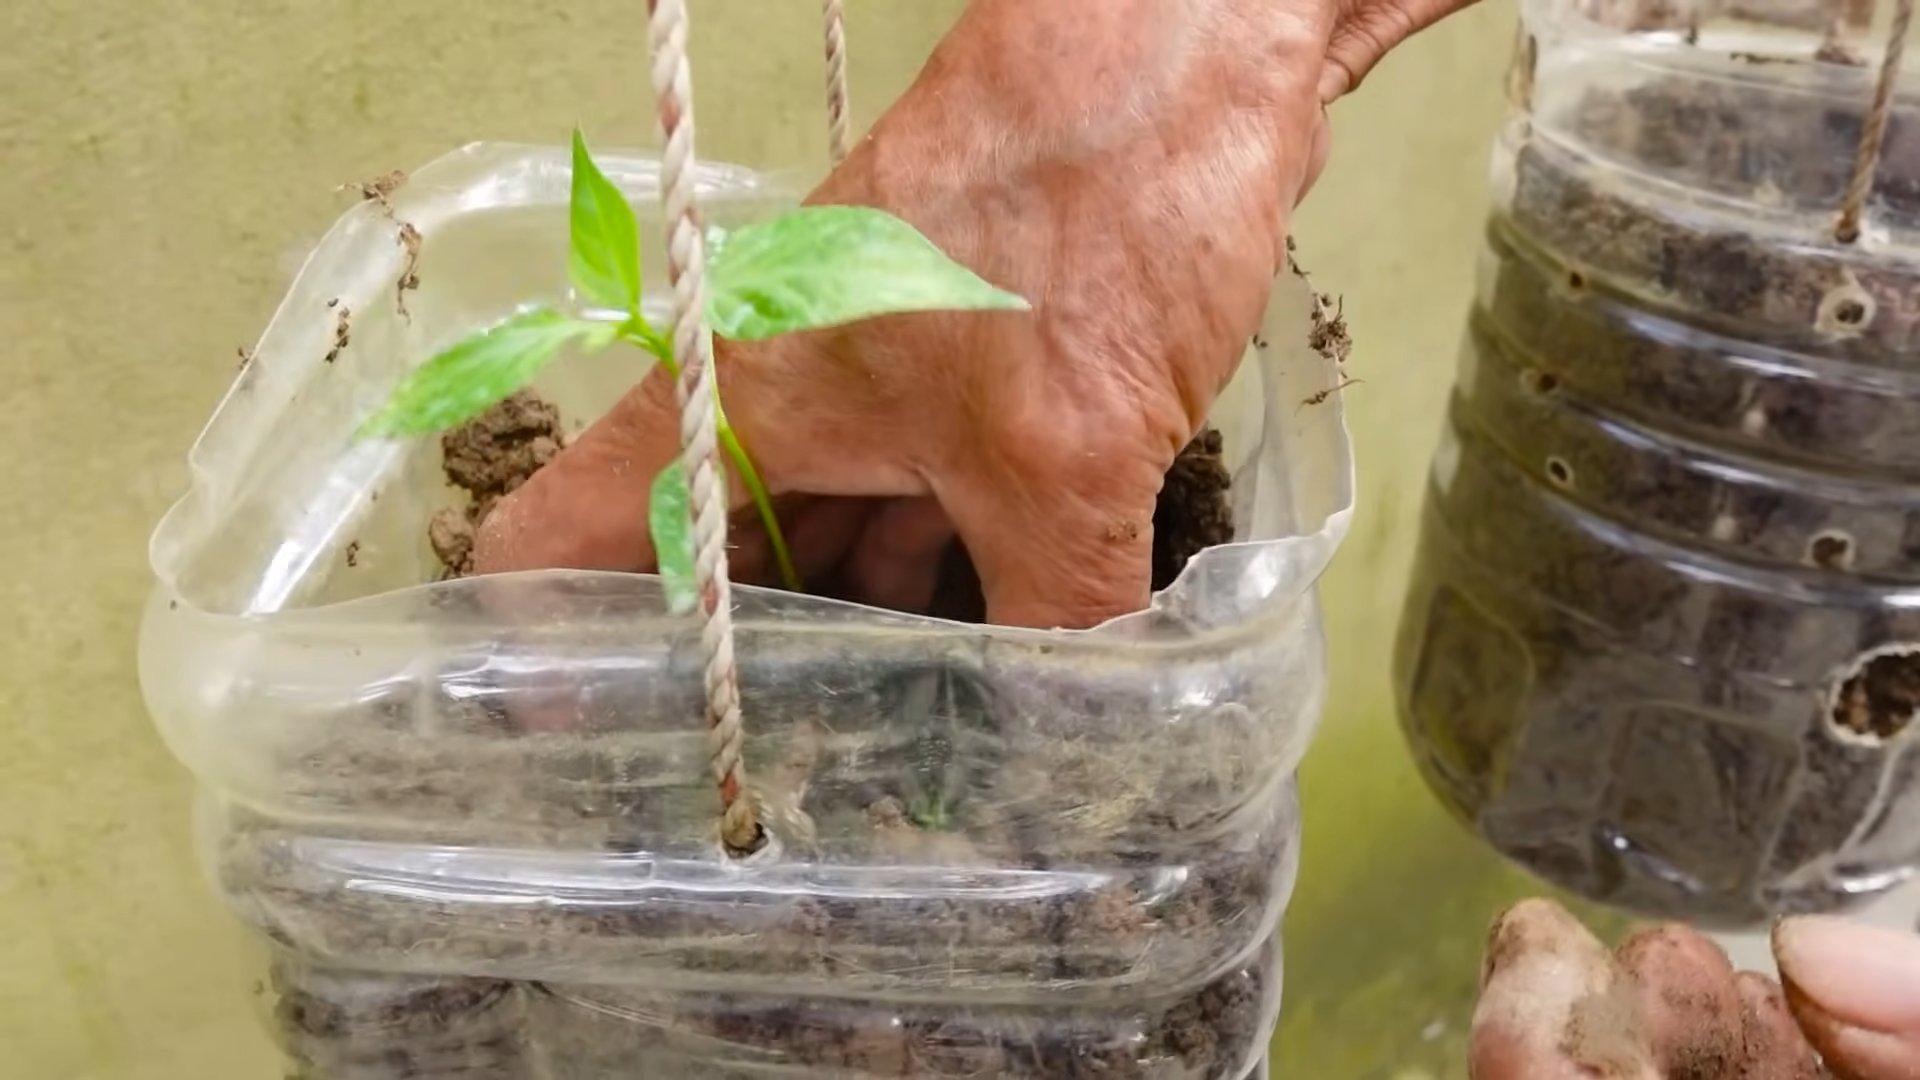
4. **Remove the seedlings from their containers:** Gently remove the seedlings from their containers, being careful not to damage the roots. If the roots are pot-bound (tightly circling the pot), gently loosen them before planting.
5. **Plant the seedlings:** Place the seedlings in the holes and backfill with soil. Gently firm the soil around the base of the plants.
6. **Water thoroughly:** Water the seedlings thoroughly after planting.
7. **Add support:** If you’re growing taller varieties, install stakes or cages to support the plants as they grow.
8. **Mulch:** Add a layer of mulch around the plants to help retain moisture, suppress weeds, and regulate soil temperature.
Caring for Your Chili Pepper Plants
Once your chili pepper plants are established, it’s important to provide them with proper care to ensure a bountiful harvest.
Here are some key things to keep in mind:
* **Watering:** Water regularly, especially during hot, dry weather. Chili peppers need consistent moisture, but avoid overwatering, which can lead to root rot. Water deeply and less frequently, rather than shallowly and often.
* **Fertilizing:** Fertilize your chili pepper plants every 2-3 weeks with a balanced fertilizer. You can also use a fertilizer specifically formulated for peppers and tomatoes.
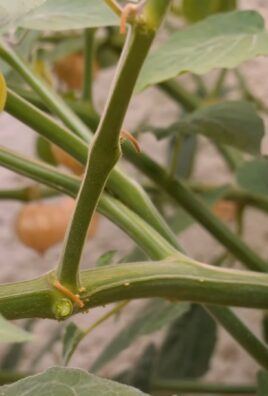
* **Pruning:** Pruning is not essential, but it can help to improve air circulation and encourage bushier growth. You can prune off any suckers (small shoots that grow from the base of the plant) or any yellowing or diseased leaves.
* **Pest and disease control:** Monitor your plants regularly for pests and diseases. Common pests include aphids, spider mites, and whiteflies. Common diseases include blossom end rot, fungal leaf spot, and verticillium wilt. Treat any problems promptly with appropriate organic or chemical controls.
* **Blossom Drop:** Blossom drop, where flowers fall off without producing fruit, can be caused by temperature stress (too hot or too cold), inconsistent watering, or lack of pollination. Ensure consistent watering, protect plants from extreme temperatures, and encourage pollination by hand or by attracting pollinators to your garden.
Harvesting Your Chili Peppers
The time it takes for chili peppers to mature depends on the variety. Generally, it takes about 60-90 days from transplanting to harvest.
Here are some tips for harvesting your chili peppers:
* **Check the color:** The color of the pepper will indicate its ripeness. Most chili peppers will turn from green to red, yellow, or orange when ripe.
* **Feel the pepper:** Ripe peppers will feel firm and slightly heavy.
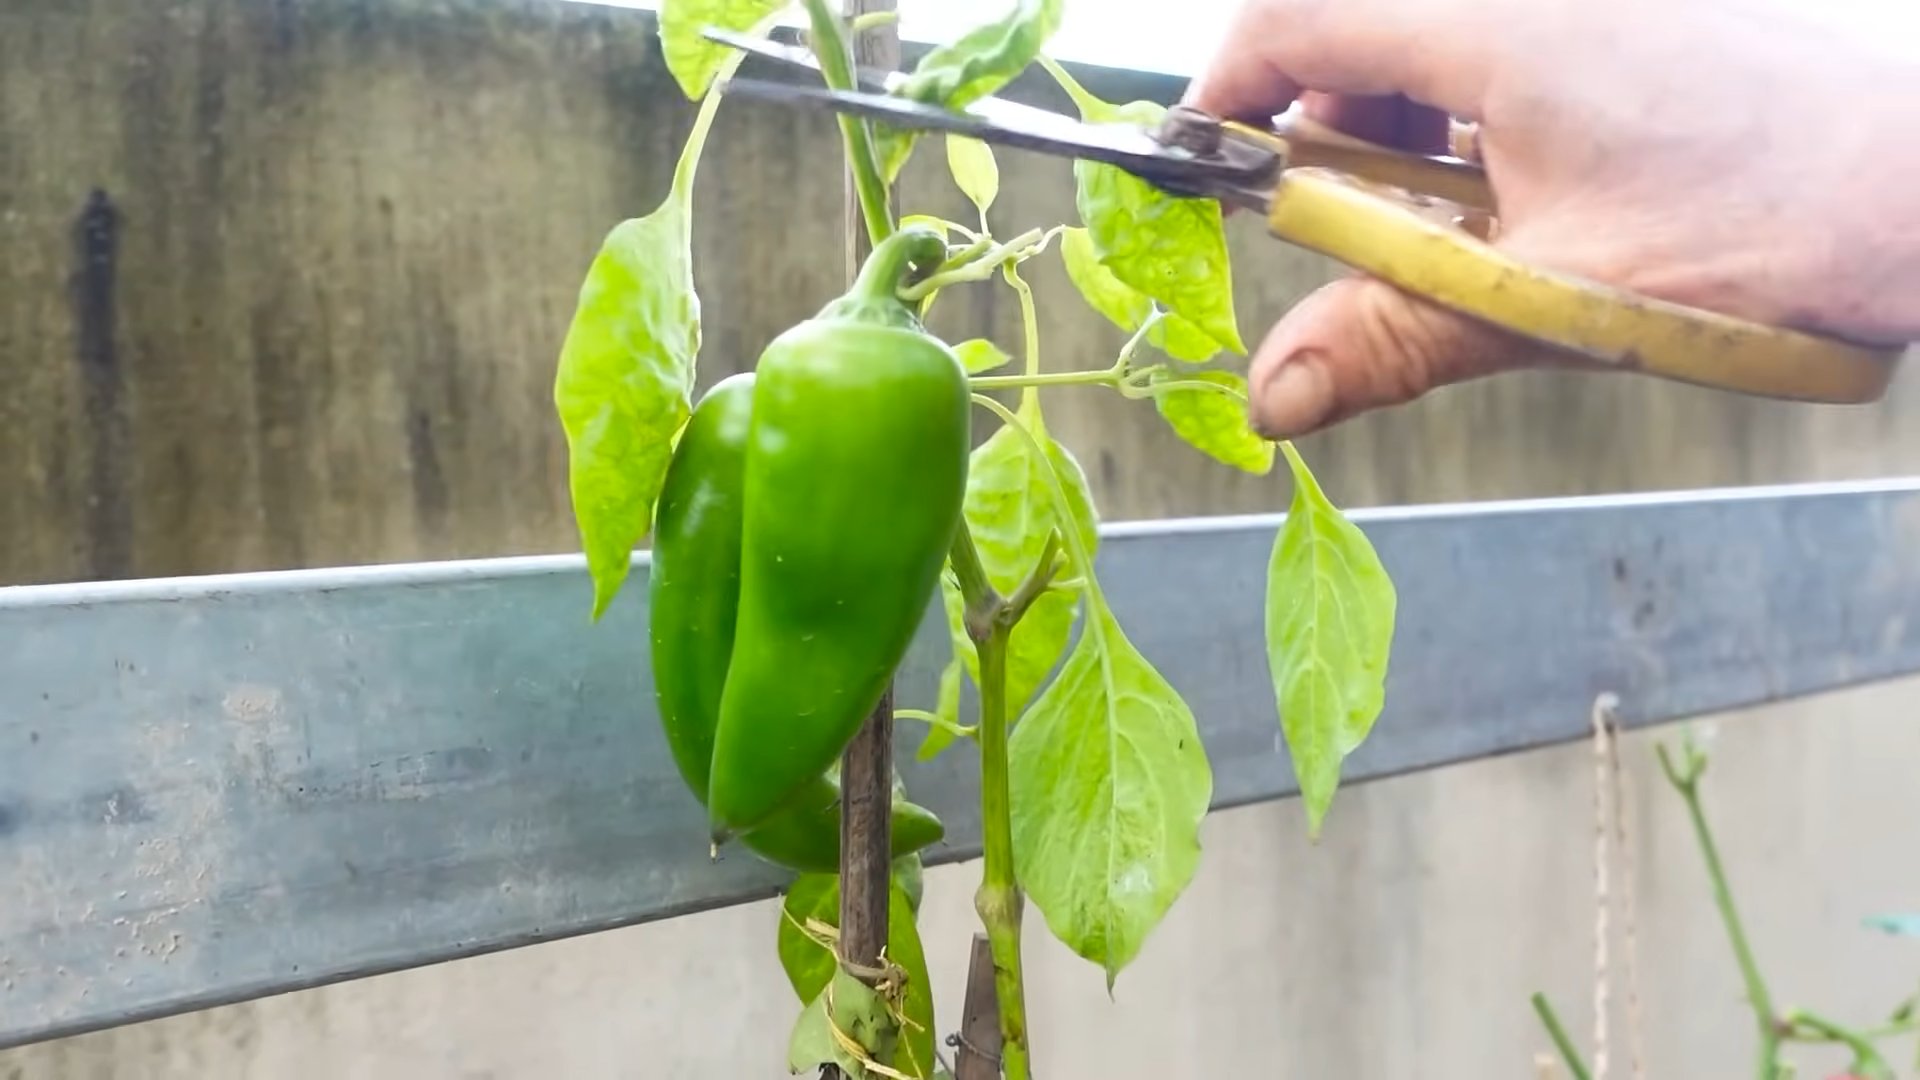
* **Use pruning shears or scissors:** Cut the peppers from the plant with pruning shears or scissors, leaving a small stem attached.
* **Handle with care:** Wear gloves when harvesting hot peppers to avoid skin irritation.
* **Harvest regularly:** Harvest peppers regularly to encourage the plant to produce more fruit.
Storing Your Chili Peppers
Once you’ve harvested your chili peppers, you can store them in a variety of ways:
* **Fresh:** Store fresh peppers in the refrigerator for up to a week.
* **Dried:** Dry peppers by stringing them together and hanging them in a warm, dry place, or by using a dehydrator.
* **Frozen:** Freeze peppers whole or chopped.
* **Pickled:** Pickle peppers in vinegar or brine.
* **Sauce:** Make chili sauce or hot sauce.
Troubleshooting Common Problems
Even with the best care, you might encounter some problems while growing chili peppers. Here are a few common issues and how to address them:
* **Blossom End Rot:** This is caused by a calcium deficiency and results in a dark, sunken spot on the bottom of the fruit. Ensure consistent watering and amend the soil with calcium-rich amendments like bone meal or crushed eggshells.
* **Aphids:** These small, sap-sucking
Conclusion
So, there you have it! Mastering the art of chili pepper home gardening is not just a hobby; it’s a gateway to a world of flavor, freshness, and fiery satisfaction. We’ve explored the ins and outs of cultivating these vibrant plants, from selecting the perfect seeds to nurturing them into prolific producers of your favorite spicy delights.
Why is this DIY trick a must-try? Because it empowers you to take control of your food source, ensuring that the chili peppers you consume are free from harmful chemicals and bursting with homegrown goodness. Imagine the pride of harvesting your own peppers, knowing that you nurtured them from tiny seeds to mature, fruit-bearing plants. Plus, growing your own chili peppers is significantly more cost-effective than constantly purchasing them from the store, especially if you’re a true chili head who uses them frequently.
But the benefits extend beyond mere economics and health. Chili pepper home gardening is a deeply rewarding experience. It connects you with nature, provides a therapeutic outlet, and allows you to experiment with different varieties and growing techniques. It’s a chance to learn, to grow (literally!), and to share your bounty with friends and family.
Ready to take your chili pepper game to the next level? Consider these variations and suggestions to personalize your growing experience:
* **Experiment with different varieties:** Don’t limit yourself to just one type of chili pepper. Explore the vast world of peppers, from the mild jalapeños to the scorching habaneros and beyond. Each variety offers a unique flavor profile and heat level, allowing you to tailor your garden to your specific preferences.
* **Try companion planting:** Certain plants, like basil and marigolds, can help deter pests and attract beneficial insects to your chili pepper plants. Research companion planting strategies to create a thriving and balanced garden ecosystem.
* **Explore different growing mediums:** While soil is the traditional choice, you can also experiment with hydroponics or container gardening. These methods offer greater control over nutrient levels and can be particularly useful for those with limited space.
* **Ferment your harvest:** Once you’ve harvested your chili peppers, consider fermenting them to create delicious and complex hot sauces or chili pastes. Fermentation not only enhances the flavor but also preserves your harvest for longer.
* **Make chili oil:** Infuse oil with your homegrown chili peppers for a flavorful and versatile condiment. Chili oil can be used to add a spicy kick to everything from noodles and stir-fries to eggs and pizza.
We are confident that with a little patience and dedication, you can successfully cultivate your own thriving chili pepper garden. The satisfaction of harvesting your own peppers and using them in your favorite dishes is truly unparalleled.
So, what are you waiting for? Grab some seeds, get your hands dirty, and embark on this exciting journey of chili pepper home gardening. We encourage you to try this DIY trick and share your experiences with us! Tell us about your successes, your challenges, and your favorite chili pepper varieties. Let’s build a community of passionate chili pepper growers and learn from each other. Share your photos and stories on social media using #HomegrownChiliPeppers. We can’t wait to see what you create!
FAQ
What are the best chili pepper varieties for beginners?
For beginners venturing into chili pepper home gardening, several varieties are known for their ease of cultivation and relatively mild heat levels. Jalapeños are a classic choice, offering a manageable level of spice and versatility in the kitchen. Poblano peppers are another excellent option, boasting a mild, earthy flavor that’s perfect for stuffing or roasting. Anaheim peppers are also relatively mild and easy to grow, making them a great choice for those new to chili pepper gardening. These varieties are generally more forgiving of beginner mistakes and tend to produce reliable harvests. Remember to check the specific growing conditions recommended for each variety in your region.
How much sunlight do chili pepper plants need?
Chili pepper plants are sun-loving vegetables and require at least 6-8 hours of direct sunlight per day to thrive. Insufficient sunlight can lead to stunted growth, reduced fruit production, and less intense flavor in the peppers. When choosing a location for your chili pepper garden, select a spot that receives ample sunlight throughout the day. If you’re growing chili peppers indoors, consider using grow lights to supplement natural sunlight, especially during the winter months. Rotate your plants regularly to ensure that all sides receive equal exposure to light.
What is the best soil for growing chili peppers?
Chili peppers thrive in well-draining, fertile soil that is rich in organic matter. The ideal soil pH for chili peppers is between 6.0 and 7.0. Before planting, amend your soil with compost, aged manure, or other organic materials to improve drainage, fertility, and water retention. Avoid heavy clay soils, as they can become waterlogged and lead to root rot. If you’re growing chili peppers in containers, use a high-quality potting mix that is specifically formulated for vegetables. Consider adding perlite or vermiculite to your potting mix to further improve drainage.
How often should I water my chili pepper plants?
Water your chili pepper plants regularly, especially during hot, dry weather. The frequency of watering will depend on factors such as the weather, soil type, and size of the plant. As a general rule, water deeply whenever the top inch of soil feels dry to the touch. Avoid overwatering, as this can lead to root rot. When watering, aim to wet the soil around the base of the plant, rather than wetting the foliage. This will help to prevent fungal diseases. During periods of heavy rain, you may need to reduce the frequency of watering.
How do I protect my chili pepper plants from pests and diseases?
Chili pepper plants can be susceptible to various pests and diseases, including aphids, spider mites, whiteflies, and fungal infections. To protect your plants, practice good garden hygiene by removing weeds and debris that can harbor pests and diseases. Inspect your plants regularly for signs of infestation or disease. If you spot any problems, take action immediately. You can use organic pest control methods, such as insecticidal soap or neem oil, to control pests. For fungal diseases, use a copper-based fungicide or other appropriate treatment. Ensure good air circulation around your plants to help prevent fungal problems. Consider using companion planting to deter pests and attract beneficial insects.
When should I harvest my chili peppers?
The timing of harvest depends on the specific variety of chili pepper and your desired level of heat. Generally, chili peppers are ready to harvest when they have reached their mature size and color. The color will vary depending on the variety, but common colors include green, red, yellow, and orange. You can harvest chili peppers at any stage of ripeness, but the flavor and heat will intensify as they mature. To harvest, use pruning shears or scissors to cut the pepper from the plant, leaving a short stem attached. Handle the peppers carefully to avoid bruising or damaging them.
How can I increase the heat of my chili peppers?
Several factors can influence the heat level of chili peppers, including genetics, growing conditions, and maturity. To increase the heat of your chili peppers, ensure that they receive plenty of sunlight and water. Avoid over-fertilizing, as this can reduce the heat. Allow the peppers to fully ripen on the plant before harvesting. Stressing the plants slightly by withholding water for a short period before harvest can also increase the heat. Remember that the heat level of chili peppers is subjective and can vary depending on individual tolerance.
Can I grow chili peppers indoors?
Yes, you can successfully grow chili peppers indoors, especially if you live in a climate with cold winters. To grow chili peppers indoors, choose a sunny location near a window that receives at least 6-8 hours of direct sunlight per day. If natural sunlight is insufficient, use grow lights to supplement. Use a high-quality potting mix and ensure that your containers have good drainage. Water regularly and fertilize as needed. Pollinate the flowers manually by gently shaking the plants or using a small brush to transfer pollen from one flower to another. With proper care, you can enjoy a bountiful harvest of chili peppers indoors.
Leave a Comment