
Clorox on grout effectiveness is a topic that sparks a lot of debate, and I totally get why! We’ve all been there, staring down at dingy, stained grout lines, wondering if there’s a simple, affordable solution to bring back that fresh, clean look. Before we dive into the nitty-gritty of using Clorox, let’s acknowledge that the quest for sparkling grout is practically a universal human experience. From ancient Roman bathhouses meticulously maintained with natural cleansers to modern homes battling everyday grime, keeping grout clean has always been a challenge.
But why is this DIY trick so important? Well, beyond aesthetics, clean grout actually contributes to a healthier home environment. Dirty grout can harbor mold, mildew, and bacteria, which can trigger allergies and other health issues. Nobody wants that! Plus, let’s be honest, a clean bathroom or kitchen just feels better. So, if you’re tired of scrubbing endlessly with little to no results, you’re in the right place. I’m going to share some insights on using Clorox on grout effectiveness, weighing the pros and cons, and offering some alternative solutions to help you achieve grout perfection without damaging your surfaces or your health. Let’s get started!
DIY Grout Cleaning with Clorox: A Deep Dive
Hey there, fellow DIY enthusiasts! I’m excited to share my tried-and-true method for tackling stubborn grout stains using a common household item: Clorox bleach. Now, I know bleach can be a bit intimidating, but when used carefully and correctly, it can work wonders on dingy grout, bringing it back to its former glory. This guide will walk you through the process step-by-step, ensuring you get sparkling clean grout without damaging your tiles or your health.
Safety First!
Before we dive in, let’s talk safety. Bleach is a powerful chemical, and it’s crucial to protect yourself.
* Ventilation is Key: Open windows and doors to ensure proper airflow. If the area is poorly ventilated, consider using a fan to circulate the air.
* Protective Gear: Wear rubber gloves to protect your skin from irritation. Eye protection, like safety glasses or goggles, is also a must to prevent splashes. An old t-shirt you don’t mind getting bleach on is also a good idea.
* Avoid Mixing: Never, ever mix bleach with ammonia or other cleaning products. This can create toxic and potentially deadly fumes.
* Test in an Inconspicuous Area: Before applying bleach to the entire grout area, test it on a small, hidden spot to ensure it doesn’t discolor or damage your tiles.
* Keep Away from Children and Pets: Store bleach out of reach of children and pets. Supervise them closely during the cleaning process.
Materials You’ll Need
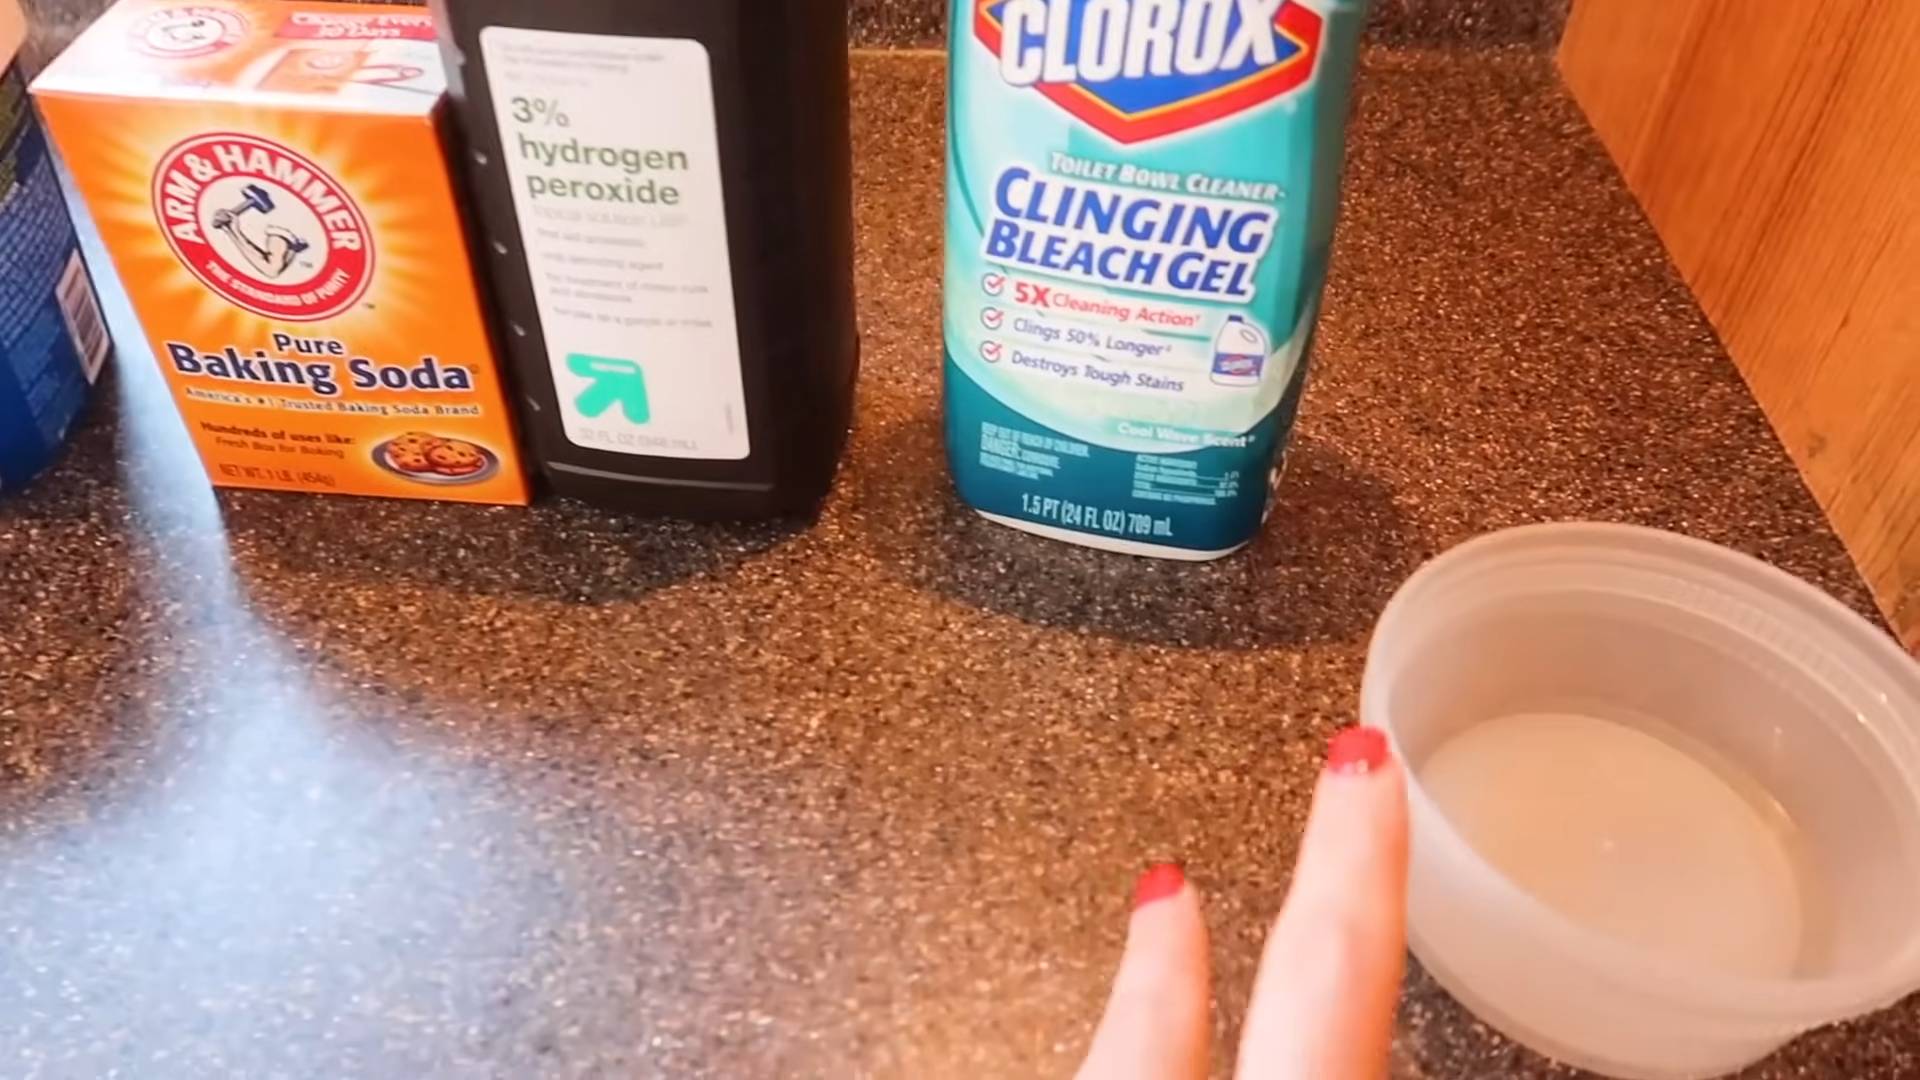
Here’s a list of everything you’ll need to get started:
* Clorox bleach (regular strength)
* Spray bottle
* Old toothbrush or grout brush
* Clean water
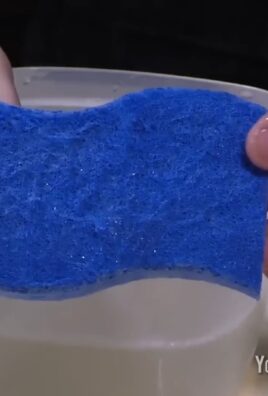
* Sponge or cloth
* Rubber gloves
* Safety glasses or goggles
* Old towel or rags
* Optional: Baking soda
* Optional: Small bowl
Step-by-Step Grout Cleaning Guide
Okay, let’s get down to business! Here’s how I clean my grout using Clorox bleach:
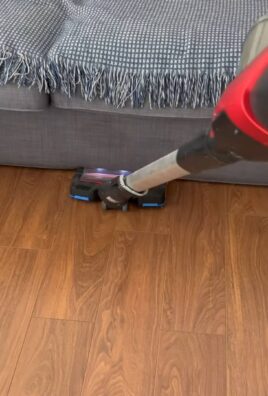
1. Prepare the Area: Start by clearing the area of any loose debris, dirt, or grime. Sweep or vacuum the floor thoroughly. For shower grout, give the area a quick rinse to remove any soap scum or loose particles.
2. Mix Your Cleaning Solution (Optional): While you can use Clorox bleach straight from the bottle, I sometimes prefer to dilute it slightly, especially for lighter stains or more delicate tiles. A 50/50 solution of bleach and water in a spray bottle works well. If you’re dealing with particularly stubborn stains, you can skip the dilution.
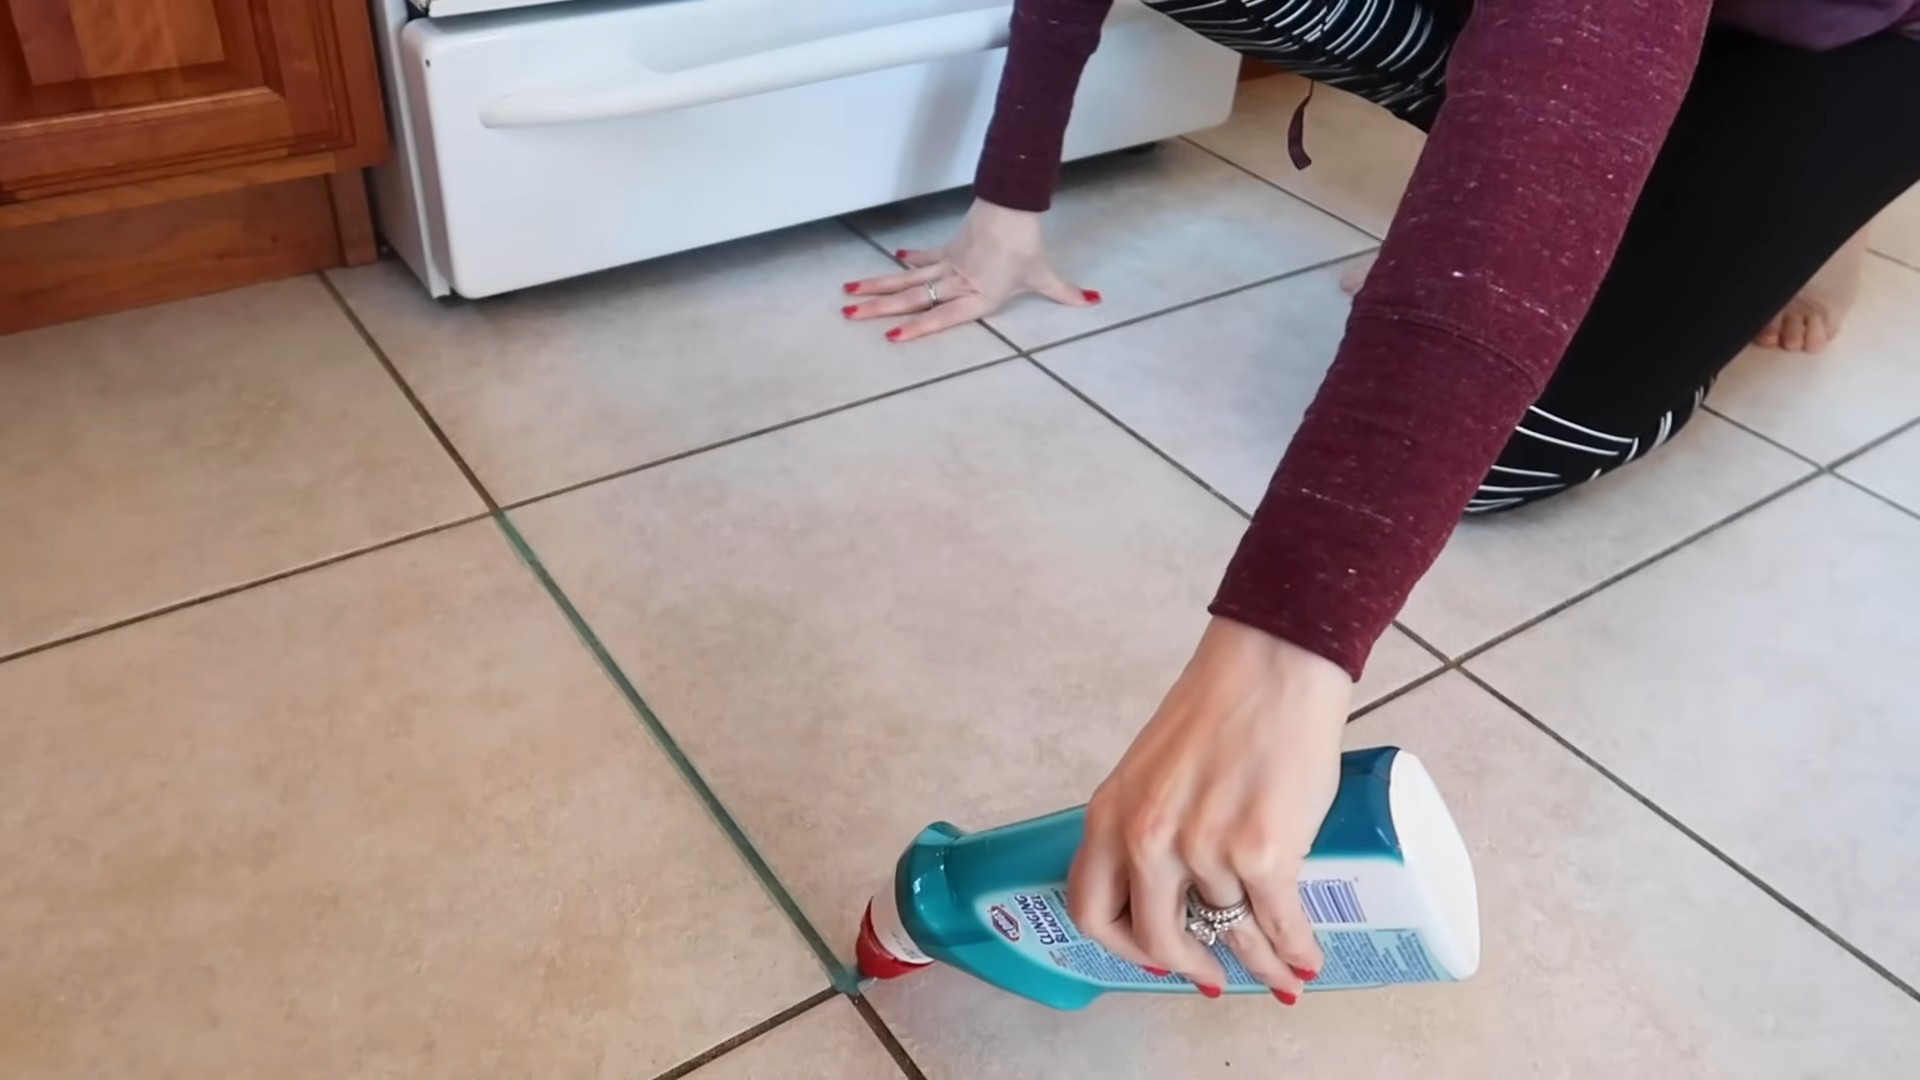
3. Apply the Bleach: Carefully spray the bleach solution directly onto the grout lines. Avoid getting it on the tiles as much as possible, especially if you have colored or patterned tiles. If you’re using undiluted bleach, apply it sparingly.
4. Let it Sit: Allow the bleach to sit on the grout for about 10-15 minutes. This gives it time to penetrate the stains and break them down. Don’t let it sit for too long, as it could potentially damage the grout or tiles.
5. Scrub the Grout: Using an old toothbrush or grout brush, scrub the grout lines thoroughly. Apply firm pressure and work in small sections. You’ll start to see the stains lifting as you scrub. For heavily stained areas, you may need to scrub a bit harder or repeat the process.
6. Rinse Thoroughly: Once you’ve scrubbed all the grout lines, rinse the area thoroughly with clean water. Use a sponge or cloth to wipe away any remaining bleach residue. Make sure to remove all traces of bleach to prevent any potential damage or discoloration.
7. Dry the Area: Use an old towel or rags to dry the area completely. This will help prevent water spots and mildew growth.
8. Inspect and Repeat (If Necessary): After the area is dry, inspect the grout lines. If you still see any stains, repeat the process. For particularly stubborn stains, you may need to use a stronger bleach solution or let it sit for a longer period.
Dealing with Stubborn Stains: Baking Soda Boost
Sometimes, bleach alone isn’t enough to tackle those really tough stains. That’s where baking soda comes in!
1. Create a Paste: Mix baking soda with a small amount of water to form a thick paste.
2. Apply the Paste: Apply the baking soda paste directly to the stained grout lines.
3. Let it Sit: Allow the paste to sit for about 30 minutes.
4. Scrub and Rinse: Scrub the grout lines with a toothbrush or grout brush, then rinse thoroughly with clean water.
5. Follow Up with Bleach (Optional): If the baking soda paste doesn’t completely remove the stains, you can follow up with a bleach treatment as described above.
Tips and Tricks for Grout Cleaning Success
Here are a few extra tips and tricks I’ve learned over the years:
* Timing is Everything: Don’t let spills and stains sit for too long. The sooner you clean them up, the easier they’ll be to remove.
* Preventative Measures: To prevent grout from getting stained in the first place, seal it with a grout sealer. This will create a protective barrier that repels water and stains.
* Regular Cleaning: Clean your grout regularly to prevent buildup and keep it looking its best. A quick wipe-down with a mild cleaner after each shower or bath can make a big difference.
* Consider a Grout Pen: For grout that’s permanently stained or discolored, you can use a grout pen to restore its original color. These pens are available in a variety of colors and are easy to use.
* Professional Help: If you’ve tried everything and your grout still looks dingy, it may be time to call in a professional grout cleaning service. They have specialized equipment and cleaning solutions that can tackle even the toughest stains.
Troubleshooting Common Issues
* Bleach Discoloring Tiles: If you notice your tiles are becoming discolored after using bleach, stop immediately and rinse the area thoroughly with clean water. Dilute the bleach solution or switch to a gentler cleaning method.
* Grout Cracking or Crumbling: If your grout is cracking or crumbling, it may be a sign of water damage or structural issues. In this case, it’s best to consult with a professional contractor to assess the problem and make necessary repairs.
* Strong Bleach Odor: If the bleach odor is overwhelming, increase ventilation and consider wearing a respirator mask. You can also try using a bleach alternative, such as hydrogen peroxide or oxygen bleach.
Maintaining Your Sparkling Clean Grout
Once you’ve achieved sparkling clean grout, it’s important to maintain it to prevent future staining. Here are a few tips:
* Wipe Up Spills Immediately: Don’t let spills sit on the grout for too long. Wipe them up as soon as possible to prevent them from soaking in and causing stains.
* Use a Squeegee After Showers: After each shower, use a squeegee to remove excess water from the walls and floor. This will help prevent mildew growth and keep your grout looking clean.
* Ventilate the Bathroom: Make sure your bathroom is well-ventilated to prevent moisture buildup. Run the exhaust fan during and after showers to remove excess humidity.
* Clean Regularly: Clean your grout regularly with a mild cleaner to prevent buildup and keep it looking its best. A quick wipe-down once a week can make a big difference.
* Reseal Grout Annually: Reseal your grout annually to maintain its protective barrier and prevent water and stains from penetrating.
I hope this comprehensive guide has been helpful! Remember to always prioritize safety when working with bleach, and don’t be afraid to experiment to find the cleaning method that works best for you. With a little elbow grease and the right techniques, you can achieve sparkling clean grout that will transform the look of your bathroom or kitchen. Happy cleaning!
Conclusion
So, there you have it! Unveiling the power of Clorox on grout isn’t just about cleaning; it’s about reclaiming the beauty of your tiled surfaces and breathing new life into your home. We’ve explored a simple, yet incredibly effective, method to tackle even the most stubborn grout stains, transforming dingy, discolored lines into sparkling, pristine pathways.
Why is this DIY trick a must-try? Because it’s a game-changer. It’s a cost-effective alternative to expensive professional cleaning services and harsh chemical solutions. It’s readily accessible, utilizing a common household product that you likely already have under your sink. And most importantly, it delivers visible, impressive results. Imagine the satisfaction of seeing years of grime and discoloration vanish before your eyes, revealing the clean, bright grout you thought was lost forever.
But the beauty of this method lies not only in its effectiveness but also in its adaptability. Feel free to experiment with variations to suit your specific needs and preferences. For instance, if you’re dealing with particularly stubborn stains, consider letting the Clorox solution sit for a longer period, perhaps up to 30 minutes, before scrubbing. Alternatively, for more delicate surfaces or lighter stains, you can dilute the Clorox with water to create a gentler cleaning solution. You can also use a toothbrush for hard to reach areas.
Consider adding a touch of baking soda to the Clorox paste for an extra boost of cleaning power. The baking soda acts as a mild abrasive, helping to scrub away stubborn stains without damaging the grout. Or, if you prefer a more natural approach, you can try using a mixture of vinegar and baking soda as a pre-treatment before applying the Clorox solution. This can help to loosen the grime and make it easier to remove.
Remember to always prioritize safety when working with Clorox. Wear gloves and eye protection to protect your skin and eyes from irritation. Ensure adequate ventilation in the area you’re cleaning to avoid inhaling harmful fumes. And always test the solution on a small, inconspicuous area first to ensure it doesn’t damage the grout or tile.
We’re confident that this DIY trick will transform your grout cleaning routine. It’s simple, effective, and affordable, making it a must-try for anyone looking to restore the beauty of their tiled surfaces.
Now, it’s your turn! We encourage you to try this DIY trick and experience the magic of Clorox on grout for yourself. Don’t be afraid to experiment with variations and find what works best for your specific needs. And most importantly, share your experience with us! We’d love to hear your success stories, tips, and tricks. Let’s create a community of grout-cleaning enthusiasts and help each other achieve sparkling, pristine tiled surfaces. Share your before-and-after photos, your favorite variations, and any challenges you encountered along the way. Together, we can unlock the full potential of this simple yet powerful cleaning method. So go ahead, give it a try, and let us know what you think!
Frequently Asked Questions (FAQ)
Is using Clorox on grout safe for all types of grout?
While Clorox is generally effective and safe for most types of grout, it’s always best to test it on a small, inconspicuous area first. This is especially important for colored grout, as Clorox can sometimes cause discoloration or fading. If you notice any adverse effects, discontinue use immediately. For epoxy grout, which is more resistant to stains and chemicals, Clorox may not be as effective and could potentially damage the sealant over time with repeated use. Consider using a cleaner specifically designed for epoxy grout instead. Always read the manufacturer’s instructions for both the Clorox product and your specific type of grout before proceeding.
How often can I use Clorox on grout without damaging it?
Using Clorox on grout too frequently can weaken the grout over time, making it more porous and susceptible to future staining. It’s generally recommended to use Clorox sparingly, only when necessary to remove stubborn stains. A good rule of thumb is to limit Clorox treatments to once every few months. In between Clorox treatments, maintain your grout with regular cleaning using milder solutions like soap and water or a vinegar and water mixture. This will help prevent stains from setting in and reduce the need for harsh chemicals.
What safety precautions should I take when using Clorox on grout?
Safety is paramount when working with Clorox. Always wear gloves and eye protection to protect your skin and eyes from irritation. Ensure adequate ventilation in the area you’re cleaning to avoid inhaling harmful fumes. Open windows and doors, or use a fan to circulate air. Avoid mixing Clorox with other cleaning products, especially ammonia, as this can create toxic fumes. Keep children and pets away from the area while you’re cleaning. If you accidentally get Clorox on your skin or in your eyes, rinse immediately with plenty of water and seek medical attention if irritation persists.
What are some alternatives to using Clorox on grout?
If you’re concerned about the potential risks of using Clorox on grout, there are several alternative cleaning methods you can try. A mixture of baking soda and vinegar can be effective for removing mild stains. Simply make a paste of baking soda and water, apply it to the grout, and then spray with vinegar. Let it fizz for a few minutes, then scrub with a brush and rinse with water. Steam cleaning is another option that uses high-pressure steam to lift dirt and grime from the grout without the need for harsh chemicals. You can also find specialized grout cleaners at your local hardware store that are formulated to be gentler on grout than Clorox.
How can I prevent grout from getting stained in the first place?
Prevention is key to keeping your grout clean and stain-free. Seal your grout regularly with a grout sealer to create a protective barrier that prevents stains from penetrating the surface. Clean spills immediately to prevent them from setting in. Use doormats and rugs to trap dirt and debris before they reach your tiled surfaces. Regularly sweep or vacuum your floors to remove loose dirt and grime. And mop your floors with a mild cleaning solution at least once a week. By taking these preventative measures, you can significantly reduce the need for harsh cleaning chemicals and keep your grout looking its best.
What type of brush is best for scrubbing grout?
The best type of brush for scrubbing grout is one with stiff, nylon bristles. A grout brush, specifically designed for cleaning grout lines, is ideal. These brushes typically have a narrow head that fits easily into grout lines and angled bristles that allow you to reach into corners and crevices. You can also use a toothbrush for smaller areas or hard-to-reach spots. Avoid using brushes with metal bristles, as they can scratch or damage the grout. When scrubbing, use firm, even pressure and work in small sections.
Can I use Clorox on colored grout?
Using Clorox on colored grout carries a risk of fading or discoloration. It’s crucial to test the Clorox solution on a hidden area of the grout first to assess its impact on the color. If you notice any fading or discoloration, dilute the Clorox solution with water or consider using a gentler cleaning alternative specifically designed for colored grout. Always follow the manufacturer’s instructions for both the Clorox product and your grout to minimize the risk of damage.

Leave a Comment