
DIY All Purpose Cleaner: Are you tired of spending a fortune on cleaning products filled with harsh chemicals? Do you dream of a sparkling clean home without the lingering artificial scents? Well, you’re in the right place! I’m about to share a game-changing secret that will revolutionize your cleaning routine and save you money in the process.
The tradition of crafting homemade cleaning solutions stretches back centuries, long before the advent of mass-produced chemicals. Our grandmothers and great-grandmothers relied on simple, natural ingredients like vinegar, baking soda, and essential oils to keep their homes spotless. They understood the power of nature and the importance of avoiding harsh substances. This knowledge has been passed down through generations, and now, I’m thrilled to share it with you!
In today’s world, many of us are becoming increasingly aware of the impact that chemicals have on our health and the environment. That’s why creating your own DIY All Purpose Cleaner is more important than ever. Not only will you be reducing your exposure to harmful toxins, but you’ll also be contributing to a more sustainable lifestyle. Plus, it’s incredibly satisfying to know exactly what’s going into the products you use every day. So, let’s ditch the store-bought cleaners and embark on a journey to a cleaner, healthier, and more eco-friendly home!
DIY All-Purpose Cleaner: A Sparkling Home on a Budget!
Hey there, fellow DIY enthusiasts! I’m so excited to share my go-to recipe for an all-purpose cleaner that’s not only incredibly effective but also super affordable and eco-friendly. Forget those harsh chemicals and expensive store-bought cleaners – we’re going to whip up a batch of magic using ingredients you probably already have in your pantry! This cleaner works wonders on countertops, sinks, appliances, floors (except for unfinished wood), and even bathroom surfaces. Let’s get started!
What You’ll Need: The Essential Ingredients
Before we dive into the mixing, let’s gather our supplies. This is a simple recipe, so the list is short and sweet:
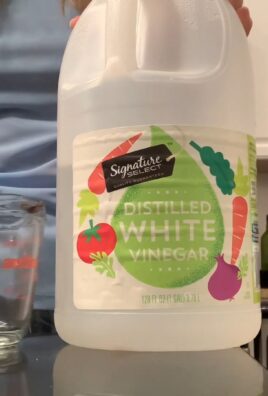
* White Vinegar: This is our star ingredient! Vinegar’s acidity helps cut through grease, grime, and hard water stains. Plus, it’s a natural disinfectant.
* Water: Dilutes the vinegar and makes the cleaner less harsh. Distilled water is best to prevent mineral buildup, but tap water works just fine.
* Baking Soda: A gentle abrasive that helps scrub away stubborn messes. It also neutralizes odors.
* Essential Oils (Optional): These add a pleasant scent and can boost the cleaning power. Lemon, tea tree, lavender, and eucalyptus are great choices.
* Spray Bottle: To store and dispense our amazing cleaner.
* Measuring Cups and Spoons: For accurate measurements.
* Funnel (Optional): Makes pouring liquids into the spray bottle easier.
Step-by-Step Instructions: Mixing Your Cleaning Powerhouse
Alright, let’s get our hands dirty (or clean, rather!). Follow these steps carefully to create your own all-purpose cleaner:
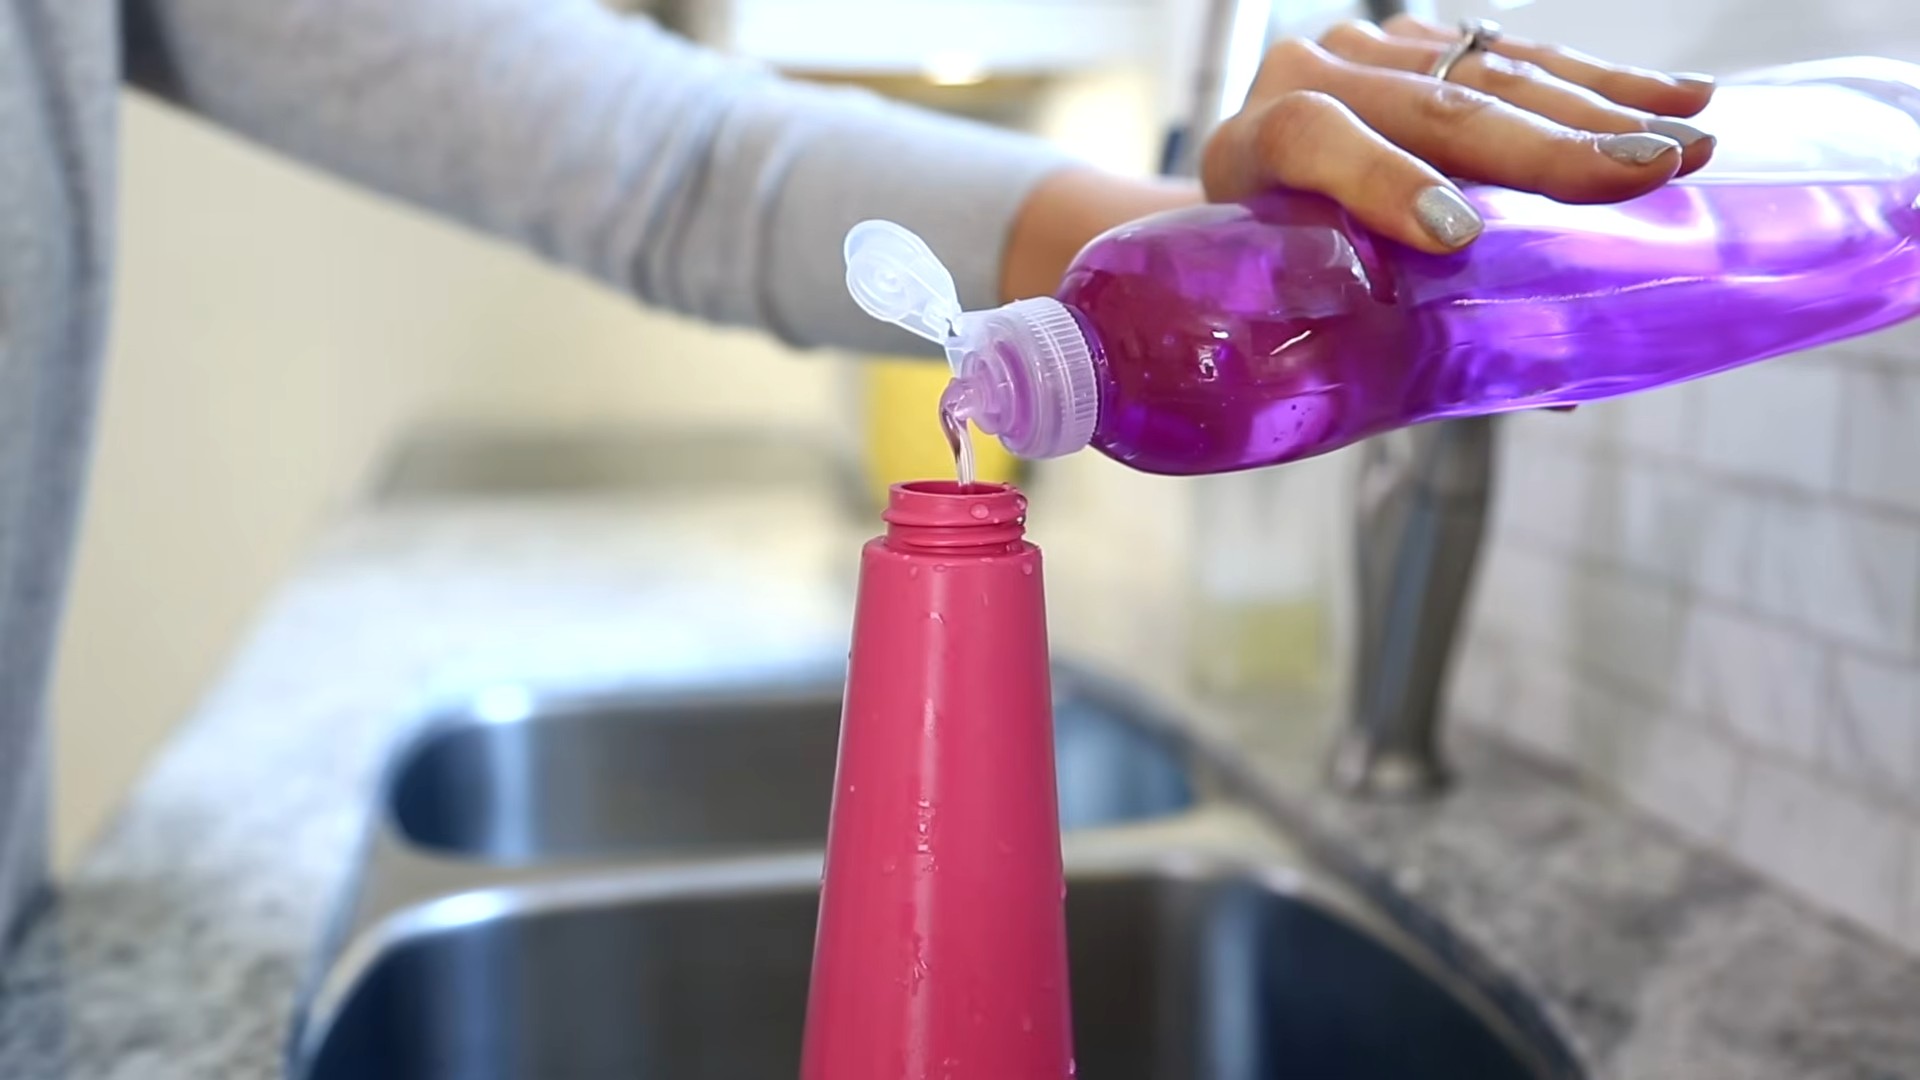
1. Prepare Your Spray Bottle: Make sure your spray bottle is clean and dry. This will prevent any unwanted contamination of your cleaner. I usually give mine a quick rinse with hot water and let it air dry.
2. Combine Vinegar and Water: In your measuring cup, combine equal parts white vinegar and water. I typically use 1 cup of each for a standard-sized spray bottle. If you’re sensitive to the smell of vinegar, you can use a slightly higher ratio of water to vinegar (e.g., 1.5 cups water to 0.5 cup vinegar).
3. Add Baking Soda (Carefully!): This is where things can get a little fizzy! Slowly add about 1 tablespoon of baking soda to the vinegar and water mixture. Be prepared for it to bubble up – that’s the chemical reaction between the vinegar (an acid) and baking soda (a base). Add it slowly to prevent overflow.
4. Stir Gently: Use a spoon or whisk to gently stir the mixture until the baking soda is mostly dissolved. Don’t over-stir, as this can cause the mixture to lose its fizzing power.
5. Incorporate Essential Oils (If Using): If you’re adding essential oils, now’s the time! I usually add about 10-20 drops of my favorite essential oil or a blend of oils. Lemon and tea tree are my go-to for their antibacterial properties and fresh scent. Lavender is great for a calming and relaxing aroma.
6. Pour into Spray Bottle: Using a funnel (if you have one), carefully pour the cleaner mixture into your spray bottle. Leave a little bit of space at the top to prevent overflow.
7. Label Your Bottle: This is important! Label your spray bottle clearly as “All-Purpose Cleaner” so you don’t accidentally mix it up with something else. You can also add the date you made it.
8. Shake Well: Before each use, give your spray bottle a good shake to ensure all the ingredients are properly mixed.
Tackling Different Cleaning Tasks: Tips and Tricks
Now that you have your all-purpose cleaner ready, let’s talk about how to use it effectively for different cleaning tasks:
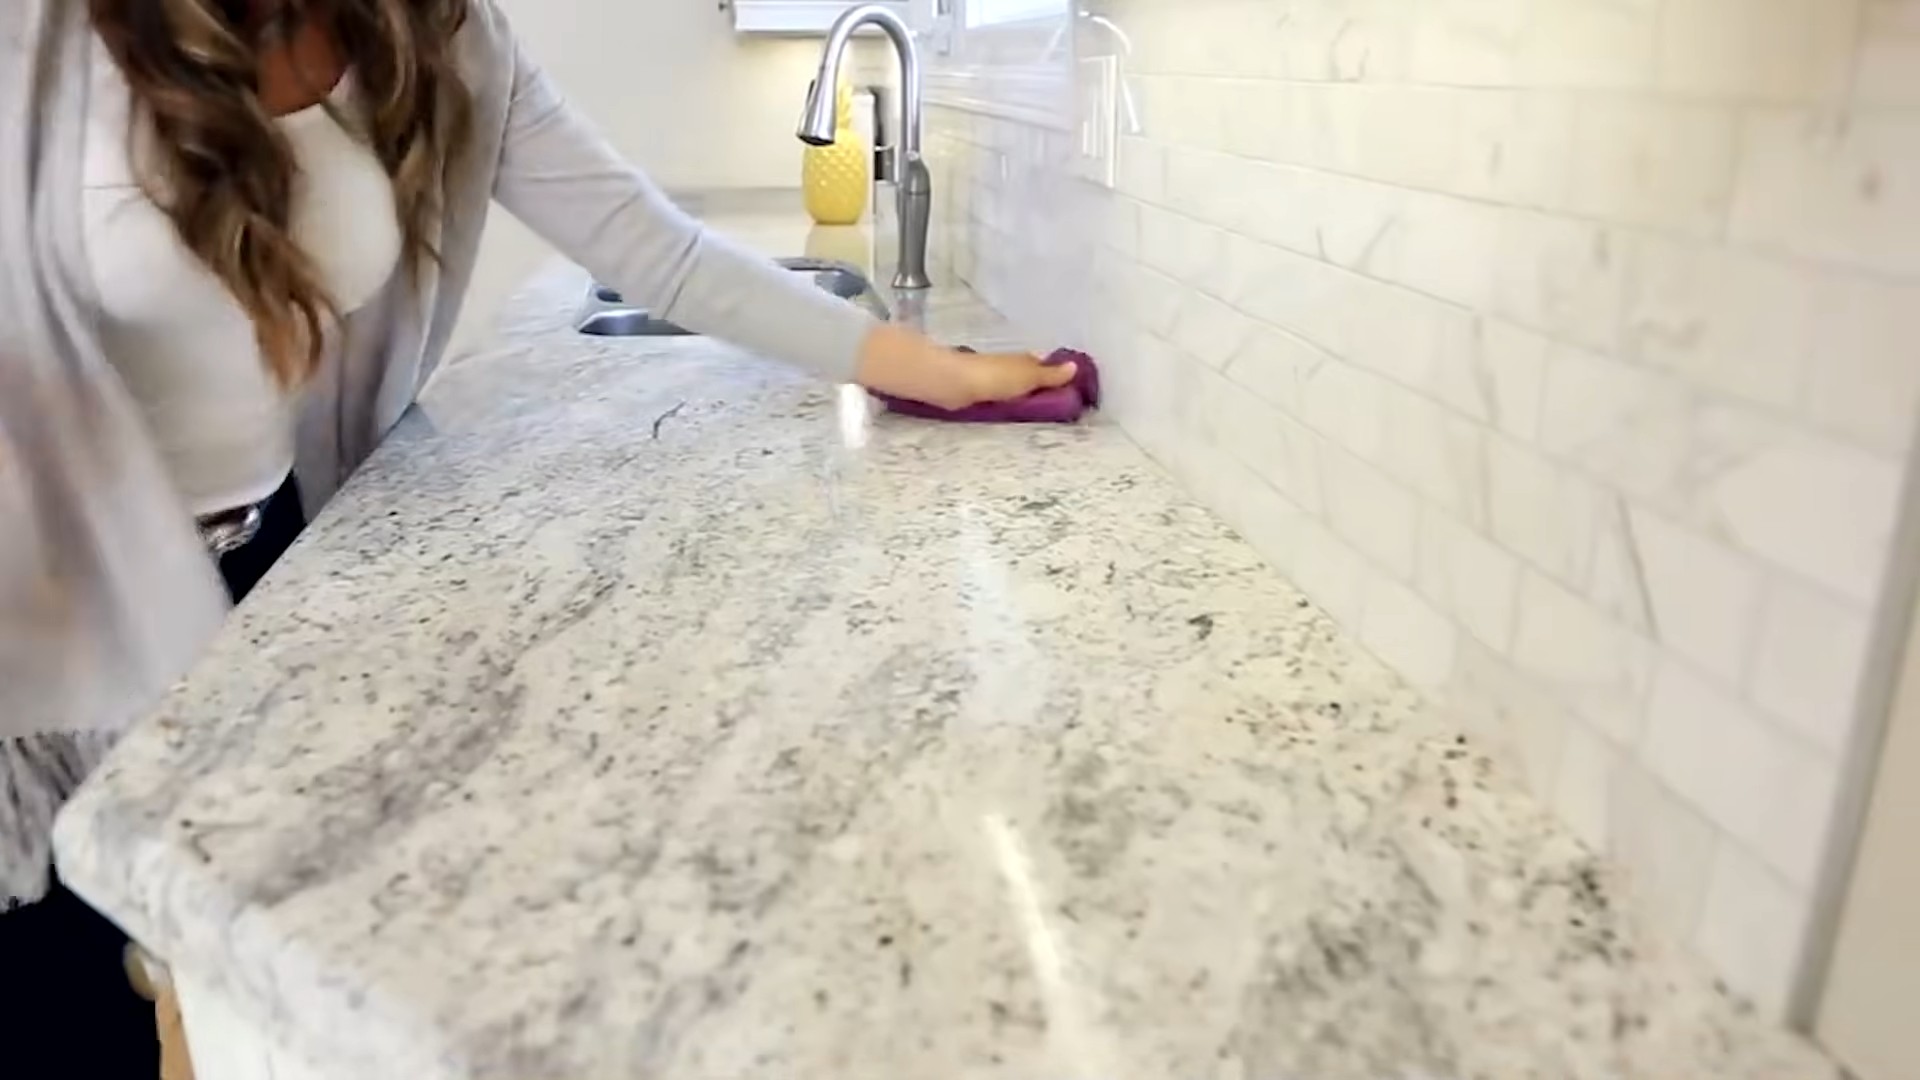
* Countertops and Sinks: Spray the cleaner directly onto the surface and let it sit for a few seconds to loosen any grime. Then, wipe clean with a damp cloth or sponge. For stubborn stains, sprinkle a little baking soda directly onto the surface before spraying with the cleaner and scrubbing gently.
* Appliances: Unplug the appliance before cleaning. Spray the cleaner onto a cloth and wipe down the exterior surfaces. Avoid spraying directly into vents or openings. For stainless steel appliances, wipe in the direction of the grain to prevent streaks.
* Floors (Except Unfinished Wood): Add about 1/4 cup of the cleaner to a bucket of warm water. Mop the floor as usual, rinsing the mop frequently. Avoid using this cleaner on unfinished wood floors, as the vinegar can damage the finish.
* Bathroom Surfaces: Spray the cleaner onto shower walls, tiles, and toilet surfaces. Let it sit for a few minutes to disinfect and loosen soap scum. Then, scrub with a sponge or brush and rinse with water. For tough stains, you can make a paste of baking soda and water and apply it to the stain before spraying with the cleaner.
* Glass and Mirrors: While this cleaner works, sometimes it can leave streaks on glass. For best results on glass, dilute the cleaner even further (e.g., 1/4 cup cleaner to 3/4 cup water) and use a microfiber cloth to wipe the surface. You can also follow up with a dry microfiber cloth to buff away any streaks.
Troubleshooting and Safety Tips: Keeping it Clean and Safe
Even with a simple recipe, it’s good to be aware of potential issues and safety precautions:
* Vinegar Smell: The vinegar smell can be strong, especially when you first spray the cleaner. Don’t worry, it will dissipate quickly. If you’re particularly sensitive to the smell, you can add more essential oils or use a lemon-infused vinegar (simply soak lemon peels in vinegar for a few weeks).
* Baking Soda Residue: If you use too much baking soda, it can leave a white residue on surfaces. Simply wipe the surface with a damp cloth to remove the residue.
* Not Suitable for Certain Surfaces: Avoid using this cleaner on marble, granite, or other natural stone surfaces, as the vinegar can etch the stone. Also, avoid using it on unfinished wood, as it can damage the finish.
* Always Test in an Inconspicuous Area: Before using the cleaner on a large surface, always test it in a small, inconspicuous area to make sure it doesn’t damage or discolor the surface.
* Keep Out of Reach of Children and Pets: While this cleaner is made with natural ingredients, it’s still important to keep it out of reach of children and pets.
* Don’t Mix with Bleach: Never mix this cleaner with bleach, as the combination can create harmful fumes.
Customizing Your Cleaner: Adding Your Personal Touch
The beauty of DIY is that you can customize the recipe to suit your needs and preferences. Here are a few ideas:
* Lemon-Infused Vinegar: As mentioned earlier, you can infuse your vinegar with lemon peels for a more pleasant scent and added cleaning power. Simply place lemon peels in a jar of vinegar and let it sit for a few weeks. Strain the vinegar before using it in your cleaner.
* Herbal Infusion: You can also infuse your vinegar with herbs like rosemary, thyme, or lavender for a unique scent and added antibacterial properties.
* Citrus Power: Add a few drops of lemon, orange, or grapefruit essential oil for a boost of citrusy cleaning power.
* Tea Tree for Disinfection: Tea tree oil is a powerful natural disinfectant, making it a great addition to your all-purpose cleaner, especially for bathroom surfaces.
Storage and Shelf Life: Keeping Your Cleaner Fresh
Your homemade all-purpose cleaner will last for several months when stored properly. Here are a few tips:
* Store in a Cool, Dark Place: Keep your spray bottle in a cool, dark place away from direct sunlight. This will help preserve the potency of the ingredients.
* Shake Before Each Use: As mentioned earlier, shake the bottle well before each use to ensure all the ingredients are properly mixed.
* Discard if Cloudy or Discolored: If the cleaner becomes cloudy or discolored, it’s best to discard it and make a fresh batch.
Why I Love This DIY Cleaner: My Personal Testimony
Honestly, I’ve been using this all-purpose cleaner for years, and I absolutely love it! It’s so satisfying to know that I’m cleaning my home with safe, natural ingredients that are gentle on the environment and my wallet. Plus, the customizable scent is a huge bonus – I can switch up the essential oils depending on my mood or the season. Give it a try, and I’m confident you’ll be hooked too! Happy cleaning!
Conclusion
So, there you have it! Creating your own DIY all purpose cleaner is not only incredibly simple, but it’s also a game-changer for your home and your wallet. We’ve walked you through the process, highlighting the ease and affordability of ditching those expensive, chemical-laden store-bought cleaners. But the benefits extend far beyond just saving money. You’re also taking control of the ingredients that come into contact with your family and pets, opting for a more natural and sustainable cleaning solution.
Think about it: no more deciphering complicated ingredient lists filled with unpronounceable chemicals. No more worrying about harsh fumes or potential skin irritations. With this DIY all purpose cleaner, you know exactly what’s going into your spray bottle, giving you peace of mind and a sparkling clean home.
But the real beauty of this recipe lies in its versatility. Feel free to experiment with different essential oils to create your own signature scent. Lavender and lemon are classic choices for their calming and uplifting properties, respectively. Tea tree oil adds an extra boost of antibacterial power, while eucalyptus can help clear stuffy noses during cold and flu season.
Variations to Consider:
* For extra degreasing power: Add a tablespoon of washing soda (sodium carbonate) to the mix. Be sure to dissolve it completely in the warm water before adding the other ingredients.
* For a stronger disinfectant: Increase the amount of vinegar slightly, but be mindful of the scent. You can also add a few drops of grapefruit seed extract for its antimicrobial properties.
* For a gentler cleaner: Reduce the amount of vinegar and add a tablespoon of castile soap. This is a great option for delicate surfaces like wood furniture.
* Citrus Infusion: Infuse your vinegar with citrus peels (lemon, orange, grapefruit) for a few weeks before making the cleaner. This will add a lovely citrus scent and boost the cleaning power. Simply place the peels in a jar, cover with vinegar, and let it sit in a cool, dark place for 2-3 weeks, shaking occasionally. Strain the vinegar before using it in the recipe.
This DIY all purpose cleaner is truly a must-try for anyone looking to simplify their cleaning routine, save money, and create a healthier home environment. It’s a small change that can make a big difference.
We’re confident that you’ll love the results. So, grab your ingredients, mix up a batch, and experience the satisfaction of cleaning with a natural, homemade solution. Don’t be afraid to get creative and customize the recipe to suit your specific needs and preferences.
And most importantly, we want to hear about your experience! Share your tips, variations, and before-and-after photos on social media using #DIYAllPurposeCleaner. Let’s inspire others to embrace the power of homemade cleaning solutions and create a cleaner, healthier world, one spray bottle at a time. We can’t wait to see what you create!
Frequently Asked Questions (FAQ)
Q: Is this DIY all purpose cleaner safe to use on all surfaces?
A: While this cleaner is generally safe for most surfaces, it’s always a good idea to test it in an inconspicuous area first, especially on delicate materials like marble, granite, or waxed wood. The vinegar in the cleaner can be acidic and may etch or dull some surfaces. If you’re unsure, dilute the cleaner with more water or use a gentler alternative like castile soap. Avoid using it on porous surfaces that could absorb the vinegar smell.
Q: How long will this DIY all purpose cleaner last?
A: This cleaner doesn’t contain any preservatives, so it’s best to use it within a few months. The essential oils may lose their potency over time, and the vinegar scent may become more noticeable. Store it in a cool, dark place to prolong its shelf life. If you notice any changes in color, smell, or consistency, it’s best to discard it and make a fresh batch.
Q: Can I use different essential oils in this recipe?
A: Absolutely! The essential oils are primarily for fragrance and added antibacterial properties, so feel free to experiment with your favorite scents. Lavender, lemon, tea tree, eucalyptus, orange, and peppermint are all popular choices. Just be sure to use pure, therapeutic-grade essential oils for the best results. Avoid using fragrance oils, as they don’t offer the same benefits and may contain synthetic chemicals. When using essential oils, always check for any contraindications, especially if you have allergies, are pregnant, or have young children or pets.
Q: My cleaner smells too much like vinegar. What can I do?
A: The vinegar scent will dissipate as the cleaner dries, but if you find it too strong, you can try a few things:
* Reduce the amount of vinegar in the recipe.
* Add more essential oils to mask the scent.
* Infuse your vinegar with citrus peels for a more pleasant aroma.
* Leave a window open while cleaning to ventilate the room.
Q: Can I use this cleaner on my windows and mirrors?
A: Yes, this cleaner can be used on windows and mirrors, but it may leave streaks if not wiped properly. To prevent streaks, use a clean microfiber cloth and wipe in a circular motion. You can also add a small amount of rubbing alcohol to the cleaner for extra streak-free shine.
Q: Is this cleaner safe for pets?
A: This cleaner is generally safe for pets, but it’s important to be mindful of the essential oils you use. Some essential oils, such as tea tree oil, can be toxic to pets if ingested in large quantities. If you have pets, it’s best to avoid using these oils or to use them in very small amounts. Always keep the cleaner out of reach of pets and ensure that surfaces are dry before allowing them to come into contact with them. If you are concerned about using essential oils around your pets, you can omit them from the recipe altogether.
Q: Can I use this cleaner in my bathroom?
A: Yes, this cleaner is great for cleaning bathrooms! It can be used on sinks, toilets, showers, and floors. The vinegar helps to dissolve soap scum and hard water stains, while the essential oils provide a fresh scent. For tougher stains, you can let the cleaner sit for a few minutes before wiping it away.
Q: What is washing soda, and where can I find it?
A: Washing soda (sodium carbonate) is a natural cleaning agent that helps to boost the cleaning power of the DIY all purpose cleaner, especially for degreasing. It’s different from baking soda (sodium bicarbonate). You can usually find washing soda in the laundry aisle of most grocery stores or online. If you can’t find washing soda, you can try using borax as an alternative, but be sure to research its safety precautions before using it.
Q: Can I use this cleaner in a spray mop?
A: Yes, you can use this cleaner in a spray mop, but be sure to check the manufacturer’s instructions for your specific mop. Some spray mops may not be compatible with homemade cleaners. It’s also a good idea to dilute the cleaner with more water to prevent clogging.
Q: What are the benefits of using a DIY all purpose cleaner compared to store-bought cleaners?
A: The benefits are numerous! With a DIY all purpose cleaner, you control the ingredients, avoiding harsh chemicals, artificial fragrances, and potential allergens found in many commercial cleaners. It’s also more cost-effective, environmentally friendly (reducing plastic waste), and customizable to your specific needs and preferences. Plus, it’s incredibly satisfying to create your own cleaning solutions!

Leave a Comment