
DIY countertop cleaning mix: are you tired of store-bought cleaners that promise the world but leave your countertops streaky, dull, or even damaged? I know I was! It felt like I was constantly battling grime and stains, spending a fortune on products that just didn’t deliver. But what if I told you that the secret to sparkling, pristine countertops is probably already hiding in your pantry?
For generations, resourceful homemakers have relied on simple, natural ingredients to keep their homes clean. Think about it – before the age of mass-produced chemicals, vinegar, baking soda, and lemon juice were the go-to solutions for everything from scrubbing floors to polishing furniture. This tradition of DIY cleaning isn’t just about saving money; it’s about taking control of what we bring into our homes and reducing our environmental impact.
That’s why I’m so excited to share my favorite DIY countertop cleaning mix recipe with you. This isn’t just another cleaning hack; it’s a game-changer. It’s incredibly effective, budget-friendly, and uses ingredients you can feel good about. Whether you have granite, quartz, laminate, or another type of countertop, this mix can be easily adapted to suit your needs. Say goodbye to harsh chemicals and hello to a naturally clean and gleaming kitchen! Let’s dive in and discover how to create your own miracle cleaner.
DIY Countertop Cleaning Mix: Sparkle and Shine Without the Harsh Chemicals
Hey there, fellow DIY enthusiasts! I’m always on the lookout for ways to make my home cleaner and greener, and that includes finding the perfect countertop cleaner. Store-bought cleaners can be expensive and often packed with chemicals I’d rather avoid. So, I decided to create my own! This DIY countertop cleaning mix is effective, affordable, and uses ingredients you probably already have in your pantry. Let’s get started!
What You’ll Need: The Essential Ingredients
Before we dive into the mixing process, let’s gather our supplies. Here’s what you’ll need to create this amazing countertop cleaner:
* Spray Bottle: A clean, empty spray bottle is essential for easy application. I prefer a 16-ounce bottle, but any size will work as long as you adjust the ingredient amounts accordingly.
* White Vinegar: This is our powerhouse ingredient! Vinegar is a natural disinfectant and degreaser. Its acidity helps cut through grime and kill bacteria.
* Rubbing Alcohol (Isopropyl Alcohol): This helps to disinfect and also aids in quick drying, preventing streaks.
* Dish Soap: A small amount of dish soap helps to lift dirt and grease. Choose a gentle, natural dish soap if you’re concerned about harsh chemicals.
* Water: Distilled water is best to prevent mineral buildup in your spray bottle, but tap water will work in a pinch.
* Essential Oils (Optional): These add a pleasant scent and can also provide additional cleaning or antibacterial benefits. Lemon, tea tree, lavender, and eucalyptus are all great choices.
* Measuring Cups and Spoons: For accurate measurements, grab your measuring cups and spoons.
* Funnel (Optional): A funnel can make pouring the ingredients into the spray bottle much easier and less messy.
Step-by-Step Mixing Instructions: Creating Your Cleaning Powerhouse
Now that we have all our ingredients and supplies, let’s get mixing! Follow these simple steps to create your own effective and eco-friendly countertop cleaner:
1. Prepare Your Spray Bottle: Make sure your spray bottle is clean and dry. Rinse it out thoroughly with water to remove any residue from previous cleaners.
2. Add White Vinegar: Pour 1/2 cup of white vinegar into the spray bottle. Vinegar is a fantastic natural cleaner, but its smell can be a bit strong. Don’t worry, the other ingredients will help to mask the scent.
3. Add Rubbing Alcohol: Next, add 1/4 cup of rubbing alcohol (isopropyl alcohol) to the spray bottle. The rubbing alcohol helps the cleaner dry quickly and prevents streaks.
4. Add Dish Soap: Add 1/2 teaspoon of dish soap to the mixture. Be careful not to add too much, as it can make the cleaner too sudsy. I recommend using a natural dish soap to avoid harsh chemicals.
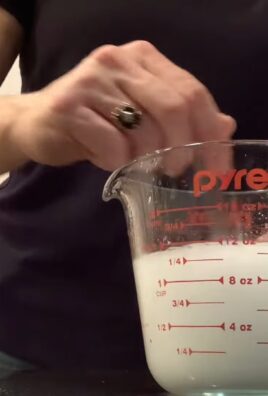
5. Add Water: Fill the rest of the spray bottle with water, leaving a little space at the top. Distilled water is ideal, but tap water will work just fine.
6. Add Essential Oils (Optional): If you’re using essential oils, add 10-20 drops to the spray bottle. I love using lemon essential oil for its fresh scent and antibacterial properties. Lavender is another great option for its calming aroma.
7. Shake Well: Secure the spray nozzle onto the bottle and shake well to combine all the ingredients.
8. Label Your Bottle: It’s important to label your spray bottle so you know what’s inside. I like to use a permanent marker to write “DIY Countertop Cleaner” on the bottle.
Using Your DIY Countertop Cleaner: Tips and Tricks for Sparkling Surfaces
Now that you’ve created your own countertop cleaner, it’s time to put it to work! Here are some tips and tricks for using your cleaner effectively:
1. Test in an Inconspicuous Area: Before using the cleaner on your entire countertop, test it in a small, hidden area to make sure it doesn’t damage the surface. This is especially important for delicate surfaces like marble or granite.
2. Spray and Wipe: Spray the cleaner directly onto your countertop surface. Let it sit for a few seconds to loosen dirt and grime. Then, wipe the surface clean with a microfiber cloth.
3. Buff for Shine: For extra shine, buff the countertop with a clean, dry microfiber cloth after wiping.
4. Tackle Tough Stains: For stubborn stains, spray the cleaner onto the stain and let it sit for a few minutes before wiping. You may need to repeat this process a few times to remove the stain completely.
5. Use on Various Surfaces: This cleaner is safe to use on most countertop surfaces, including laminate, tile, and sealed granite. However, it’s always a good idea to test it in an inconspicuous area first. Avoid using it on unsealed marble, as the vinegar can etch the surface.
6. Avoid Over-Saturating Wood: When cleaning wood countertops, be careful not to over-saturate the surface. Spray the cleaner lightly and wipe immediately with a dry cloth.
7. Regular Cleaning: For best results, clean your countertops regularly to prevent dirt and grime from building up.
Troubleshooting: Addressing Common Issues
Sometimes, even with the best intentions, things don’t go exactly as planned. Here are some common issues you might encounter and how to address them:
* Streaky Countertops: If your countertops are streaky after cleaning, it could be due to hard water or too much dish soap. Try using distilled water instead of tap water, and reduce the amount of dish soap in your next batch. Also, make sure you’re using a clean microfiber cloth to wipe the surface.
* Strong Vinegar Smell: If you find the vinegar smell too strong, you can add more essential oils to mask the scent. Lemon, orange, and grapefruit essential oils are particularly effective at neutralizing the vinegar smell. You can also try using a scented vinegar.
* Cloudy Cleaner: If your cleaner looks cloudy, it’s likely due to the dish soap. Some dish soaps can react with the vinegar and create a cloudy appearance. This doesn’t affect the cleaning power of the mixture, but if you’re concerned about the appearance, try using a different brand of dish soap.
* Clogged Sprayer: If your sprayer gets clogged, it could be due to sediment in the water or dish soap residue. Try rinsing the sprayer with warm water to clear the clog. You can also strain the water through a coffee filter before adding it to the spray bottle.
Customizing Your Cleaner: Adding Your Personal Touch
One of the best things about making your own cleaner is that you can customize it to suit your needs and preferences. Here are some ideas for adding your personal touch:
* Experiment with Essential Oils: Try different combinations of essential oils to create your own unique scent. Peppermint and rosemary are a refreshing combination, while lavender and chamomile are calming and relaxing.
* Add Borax for Extra Cleaning Power: For extra cleaning power, you can add 1 tablespoon of borax to the mixture. Borax is a natural mineral that helps to remove tough stains and disinfect surfaces. However, be sure to use borax safely and keep it out of reach of children and pets.
* Use Lemon Juice Instead of Vinegar: If you prefer a milder scent, you can use lemon juice instead of vinegar. Lemon juice is also a natural disinfectant and degreaser.
* Make a Larger Batch: If you use your countertop cleaner frequently, you can make a larger batch to save time. Just be sure to store the cleaner in a cool, dark place to prevent the essential oils from degrading.
Safety Precautions: Keeping Yourself and Your Home Safe
While this DIY countertop cleaner is made with natural ingredients, it’s still important to take some safety precautions:
* Keep Out of Reach of Children and Pets: Store the cleaner in a safe place where children and pets cannot access it.
* Avoid Contact with Eyes: Avoid getting the cleaner in your eyes. If contact occurs, rinse thoroughly with water.
* Do Not Ingest: Do not ingest the cleaner. If ingested, seek medical attention immediately.
* Use in a Well-Ventilated Area: Use the cleaner in a well-ventilated area to avoid inhaling the fumes.
* Test on a Small Area First: Always test the cleaner on a small, inconspicuous area before using it on the entire surface.
Why DIY? The Benefits of Homemade Cleaning Solutions
Making your own countertop cleaner isn’t just about saving money; it’s about taking control of the ingredients you’re using in your home. Here are some of the benefits of DIY cleaning solutions:
* Cost-Effective: DIY cleaners are much cheaper than store-bought cleaners. You can save a significant amount of money by making your own cleaning solutions.
* Eco-Friendly: DIY cleaners are often made with natural, biodegradable ingredients, which are better for the environment
Conclusion
So, there you have it! This simple, yet incredibly effective DIY countertop cleaning mix is a game-changer for anyone looking to keep their kitchen surfaces sparkling without resorting to harsh chemicals or breaking the bank. We’ve walked you through the easy steps, highlighting the benefits of each ingredient and demonstrating just how quickly you can whip up a batch of this cleaning powerhouse.
But why is this DIY approach a must-try? Beyond the cost savings and eco-friendliness, it’s about control. You know exactly what’s going onto your countertops, eliminating any worries about hidden toxins or allergens. Plus, the satisfaction of creating something yourself that works so well is truly rewarding.
This isn’t just about cleaning; it’s about creating a healthier and happier home environment. Imagine the peace of mind knowing that your family is eating off surfaces cleaned with natural, safe ingredients. That’s the power of this DIY countertop cleaning mix.
Don’t be afraid to experiment and personalize this recipe to suit your specific needs and preferences. For instance, if you’re dealing with particularly stubborn grease, you might consider adding a teaspoon of washing soda to the mix. For a refreshing scent boost, a few extra drops of your favorite essential oil, like lemon or grapefruit, can work wonders. If you have granite countertops, ensure your essential oil is pH neutral and safe for stone. Always test in an inconspicuous area first.
Another variation to consider is using distilled white vinegar instead of apple cider vinegar. While apple cider vinegar offers a slightly milder scent, distilled white vinegar is a potent degreaser and disinfectant. The choice is yours!
We truly believe that this DIY countertop cleaning mix will revolutionize your cleaning routine. It’s simple, effective, and customizable – everything you could want in a cleaning solution.
Now, it’s your turn! We encourage you to give this recipe a try and experience the difference for yourself. We’re confident that you’ll be amazed by the results. Don’t just take our word for it; see for yourself how easy it is to achieve sparkling clean countertops with this natural and affordable solution.
And most importantly, we want to hear about your experience! Share your tips, variations, and before-and-after photos in the comments below. Let’s build a community of DIY cleaning enthusiasts and help each other create healthier and happier homes. What essential oils did you use? Did you find it effective on a particular type of stain? Your insights could be invaluable to other readers.
So, grab your ingredients, mix up a batch of this amazing DIY countertop cleaning mix, and get ready to say goodbye to harsh chemicals and hello to sparkling clean, naturally sanitized countertops! We can’t wait to hear about your success!
Frequently Asked Questions (FAQ)
1. What types of countertops is this DIY cleaning mix safe for?
This DIY countertop cleaning mix is generally safe for a wide variety of countertop materials, including laminate, tile, stainless steel, and sealed granite. However, it’s crucial to exercise caution and perform a spot test in an inconspicuous area before applying it to the entire surface, especially if you have natural stone countertops like marble or unsealed granite. These materials are more porous and can be sensitive to acidic ingredients like vinegar. If you’re unsure about the suitability of this mix for your specific countertop material, consult the manufacturer’s recommendations or a professional cleaner. For marble, consider using a pH-neutral cleaner specifically designed for marble to avoid etching.
2. Can I use different essential oils in this recipe?
Absolutely! The beauty of this DIY countertop cleaning mix is its versatility. You can customize the scent and even enhance the cleaning power by using different essential oils. Lemon, tea tree, lavender, eucalyptus, and peppermint are all excellent choices due to their antibacterial, antiviral, and antifungal properties. Lemon and orange essential oils are great for cutting through grease, while tea tree oil is known for its disinfecting abilities. Lavender adds a calming scent, and eucalyptus can help to freshen the air. When selecting essential oils, ensure they are 100% pure and therapeutic grade for the best results. Start with a small amount (5-10 drops) and adjust to your preference. Remember to research the safety of specific essential oils, especially if you have pets or small children.
3. How long will this DIY cleaning mix last?
This DIY countertop cleaning mix typically lasts for several weeks when stored properly. To maximize its shelf life, store it in an airtight container, such as a glass spray bottle, in a cool, dark place. Avoid storing it in direct sunlight or in areas with extreme temperature fluctuations, as this can degrade the essential oils and affect the overall effectiveness of the mix. If you notice any changes in color, odor, or consistency, it’s best to discard the mix and make a fresh batch. Generally, it’s a good practice to make smaller batches to ensure you’re always using a fresh and potent cleaning solution.
4. What if I don’t have apple cider vinegar? Can I substitute it?
Yes, you can substitute apple cider vinegar with distilled white vinegar. While apple cider vinegar offers a slightly milder scent and contains beneficial enzymes, distilled white vinegar is a more potent degreaser and disinfectant. It’s also more readily available and often less expensive. The cleaning power will be similar, but you might notice a slightly stronger vinegar smell when using distilled white vinegar. If you’re sensitive to the scent of vinegar, you can add a few extra drops of your favorite essential oil to help mask the odor.
5. How often should I use this DIY countertop cleaning mix?
The frequency of use depends on how often you use your countertops and how dirty they get. For daily cleaning and maintenance, you can use this mix as often as needed. For heavily soiled countertops or after preparing messy meals, you may want to use it more frequently. Regular use of this DIY countertop cleaning mix will help prevent the buildup of dirt, grime, and bacteria, keeping your countertops clean and hygienic. Always wipe up spills immediately to prevent staining and make cleaning easier.
6. Can I use this mix on wooden cutting boards?
While this DIY countertop cleaning mix is generally safe for many surfaces, it’s not recommended for use on wooden cutting boards. The vinegar in the mix can be too harsh for wood and may cause it to dry out, crack, or warp over time. Instead, clean wooden cutting boards with warm soapy water and a scrub brush. You can also disinfect them with a solution of diluted bleach (1 tablespoon of bleach per gallon of water). Always rinse thoroughly and allow the cutting board to air dry completely before storing it.
7. Is this DIY cleaning mix safe for pets and children?
Yes, this DIY countertop cleaning mix is generally safe for pets and children, as it uses natural ingredients and avoids harsh chemicals. However, it’s still important to exercise caution and keep the mix out of reach of children and pets. Essential oils can be toxic if ingested, so avoid using excessive amounts and store the mix in a secure location. If you have pets that are particularly sensitive to smells, you may want to use essential oils with milder scents or avoid using them altogether. As with any cleaning product, it’s always best to supervise children when they are helping with cleaning and to ensure that they understand the importance of not ingesting the mix.
8. What if I have stubborn stains on my countertops?
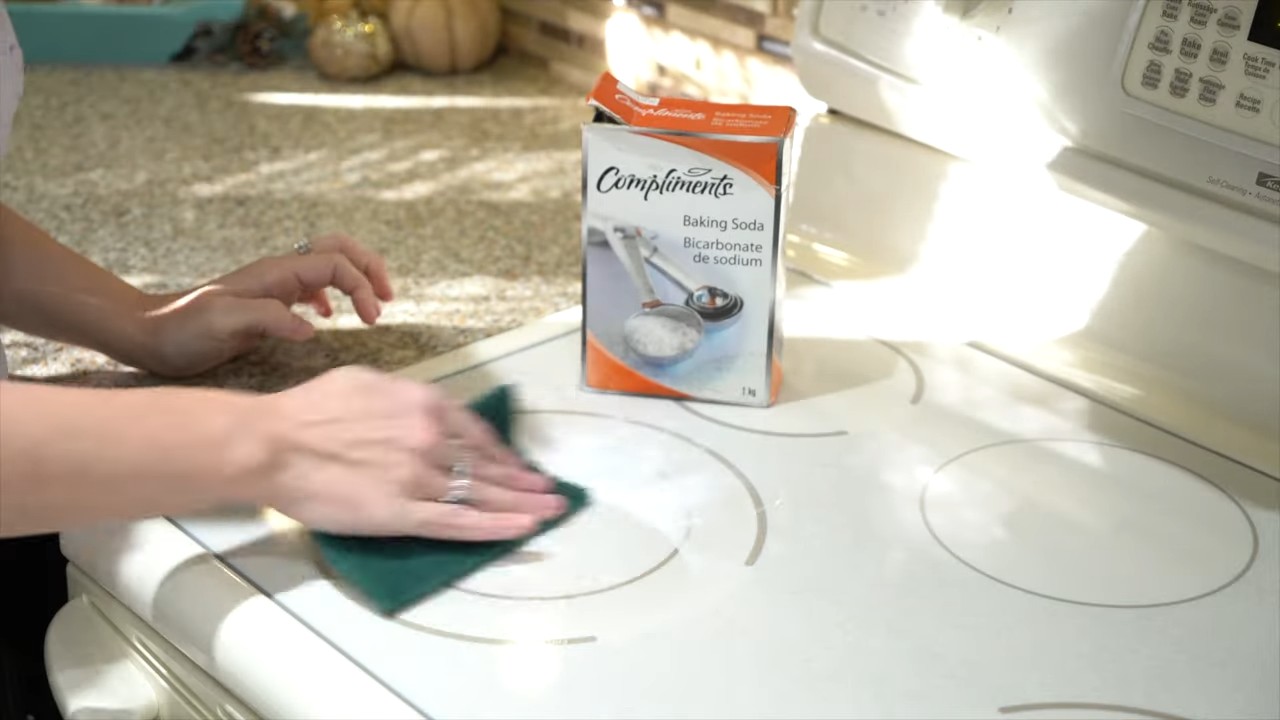
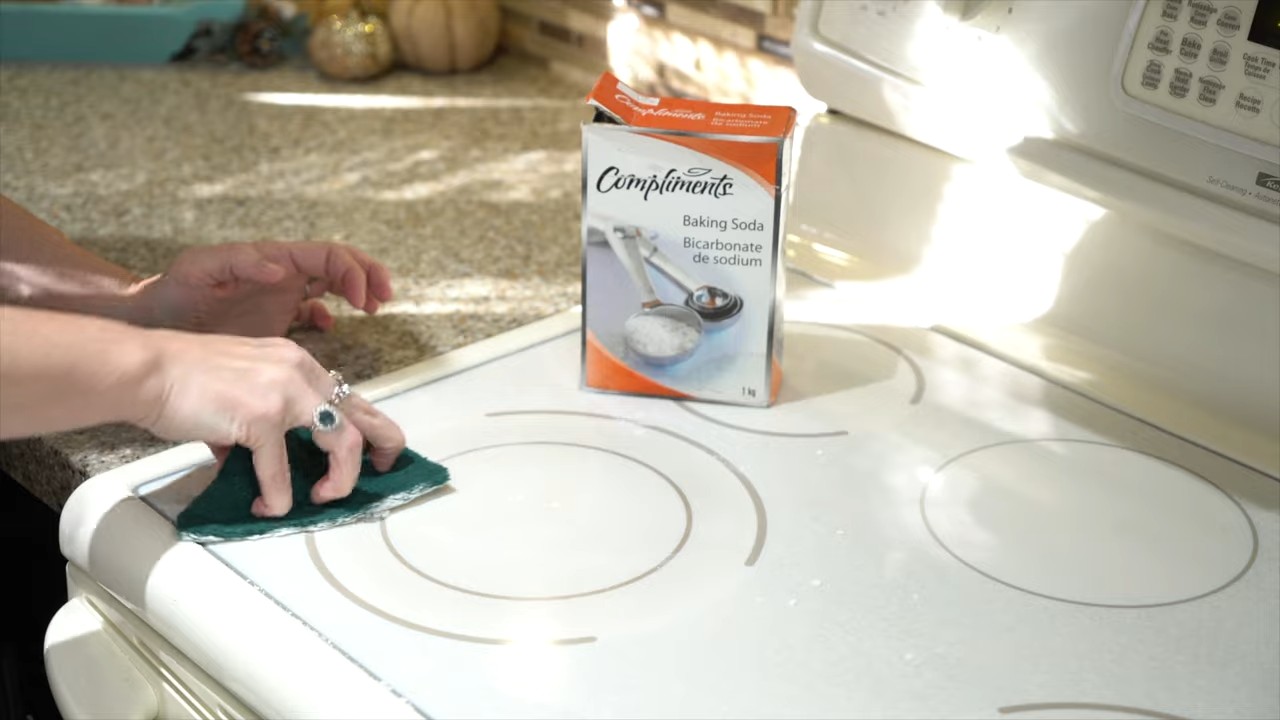
For stubborn stains, you may need to pre-treat the area before using the DIY countertop cleaning mix. For grease stains, try sprinkling baking soda on the stain and letting it sit for a few minutes before wiping it away with a damp cloth. For water stains or hard water deposits, try applying a paste of baking soda and water to the stain and letting it sit for 15-20 minutes before wiping it away. For more persistent stains, you may need to use a commercial stain remover specifically designed for your countertop material. Always follow the manufacturer’s instructions and test the stain remover in an inconspicuous area first. After removing the stain, you can then use the DIY countertop cleaning mix to clean and disinfect the entire surface.
Leave a Comment