
DIY sink cleaning solution: are you tired of stubborn stains and lingering odors plaguing your kitchen or bathroom sink? I know I am! It feels like no matter how much you scrub, some grime just refuses to budge. But what if I told you that the answer to a sparkling clean sink is likely already sitting in your pantry? Forget those harsh chemical cleaners with their overpowering smells and hefty price tags. We’re diving into the world of homemade cleaning solutions, and trust me, you’ll be amazed at how effective they are!
The concept of using natural ingredients for cleaning isn’t new. In fact, before the advent of commercial cleaners, our ancestors relied on simple, readily available resources like vinegar, baking soda, and lemon juice to keep their homes fresh and hygienic. Think about it – these methods have been passed down through generations for a reason! They’re effective, eco-friendly, and often much gentler on your surfaces.
So, why should you embrace a DIY sink cleaning solution? Well, for starters, it’s incredibly cost-effective. You’ll save money by using ingredients you probably already have. More importantly, you’ll be reducing your exposure to potentially harmful chemicals found in many store-bought cleaners. Plus, you’ll have the satisfaction of knowing exactly what’s going down your drain and into the environment. Let’s get started and transform your sink from drab to dazzling with these simple, yet powerful, DIY recipes!
DIY Sink Cleaning Solution: Sparkling Clean Without the Harsh Chemicals
Hey everyone! I’m so excited to share my go-to recipe for a DIY sink cleaning solution that not only works wonders but also saves you money and keeps those harsh chemicals out of your home. I’ve been using this method for years, and my sinks have never looked better. Plus, it’s incredibly easy to make with ingredients you probably already have in your pantry!
Why DIY Sink Cleaner?
Before we dive into the recipe, let’s talk about why I prefer making my own sink cleaner. Store-bought cleaners often contain harsh chemicals that can be harmful to your health and the environment. They can also be quite expensive. My DIY solution is:
* Eco-Friendly: Uses natural ingredients that are biodegradable and less harmful to the environment.
* Cost-Effective: Significantly cheaper than commercial cleaners.
* Gentle Yet Effective: Cleans and deodorizes without damaging your sink’s surface.
* Customizable: You can adjust the ingredients to suit your specific needs and preferences.
* Safe: Avoids harsh chemicals that can irritate skin and respiratory systems.
Ingredients You’ll Need
Here’s what you’ll need to whip up this amazing sink cleaner:
* 1 cup Baking Soda
* ½ cup Salt (I prefer coarse salt for extra scrubbing power)
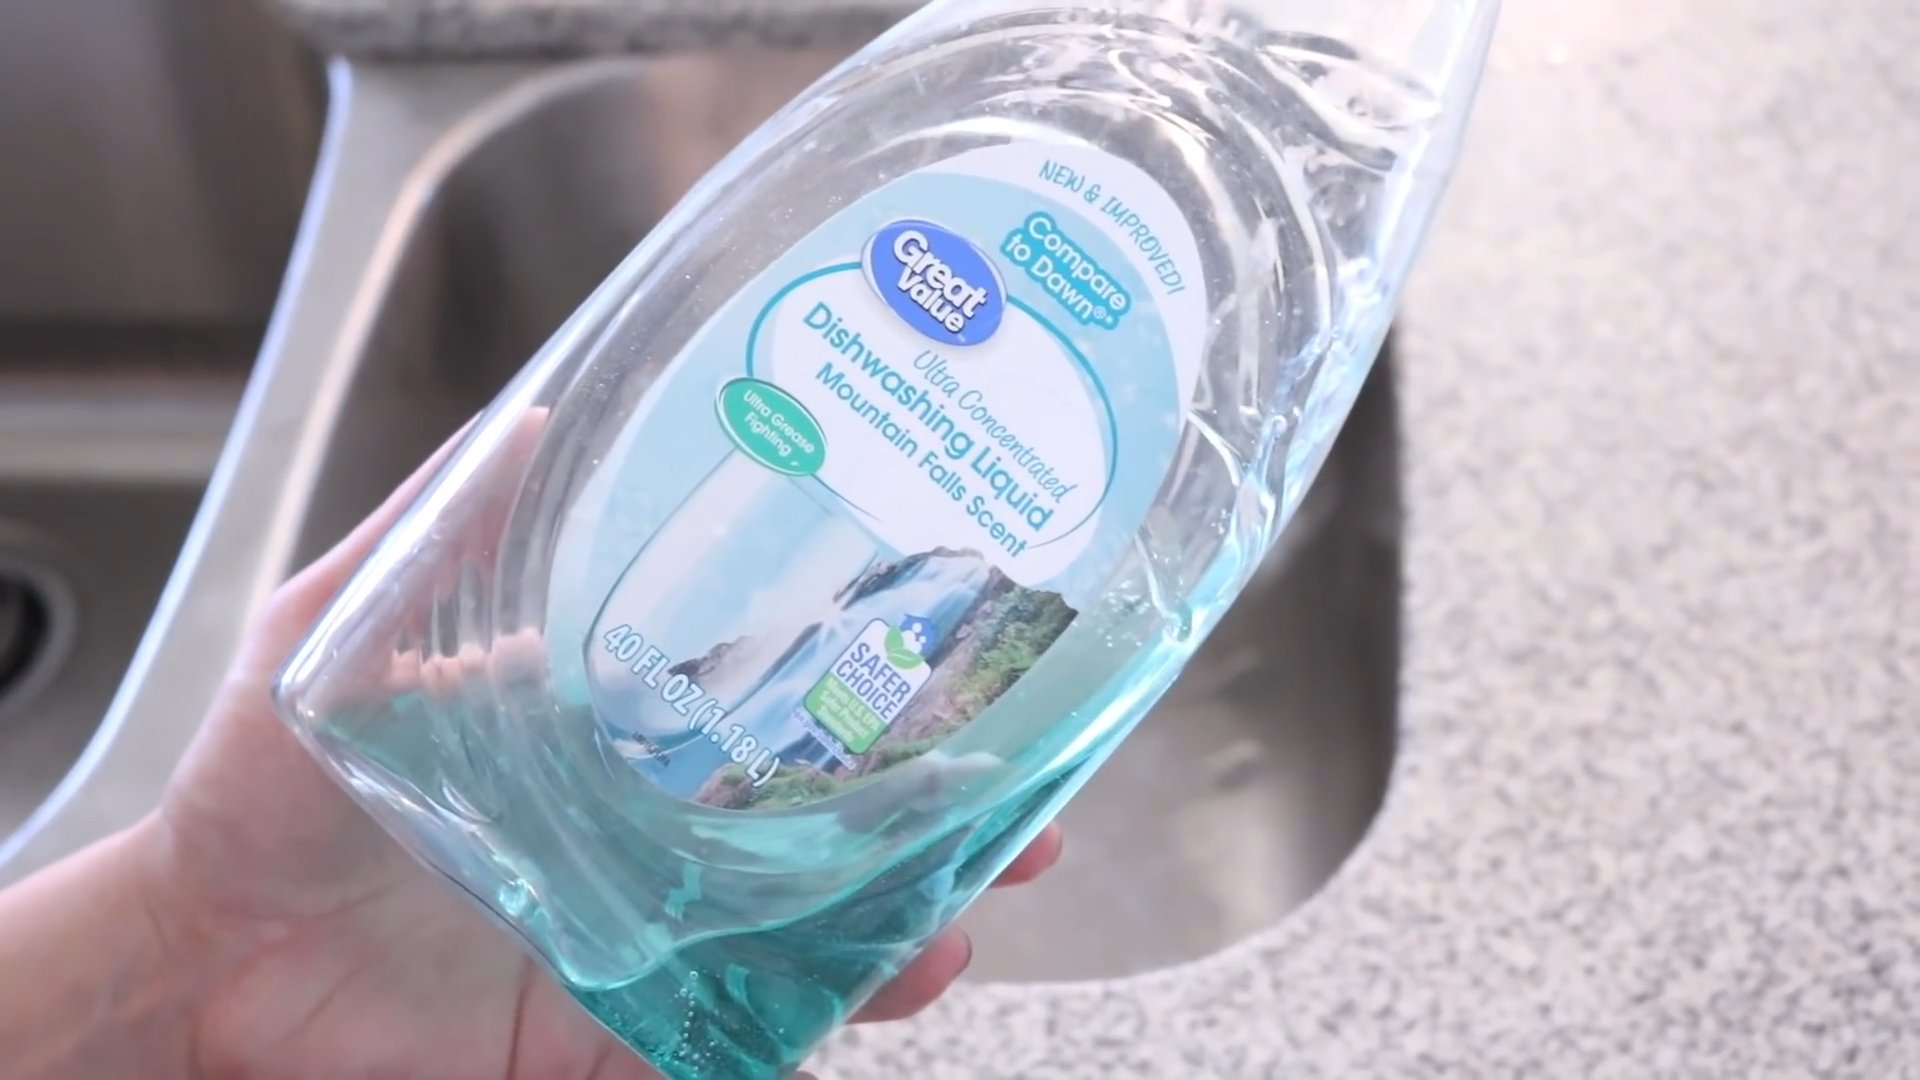
* ¼ cup Liquid Dish Soap (Choose a natural, biodegradable option if possible)
* ½ cup White Vinegar
* 5-10 drops Essential Oil (Optional, for fragrance. I love lemon, tea tree, or lavender)
* Boiling Water
Tools You’ll Need
* Measuring cups
* Small bowl
* Spoon or whisk
* Kettle or pot for boiling water
* Scrub brush or sponge
* Rubber gloves (optional, but recommended)
Step-by-Step Instructions
Alright, let’s get started! Follow these simple steps to create your own powerful sink cleaning solution.
Phase 1: Creating the Cleaning Paste
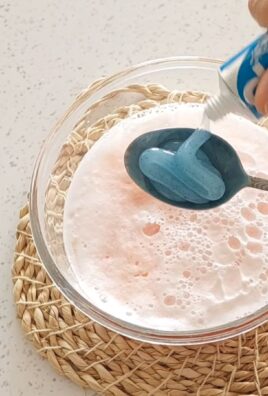
1. Combine Dry Ingredients: In your small bowl, pour in 1 cup of baking soda and ½ cup of salt. Mix them well with a spoon or whisk until they are evenly combined. The salt acts as a gentle abrasive, helping to scrub away stubborn stains and grime.
2. Add Dish Soap: Now, add ¼ cup of liquid dish soap to the dry ingredients. I recommend using a natural dish soap to avoid harsh chemicals. Gently mix the dish soap into the baking soda and salt mixture. It will form a thick paste.
3. Incorporate Essential Oils (Optional): If you’re using essential oils, add 5-10 drops to the paste. I personally love lemon essential oil for its fresh, clean scent and antibacterial properties. Tea tree oil is another great option for its disinfecting qualities. Lavender oil adds a calming fragrance. Mix well to distribute the essential oils evenly throughout the paste.
Phase 2: Cleaning Your Sink
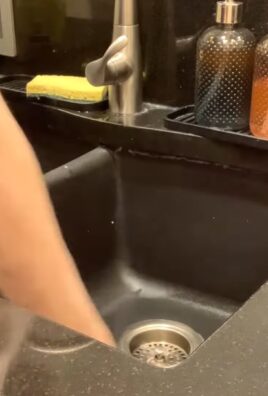
1. Prepare Your Sink: Before applying the cleaning paste, rinse your sink with warm water to loosen any loose debris. Make sure to remove any large food particles or items that might clog the drain.
2. Apply the Cleaning Paste: Using your hands (with gloves on, if you prefer) or a sponge, scoop out a generous amount of the cleaning paste and spread it evenly over the entire surface of your sink, including the drain area. Don’t be shy – make sure to cover every nook and cranny!
3. Scrub Thoroughly: Now comes the fun part! Using a scrub brush or sponge, scrub the sink vigorously in a circular motion. Pay extra attention to areas with stubborn stains or grime. The baking soda and salt will act as gentle abrasives, helping to lift away dirt and buildup.
4. Let it Sit: After scrubbing, let the cleaning paste sit on the sink surface for about 10-15 minutes. This allows the ingredients to work their magic and further break down any remaining grime.
Phase 3: The Vinegar and Boiling Water Treatment
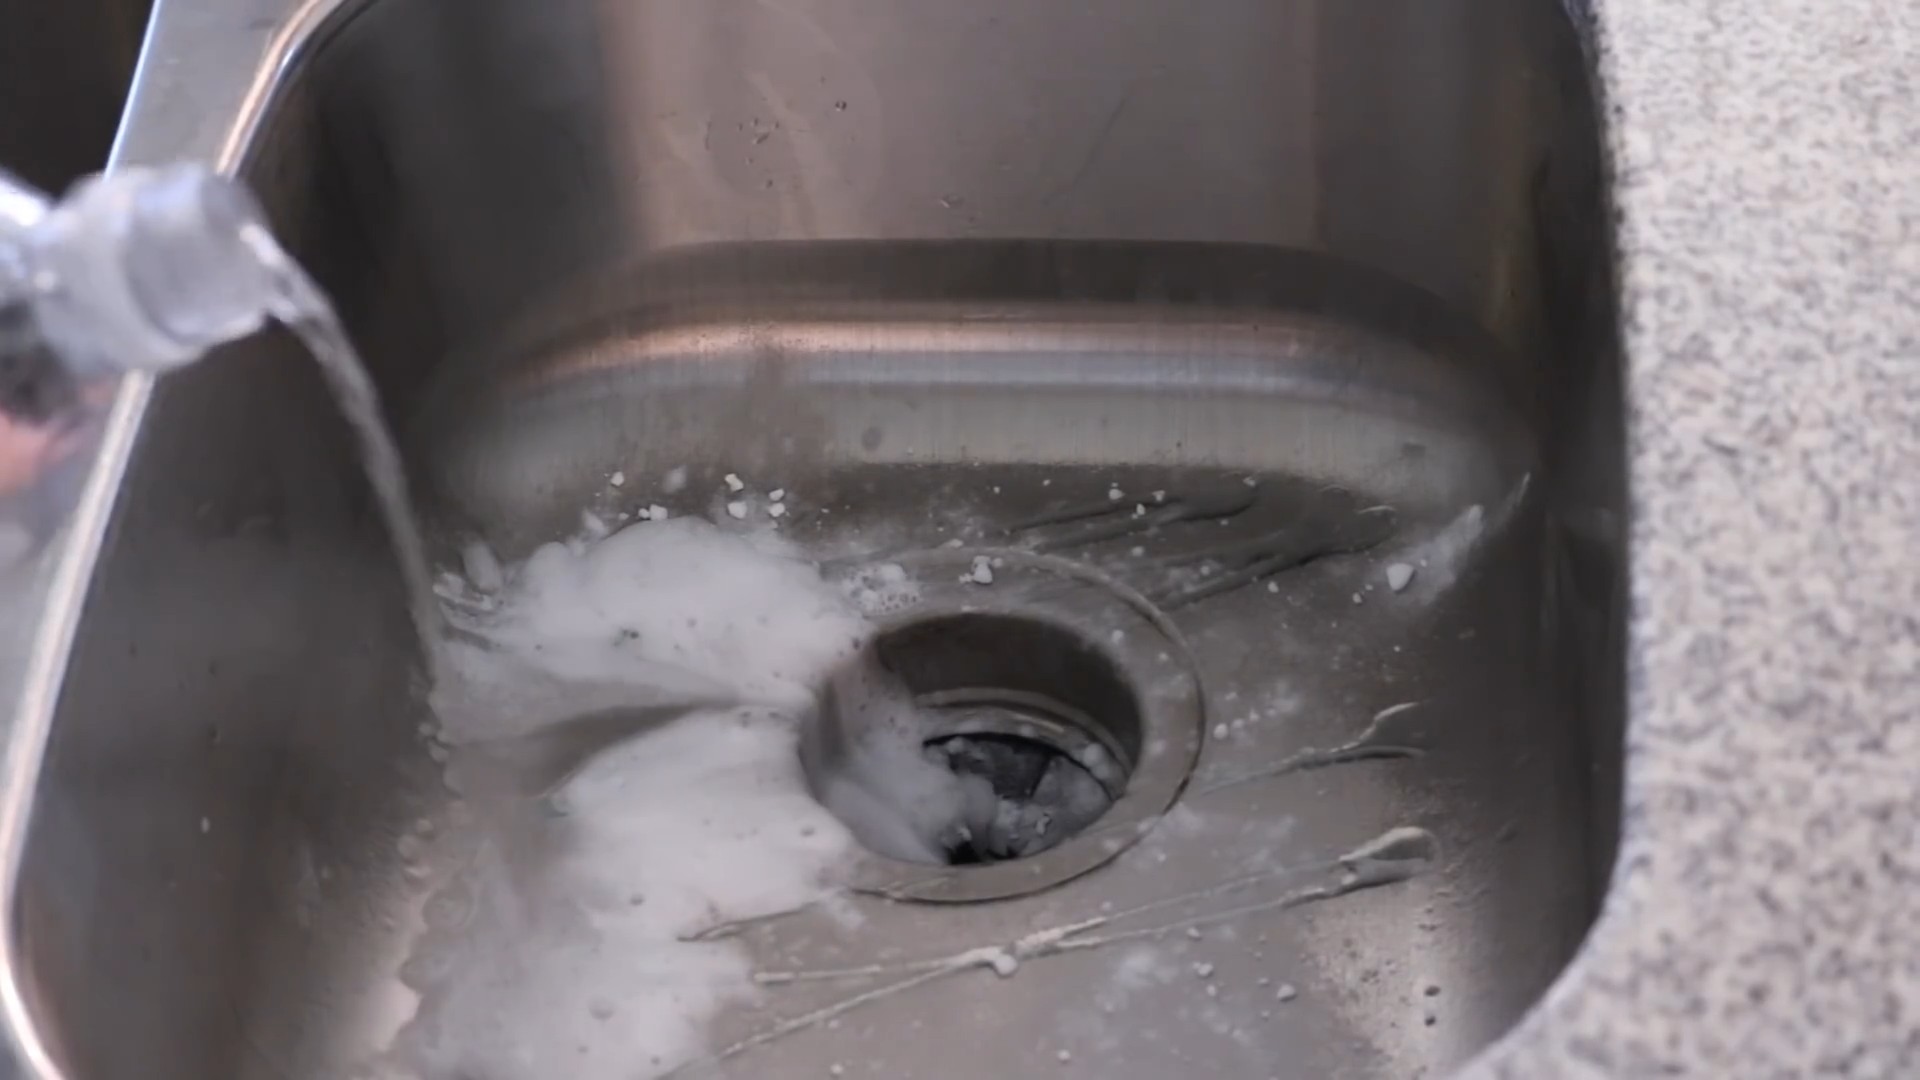
1. Pour Vinegar Down the Drain: After the paste has sat for 10-15 minutes, pour ½ cup of white vinegar down the drain. You’ll notice a fizzing reaction as the vinegar interacts with the baking soda. This is perfectly normal and helps to further clean and deodorize the drain.
2. Let it Fizz: Allow the vinegar to fizz for about 5-10 minutes. This will help to loosen any buildup in the drainpipe.
3. Flush with Boiling Water: Carefully pour a kettle or pot of boiling water down the drain. The boiling water will flush away the remaining cleaning paste, vinegar, and any loosened debris. Be careful when handling boiling water to avoid burns.
4. Rinse and Repeat (If Necessary): After flushing with boiling water, rinse the sink thoroughly with warm water. Inspect the sink for any remaining stains or grime. If necessary, repeat the cleaning process for particularly stubborn areas.
5. Dry and Admire: Finally, dry your sink with a clean cloth or towel. Step back and admire your sparkling clean sink!
Tips and Tricks for a Super Clean Sink
* Preventative Maintenance: To keep your sink clean and fresh, try pouring a mixture of baking soda and vinegar down the drain once a week, followed by boiling water. This will help to prevent buildup and keep your drain flowing smoothly.
* Tackle Hard Water Stains: If you have hard water, you may notice mineral deposits or stains on your sink. To remove these, try soaking a paper towel in white vinegar and placing it over the stained area for a few hours. Then, scrub with a brush and rinse thoroughly.
* Clean Your Faucet: Don’t forget to clean your faucet! Use a soft cloth or sponge to wipe down the faucet with a mixture of dish soap and water. For hard-to-reach areas, use an old toothbrush.
* Use a Drain Strainer: To prevent food particles and other debris from clogging your drain, use a drain strainer. This will catch any solids before they enter the drainpipe.
* Lemon Power: For an extra boost of cleaning power, rub a lemon half over the surface of your sink. The citric acid in the lemon will help to break down stains and leave your sink smelling fresh.
* Baking Soda Paste for Stubborn Stains: For really tough stains, make a thick paste of baking soda and water. Apply the paste to the stain, let it sit for a few minutes, and then scrub with a brush.
* Don’t Use Abrasive Cleaners on Certain Surfaces: Be careful when using abrasive cleaners on delicate sink surfaces like stainless steel or enamel. Always test the cleaner in an inconspicuous area first to ensure it doesn’t scratch or damage the surface.
* Essential Oil Blends: Experiment with different essential oil blends to create your own signature scent. Some other great options include eucalyptus, peppermint, and grapefruit.
* Regular Cleaning is Key: The more often you clean your sink, the easier it will be to keep it sparkling clean. Aim to clean your sink at least once a week to prevent buildup and stains.
Troubleshooting
* Clogged Drain: If your drain is clogged, try using a plunger to dislodge the blockage. If that doesn’t work, you can try using a drain snake or calling a plumber.
* Stubborn Stains: For stubborn stains that won’t come off with regular scrubbing, try using a paste of baking soda and hydrogen peroxide. Apply the paste to the stain, let it sit for a few minutes, and then scrub with a brush.
* Lingering Odors: If your sink has a lingering odor, try pouring a cup of baking soda down the drain, followed by a cup of white vinegar. Let it fizz for a few minutes, and then flush with boiling water.
Safety Precautions
* Wear Gloves: Although the ingredients in this DIY cleaner are generally safe, it’s always a good idea to wear rubber gloves to protect your hands from irritation.
* Avoid Contact with Eyes: Avoid getting the cleaning solution in your eyes. If contact occurs, rinse thoroughly with water.
* Use Caution with Boiling Water: Be extremely careful when handling boiling water to avoid burns.
* Keep Out of Reach of Children and Pets: As with any cleaning product, keep this DIY solution out of reach of children and pets.
I hope you found this DIY sink cleaning solution helpful! It’s a simple, effective, and eco-friendly way to keep your sink sparkling clean without the harsh chemicals. Happy cleaning!
Conclusion
So, there you have it! Ditching those harsh chemicals and embracing this simple, effective DIY sink cleaning solution is more than just a trend; it’s a smart choice for your home, your health, and the environment. We’ve walked you through the easy steps, highlighting the cost-effectiveness and the satisfaction of knowing exactly what’s going down your drain.
But why is this a must-try? Beyond the obvious benefits of saving money and avoiding toxic chemicals, this DIY solution offers a level of customization that store-bought cleaners simply can’t match. You can tailor the scent to your liking by experimenting with different essential oils. A few drops of tea tree oil can add extra antibacterial power, while lemon or orange oil will leave your sink smelling incredibly fresh and clean. Lavender oil not only smells divine but also has calming properties, making your cleaning routine a little more enjoyable.
Don’t be afraid to experiment with the ratios slightly to find what works best for your sink and the types of grime you typically encounter. If you have particularly stubborn stains, consider letting the baking soda paste sit for a longer period before scrubbing. For sinks prone to water spots, a final rinse with diluted white vinegar can work wonders.
This isn’t just about cleaning; it’s about creating a healthier and more sustainable home. It’s about taking control of the products you use and making informed choices that benefit both you and the planet. It’s about simplifying your life and finding joy in the small, everyday tasks.
We truly believe that once you try this DIY sink cleaning solution, you’ll never go back to those expensive, chemical-laden alternatives. The results speak for themselves: a sparkling clean sink, a fresh scent, and the peace of mind knowing you’re doing something good for yourself and the environment.
So, what are you waiting for? Gather your ingredients, follow the simple steps, and prepare to be amazed. We’re confident that you’ll love the results.
But the real magic happens when we share our experiences. We encourage you to try this DIY sink cleaning solution and then come back and tell us all about it! What variations did you try? What scents did you use? Did you find any particularly effective techniques? Your insights can help others discover the joy and benefits of this simple, yet powerful, cleaning solution. Share your tips, your tricks, and your successes in the comments below. Let’s build a community of DIY enthusiasts who are passionate about creating healthier and more sustainable homes, one sparkling sink at a time.
We can’t wait to hear your stories! Happy cleaning!
Frequently Asked Questions (FAQ)
What if I don’t have all the ingredients listed?
That’s perfectly alright! The beauty of this DIY sink cleaning solution is its flexibility. While baking soda and vinegar are the core ingredients, you can make substitutions based on what you have on hand. For example, if you don’t have white vinegar, you can use apple cider vinegar or even lemon juice, although the scent might be stronger. If you don’t have dish soap, a small amount of liquid castile soap can also work. The essential oils are optional and primarily for fragrance, so feel free to omit them if you don’t have any. The key is to experiment and find what works best for you. Just remember that the combination of baking soda and an acid (like vinegar or lemon juice) is what creates the fizzing action that helps to loosen grime.
Is this DIY sink cleaning solution safe for all types of sinks?
Generally, yes, this solution is safe for most common sink materials, including stainless steel, porcelain, and ceramic. However, it’s always a good idea to test it in an inconspicuous area first, especially if you have a more delicate or unusual sink material, such as natural stone (like marble or granite). The acidity of vinegar or lemon juice could potentially etch or damage these surfaces over time. If you’re unsure, consult the manufacturer’s recommendations for your specific sink material. For sensitive surfaces, you can dilute the vinegar or lemon juice further or use a milder alternative like a baking soda paste alone.
How often should I use this DIY sink cleaning solution?
The frequency of cleaning depends on how often you use your sink and how quickly it gets dirty. For most households, a weekly cleaning is sufficient to keep the sink sparkling and prevent buildup. However, if you notice stains, grime, or unpleasant odors more frequently, you can use this solution as needed. It’s gentle enough for daily use if necessary. Remember to always rinse the sink thoroughly after cleaning to remove any residue.
Can I use this solution to clean other areas of my bathroom or kitchen?
Absolutely! This DIY sink cleaning solution is versatile and can be used to clean other areas of your bathroom and kitchen, such as countertops, tiles, and even shower doors. However, as with sinks, it’s essential to test the solution in an inconspicuous area first, especially on delicate surfaces. For larger areas, you can mix a larger batch of the solution in a spray bottle for easier application. Just be mindful of the surfaces you’re cleaning and adjust the ingredients accordingly. For example, you might want to use a more diluted solution on painted surfaces or avoid using vinegar on natural stone.
My sink has a really bad odor. Will this DIY solution get rid of it?
Yes, this DIY sink cleaning solution can help eliminate unpleasant odors in your sink. The baking soda acts as a natural deodorizer, while the vinegar helps to break down odor-causing bacteria. For particularly stubborn odors, you can pour a cup of baking soda down the drain, followed by a cup of vinegar. Let it fizz for about 30 minutes, then flush with hot water. You can also add a few drops of essential oils, such as tea tree oil or lemon oil, to the solution for extra odor-fighting power. If the odor persists, it could indicate a deeper plumbing issue, in which case you may need to consult a professional plumber.
How do I store the leftover DIY sink cleaning solution?
If you make a larger batch of the solution, you can store it in an airtight container in a cool, dark place. However, it’s best to use the solution within a few days, as the baking soda and vinegar may react over time and lose their effectiveness. If you’re using essential oils, be sure to store the solution in a dark-colored container to protect the oils from light degradation. It’s also important to label the container clearly to avoid any confusion.
Can I use this solution to unclog a slow-draining sink?
While this DIY sink cleaning solution can help prevent clogs, it may not be effective for completely unclogging a severely blocked drain. For slow-draining sinks, you can try pouring a cup of baking soda down the drain, followed by a cup of vinegar. Let it fizz for about 30 minutes, then flush with boiling water. You can also use a plunger to help dislodge the clog. If these methods don’t work, you may need to use a drain snake or call a plumber. Prevention is key, so regularly flushing your drain with hot water and avoiding pouring grease or food scraps down the sink can help prevent clogs from forming in the first place.
Leave a Comment