
DIY Vinegar Cleaner: Unlock the secrets to a sparkling clean home with a natural, budget-friendly solution! Are you tired of harsh chemicals and sky-high cleaning product prices? I know I was! That’s why I dove headfirst into the world of DIY cleaning, and let me tell you, the results are amazing.
Vinegar, a staple in kitchens for centuries, boasts a rich history that extends far beyond culinary uses. From ancient civilizations using it as a preservative to its modern-day applications in everything from skincare to gardening, vinegar has proven its versatility time and time again. But did you know it’s also a powerhouse cleaner?
In today’s world, where environmental consciousness is growing and budgets are tightening, the need for effective and affordable cleaning solutions is greater than ever. That’s where this DIY Vinegar Cleaner comes in. I’m going to show you how to create a powerful, all-purpose cleaner using just vinegar and a few simple ingredients you probably already have in your pantry. Say goodbye to toxic fumes and hello to a fresh, clean home, all while saving money and reducing your environmental impact. Let’s get started!
DIY All-Purpose Vinegar Cleaner: A Natural Cleaning Powerhouse
Hey there, fellow DIY enthusiasts! I’m so excited to share one of my absolute favorite cleaning hacks with you: making your own all-purpose vinegar cleaner. Not only is it incredibly effective, but it’s also super affordable and eco-friendly. Say goodbye to harsh chemicals and hello to a sparkling clean home, naturally!
Why Vinegar?
Vinegar, specifically white distilled vinegar, is a cleaning superstar. Its acidity helps to dissolve grime, grease, and hard water stains. Plus, it’s a natural disinfectant, killing many common household bacteria and viruses. It’s a win-win!
What You’ll Need
Before we dive in, let’s gather our supplies. This is a pretty simple recipe, so you probably already have most of these items on hand:
* White distilled vinegar
* Water (tap water is fine)
* An empty spray bottle (I prefer a sturdy one that can handle repeated use)
* Essential oils (optional, but highly recommended for a pleasant scent)
* Measuring cup or spoons
* Funnel (optional, but it makes pouring easier)
The Basic Recipe: Vinegar and Water
This is the foundation of our all-purpose cleaner. The ratio of vinegar to water is key, so let’s get it right.
1. Prepare Your Spray Bottle: Make sure your spray bottle is clean and dry. Any residue from previous cleaners could react with the vinegar.
2. Combine Vinegar and Water: In your measuring cup, combine equal parts white distilled vinegar and water. I usually start with 1 cup of each. So, 1 cup vinegar and 1 cup water.
3. Pour into Spray Bottle: Carefully pour the mixture into your spray bottle. This is where a funnel comes in handy to prevent spills.
4. Label Your Bottle: This is important! Clearly label your bottle as “Vinegar Cleaner” so you don’t accidentally mix it up with something else.
Adding Essential Oils for Scent (and Extra Cleaning Power!)
While vinegar is a fantastic cleaner, its smell can be a bit strong for some people. That’s where essential oils come in! They not only add a pleasant fragrance but also offer additional cleaning and disinfecting properties.
1. Choose Your Essential Oils: There are tons of essential oils that work well in cleaning solutions. Some of my favorites include:
* Lemon: Great for cutting grease and leaving a fresh scent.
* Tea Tree: Known for its antibacterial and antifungal properties.
* Lavender: Adds a calming scent and has antiseptic qualities.
* Eucalyptus: Helps to disinfect and has a refreshing aroma.
* Orange: Another great grease cutter with a cheerful scent.
2. Add Essential Oils to the Mixture: Once you’ve chosen your essential oils, add about 10-20 drops to your vinegar and water mixture. Start with a smaller amount and add more if you prefer a stronger scent. I usually go for 15 drops.
3. Shake Well: After adding the essential oils, give your spray bottle a good shake to ensure everything is properly mixed.
Using Your DIY Vinegar Cleaner
Now that you’ve made your cleaner, it’s time to put it to work!
1. Spray the Surface: Spray the surface you want to clean with your vinegar cleaner.
2. Let it Sit: Allow the cleaner to sit on the surface for a few minutes to allow the vinegar to work its magic. For tougher stains, you might want to let it sit for a bit longer.
3. Wipe Clean: Use a clean cloth or sponge to wipe the surface clean.
4. Dry (Optional): If you want to avoid water spots, you can dry the surface with a clean, dry cloth.
Where to Use Your Vinegar Cleaner
This all-purpose cleaner is incredibly versatile. Here are some of the places I use it in my home:
* Kitchen Counters: It’s great for wiping down kitchen counters after cooking.
* Bathroom Surfaces: Use it on sinks, toilets, and showers to remove soap scum and hard water stains.
* Floors: Dilute the cleaner with more water (about 1/4 cup vinegar cleaner to 1 gallon of water) to mop your floors.
* Windows and Mirrors: It leaves them streak-free and sparkling.
* Appliances: Wipe down the exterior of your appliances to remove fingerprints and smudges.
* Cutting Boards: Disinfect your cutting boards after use.
* Coffee Maker: Run a cycle with vinegar and water to descale your coffee maker.
* Dishwasher: Pour a cup of vinegar into the bottom of your dishwasher and run a cycle to clean and deodorize it.
What NOT to Clean with Vinegar
While vinegar is a fantastic cleaner, there are some surfaces you should avoid using it on:
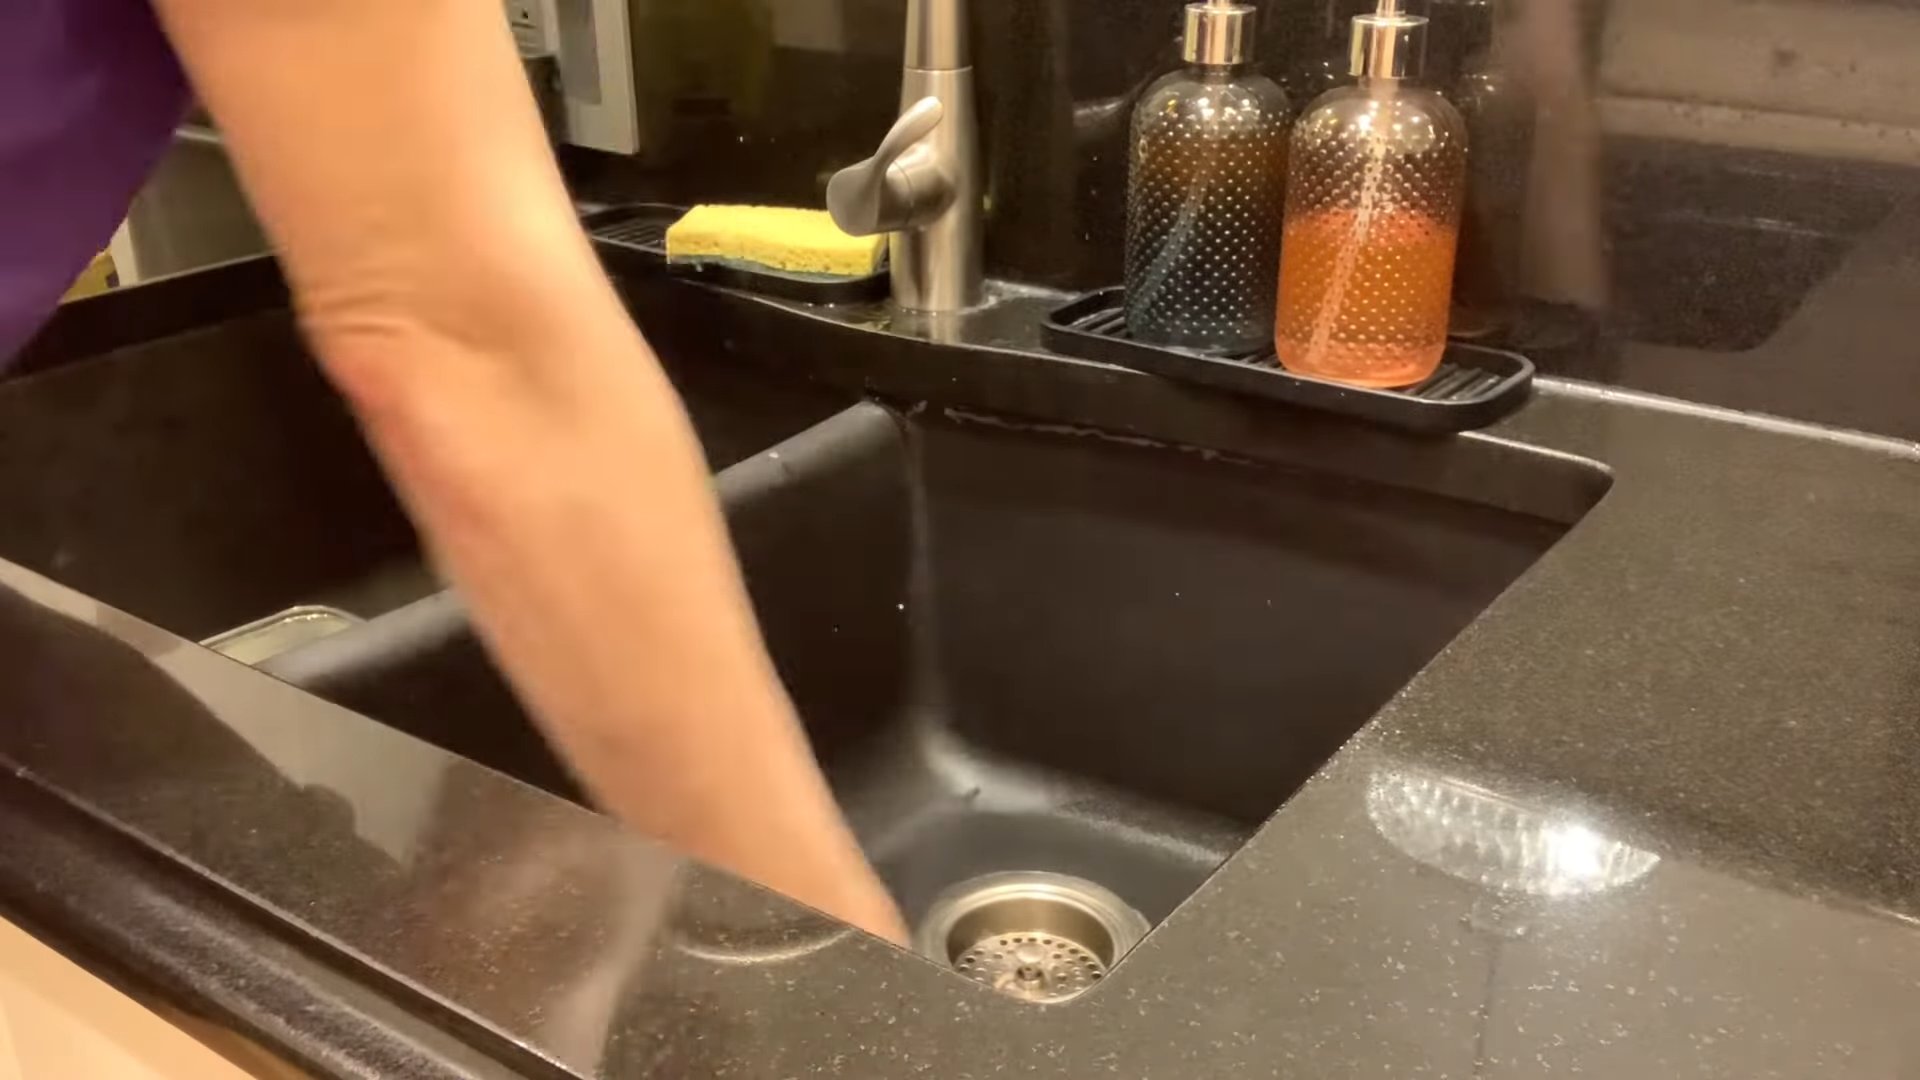
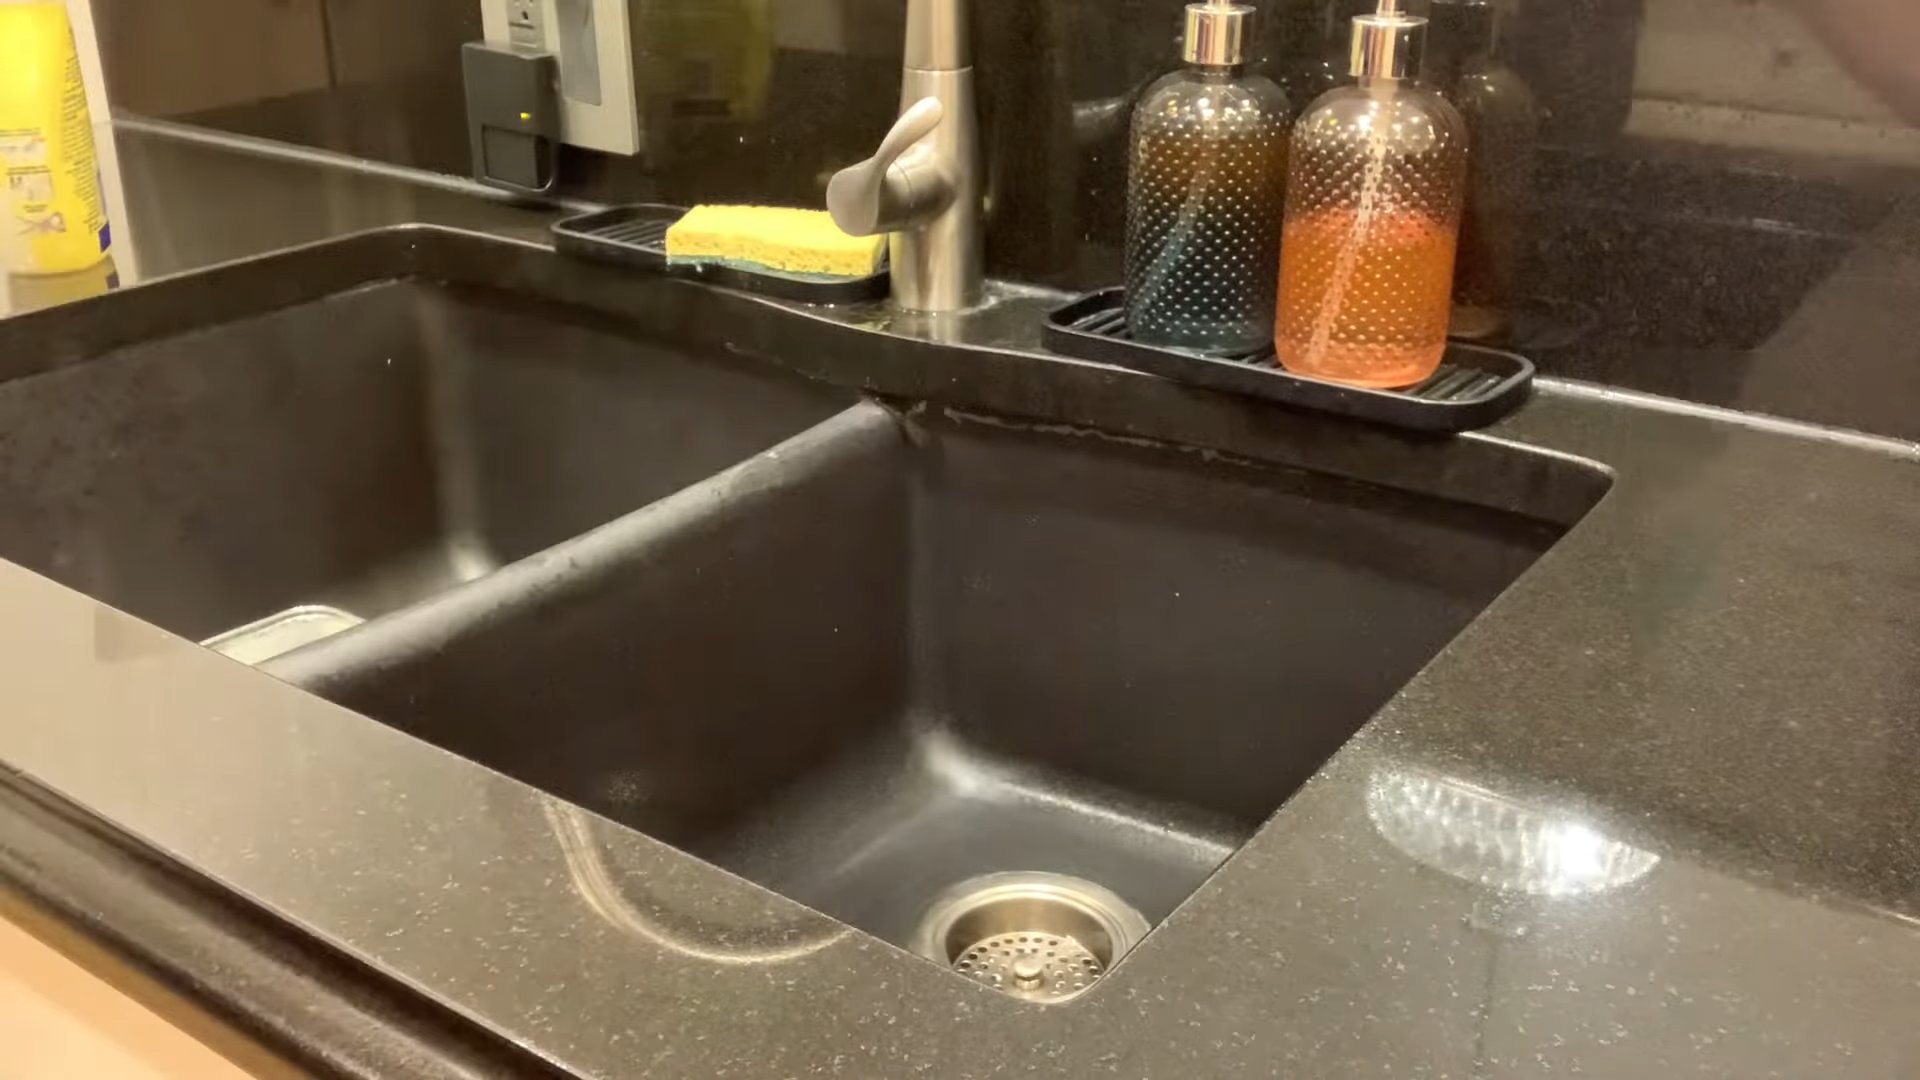
* Natural Stone: Vinegar can etch and damage natural stone surfaces like granite, marble, and limestone.
* Waxed Furniture: It can strip the wax finish.
* Electronics Screens: The acidity can damage the screen.
* Unsealed Grout: It can erode the grout over time.
* Cast Iron Pans: It can remove the seasoning.
* Pearls: It can dissolve the outer layer of pearls.
Troubleshooting and Tips
* Vinegar Smell: If you’re really sensitive to the vinegar smell, you can try using a higher concentration of essential oils or airing out the room after cleaning. The smell usually dissipates quickly.
* Cloudy Cleaner: Sometimes, the essential oils can make the cleaner look cloudy. This is perfectly normal and doesn’t affect its cleaning power.
* Hard Water: If you have hard water, you might want to use distilled water instead of tap water to prevent mineral buildup.
* Adjusting the Recipe: Feel free to experiment with the ratio of vinegar to water to find what works best for you. For tougher cleaning jobs, you can use a higher concentration of vinegar.
* Testing on a Small Area: Before using the cleaner on a large or delicate surface, always test it on a small, inconspicuous area first to make sure it doesn’t cause any damage.
* Infused Vinegar: For a more subtle scent, you can infuse your vinegar with citrus peels or herbs before making the cleaner. Simply place the peels or herbs in a jar of vinegar and let it sit for a few weeks, then strain the vinegar before using it.
* Cleaning Sponges: Soak your sponges in a vinegar and water solution to disinfect them.
* Removing Stickers: Soak a cloth in vinegar and place it over the sticker to loosen the adhesive.
* Freshening Laundry: Add a cup of vinegar to your washing machine during the rinse cycle to freshen your laundry and remove odors.
* Cleaning Showerheads: Soak your showerhead in a vinegar solution overnight to remove mineral buildup.
Variations on the Theme: Supercharged Cleaning Recipes
Want to kick your cleaning game up a notch? Here are a couple of variations on the basic vinegar cleaner recipe:
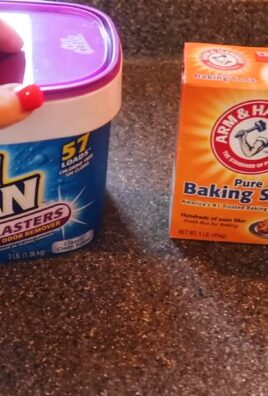
Baking Soda Boost
Adding baking soda to your vinegar cleaner creates a powerful fizzing action that helps to loosen stubborn grime.
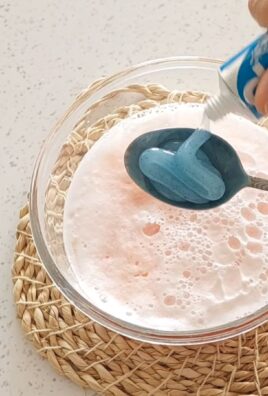
1. Combine Ingredients: In a bowl, mix 1/4 cup baking soda with 1 cup of vinegar. Be prepared for it to fizz!
2. Add Water: Slowly add 1 cup of water to the mixture.
3. Pour into Spray Bottle: Carefully pour the mixture into your spray bottle.
4. Use Immediately: This cleaner is best used immediately, as the fizzing action will subside over time.
Important Note: Don’t seal the spray bottle tightly when using baking soda, as the pressure from the fizzing could cause it to burst.
Citrus Power
Citrus peels contain natural oils that are great for cutting grease and leaving a fresh scent.
1. Collect Citrus Peels: Save the peels from oranges, lemons, limes, or grapefruits.
2. Infuse Vinegar: Place the citrus peels in a jar and cover them with white distilled vinegar.
3. Let it Sit: Let the mixture sit for 2-3 weeks, shaking it occasionally.
4. Strain Vinegar: Strain the vinegar to remove the peels.
5. Dilute and Use: Dilute the infused vinegar with water in a spray bottle and use it as you would the basic vinegar cleaner.
Safety First!
While vinegar is a natural cleaner, it’s still important to take some safety precautions:
* Avoid Mixing with Bleach: Never mix vinegar with bleach, as this can create toxic chlorine gas.
* Keep Out of Reach of Children and Pets: Although it’s a natural cleaner, it’s still important to keep it out of reach of children and pets.
*
Conclusion
So, there you have it! Ditching those expensive, chemical-laden commercial cleaners and embracing the power of a simple, effective, and eco-friendly DIY vinegar cleaner is not just a trend; it’s a smart choice for your home, your wallet, and the planet. We’ve walked you through the easy steps, highlighted the versatility, and even addressed some common concerns. But why is this DIY trick a must-try?
Firstly, the cost savings are undeniable. Compare the price of a gallon of vinegar to a bottle of your favorite multi-surface cleaner. The difference is significant, and over time, those savings add up. Secondly, you’re in control of the ingredients. No more deciphering long lists of chemicals you can’t pronounce. With a DIY vinegar cleaner, you know exactly what you’re spraying around your home, making it a safer option for families with children and pets.
Thirdly, and perhaps most importantly, it works! Vinegar’s natural acidity cuts through grease, grime, and hard water stains with surprising efficiency. It’s a fantastic all-purpose cleaner for kitchens, bathrooms, and even outdoor spaces.
But don’t stop there! The beauty of DIY is the ability to customize. Want a stronger scent? Experiment with different essential oil combinations. Lavender and lemon create a calming and refreshing aroma, while tea tree oil adds an extra boost of antibacterial power. For tougher stains, try adding a tablespoon of baking soda to your vinegar solution. The fizzing action helps to lift dirt and grime. You can also infuse your vinegar with citrus peels for a naturally scented and even more potent cleaning solution. Simply add orange, lemon, or grapefruit peels to a jar of vinegar and let it sit for a few weeks before straining and using.
Consider these variations:
* For Glass and Mirrors: Dilute your vinegar cleaner with even more water (1 part vinegar to 10 parts water) to prevent streaks. Use a microfiber cloth for the best results.
* For Wood Floors: Use a very diluted solution (1/4 cup vinegar per gallon of water) and avoid soaking the floor. Always test in an inconspicuous area first.
* For Laundry: Add 1/2 cup of vinegar to your washing machine’s rinse cycle to soften clothes and remove odors.
We’re confident that once you try this simple DIY vinegar cleaner, you’ll be amazed by its effectiveness and versatility. It’s a game-changer for anyone looking to simplify their cleaning routine, save money, and reduce their environmental impact.
So, what are you waiting for? Gather your ingredients, mix up a batch, and experience the cleaning power of vinegar for yourself. We encourage you to try this DIY vinegar cleaner and share your experiences with us! Let us know what essential oil combinations you love, what surfaces you’ve found it works best on, and any other tips or tricks you’ve discovered. Share your photos and stories on social media using #DIYVinegarCleaner and join the growing community of eco-conscious cleaners! We can’t wait to hear from you!
Frequently Asked Questions (FAQ)
Is vinegar safe to use on all surfaces?
While vinegar is a fantastic all-purpose cleaner, it’s not suitable for all surfaces. Avoid using it on natural stone surfaces like marble, granite, and travertine, as the acidity can etch and damage them. It’s also best to avoid using vinegar on waxed furniture, as it can strip the wax finish. Always test your DIY vinegar cleaner in an inconspicuous area before applying it to a larger surface, especially if you’re unsure about its compatibility. When in doubt, consult the manufacturer’s recommendations for cleaning specific surfaces.
What kind of vinegar should I use for cleaning?
Plain white distilled vinegar is the best choice for cleaning. It’s inexpensive, readily available, and has a consistent acidity level. Avoid using other types of vinegar, such as apple cider vinegar or balsamic vinegar, as they may contain sugars or other additives that can leave a sticky residue or stain surfaces. Cleaning vinegar is also available, which has a slightly higher acidity level than regular white vinegar, making it even more effective for tough cleaning jobs. However, regular white vinegar is usually sufficient for most household cleaning tasks.
Will my house smell like vinegar after cleaning?
Yes, there will be a vinegar smell initially, but it dissipates quickly. The vinegar smell typically fades within an hour or two, especially if you ventilate the area well. If you’re sensitive to the smell of vinegar, you can add essential oils to your DIY vinegar cleaner to mask the odor. Citrus essential oils like lemon, orange, and grapefruit are particularly effective at neutralizing the vinegar smell. You can also open windows and doors to improve ventilation and speed up the dissipation of the vinegar smell.
Can I use vinegar to clean my toilet?
Yes, vinegar is an excellent natural cleaner for toilets. You can pour a cup of vinegar into the toilet bowl and let it sit for at least 30 minutes, or even overnight, to help loosen stains and mineral deposits. Then, scrub the bowl with a toilet brush and flush. For tougher stains, you can add a tablespoon of baking soda to the vinegar before pouring it into the bowl. The fizzing action will help to lift the stains. You can also spray your DIY vinegar cleaner on the outside of the toilet and wipe it down with a cloth.
How long does DIY vinegar cleaner last?
DIY vinegar cleaner has a long shelf life and can last indefinitely. Vinegar is a natural preservative, so it doesn’t spoil or degrade over time. However, if you add essential oils to your cleaner, the scent may fade over time. To prolong the scent, store your DIY vinegar cleaner in a dark, cool place. It’s also a good idea to label your spray bottle with the date you made the cleaner so you can keep track of how long it’s been stored.
Can I use vinegar to clean my microwave?
Absolutely! Vinegar is a safe and effective way to clean your microwave. Simply mix equal parts vinegar and water in a microwave-safe bowl. Place the bowl in the microwave and heat it on high for 5-10 minutes, or until the mixture boils and the microwave is filled with steam. Let the bowl sit in the microwave for a few minutes to allow the steam to loosen any food splatters and grime. Then, carefully remove the bowl and wipe down the inside of the microwave with a clean cloth or sponge. The steam will have softened the grime, making it easy to wipe away.
Is vinegar safe for septic systems?
Yes, vinegar is generally considered safe for septic systems. Unlike harsh chemical cleaners, vinegar is a natural substance that won’t harm the beneficial bacteria in your septic tank. In fact, vinegar can even help to balance the pH levels in your septic system. However, it’s important to use vinegar in moderation. Avoid pouring large amounts of vinegar down the drain at once, as this could temporarily disrupt the balance of your septic system.
Can I mix vinegar with bleach?
Never mix vinegar with bleach! This combination creates toxic chlorine gas, which can cause serious respiratory problems and even be fatal. Always use vinegar and bleach separately, and never mix them together in the same container or cleaning solution. If you’re using bleach to disinfect a surface, rinse it thoroughly with water before applying vinegar. Safety should always be your top priority when cleaning.
Leave a Comment