
Grow bananas at home, you say? Absolutely! Imagine stepping into your backyard and harvesting your own sweet, creamy bananas. Sounds like a tropical dream, right? Well, it’s more achievable than you might think! Forget those expensive grocery store bananas; with a little know-how and some DIY spirit, you can cultivate your own banana paradise, even if you don’t live in the tropics.
Bananas have a rich history, dating back thousands of years in Southeast Asia. They’ve been a staple food source and a symbol of prosperity in many cultures. Now, you can bring a piece of that history to your own home.
Why should you embark on this banana-growing adventure? Because who wouldn’t want fresh, organic bananas right at their fingertips? Plus, it’s a fantastic way to connect with nature, learn about plant life, and impress your friends and family with your green thumb. This DIY guide will provide you with simple, effective tricks and hacks to successfully grow bananas at home, regardless of your experience level. We’ll cover everything from choosing the right variety to providing the perfect growing conditions, ensuring you’ll be enjoying homegrown bananas in no time. Let’s get started!
Growing Bananas at Home: A Tropical Treat in Your Backyard (or Living Room!)
Okay, so you want to grow bananas at home? Awesome! It might sound a little crazy, especially if you don’t live in the tropics, but trust me, it’s totally doable. I’ve had success growing dwarf banana varieties both indoors and outdoors (depending on the season), and I’m going to share everything I’ve learned with you. Get ready to feel like a tropical farmer!
Choosing the Right Banana Variety
First things first, you can’t just grab any banana and expect it to thrive in your living room. You need to choose a variety that’s well-suited for your climate and growing space. Here’s a breakdown:
* Dwarf Cavendish: This is probably the most popular choice for home growers. It’s relatively small (reaching about 6-10 feet tall), produces delicious bananas, and is fairly tolerant of cooler temperatures.
* Dwarf Red: Another great option for smaller spaces. It has beautiful reddish-purple foliage and produces sweet, slightly tangy red bananas.
* Ice Cream (Blue Java): This variety is known for its unique flavor, which is said to resemble vanilla ice cream! It’s a bit more cold-hardy than some other varieties.
* Goldfinger: A disease-resistant variety that produces bananas with a slightly apple-like flavor.
Important Considerations:
* Your Climate: If you live in a warm climate (USDA zones 9-11), you can grow bananas outdoors year-round. If you live in a cooler climate, you’ll need to grow them in containers and bring them indoors during the winter.
* Your Space: Consider how much space you have available. Even dwarf varieties can get pretty big, so make sure you have enough room for them to grow.
* Sunlight: Bananas need plenty of sunlight (at least 6-8 hours per day) to thrive.
Getting Started: Planting Your Banana Plant
Now that you’ve chosen your banana variety, it’s time to get planting! You can start with either a banana pup (a small offshoot from a mature plant) or a rhizome (an underground stem). I personally prefer starting with a pup, as it’s usually easier to find and establish.
Materials You’ll Need:
* Banana pup or rhizome
* Large pot (at least 15-20 gallons for dwarf varieties)
* Well-draining potting mix (a mix of peat moss, perlite, and vermiculite works well)
* Watering can
* Fertilizer (balanced fertilizer like 10-10-10 or a banana-specific fertilizer)
* Mulch (optional)
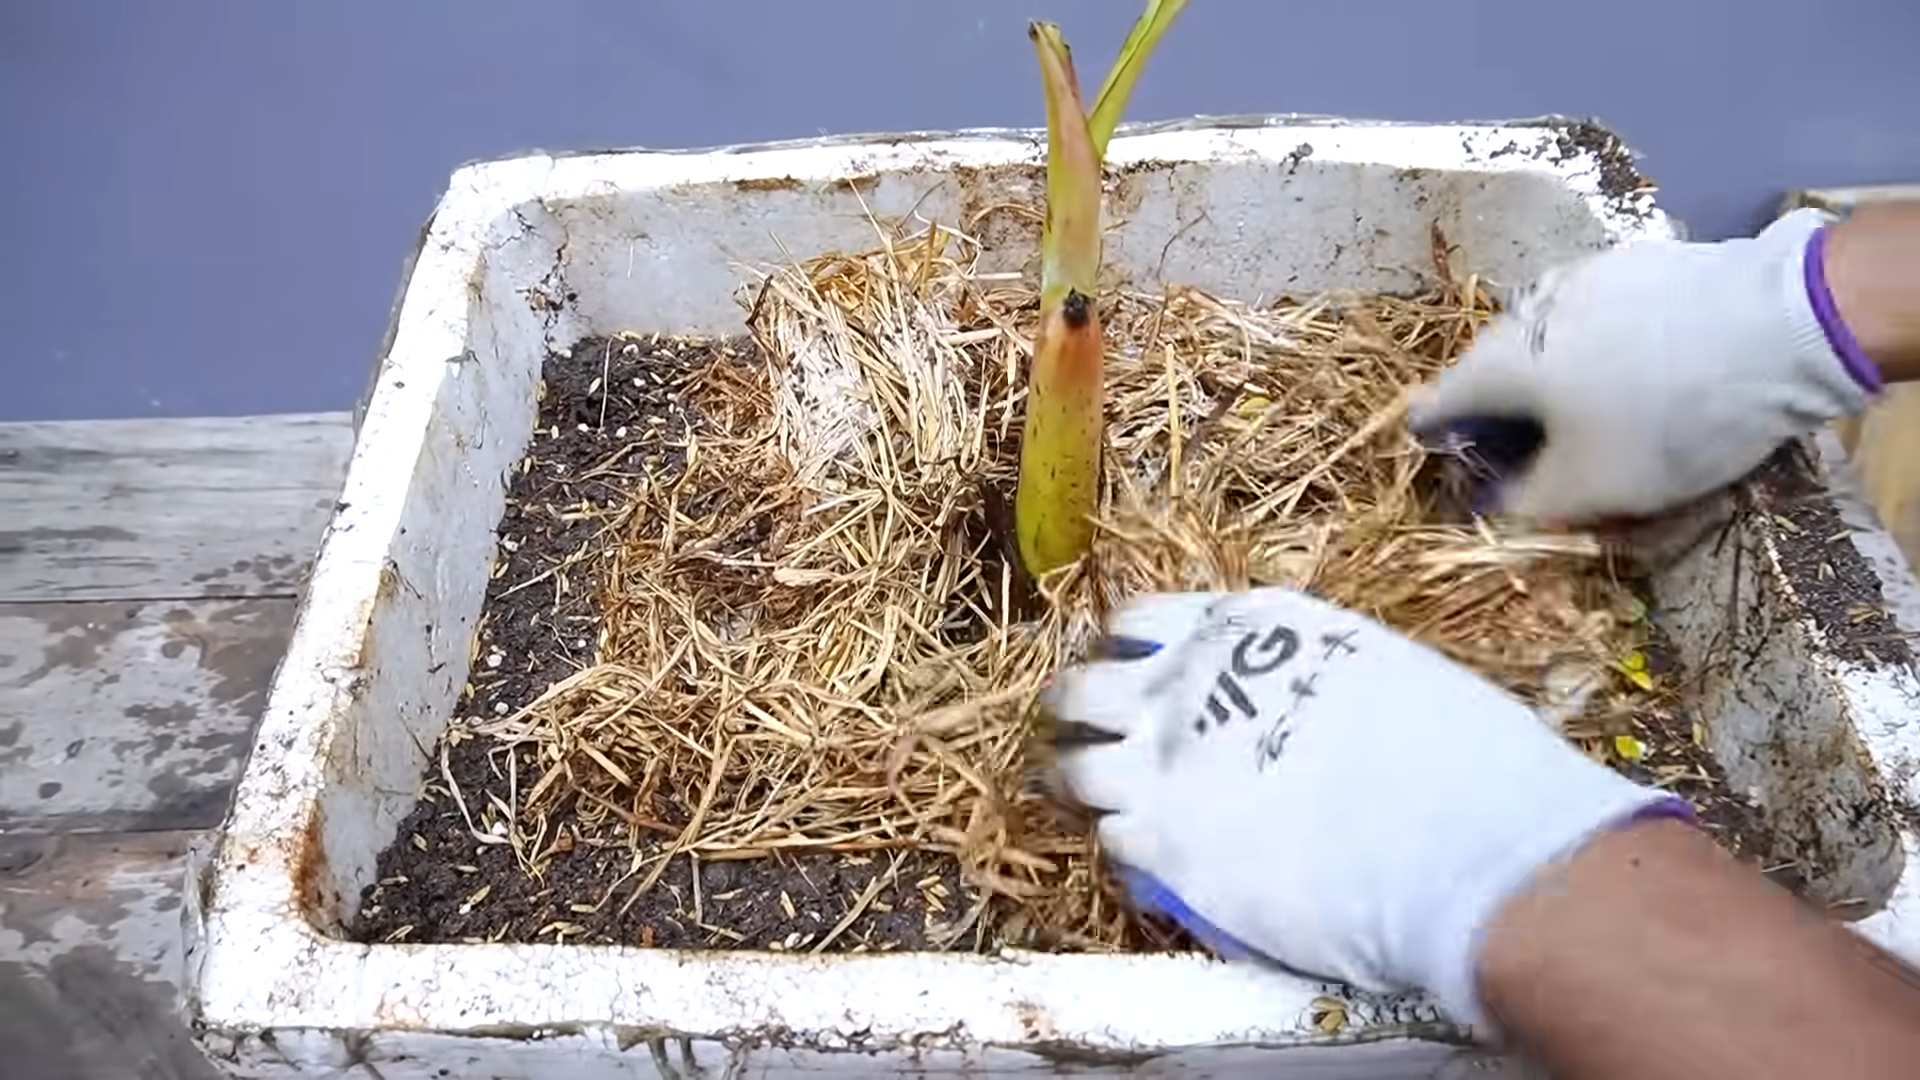
Step-by-Step Planting Instructions:
1. Prepare the Pot: Fill the pot with the well-draining potting mix, leaving a few inches of space at the top.
2. Plant the Pup or Rhizome: Dig a hole in the center of the pot that’s large enough to accommodate the pup or rhizome. Place the pup or rhizome in the hole, making sure the top of the rhizome or the base of the pup is level with the soil surface.
3. Backfill with Soil: Gently backfill the hole with soil, pressing down lightly to secure the pup or rhizome.
4. Water Thoroughly: Water the plant thoroughly until water drains out of the bottom of the pot.
5. Mulch (Optional): Add a layer of mulch around the base of the plant to help retain moisture and suppress weeds.
Caring for Your Banana Plant: The Key to Success
Once your banana plant is planted, it’s important to provide it with the proper care to ensure it thrives. Here’s what you need to know:
* Watering: Bananas need plenty of water, especially during the growing season. Water deeply whenever the top inch of soil feels dry to the touch. Avoid overwatering, as this can lead to root rot.
* Fertilizing: Bananas are heavy feeders, so you’ll need to fertilize them regularly. Use a balanced fertilizer (like 10-10-10) or a banana-specific fertilizer according to the package directions. Fertilize every 2-3 weeks during the growing season.
* Sunlight: As I mentioned earlier, bananas need plenty of sunlight. Place your plant in a location that receives at least 6-8 hours of direct sunlight per day. If you’re growing your banana plant indoors, you may need to supplement with grow lights.
* Temperature: Bananas thrive in warm temperatures (between 75-95°F). They can tolerate cooler temperatures, but growth will slow down. If you live in a cooler climate, bring your banana plant indoors when temperatures drop below 50°F.
* Humidity: Bananas prefer high humidity. If you live in a dry climate, you can increase humidity by misting your plant regularly or placing it on a pebble tray filled with water.
* Pruning: Remove any dead or damaged leaves regularly. You can also prune off any suckers (small offshoots) that grow from the base of the plant, unless you want to propagate new plants.
Dealing with Pests and Diseases
Like any plant, bananas can be susceptible to pests and diseases. Here are some common problems and how to deal with them:
* Aphids: These tiny insects can suck the sap from your banana plant’s leaves. You can control aphids by spraying them with insecticidal soap or neem oil.
* Spider Mites: These tiny pests can cause yellowing and stippling on the leaves. You can control spider mites by spraying them with insecticidal soap or neem oil. Increasing humidity can also help prevent spider mite infestations.
* Root Rot: This fungal disease can occur if the soil is too wet. To prevent root rot, make sure your banana plant is planted in well-draining soil and avoid overwatering.
* Fusarium Wilt (Panama Disease): This is a serious fungal disease that can kill banana plants. Unfortunately, there is no cure for Fusarium wilt. If your banana plant becomes infected, you’ll need to remove it and dispose of it properly. Choose disease-resistant varieties to help prevent this problem.
Harvesting Your Bananas: The Sweet Reward
After several months of care, your banana plant will eventually produce a flower stalk. The flower stalk will develop into a bunch of bananas. It typically takes around 9-15 months from planting to harvest, depending on the variety and growing conditions.
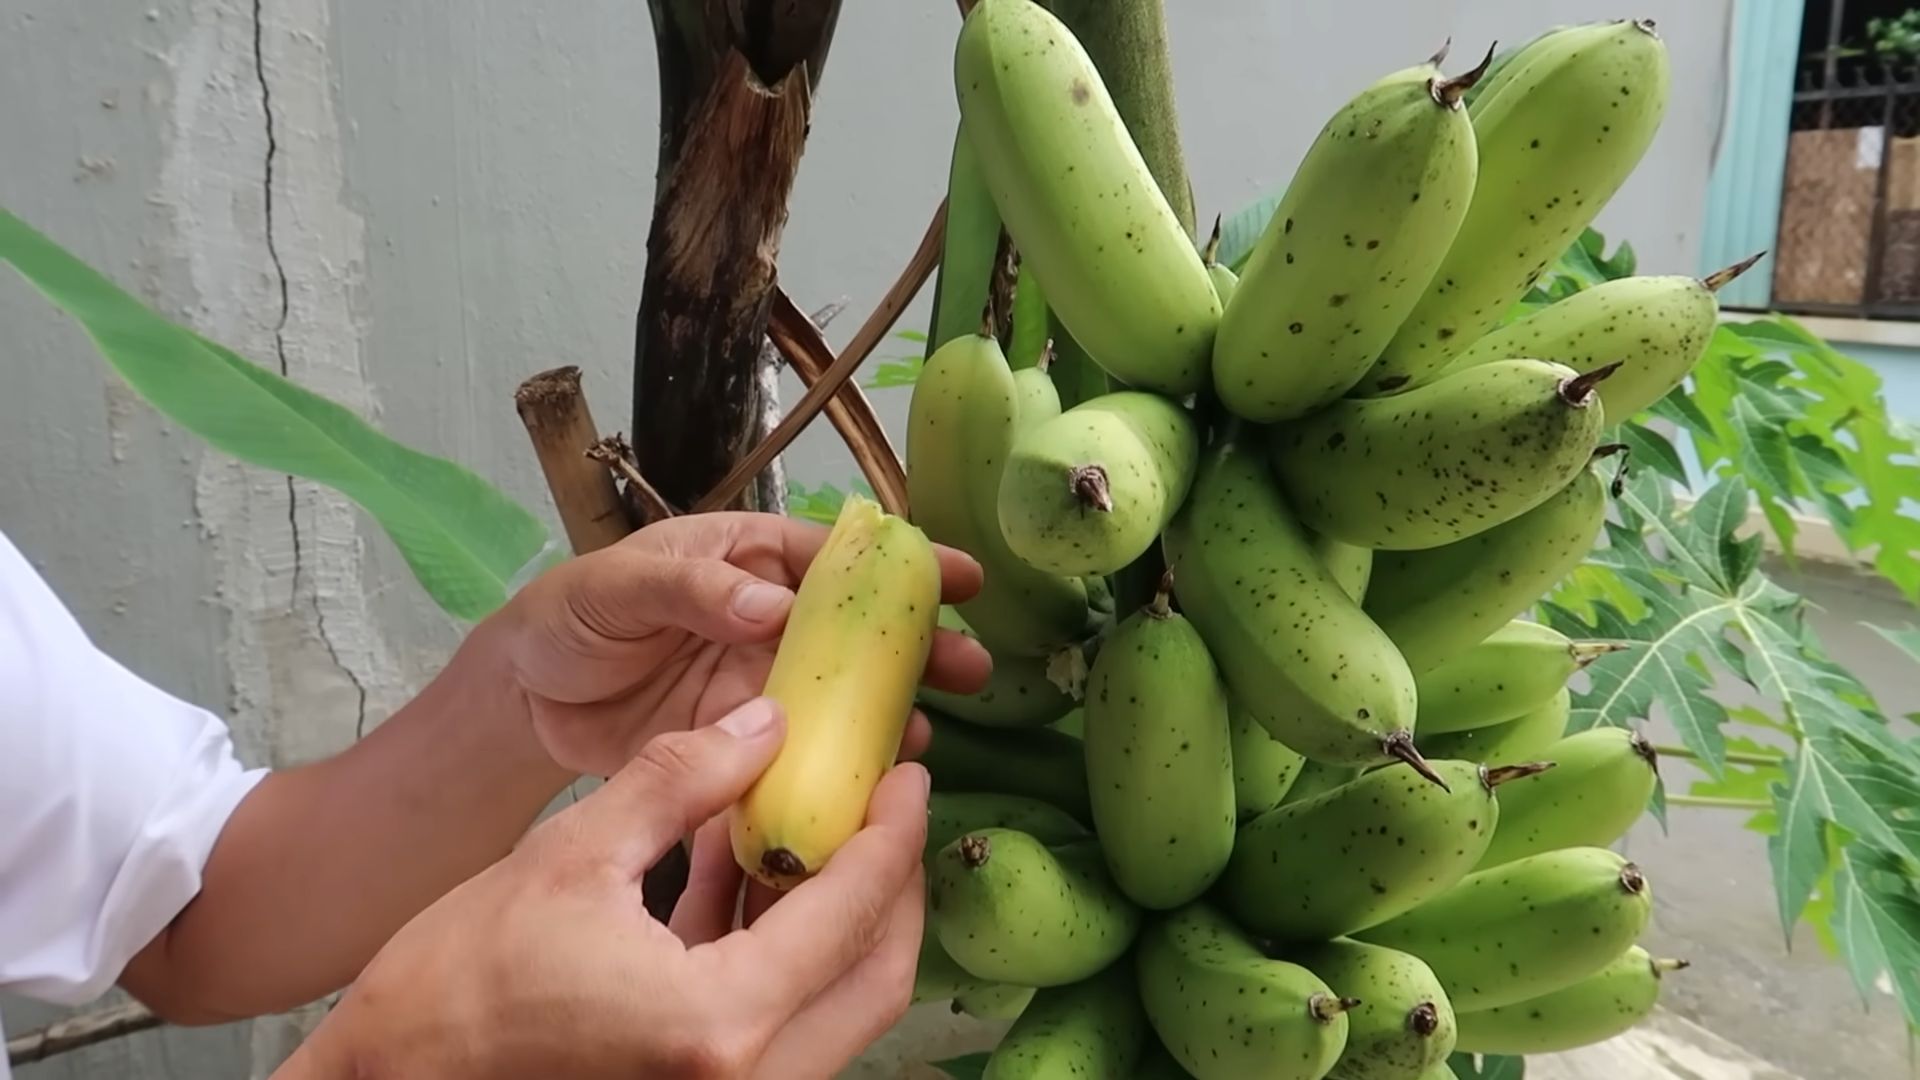
Signs Your Bananas Are Ready to Harvest:
* The bananas will become plump and rounded.
* The ridges on the bananas will become less prominent.
* The bananas will start to turn yellow (or red, depending on the variety).
Harvesting Instructions:
1. Cut the Flower Stalk: Use a sharp knife to cut the flower stalk about 6-8 inches above the top banana.
2. Hang the Bunch: Hang the bunch of bananas in a cool, dry place to ripen.
3. Enjoy Your Homegrown Bananas! Once the bananas are fully ripe, you can enjoy them fresh, in smoothies, or in your favorite banana recipes.
Propagating New Banana Plants
Once your banana plant is established, it will start to produce suckers (small offshoots) from the base of the plant. You can use these suckers to propagate new banana plants.
Instructions for Propagating Banana Plants:
1. Wait for the Sucker to Mature: Allow the sucker to grow to about 1-2 feet tall before removing it from the parent plant.
2. Dig Up the Sucker: Carefully dig around the base of the sucker, being careful not to damage the roots of the parent plant.
3. Separate the Sucker: Use a sharp knife to separate the sucker from the parent plant. Make sure to include some roots with the sucker.
4. Plant the Sucker: Plant the sucker in a pot filled with well-draining potting mix.
5. Water Thoroughly: Water the sucker thoroughly and place it in a warm, sunny location.
6. Care for the New Plant: Care for the new banana plant as you would a mature plant.
Overwintering Your Banana Plant (If Necessary)
If you live in a cooler climate, you’ll need to bring your banana plant indoors during the winter. Here’s how to do it:
1. Prepare the Plant: Before bringing your banana plant indoors, prune off any dead or damaged leaves. You can also cut back the plant to make it easier to move.
2. Repot (If Necessary): If your banana plant is root-bound, repot it into a larger pot before bringing it indoors.
3. Acclimate the Plant: Gradually acclimate the plant to indoor conditions by bringing it indoors
Conclusion
So, there you have it! Growing bananas at home might seem like a tropical dream reserved for equatorial climates, but with a little know-how and this simple DIY trick, you can absolutely cultivate your own little slice of paradise, no matter where you live. We’ve demystified the process, breaking down the steps into manageable actions that anyone can follow.
Why is this a must-try? Beyond the sheer satisfaction of nurturing a plant from rhizome to fruit, growing your own bananas offers a unique connection to your food. Imagine the bragging rights when you serve up homegrown bananas to your friends and family! Plus, you’ll know exactly what went into growing them – no pesticides, no questionable fertilizers, just pure, homegrown goodness.
But the benefits extend beyond the culinary. Banana plants are beautiful, adding a lush, tropical aesthetic to your garden or even your indoor space. They can also improve air quality and provide a calming, green environment. It’s a win-win situation!
Variations and Suggestions:
Don’t be afraid to experiment! Once you’ve mastered the basics, you can explore different banana varieties. Dwarf Cavendish is a popular choice for indoor growing due to its smaller size, but there are many other options to consider, each with its own unique flavor profile and growth habits.
Consider companion planting to enhance your banana plant’s growth and attract beneficial insects. Herbs like basil and mint can deter pests, while legumes like beans and peas can fix nitrogen in the soil, providing a natural fertilizer boost.
For those living in colder climates, consider using a large container that can be easily moved indoors during the winter months. This will allow you to enjoy your banana plant year-round, regardless of the weather. You can also use grow lights to supplement natural sunlight during the darker months.
And remember, patience is key. Growing bananas takes time, but the reward is well worth the wait. The first sign of a banana flower is an exciting moment, and the anticipation of harvesting your own fruit is truly unparalleled.
We are confident that this DIY trick will empower you to successfully grow bananas at home. It’s a rewarding and enriching experience that connects you to nature and provides you with a delicious and healthy treat.
Now, it’s your turn! We encourage you to give this DIY trick a try. Share your experiences with us in the comments below. We’d love to hear about your successes, your challenges, and any tips or tricks you’ve discovered along the way. Let’s create a community of banana-growing enthusiasts and inspire others to embark on this exciting journey! Don’t forget to share pictures of your banana plants – we can’t wait to see them! Happy growing!
Frequently Asked Questions (FAQ)
1. What is the best type of banana to grow at home?
The best type of banana to grow at home depends largely on your climate and available space. For indoor growing or cooler climates, dwarf varieties like Dwarf Cavendish, Rajapuri, or Williams are excellent choices. These varieties are smaller, reaching only 6-10 feet in height, making them manageable in containers. If you live in a warmer climate with ample space, you can consider larger varieties like Gros Michel or Goldfinger. Research the specific needs of each variety to ensure it’s a good fit for your environment.
2. How long does it take to grow bananas at home?
The time it takes to grow bananas at home varies depending on the variety, climate, and growing conditions. Generally, it takes about 9-15 months from planting a rhizome to harvesting the fruit. Warmer temperatures and consistent watering can accelerate growth, while cooler temperatures can slow it down. Be patient and provide your banana plant with the optimal conditions for growth.
3. What kind of soil is best for growing bananas?
Bananas thrive in well-draining, fertile soil that is rich in organic matter. A slightly acidic to neutral pH (6.0-7.0) is ideal. You can improve your soil by adding compost, aged manure, or other organic amendments. If you’re growing bananas in a container, use a high-quality potting mix specifically formulated for tropical plants. Good drainage is crucial to prevent root rot.
4. How much sunlight do banana plants need?
Banana plants need plenty of sunlight to thrive. Aim for at least 6-8 hours of direct sunlight per day. If you’re growing bananas indoors, place them near a sunny window or supplement with grow lights. Insufficient sunlight can lead to stunted growth and reduced fruit production.
5. How often should I water my banana plant?
Banana plants are heavy drinkers and require consistent watering, especially during the growing season. Water deeply whenever the top inch of soil feels dry to the touch. Avoid overwatering, which can lead to root rot. Reduce watering during the winter months when the plant is dormant.
6. Do I need to fertilize my banana plant?
Yes, banana plants are heavy feeders and benefit from regular fertilization. Use a balanced fertilizer with a higher potassium content, as potassium is essential for fruit production. Fertilize every 2-3 weeks during the growing season. Reduce or stop fertilizing during the winter months.
7. How do I protect my banana plant from pests and diseases?
Regularly inspect your banana plant for signs of pests or diseases. Common pests include aphids, spider mites, and mealybugs. Treat infestations with insecticidal soap or neem oil. Prevent fungal diseases by ensuring good air circulation and avoiding overwatering. Remove any dead or diseased leaves promptly.
8. How do I harvest bananas?
Bananas are ready to harvest when they are plump and the ridges on the fruit become rounded. The color of the fruit will also change from green to yellow, depending on the variety. Cut the entire bunch from the plant and hang it in a cool, dry place to ripen.
9. Can I grow bananas indoors?
Yes, you can grow bananas indoors, especially dwarf varieties. Choose a large container with good drainage and provide plenty of sunlight or grow lights. Maintain consistent watering and fertilization. Be aware that indoor banana plants may not produce as much fruit as those grown outdoors.
10. What do I do with the banana plant after harvesting the fruit?
After harvesting the fruit, the main stem of the banana plant will die back. Cut it down to the ground, leaving the rhizome intact. New shoots will emerge from the rhizome, continuing the cycle. You can also propagate new plants by separating these shoots from the main rhizome.
Leave a Comment