Grow broccoli at home, even if you think you don’t have a green thumb! Have you ever dreamed of strolling into your backyard and harvesting fresh, vibrant broccoli for dinner? It’s easier than you might think, and this DIY guide is your ticket to making that dream a reality. Forget those bland, overpriced heads from the grocery store; imagine the satisfaction of nurturing your own organic broccoli from seed to table.
Broccoli, a member of the Brassica family, has a rich history dating back to ancient Rome, where it was prized for its nutritional value and unique flavor. Over centuries, it has spread across the globe, becoming a staple in countless cuisines. But why settle for store-bought when you can experience the joy of growing your own?
In today’s world, where we’re increasingly conscious of what we eat and where it comes from, grow broccoli at home offers a fantastic way to connect with nature and ensure a healthy, sustainable food source. Plus, let’s be honest, who doesn’t love a good DIY project? This guide will provide you with simple, step-by-step instructions and insider tips to help you cultivate thriving broccoli plants, even if you’re a complete beginner. Get ready to roll up your sleeves and embark on a rewarding gardening adventure!

Growing Broccoli at Home: A Beginner’s Guide
Hey there, fellow gardening enthusiasts! Ever dreamt of harvesting your own crisp, green broccoli heads right from your backyard? Well, dream no more! Growing broccoli at home is totally achievable, even if you’re a complete newbie. I’m going to walk you through everything you need to know, from seed to harvest, so you can enjoy fresh, homegrown broccoli on your dinner table.
Choosing Your Broccoli Variety
First things first, let’s talk broccoli varieties. There are tons to choose from, each with its own unique characteristics. Here are a few popular options:
* Calabrese: This is your classic broccoli, producing a large central head. It’s a reliable choice for beginners.
* Waltham 29: Another great option for beginners, known for its cold hardiness.
* DiCicco: This variety produces smaller, more numerous side shoots after the main head is harvested, giving you a longer harvest period.
* Romanesco: If you’re feeling adventurous, try Romanesco! It’s a visually stunning variety with fractal-like heads and a slightly nutty flavor.
* Broccolini: Technically a hybrid of broccoli and Chinese kale, Broccolini offers tender stalks and small florets.
Consider your climate and growing season when making your choice. Some varieties are better suited for cooler weather, while others can tolerate warmer temperatures.
Starting Your Broccoli Seeds
You have two options here: starting your seeds indoors or direct sowing them into the garden. I personally prefer starting indoors, as it gives the seedlings a head start and protects them from pests and harsh weather.
Starting Seeds Indoors
1. Gather Your Supplies: You’ll need seed starting trays or small pots, seed starting mix (not regular potting soil!), broccoli seeds, a spray bottle, and a grow light (optional, but highly recommended).
2. Sow the Seeds: Fill your trays or pots with seed starting mix, leaving about half an inch of space at the top. Moisten the mix with the spray bottle. Sow 2-3 broccoli seeds per cell or pot, about ¼ inch deep.
3. Cover and Water: Gently cover the seeds with more seed starting mix and water again with the spray bottle. You want the soil to be moist but not soggy.
4. Provide Light and Warmth: Place the trays or pots in a warm location (around 70-75°F) and under a grow light if you have one. If you don’t have a grow light, a sunny windowsill will work, but be sure to rotate the trays regularly to prevent the seedlings from leaning towards the light.
5. Keep the Soil Moist: Check the soil moisture daily and water as needed to keep it consistently moist.
6. Thin the Seedlings: Once the seedlings have emerged and have a couple of true leaves (the second set of leaves), thin them to one seedling per cell or pot. Choose the strongest, healthiest-looking seedling and snip off the others at the soil line.
7. Harden Off the Seedlings: About a week before you plan to transplant the seedlings into the garden, you’ll need to harden them off. This means gradually exposing them to outdoor conditions to acclimate them to the sun, wind, and temperature changes. Start by placing the trays or pots outdoors in a sheltered location for an hour or two each day, gradually increasing the amount of time they spend outside over the course of the week.
Direct Sowing Seeds
1. Prepare the Soil: Choose a sunny spot in your garden with well-drained soil. Amend the soil with compost or other organic matter to improve its fertility and drainage.
2. Sow the Seeds: Sow the broccoli seeds directly into the soil, about ¼ inch deep and 18-24 inches apart.
3. Water Gently: Water the seeds gently to avoid washing them away.
4. Keep the Soil Moist: Keep the soil consistently moist until the seedlings emerge.
5. Thin the Seedlings: Once the seedlings have emerged and have a couple of true leaves, thin them to one seedling every 18-24 inches.
Transplanting Broccoli Seedlings
Once your seedlings are about 4-6 weeks old and have been hardened off, it’s time to transplant them into the garden.
1. Choose a Sunny Location: Broccoli needs at least 6 hours of sunlight per day.
2. Prepare the Soil: Make sure the soil is well-drained and amended with compost or other organic matter.
3. Dig Holes: Dig holes that are slightly larger than the root balls of the seedlings, spacing them 18-24 inches apart.
4. Gently Remove the Seedlings: Carefully remove the seedlings from their trays or pots, being careful not to damage the roots.
5. Plant the Seedlings: Place the seedlings in the holes and gently backfill with soil, making sure the top of the root ball is level with the surrounding soil.
6. Water Thoroughly: Water the seedlings thoroughly after planting.
7. Mulch: Apply a layer of mulch around the plants to help retain moisture, suppress weeds, and regulate soil temperature.
Caring for Your Broccoli Plants
Now that your broccoli plants are in the ground, it’s time to give them the care they need to thrive.
* Watering: Broccoli needs consistent moisture, especially during hot, dry weather. Water deeply and regularly, aiming for about 1-1.5 inches of water per week.
* Fertilizing: Broccoli is a heavy feeder, so it needs regular fertilization. Apply a balanced fertilizer every 2-3 weeks, following the instructions on the package. You can also side-dress with compost or other organic matter.
* Weeding: Keep the area around your broccoli plants free of weeds, as they can compete for nutrients and water.
* Pest Control: Broccoli is susceptible to a few common pests, including cabbage worms, aphids, and flea beetles.
* Cabbage Worms: These green caterpillars can quickly devour your broccoli leaves. Handpick them off the plants or use a biological insecticide like Bacillus thuringiensis (Bt).
* Aphids: These tiny insects suck the sap from plants, causing them to weaken and distort. Spray them off with a strong stream of water or use insecticidal soap.
* Flea Beetles: These tiny beetles jump when disturbed and can create small holes in the leaves. Cover your plants with row covers to prevent them from reaching the plants, or use insecticidal soap.
* Disease Control: Broccoli can also be affected by a few common diseases, including black rot and clubroot.
* Black Rot: This bacterial disease causes yellowing and browning of the leaves. Prevent it by using disease-free seeds and practicing good sanitation.
* Clubroot: This fungal disease causes the roots to swell and distort, preventing the plant from absorbing nutrients. Prevent it by liming the soil to raise the pH to 7.0 or higher and practicing crop rotation.
Harvesting Your Broccoli
The moment you’ve been waiting for! Broccoli is typically ready to harvest 50-80 days after transplanting, depending on the variety.
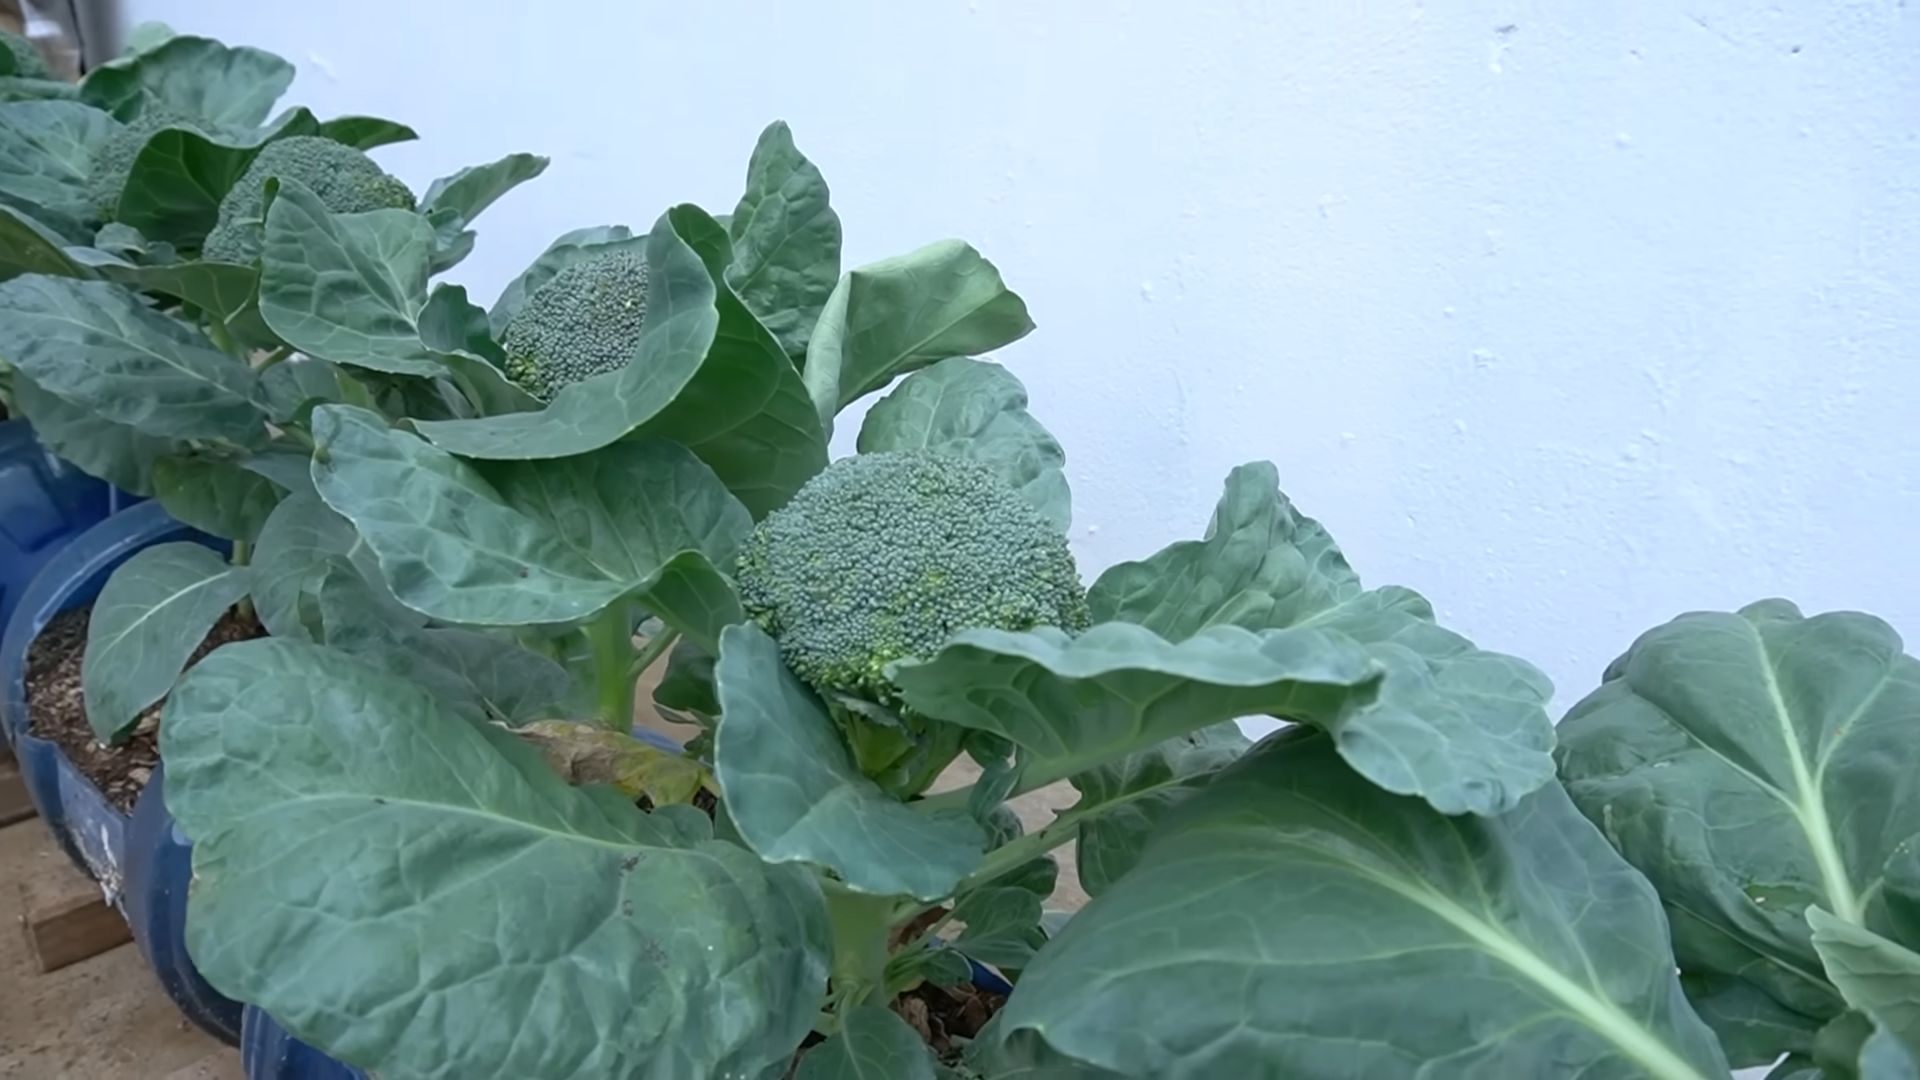
1. Check the Head: The main head is ready to harvest when the florets are tight and compact, and the head is a deep green color.
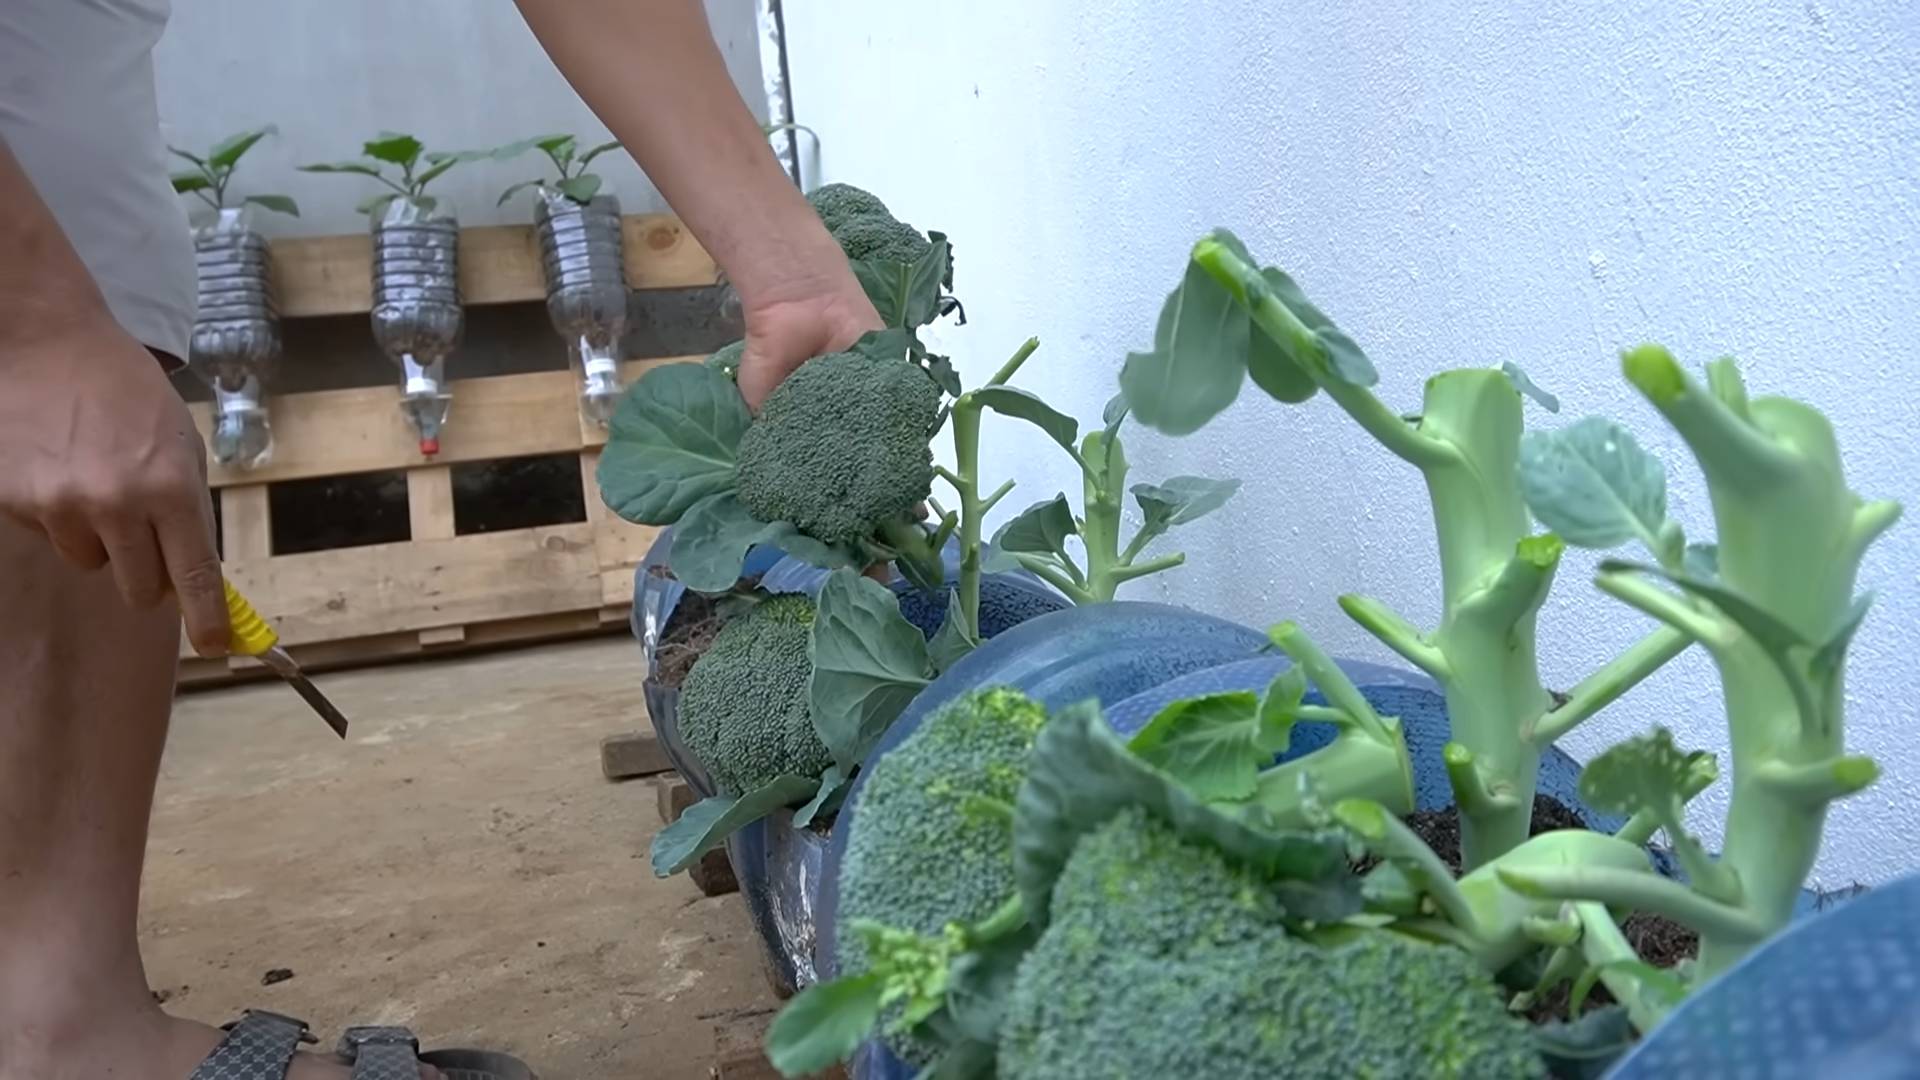
2. Cut the Head: Use a sharp knife to cut the head from the plant, leaving about 4-6 inches of stem.
3. Encourage Side Shoots: After harvesting the main head, the plant will often produce smaller side shoots. Continue to water and fertilize the plant to encourage these side shoots to develop.
4. Harvest Side Shoots: Harvest the side shoots when they are the desired size.
Troubleshooting
Even with the best care, you might encounter some challenges along the way. Here are a few common problems and how to fix them:
* Small Heads: This can be caused by insufficient sunlight, poor soil fertility, or lack of water. Make sure your plants are getting at least 6 hours of sunlight per day, fertilize regularly, and water deeply.
* Bolting: Bolting occurs when the plant prematurely flowers, usually due to hot weather. Choose heat-tolerant varieties and provide shade during the hottest part of the day.
* Yellowing Leaves: This can be caused by nutrient deficiencies, pests, or diseases. Check the soil pH and nutrient levels, and treat any pests or diseases promptly.
* Hollow Stems: This can be caused by boron deficiency. Amend the soil with boron before planting.
Enjoying Your Homegrown Broccoli
Congratulations! You’ve successfully grown your own broccoli. Now it’s time to enjoy the fruits (or rather, vegetables) of your labor. Broccoli can be eaten raw, steamed, roasted, stir-fried, or added to soups and stews.

Conclusion
So, there you have it! Growing broccoli at home isn’t just a gardening project; it’s an investment in your health, your taste buds, and your connection to the natural world. We’ve walked you through the process, from selecting the right seeds to harvesting those beautiful, nutrient-packed heads. And while it might seem daunting at first, remember that every gardener, even the most experienced, started somewhere. The satisfaction of nurturing a tiny seed into a thriving plant, culminating in a delicious and healthy meal, is an experience unlike any other.
Why is this DIY trick a must-try? Because it puts you in control. You know exactly what goes into your broccoli – no pesticides, no questionable fertilizers, just good old-fashioned care and attention. Plus, homegrown broccoli tastes significantly better than anything you’ll find in the supermarket. The freshness is unparalleled, and the flavor is more intense and vibrant. You’ll be amazed at the difference.
But the benefits extend beyond just taste and health. Growing your own broccoli is also a fantastic way to reduce your carbon footprint. By eliminating the transportation and packaging associated with store-bought produce, you’re making a conscious choice to live more sustainably. And let’s not forget the therapeutic aspect of gardening. Spending time outdoors, connecting with nature, and nurturing plants can be incredibly calming and rewarding.
Looking for variations? Consider experimenting with different varieties of broccoli. Calabrese is a classic choice, but Romanesco, with its striking fractal pattern, is a visually stunning option. You could also try sprouting broccoli, which produces smaller, more tender florets. For those with limited space, consider growing broccoli in containers. Dwarf varieties are particularly well-suited for this purpose. And don’t forget about companion planting! Marigolds, nasturtiums, and onions can help deter pests and attract beneficial insects to your broccoli patch.
We’ve covered the essentials, but the real learning happens when you get your hands dirty. Don’t be afraid to experiment, to make mistakes, and to learn from them. Gardening is a journey, not a destination. Embrace the challenges, celebrate the successes, and most importantly, have fun!
We wholeheartedly encourage you to give this DIY trick a try. Start small, perhaps with just a few plants, and see how it goes. We’re confident that you’ll be hooked. And once you’ve harvested your first crop of homegrown broccoli, we want to hear all about it! Share your experiences, your tips, and your photos with us. Let’s build a community of home gardeners, sharing our knowledge and inspiring each other to grow our own food. Use the hashtag #HomegrownBroccoli on social media so we can all see your amazing results! Happy gardening!
Frequently Asked Questions (FAQ)
What is the best time of year to plant broccoli?
The best time to plant broccoli depends on your climate. In general, broccoli is a cool-season crop, meaning it thrives in temperatures between 60°F and 70°F (15°C and 21°C). For a spring harvest, start seeds indoors 6-8 weeks before the last expected frost. Transplant seedlings outdoors 2-3 weeks before the last frost. For a fall harvest, start seeds indoors in mid-summer and transplant seedlings outdoors in late summer or early fall. In warmer climates, you can grow broccoli throughout the winter. Check your local climate data for specific planting dates.
How much sunlight does broccoli need?
Broccoli needs at least 6 hours of direct sunlight per day to thrive. Choose a location in your garden that receives full sun. If you’re growing broccoli in containers, make sure to place them in a sunny spot. Insufficient sunlight can result in leggy plants with small heads.
What kind of soil is best for growing broccoli?
Broccoli prefers well-drained, fertile soil with a pH between 6.0 and 7.0. Amend your soil with compost or other organic matter to improve drainage and fertility. A soil test can help you determine the pH of your soil and identify any nutrient deficiencies. If your soil is too acidic, you can add lime to raise the pH.
How often should I water broccoli?
Broccoli needs consistent moisture to thrive. Water deeply and regularly, especially during dry periods. Aim to keep the soil consistently moist but not waterlogged. Mulching around your broccoli plants can help retain moisture and suppress weeds. Check the soil moisture regularly by sticking your finger about an inch into the soil. If it feels dry, it’s time to water.
What are some common pests and diseases that affect broccoli?
Broccoli is susceptible to several pests and diseases, including cabbage worms, aphids, flea beetles, clubroot, and downy mildew. Regularly inspect your plants for signs of pests or diseases. Use organic pest control methods, such as insecticidal soap or neem oil, to control pests. Practice crop rotation to prevent soilborne diseases. Ensure good air circulation around your plants to reduce the risk of fungal diseases. If you notice any signs of disease, remove the affected leaves or plants immediately.
How do I know when my broccoli is ready to harvest?
Broccoli is ready to harvest when the central head is firm and tight, with tightly closed florets. The size of the head will vary depending on the variety, but generally, it should be about 4-7 inches in diameter. Use a sharp knife to cut the head from the plant, leaving a few inches of stem. After harvesting the central head, the plant will often produce smaller side shoots, which can also be harvested.
Can I grow broccoli in containers?
Yes, you can grow broccoli in containers, especially dwarf varieties. Choose a container that is at least 12 inches in diameter and 12 inches deep. Use a well-draining potting mix and make sure the container has drainage holes. Place the container in a sunny location and water regularly. Fertilize your broccoli plants every 2-3 weeks with a balanced fertilizer.
How do I store harvested broccoli?
Store harvested broccoli in the refrigerator. Wrap the broccoli head loosely in a damp paper towel and place it in a plastic bag. Broccoli can be stored in the refrigerator for up to 5 days. You can also freeze broccoli for longer storage. Blanch the broccoli florets in boiling water for 3 minutes, then transfer them to an ice bath to stop the cooking process. Drain the broccoli florets and freeze them in a single layer on a baking sheet. Once frozen, transfer the florets to a freezer bag or container.
What are some ways to use homegrown broccoli?
Homegrown broccoli can be used in a variety of dishes. You can steam, roast, stir-fry, or grill it. Add it to soups, salads, casseroles, or pasta dishes. You can also eat it raw with dip. Broccoli is a versatile and nutritious vegetable that can be enjoyed in many different ways. Don’t forget that the leaves are also edible and can be cooked like spinach or kale.
Is it worth it to grow my own broccoli?
Absolutely! Growing your own broccoli is a rewarding experience that offers numerous benefits. You’ll have access to fresh, healthy, and delicious broccoli that tastes better than anything you can buy in the store. You’ll also save money, reduce your carbon footprint, and enjoy the therapeutic benefits of gardening. Plus, you’ll have the satisfaction of knowing that you grew your own food. So, what are you waiting for? Get out there and start growing your own broccoli today!


Leave a Comment