
Grow Rutabagas and Swedes, and unlock a world of delicious, earthy flavors right in your backyard! Have you ever dreamed of harvesting your own vibrant, nutrient-packed root vegetables? Well, dream no more! This DIY guide is your key to successfully cultivating these often-overlooked gems, even if you’re a complete beginner.
Rutabagas and Swedes, sometimes used interchangeably, have a rich history, particularly in Scandinavian and Northern European cuisine. They were traditionally winter staples, providing essential vitamins and sustenance during harsh months. Think hearty stews, creamy mashes, and roasted delights – all made possible by these humble roots. But beyond their historical significance, these vegetables offer a unique flavor profile that’s both sweet and slightly peppery, adding depth to any dish.
Why should you bother learning to grow Rutabagas and Swedes yourself? Because store-bought options often lack the freshness and flavor intensity of homegrown produce. Plus, gardening is incredibly rewarding! Imagine the satisfaction of pulling a plump, perfectly formed rutabaga from the soil, knowing you nurtured it from seed to harvest. In this article, I’ll share my tried-and-true tips and tricks, making the process simple, fun, and incredibly rewarding. Let’s get our hands dirty and start growing!
Growing Rutabagas and Swedes: A Comprehensive DIY Guide
Hey there, fellow gardening enthusiasts! Today, I’m super excited to share my tried-and-true method for growing delicious rutabagas and swedes right in your own backyard. These root vegetables are often overlooked, but trust me, they’re incredibly versatile and packed with nutrients. Plus, they’re surprisingly easy to grow once you know the basics. So, grab your gardening gloves, and let’s get started!
Understanding Rutabagas and Swedes
Before we dive into the nitty-gritty, let’s clarify what exactly we’re dealing with. Rutabagas and swedes are often used interchangeably, and while they’re closely related, there are subtle differences. Rutabagas are generally larger, have a rougher skin, and a slightly sweeter flavor. Swedes tend to be smaller, smoother, and have a more pronounced turnip-like taste. Both are members of the Brassica family, which also includes cabbage, broccoli, and kale.
Planning Your Rutabaga and Swede Patch
Success with rutabagas and swedes starts with careful planning. Here’s what you need to consider:
* Timing is Key: These vegetables are cool-season crops, meaning they thrive in cooler temperatures. The best time to plant them is in late spring or early summer for a fall harvest. In warmer climates, you can also plant them in late summer for a winter harvest. I usually aim for about 90-100 days before the first expected frost.
* Sunlight Requirements: Rutabagas and swedes need at least 6 hours of direct sunlight per day. Choose a location in your garden that receives plenty of sunshine.
* Soil Preparation: Well-drained soil is crucial. These root vegetables don’t like to sit in soggy soil. Amend your soil with plenty of compost or well-rotted manure to improve drainage and fertility. A slightly acidic soil pH (around 6.0-6.8) is ideal.
* Space Considerations: Give your rutabagas and swedes plenty of room to grow. They need about 6-8 inches between plants and 18-24 inches between rows.
Step-by-Step Planting Guide
Now for the fun part – getting those seeds in the ground!
1. Prepare the Soil: Start by loosening the soil to a depth of about 12 inches. Remove any rocks, weeds, or debris. Incorporate compost or well-rotted manure into the soil. I like to use a garden fork to turn the soil and then rake it smooth.
2. Sow the Seeds: You can either direct sow the seeds into the garden or start them indoors. I prefer direct sowing because it avoids transplant shock. Sow the seeds about ½ inch deep and 1-2 inches apart. Cover them lightly with soil and gently water.
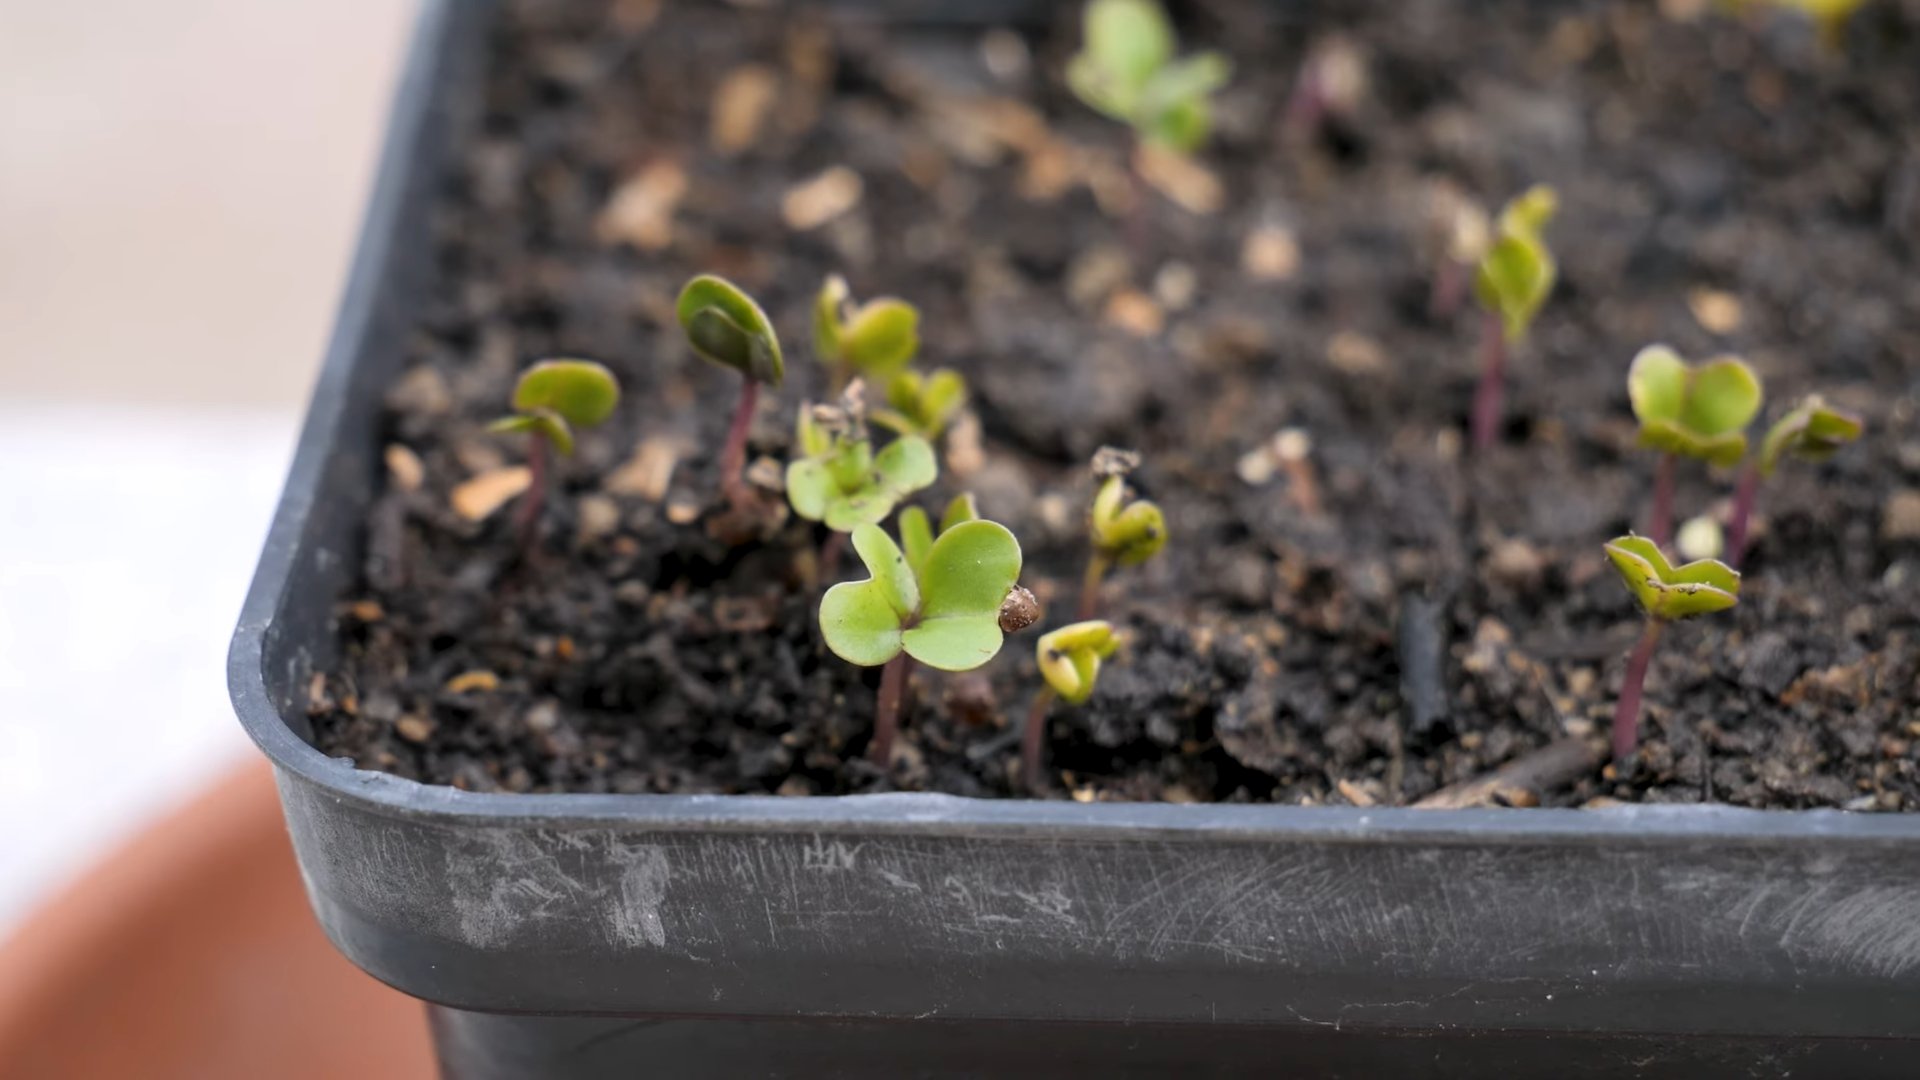
3. Thin the Seedlings: Once the seedlings emerge (usually in about 7-14 days), thin them to 6-8 inches apart. This will give them enough room to develop into healthy, robust plants. Don’t just pull them out! I carefully snip the unwanted seedlings at the soil line to avoid disturbing the roots of the remaining plants.
4. Water Regularly: Keep the soil consistently moist, especially during dry periods. Water deeply and less frequently rather than shallowly and often. This encourages deep root growth.
5. Mulch for Moisture and Weed Control: Apply a layer of mulch around the plants to help retain moisture, suppress weeds, and regulate soil temperature. I like to use straw, shredded leaves, or wood chips.
Caring for Your Rutabagas and Swedes
Once your plants are established, it’s important to provide them with the care they need to thrive.
1. Weed Control: Keep the area around your plants free of weeds. Weeds compete with your rutabagas and swedes for nutrients and water. Hand-pull weeds regularly or use a hoe to cultivate the soil.
2. Fertilizing: Rutabagas and swedes are heavy feeders. Side-dress your plants with a balanced fertilizer about 4-6 weeks after planting. Follow the instructions on the fertilizer package. I often use a fertilizer that is higher in phosphorus and potassium to encourage root development.
3. Pest and Disease Management: Keep an eye out for common pests like aphids, flea beetles, and cabbage worms. You can control these pests with insecticidal soap, neem oil, or by hand-picking them off the plants. Diseases like clubroot can also affect rutabagas and swedes. To prevent clubroot, practice crop rotation and ensure good soil drainage.
4. Earthing Up: As the roots begin to swell, you can “earth up” around them by drawing soil up around the base of the plants. This helps to protect the developing roots from sunlight and frost.
Harvesting Your Bounty
The moment you’ve been waiting for – harvesting your delicious rutabagas and swedes!
1. When to Harvest: Rutabagas and swedes are typically ready to harvest in the fall, about 90-100 days after planting. The roots should be about 3-5 inches in diameter. You can also harvest them earlier if you prefer smaller, more tender roots.
2. How to Harvest: Loosen the soil around the roots with a garden fork. Gently pull the plants out of the ground, being careful not to damage the roots.
3. Cleaning and Storing: Remove the tops and any excess soil. Store the roots in a cool, dark, and humid place, such as a root cellar or refrigerator. They can last for several months if stored properly. I like to store mine in perforated plastic bags in the crisper drawer of my refrigerator.
Troubleshooting Common Problems
Even with the best planning, you might encounter some challenges along the way. Here are a few common problems and how to address them:
* Poor Germination: If your seeds aren’t germinating well, make sure the soil is consistently moist and the temperature is warm enough. You can also try soaking the seeds in water for 24 hours before planting to improve germination rates.
* Slow Growth: Slow growth can be caused by poor soil fertility, lack of sunlight, or competition from weeds. Make sure your plants are getting enough sunlight, water, and nutrients.
* Pest Infestations: Regularly inspect your plants for pests and take action promptly. Insecticidal soap and neem oil are effective treatments for many common pests.
* Disease Problems: Practice crop rotation and ensure good soil drainage to prevent disease problems. If you suspect a disease, consult with your local extension office for advice on treatment options.
Delicious Ways to Enjoy Your Harvest
Now that you’ve harvested your rutabagas and swedes, it’s time to enjoy the fruits (or rather, roots!) of your labor. These versatile vegetables can be used in a variety of dishes.
* Roasted: Roasting rutabagas and swedes brings out their natural sweetness. Simply toss them with olive oil, salt, pepper, and your favorite herbs, and roast them in the oven until tender.
* Mashed: Mashed rutabagas and swedes are a delicious and healthy alternative to mashed potatoes. You can mash them on their own or combine them with potatoes for a richer flavor.
* Soups and Stews: Rutabagas and swedes add a hearty and flavorful element to soups and stews. They pair well with other root vegetables, meats, and herbs.
* Fries: For a healthier alternative to potato fries, try making rutabaga or swede fries. Cut them into sticks, toss them with olive oil and spices, and bake them in the oven until crispy.
* Raw: You can also eat rutabagas and swedes raw. Grate them into salads or use them as a crudité with your favorite dip.
Choosing the Right Variety
Selecting the right variety of rutabaga or swede can make a difference in your gardening success and enjoyment. Here are a few popular and reliable choices:
* American Purple Top Rutabaga: This is a classic variety known for its large size, purple top, and sweet flavor. It’s a reliable choice for beginners.
* Laurentian Rutabaga: This variety is known for its smooth skin and uniform shape. It’s a good choice for market gardeners.
* Marian Swede: This is a popular swede variety that is known for its good storage qualities.
* Best of All Swede: As the name suggests, this variety is considered to be one of the best swedes available. It has a good flavor and texture.
Tips for Success
Here are a few extra tips to help you succeed with growing rutabagas and swedes:
* Start with good quality seeds. Purchase seeds from a reputable source to ensure good germination rates.
* Don’t overcrowd your plants. Give them plenty of room to grow.
* Water regularly, especially during dry periods.
Conclusion
So, there you have it! Growing your own rutabagas and swedes isn’t just about saving money at the grocery store; it’s about connecting with the earth, enjoying the satisfaction of nurturing something from seed to harvest, and savoring the unparalleled flavor of freshly grown produce. We’ve walked you through the entire process, from selecting the right varieties and preparing your soil to warding off pests and knowing when to harvest.
Why is this DIY trick a must-try? Because store-bought rutabagas and swedes simply can’t compare to the vibrant taste and texture of those you’ve grown yourself. You control the growing conditions, ensuring they’re free from unwanted chemicals and harvested at their peak ripeness. Plus, it’s an incredibly rewarding experience to watch these root vegetables flourish under your care.
But don’t stop there! Feel free to experiment with different varieties of rutabagas and swedes to discover your personal favorites. Try the ‘Laurentian’ rutabaga for its smooth texture and sweet flavor, or the ‘Marian’ swede for its excellent storage capabilities. You can also explore different planting times to extend your harvest season. Consider companion planting with herbs like rosemary or thyme to deter pests naturally.
Ready to embark on your rutabaga and swede growing adventure? We wholeheartedly encourage you to give it a try. Don’t be intimidated if you’re a beginner gardener; these root vegetables are surprisingly resilient and forgiving. Start small, follow our guide, and most importantly, have fun!
And once you’ve harvested your bounty, don’t forget to share your experiences with us! We’d love to hear about your successes, challenges, and any unique tips or tricks you’ve discovered along the way. Post photos of your thriving rutabaga and swede patch, share your favorite recipes using these delicious root vegetables, and let’s build a community of passionate home gardeners. Your insights could inspire others to take the plunge and experience the joy of growing their own food. Remember, mastering the art of growing rutabagas and swedes is within your reach, and the rewards are well worth the effort. Happy gardening!
Frequently Asked Questions (FAQ)
What are the main differences between rutabagas and swedes, and can I grow them interchangeably?
While often confused, rutabagas and swedes (also known as Swedish turnips) are closely related but distinct root vegetables. Rutabagas are generally larger, have a rougher skin, and a slightly sweeter, more complex flavor. Swedes tend to be smaller, with smoother skin and a milder, more turnip-like taste. Both can be grown using similar methods, but rutabagas typically require a slightly longer growing season. You can certainly grow them both in the same garden, but be sure to provide adequate space and adjust your planting schedule accordingly based on the specific variety and your local climate.
How do I know when my rutabagas and swedes are ready to harvest?
The ideal harvest time depends on the variety and your personal preference, but generally, rutabagas and swedes are ready to harvest when they reach a diameter of 3-5 inches. You can gently loosen the soil around the base of the plant and check the size of the root. Another indicator is the appearance of the foliage; when the leaves start to yellow and droop, it’s a sign that the root is nearing maturity. Don’t leave them in the ground for too long, as they can become woody and lose their flavor. It’s better to harvest them slightly smaller than too large.
What are some common pests and diseases that affect rutabagas and swedes, and how can I prevent or control them?
Common pests include flea beetles, aphids, root maggots, and cabbage white butterflies. Diseases can include clubroot, powdery mildew, and downy mildew. Prevention is key! Use row covers to protect seedlings from pests, practice crop rotation to prevent soilborne diseases, and ensure good soil drainage to minimize fungal problems. Regularly inspect your plants for signs of infestation or disease. If you spot pests, try using organic pest control methods like insecticidal soap or neem oil. For diseases, remove infected leaves promptly and consider using a copper-based fungicide if necessary. Maintaining healthy soil and providing adequate spacing between plants will also help to prevent problems.
Can I grow rutabagas and swedes in containers?
Yes, you can! However, you’ll need a fairly large container, at least 12 inches in diameter and depth, to accommodate the root growth. Choose a well-draining potting mix and ensure the container receives at least 6 hours of sunlight per day. Water regularly, especially during dry spells, and fertilize every few weeks with a balanced fertilizer. Container-grown rutabagas and swedes may not reach the same size as those grown in the ground, but they can still provide a delicious and rewarding harvest.
How should I store rutabagas and swedes after harvesting them?
Proper storage is essential to keep your harvested rutabagas and swedes fresh and flavorful. First, remove any excess soil from the roots and trim the leaves, leaving about an inch of stem. Do not wash them until you’re ready to use them. Store them in a cool, dark, and humid place, such as a root cellar or a refrigerator. The ideal temperature is between 32-40°F (0-4°C) with high humidity. You can store them in perforated plastic bags or in boxes filled with slightly damp sand or sawdust. Properly stored, rutabagas and swedes can last for several months.
What are some delicious ways to cook and enjoy rutabagas and swedes?
Rutabagas and swedes are incredibly versatile vegetables that can be used in a variety of dishes. They can be roasted, mashed, boiled, steamed, or added to soups and stews. Roasting brings out their natural sweetness, while mashing them with butter and cream creates a comforting side dish. They also pair well with other root vegetables like carrots and potatoes. Try adding them to a hearty winter stew or using them as a base for a creamy soup. Don’t forget to experiment with different herbs and spices to enhance their flavor. They are also great in gratins or even thinly sliced and added to salads.
Are there any specific soil requirements for growing rutabagas and swedes?
Rutabagas and swedes prefer well-drained soil that is rich in organic matter. The ideal soil pH is between 6.0 and 7.0. Before planting, amend the soil with compost or well-rotted manure to improve its fertility and drainage. Avoid heavy clay soils, as they can become waterlogged and hinder root development. If your soil is compacted, consider adding sand or other amendments to improve its drainage. A soil test can help you determine the nutrient levels and pH of your soil and guide you in making any necessary amendments.
How much sunlight do rutabagas and swedes need to thrive?
Rutabagas and swedes require at least 6 hours of direct sunlight per day to thrive. Choose a planting location that receives full sun for optimal growth and yield. If you live in a particularly hot climate, some afternoon shade may be beneficial to prevent the roots from overheating. Insufficient sunlight can result in smaller roots and reduced flavor.
Leave a Comment