
Grow String Beans like a pro, even if you think you have a black thumb! Have you ever dreamed of stepping outside your back door and harvesting a basketful of fresh, crisp string beans for dinner? It’s easier than you think, and this DIY guide is packed with simple tricks and hacks to make your home garden a string bean success story.
The humble string bean has a rich history, cultivated for centuries across the globe. From ancient civilizations in South America to the kitchen gardens of Europe, this versatile vegetable has nourished families and communities. Growing your own is a way to connect with that history and enjoy the unparalleled flavor of homegrown produce.
But why bother with the effort? Well, store-bought string beans simply can’t compare to the taste and texture of freshly picked ones. Plus, gardening is a fantastic way to relieve stress, get some sunshine, and connect with nature. And let’s be honest, who doesn’t love the satisfaction of growing their own food? This DIY article will show you how to grow string beans successfully, even if you’re short on space or time. I’ll share my favorite tips for choosing the right varieties, preparing your soil, and protecting your plants from pests and diseases. Get ready to enjoy a bountiful harvest of delicious, homegrown string beans!

Growing String Beans: A Beginner’s Guide to a Bountiful Harvest
Hey there, fellow gardening enthusiasts! I’m so excited to share my tried-and-true method for growing string beans. It’s easier than you might think, and nothing beats the taste of fresh, homegrown beans. Let’s get started!
Choosing Your String Bean Variety
Before we dive into the nitty-gritty, let’s talk about bean varieties. There are two main types: bush beans and pole beans.
* **Bush Beans:** These are compact and don’t require any support. They produce a large harvest all at once, making them perfect for canning or freezing. Some popular bush bean varieties include Blue Lake Bush, Contender, and Provider.
* **Pole Beans:** These are vining beans that need a trellis or other support to climb. They produce beans over a longer period, giving you a steady supply throughout the season. Kentucky Wonder, Scarlet Runner, and Blue Lake Pole are excellent choices.
I personally love growing both! Bush beans for a quick, abundant harvest and pole beans for a continuous supply.
Preparing Your Garden Bed
String beans thrive in well-drained soil that’s rich in organic matter. Here’s how I prepare my garden bed:
1. **Choose a Sunny Spot:** String beans need at least 6-8 hours of sunlight per day. Pick a spot in your garden that gets plenty of sunshine.
2. **Test Your Soil:** A soil test will tell you the pH level and nutrient content of your soil. String beans prefer a slightly acidic to neutral pH (around 6.0 to 7.0). You can purchase a soil test kit at most garden centers or send a sample to your local agricultural extension office.
3. **Amend the Soil:** Based on your soil test results, amend the soil as needed. If your soil is too acidic, add lime to raise the pH. If it’s too alkaline, add sulfur to lower the pH. To improve drainage and add organic matter, incorporate compost, well-rotted manure, or other organic amendments. I usually add a generous layer of compost to my bean beds.
4. **Clear the Area:** Remove any weeds, rocks, or debris from the planting area.
5. **Loosen the Soil:** Use a garden fork or tiller to loosen the soil to a depth of at least 12 inches. This will allow the bean roots to penetrate easily.
6. **Create Rows or Hills:** For bush beans, create rows that are 2-3 feet apart. For pole beans, you can either create rows with trellises or plant them in hills around a central support.
Planting Your String Beans
Now for the fun part – planting!
1. **Check the Planting Time:** String beans are warm-season crops and should be planted after the last frost. Check your local frost dates to determine the best time to plant. Soil temperature should be at least 60°F (16°C) for optimal germination.
2. **Sow the Seeds:** Plant the seeds about 1 inch deep and 2-4 inches apart for bush beans, or 4-6 inches apart for pole beans. If planting in hills, sow 5-7 seeds per hill.
3. **Water Gently:** Water the soil gently after planting to avoid disturbing the seeds.
4. **Mark Your Rows:** Label your rows with the bean variety and planting date. This will help you keep track of your plants.
Caring for Your String Beans
Once your beans are planted, it’s important to provide them with the care they need to thrive.
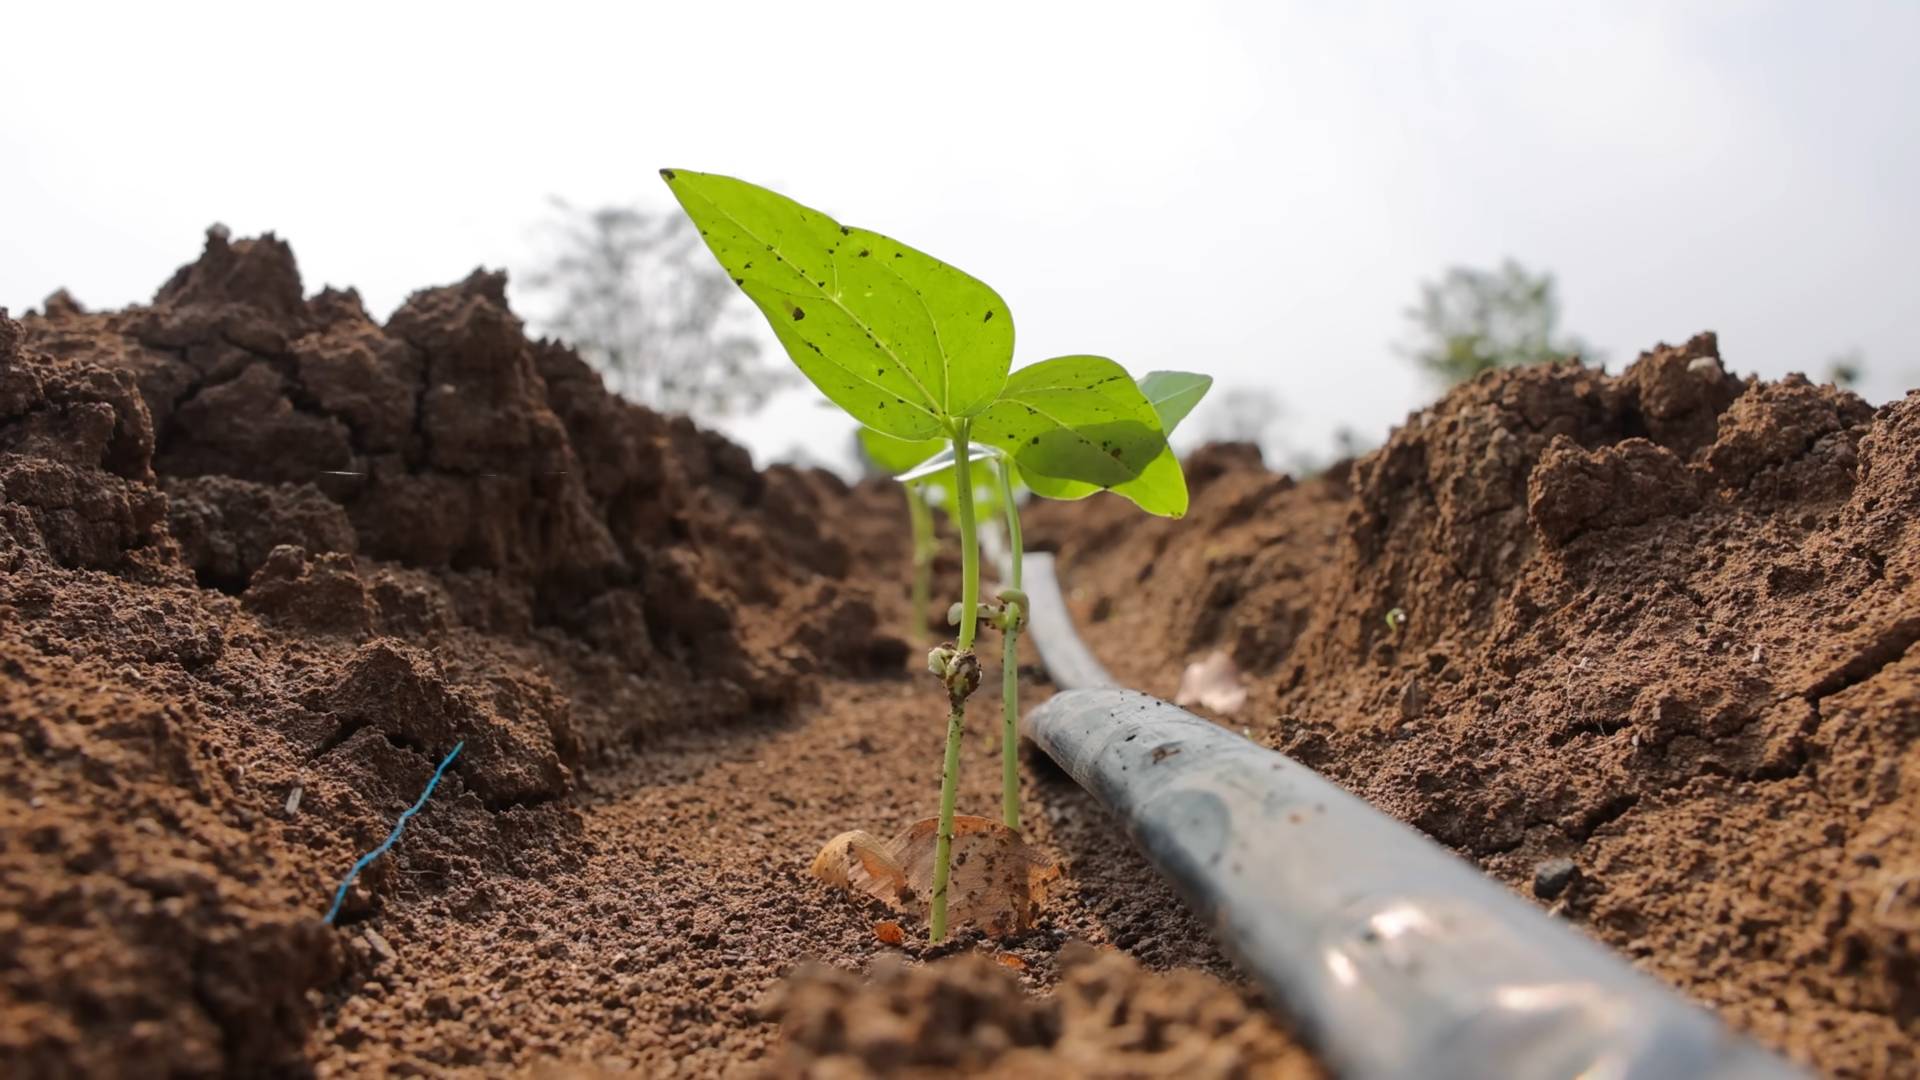
1. **Water Regularly:** String beans need consistent moisture, especially during flowering and pod development. Water deeply whenever the top inch of soil feels dry. Avoid overhead watering, as this can promote fungal diseases. I prefer using a soaker hose or drip irrigation to water my beans.
2. **Weed Regularly:** Keep the garden bed free of weeds, which can compete with the beans for nutrients and water. Hand-pull weeds carefully to avoid disturbing the bean roots.
3. **Fertilize Sparingly:** String beans don’t need a lot of fertilizer, as they can fix nitrogen from the air. However, you can side-dress them with a small amount of balanced fertilizer (such as 10-10-10) a few weeks after they emerge. Avoid over-fertilizing, as this can lead to excessive foliage growth and fewer beans.
4. **Provide Support for Pole Beans:** If you’re growing pole beans, make sure they have adequate support to climb. You can use a trellis, fence, or teepee. Train the vines to climb the support as they grow.
5. **Watch for Pests and Diseases:** Keep an eye out for common bean pests, such as aphids, bean beetles, and spider mites. Treat infestations promptly with insecticidal soap or neem oil. Common bean diseases include powdery mildew, rust, and bean mosaic virus. Choose disease-resistant varieties and practice good sanitation to prevent these problems.
Harvesting Your String Beans
Harvesting is the most rewarding part of growing string beans!
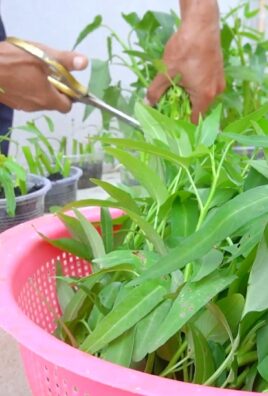
1. **Harvest at the Right Time:** String beans are ready to harvest when the pods are firm, crisp, and snap easily. They should be about the size of a pencil. Avoid letting the pods become too large and tough.
2. **Harvest Regularly:** Harvest beans every few days to encourage continued production.
3. **Pick Carefully:** Snap the beans off the plant carefully to avoid damaging the vines.
4. **Enjoy Your Harvest:** Freshly harvested string beans are delicious steamed, sautéed, or added to salads. You can also can, freeze, or dry them for later use.
Dealing with Common Problems
Even with the best care, you may encounter some problems when growing string beans. Here are a few common issues and how to address them:
* **Poor Germination:** If your bean seeds aren’t germinating, it could be due to cold soil, poor-quality seeds, or overwatering. Make sure the soil temperature is at least 60°F (16°C) before planting. Use fresh, high-quality seeds. Avoid overwatering the soil, as this can cause the seeds to rot.
* **Yellowing Leaves:** Yellowing leaves can be a sign of nutrient deficiency, overwatering, or disease. Check the soil pH and nutrient levels. Make sure the soil is well-drained. Inspect the plants for signs of disease.
* **Lack of Flowers or Beans:** If your bean plants are growing well but not producing flowers or beans, it could be due to insufficient sunlight, over-fertilizing, or hot weather. Make sure the plants are getting at least 6-8 hours of sunlight per day. Avoid over-fertilizing, as this can lead to excessive foliage growth and fewer beans. High temperatures can also inhibit flowering.
* **Pest Infestations:** Aphids, bean beetles, and spider mites can all damage bean plants. Treat infestations promptly with insecticidal soap or neem oil. You can also try attracting beneficial insects to your garden, such as ladybugs and lacewings, which prey on these pests.
* **Diseases:** Powdery mildew, rust, and bean mosaic virus are common bean diseases. Choose disease-resistant varieties and practice good sanitation to prevent these problems. Remove infected plants promptly to prevent the disease from spreading.
Tips for a Bountiful Harvest
Here are a few extra tips to help you maximize your string bean harvest:
* **Succession Planting:** Plant a new batch of beans every 2-3 weeks to extend your harvest season.
* **Soak Seeds Before Planting:** Soaking bean seeds in water for 12-24 hours before planting can improve germination rates.
* **Mulch Around Plants:** Mulching around bean plants helps to retain moisture, suppress weeds, and regulate soil temperature.
* **Rotate Crops:** Avoid planting beans in the same spot year after year, as this can deplete the soil of nutrients and increase the risk of disease.
* **Save Seeds:** If you’re growing heirloom bean varieties, you can save the seeds for planting next year. Allow the pods to dry completely on the plant, then shell the seeds and store them in a cool, dry place.
Enjoying Your Homegrown String Beans
There’s nothing quite like the taste of fresh, homegrown string beans. Here are a few of my favorite ways to enjoy them:
* **Steamed:** Steaming is a simple and healthy way to cook string beans. Just steam them until they’re tender-crisp, then season with salt, pepper, and a drizzle of olive oil.
* **Sautéed:** Sautéed string beans are a delicious side dish. Sauté them in a little olive oil with garlic, onions, or other vegetables.
* **Added to Salads:** String beans add a crunchy texture and fresh flavor to salads. Blanch them briefly before adding them to the salad.
* **Pickled:** Pickled string beans are a tangy and flavorful treat. They’re great as a snack or as a garnish for cocktails.
* **Canned or Frozen:** If you have a large harvest, you can can or freeze your string beans for later use
Conclusion
So, there you have it! Growing string beans at home, while seemingly daunting to some, is incredibly rewarding and, with this simple DIY trick, surprisingly achievable. We’ve walked you through a method that not only simplifies the process but also maximizes your yield, ensuring a bountiful harvest of crisp, delicious string beans right from your own backyard (or balcony!).
Why is this DIY trick a must-try? Because it addresses the common challenges faced by home gardeners: space constraints, soil quality concerns, and the need for efficient support systems. By utilizing readily available materials and focusing on creating an optimal growing environment, this method empowers you to overcome these hurdles and enjoy the satisfaction of cultivating your own fresh produce. Imagine the taste of string beans you’ve nurtured from seed to table – a flavor far superior to anything you can find in a store.
But don’t stop there! Feel free to experiment and adapt this technique to suit your specific needs and preferences. Consider these variations:
* Vertical Gardening with a Twist: Instead of traditional poles, try using repurposed bamboo stakes or even sturdy branches for a more rustic and natural look.
* Companion Planting Power: Enhance your string bean patch by incorporating companion plants like marigolds (to deter pests) or nasturtiums (to attract beneficial insects).
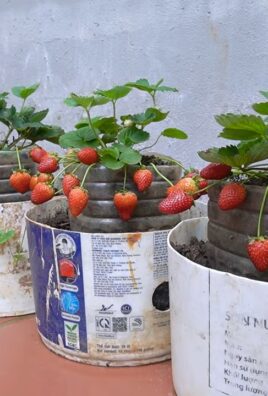
* Container Gardening for Small Spaces: If you’re limited on space, adapt this method to container gardening. Choose large pots with good drainage and ensure your string beans receive ample sunlight.
* Different String Bean Varieties: Explore the diverse world of string beans! Experiment with different varieties like bush beans (which require less support) or pole beans (which offer a longer harvest period). Consider heirloom varieties for unique flavors and colors.
* Soil Enrichment: While the basic method focuses on good drainage, consider enriching your soil with compost or other organic matter to provide your string beans with even more nutrients.
Ultimately, the key to successful string bean cultivation lies in observation and adaptation. Pay attention to your plants, monitor their growth, and adjust your approach as needed. Don’t be afraid to experiment and learn from your experiences.
We are confident that this DIY trick will transform your gardening experience and allow you to enjoy a plentiful supply of fresh, homegrown string beans. The satisfaction of harvesting your own produce is unparalleled, and the taste of freshly picked string beans is simply divine.
Now it’s your turn! We encourage you to try this DIY trick and share your experiences with us. Let us know what worked well for you, what challenges you encountered, and any variations you implemented. Your feedback will help us refine this method and empower other gardeners to achieve success. Share your photos and stories on social media using #HomegrownStringBeans and inspire others to embark on their own gardening adventures. Get ready to enjoy the delicious rewards of your labor and savor the taste of homegrown goodness! Remember, growing string beans is not just about the harvest; it’s about the journey, the connection to nature, and the satisfaction of creating something beautiful and nourishing with your own hands. So, grab your seeds, gather your materials, and get ready to grow!
Frequently Asked Questions (FAQ)
What type of soil is best for growing string beans?
String beans thrive in well-drained soil that is rich in organic matter. A slightly acidic to neutral pH (around 6.0 to 7.0) is ideal. Before planting, amend your soil with compost or well-rotted manure to improve drainage and fertility. Avoid heavy clay soils, as they can become waterlogged and hinder root development. If you have clay soil, consider adding sand and organic matter to improve its structure.
How much sunlight do string beans need?
String beans require at least 6-8 hours of direct sunlight per day to thrive. Choose a planting location that receives ample sunlight throughout the day. If you are growing string beans in containers, make sure to place them in a sunny spot. Insufficient sunlight can lead to leggy growth, reduced flowering, and lower yields.
How often should I water my string beans?
String beans need consistent moisture, especially during flowering and pod development. Water deeply and regularly, aiming to keep the soil consistently moist but not waterlogged. Avoid overhead watering, as it can promote fungal diseases. Instead, water at the base of the plants. The frequency of watering will depend on the weather conditions and soil type. Check the soil moisture regularly and water when the top inch feels dry.
What are common pests and diseases that affect string beans, and how can I prevent them?
Common pests that affect string beans include aphids, bean beetles, and spider mites. Diseases include powdery mildew, bean rust, and anthracnose. To prevent these problems, practice good garden hygiene, such as removing plant debris and weeds. Use insecticidal soap or neem oil to control pests. Ensure good air circulation to prevent fungal diseases. Choose disease-resistant varieties of string beans. Companion planting with marigolds or nasturtiums can also help deter pests.
How do I know when my string beans are ready to harvest?
String beans are typically ready to harvest about 50-60 days after planting. The pods should be firm, crisp, and snap easily when bent. Avoid letting the pods become too large and tough, as they will lose their flavor and tenderness. Harvest regularly to encourage continued production.
Can I grow string beans in containers?
Yes, string beans can be successfully grown in containers. Choose large containers with good drainage holes. Use a well-draining potting mix and provide adequate support for the plants. Bush bean varieties are generally better suited for container gardening than pole beans, as they require less support. Ensure the containers receive at least 6-8 hours of direct sunlight per day.
How do I provide support for my string beans?
Pole beans require support to climb. You can use trellises, stakes, or fences. The DIY trick described in the article provides a simple and effective way to support your string beans. Make sure the support structure is sturdy enough to withstand the weight of the plants and the pods.
Can I save seeds from my string beans for next year?
Yes, you can save seeds from your string beans, but it’s important to choose open-pollinated varieties. Allow some of the pods to mature fully on the plant until they are dry and brown. Remove the seeds from the pods and store them in a cool, dry place. Keep in mind that hybrid varieties will not produce true-to-type seeds.
How can I improve the flavor of my homegrown string beans?
The flavor of your homegrown string beans can be enhanced by providing them with optimal growing conditions, such as adequate sunlight, water, and nutrients. Harvest the pods when they are young and tender. Avoid overcooking them, as this can make them mushy and bland. Sautéing, steaming, or grilling are great ways to cook string beans and preserve their flavor.
What are some creative ways to use my homegrown string beans?
Beyond the traditional side dish, homegrown string beans can be used in a variety of creative ways. Add them to salads, stir-fries, soups, and stews. Pickle them for a tangy snack. Blanch and freeze them for later use. Get creative and experiment with different recipes to discover your favorite ways to enjoy your homegrown string beans.
Is it possible to grow string beans indoors?
While it’s more challenging, growing string beans indoors is possible with the right conditions. You’ll need a sunny location (preferably a south-facing window) or grow lights to provide adequate light. Choose bush bean varieties, as they are more compact. Ensure good air circulation and provide support for the plants. Be prepared to hand-pollinate the flowers if necessary.
How long does it take for string beans to germinate?
String bean seeds typically germinate within 7-14 days, depending on the soil temperature and moisture levels. Soaking the seeds in water for 24 hours before planting can help speed up germination. Ensure the soil is consistently moist but not waterlogged.
What is the best time of year to plant string beans?
String beans are warm-season crops and should be planted after the last frost. The ideal soil temperature for germination is between 60-70°F (15-21°C). In most regions, this is typically in late spring or early summer. Check your local frost dates to determine the best time to plant in your area.

Leave a Comment