
Grow Swiss Chard from Seed and unlock a world of vibrant colors and nutritious greens right in your backyard! Have you ever dreamt of strolling through your garden, snipping fresh, colorful leaves for a delicious salad or a hearty side dish? Well, dream no more! This guide will empower you to cultivate your own thriving Swiss chard patch, even if you’re a complete beginner.
Swiss chard, with its striking rainbow stems and crinkled leaves, isn’t just a feast for the eyes; it’s a nutritional powerhouse. Its cultivation dates back to ancient times, with evidence suggesting its use in Mediterranean cuisine for centuries. Imagine, you’ll be participating in a tradition that spans generations!
But why should you bother learning to grow Swiss Chard from Seed yourself? In today’s world, knowing where your food comes from is more important than ever. Store-bought produce can be expensive and often lacks the freshness and flavor of homegrown vegetables. Plus, growing your own Swiss chard allows you to control what goes into your food, ensuring it’s free from harmful pesticides and chemicals. I’m here to show you how easy and rewarding it can be to nurture these beautiful plants from tiny seeds to bountiful harvests. Let’s get started!
Growing Swiss Chard from Seed: A Comprehensive DIY Guide
Hey there, fellow gardening enthusiasts! I’m so excited to share my tried-and-true method for growing vibrant and delicious Swiss chard from seed. It’s surprisingly easy, even if you’re a beginner, and the rewards are plentiful – a continuous supply of nutritious greens for your salads, stir-fries, and more! Let’s dive in!
Understanding Swiss Chard
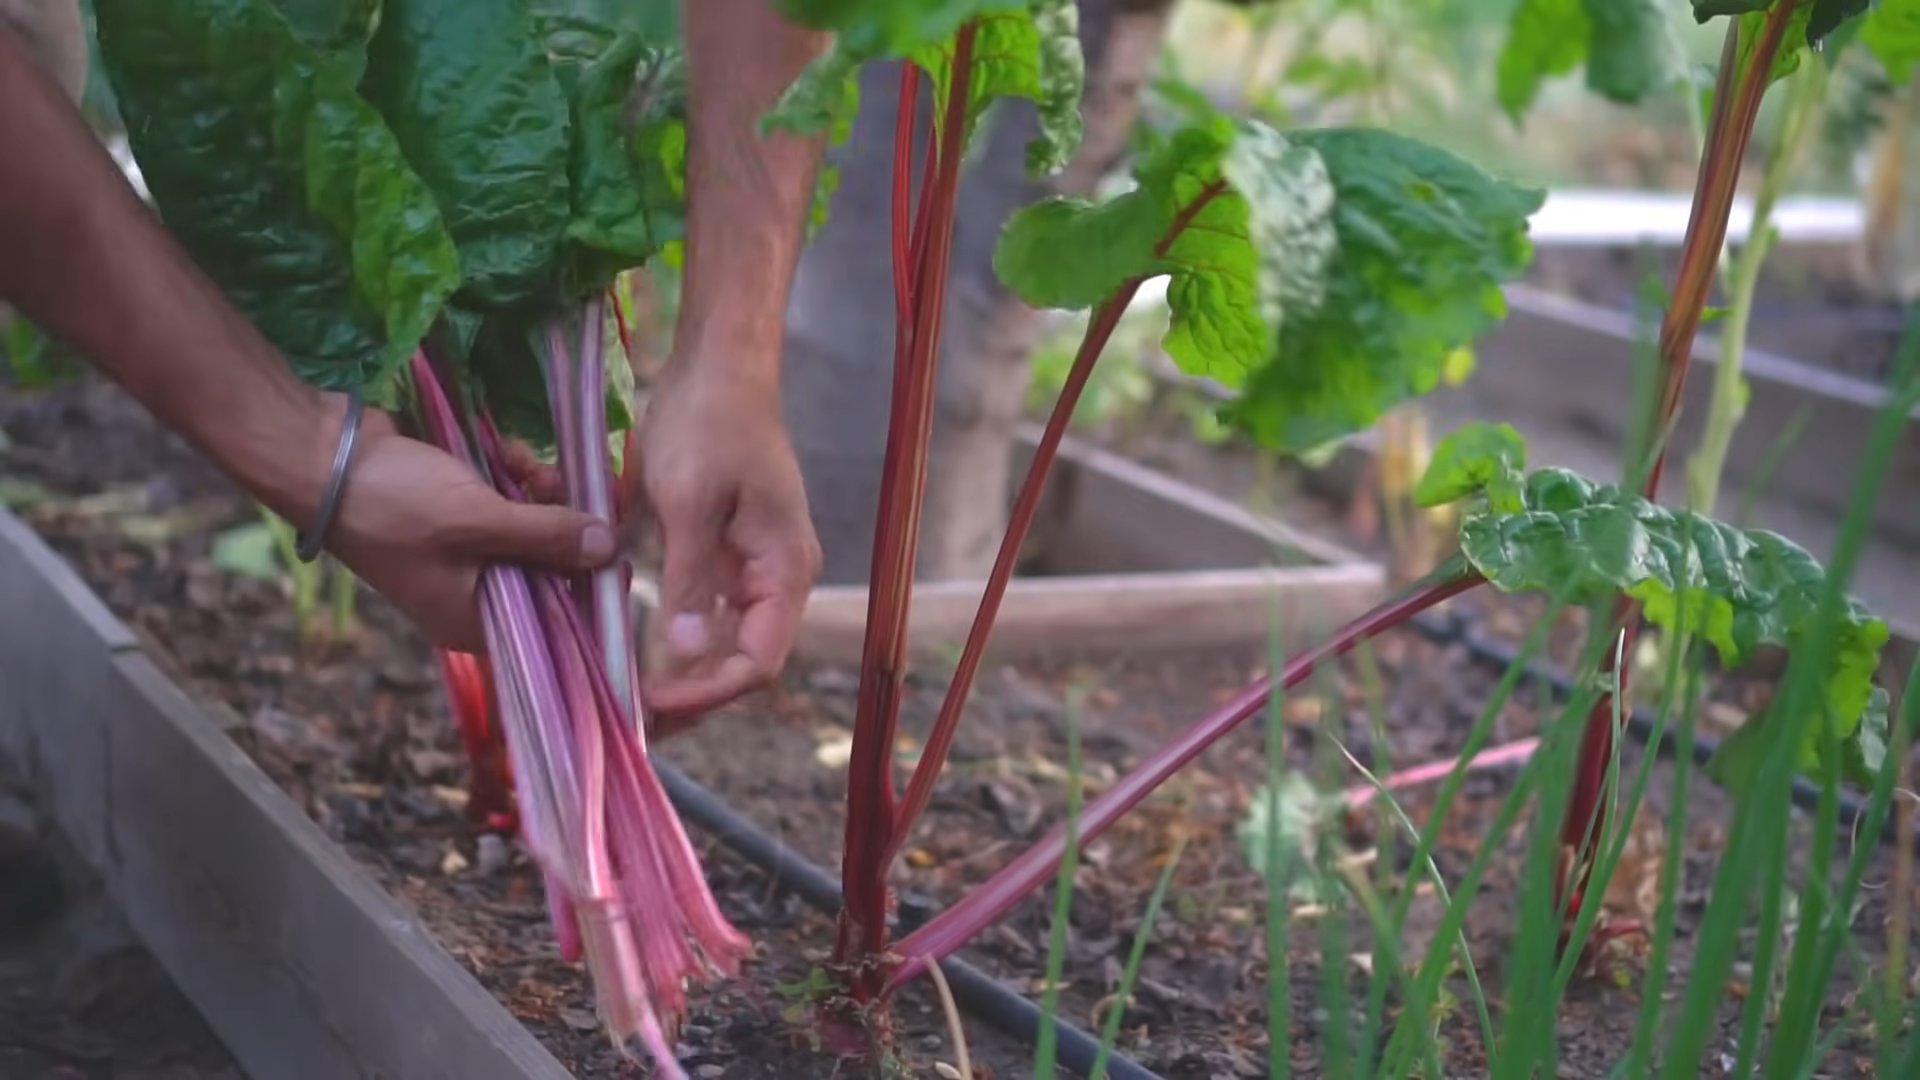
Before we get our hands dirty, let’s talk a little about Swiss chard. It’s a member of the beet family, but we grow it for its leafy greens rather than its root. It comes in a rainbow of colors, from classic green to vibrant reds, oranges, yellows, and pinks. Not only is it beautiful, but it’s also packed with vitamins and minerals. Plus, it’s incredibly versatile in the kitchen.
When to Plant
Timing is key for successful Swiss chard cultivation. You can plant it in early spring or late summer for a fall harvest.
* Spring Planting: Sow seeds 2-4 weeks before the last expected frost. This will give your plants a head start before the summer heat arrives.
* Fall Planting: Sow seeds 6-8 weeks before the first expected frost. This allows the chard to mature before winter sets in.
I personally prefer a late summer planting because the cooler temperatures seem to result in sweeter, less bitter leaves.
Materials You’ll Need
Here’s a list of everything you’ll need to get started:
* Swiss chard seeds (choose your favorite variety!)
* Seed starting trays or small pots
* Seed starting mix or potting soil
* Watering can or spray bottle
* Grow lights (optional, but recommended for indoor starting)
* Garden soil or raised bed
* Compost or other organic matter
* Gardening gloves
* Hand trowel or shovel
* Row covers (optional, for pest protection)
Starting Seeds Indoors (Optional but Recommended)
Starting seeds indoors gives you more control over the growing environment and allows you to get a head start on the season. Here’s how I do it:
1. Prepare Your Seed Starting Trays: Fill your seed starting trays or small pots with seed starting mix. Gently tap the trays to settle the soil.
2. Sow the Seeds: Make a small indentation (about ¼ inch deep) in the center of each cell or pot. Place 2-3 seeds in each indentation. Swiss chard seeds have a relatively low germination rate, so planting multiple seeds increases your chances of success.
3. Cover the Seeds: Gently cover the seeds with more seed starting mix.
4. Water Thoroughly: Water the trays gently with a watering can or spray bottle until the soil is evenly moist. Avoid overwatering, which can lead to damping off (a fungal disease that kills seedlings).
5. Provide Light: Place the trays under grow lights or in a sunny window. If using grow lights, keep them about 2-4 inches above the soil surface. Provide 14-16 hours of light per day.
6. Maintain Moisture: Keep the soil consistently moist, but not soggy. Check the soil moisture daily and water as needed.
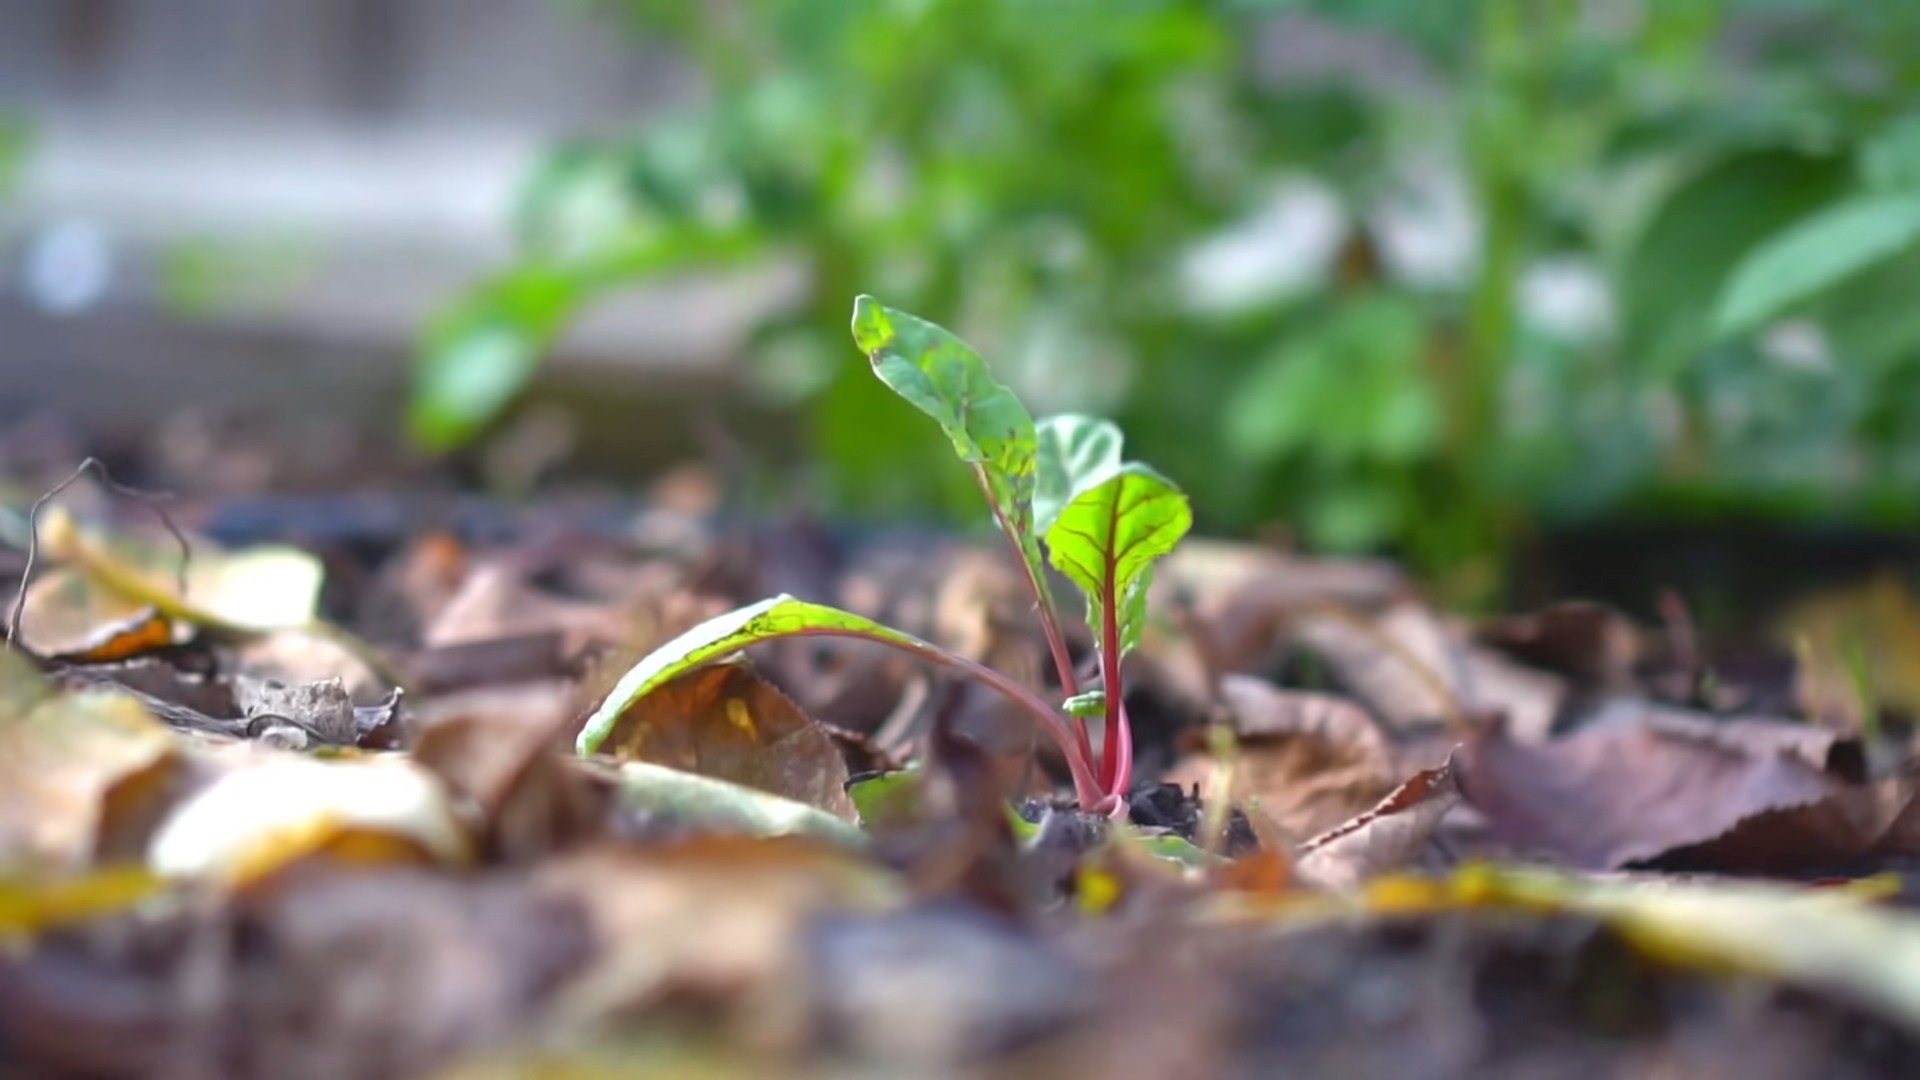
7. Thin the Seedlings: Once the seedlings have emerged and have their first true leaves (the second set of leaves), thin them to one plant per cell or pot. Choose the strongest, healthiest-looking seedling and snip off the others at the soil line with scissors. This prevents overcrowding and allows the remaining seedling to thrive.
8. Harden Off the Seedlings: Before transplanting the seedlings outdoors, you need to harden them off. This process gradually acclimates the seedlings to outdoor conditions. Start by placing the trays outdoors in a sheltered location for a few hours each day, gradually increasing the amount of time they spend outdoors over the course of a week. Protect them from direct sunlight and strong winds.
Direct Sowing Outdoors
If you prefer to skip the indoor starting process, you can direct sow the seeds directly into your garden bed.
1. Prepare the Soil: Choose a location that receives at least 6 hours of sunlight per day. Swiss chard prefers well-drained soil that is rich in organic matter. Amend the soil with compost or other organic matter to improve its fertility and drainage.
2. Create Rows: Create rows in the soil, spacing them about 12-18 inches apart.
3. Sow the Seeds: Sow the seeds about ½ inch deep and 1-2 inches apart in the rows.
4. Cover the Seeds: Gently cover the seeds with soil.
5. Water Thoroughly: Water the rows gently with a watering can or spray bottle until the soil is evenly moist.
6. Thin the Seedlings: Once the seedlings have emerged and have their first true leaves, thin them to 6-12 inches apart.
Transplanting Seedlings Outdoors
Once your seedlings have been hardened off, it’s time to transplant them into your garden.
1. Prepare the Planting Area: Choose a location that receives at least 6 hours of sunlight per day. Make sure the soil is well-drained and amended with compost or other organic matter.
2. Dig Holes: Dig holes that are slightly larger than the root balls of the seedlings, spacing them 6-12 inches apart.
3. Remove Seedlings from Trays: Gently remove the seedlings from their trays or pots. Be careful not to damage the roots.
4. Plant the Seedlings: Place the seedlings in the holes and gently backfill with soil. Make sure the top of the root ball is level with the surrounding soil.
5. Water Thoroughly: Water the seedlings thoroughly after planting.
Caring for Your Swiss Chard
Once your Swiss chard is planted, it’s relatively easy to care for.
1. Watering: Water regularly, especially during dry periods. Swiss chard prefers consistently moist soil. Aim for about 1 inch of water per week.
2. Fertilizing: Fertilize every few weeks with a balanced organic fertilizer. This will help to keep your plants healthy and productive. I like to use a liquid seaweed fertilizer.
3. Weeding: Keep the area around your Swiss chard free of weeds. Weeds compete with the chard for nutrients and water.
4. Pest Control: Swiss chard is relatively pest-resistant, but it can be susceptible to aphids, slugs, and snails. Check your plants regularly for pests and take action if necessary. I often use insecticidal soap for aphids and beer traps for slugs and snails. Row covers can also help to prevent pest infestations.
5. Mulching: Apply a layer of mulch around your Swiss chard plants. Mulch helps to retain moisture, suppress weeds, and regulate soil temperature.
Harvesting Your Swiss Chard
You can start harvesting Swiss chard leaves as soon as they are large enough to eat, usually about 6-8 weeks after planting.
1. Harvest Outer Leaves: Harvest the outer leaves first, leaving the inner leaves to continue growing. This is called “cut and come again” harvesting.
2. Cut at the Base: Cut the leaves at the base of the plant with a sharp knife or scissors.
3. Wash and Store: Wash the harvested leaves thoroughly and store them in the refrigerator in a plastic bag or container. They will keep for several days.
Troubleshooting
Even with the best care, you might encounter some problems while growing Swiss chard. Here are a few common issues and how to address them:
* Bolting (Premature Flowering): Bolting can occur when Swiss chard is exposed to hot weather or stress. To prevent bolting, provide shade during the hottest part of the day and water regularly. If your plants do bolt, you can still eat the leaves, but they may become bitter.
* Leaf Miners: Leaf miners are small insects that tunnel through the leaves of Swiss chard, leaving unsightly trails. To control leaf miners, remove and destroy infested leaves. You can also use row covers to prevent them from laying eggs on your plants.
* Aphids: Aphids are small, sap-sucking insects that can weaken Swiss chard plants. To control aphids, spray them with insecticidal soap or blast them off with a strong stream of water.
* Slugs and Snails: Slugs and snails can damage Swiss chard leaves by eating holes in them. To control slugs and snails, use beer traps or handpick them off the plants.
Enjoying Your Harvest
Now for the best part – enjoying the fruits (or rather, leaves!) of your labor! Swiss chard is incredibly versatile in the kitchen. You can use it in salads, stir-fries, soups, stews, and more. Here are a few of my favorite ways to use Swiss chard:
* Sautéed Swiss Chard: Sauté Swiss chard with garlic, olive
Conclusion
So, there you have it! Growing Swiss chard from seed isn’t just a gardening project; it’s an investment in fresh, nutritious greens right at your fingertips. We’ve walked through each step, from selecting the perfect seeds to nurturing those tiny sprouts into vibrant, leafy plants. Why is this DIY trick a must-try? Because it empowers you to control the quality of your food, reduces your reliance on grocery store produce (often shipped from far away), and connects you with the natural world in a deeply satisfying way. Plus, the taste of homegrown Swiss chard is simply unparalleled – sweeter, more tender, and bursting with flavor that you just can’t find in store-bought varieties.
Beyond the basic method, there are countless ways to personalize your Swiss chard growing experience. Consider experimenting with different varieties. ‘Bright Lights’ Swiss chard, with its rainbow of colorful stems, adds a visual pop to your garden and your plate. Or, try ‘Fordhook Giant’ for exceptionally large and robust leaves. You can also explore companion planting. Swiss chard thrives alongside plants like onions, garlic, and beans, which can help deter pests and improve soil health. Another variation is to try succession planting. By sowing seeds every few weeks, you can ensure a continuous harvest throughout the growing season. If you’re short on space, Swiss chard also grows beautifully in containers, making it perfect for balconies and patios. Just be sure to choose a pot that’s at least 12 inches deep to accommodate the plant’s root system.
Growing Swiss chard from seed is a rewarding experience that offers both practical and personal benefits. It’s a chance to reconnect with nature, enjoy fresh, healthy food, and add a touch of beauty to your surroundings. Don’t be intimidated if you’re a beginner – Swiss chard is a relatively easy plant to grow, and the satisfaction of harvesting your own greens is well worth the effort.
We wholeheartedly encourage you to give this DIY trick a try. Start small, be patient, and don’t be afraid to experiment. And most importantly, share your experience with us! We’d love to hear about your successes, your challenges, and any tips or tricks you discover along the way. Post photos of your Swiss chard plants, share your favorite recipes, and let’s build a community of passionate gardeners who are dedicated to growing their own food. Happy gardening!
Frequently Asked Questions (FAQ)
What is the best time to plant Swiss chard seeds?
The best time to plant Swiss chard seeds depends on your climate. In cooler climates, you can start seeds indoors 4-6 weeks before the last expected frost or direct sow them in the garden after the danger of frost has passed. In warmer climates, you can plant seeds in the spring or fall for a continuous harvest. Swiss chard can tolerate light frost, so you can often extend your growing season by providing some protection during colder weather. Aim for soil temperatures between 50°F and 85°F for optimal germination.
How deep should I plant Swiss chard seeds?
Plant Swiss chard seeds about ½ inch deep in well-draining soil. Space the seeds about 2-3 inches apart in rows that are 12-18 inches apart. After the seedlings emerge, thin them to about 6-8 inches apart to allow them enough room to grow.
What kind of soil does Swiss chard need?
Swiss chard prefers well-draining soil that is rich in organic matter. Amend your soil with compost or well-rotted manure before planting to improve its fertility and drainage. A slightly acidic to neutral soil pH (6.0-7.5) is ideal. You can test your soil pH using a home testing kit or by sending a sample to your local agricultural extension office.
How much sun does Swiss chard need?
Swiss chard needs at least 6 hours of sunlight per day to thrive. However, in hotter climates, it can benefit from some afternoon shade to prevent the leaves from scorching. Choose a location in your garden that receives plenty of morning sun and some protection from the intense afternoon heat.
How often should I water Swiss chard?
Water Swiss chard regularly, especially during dry periods. Aim to keep the soil consistently moist but not waterlogged. Water deeply at the base of the plants, avoiding wetting the leaves, which can increase the risk of fungal diseases. Mulching around the plants can help retain moisture in the soil and suppress weeds.
What are some common pests and diseases that affect Swiss chard?
Common pests that can affect Swiss chard include aphids, flea beetles, and leaf miners. Aphids can be controlled with insecticidal soap or by introducing beneficial insects like ladybugs. Flea beetles can be deterred by using row covers or by applying diatomaceous earth around the plants. Leaf miners can be controlled by removing and destroying infested leaves.
Common diseases that can affect Swiss chard include leaf spot and downy mildew. Leaf spot can be prevented by avoiding overhead watering and ensuring good air circulation around the plants. Downy mildew can be controlled by applying a fungicide or by choosing disease-resistant varieties.
When and how should I harvest Swiss chard?
You can begin harvesting Swiss chard leaves when they are about 6-8 inches long. Harvest the outer leaves first, leaving the inner leaves to continue growing. You can harvest Swiss chard continuously throughout the growing season. To harvest, simply cut the leaves off at the base of the plant with a sharp knife or scissors.
Can I eat the stems of Swiss chard?
Yes, the stems of Swiss chard are edible and can be cooked in the same way as the leaves. They have a slightly different texture and flavor than the leaves, but they are equally nutritious. You can chop the stems and add them to soups, stews, or stir-fries.
How do I store Swiss chard after harvesting?
Store Swiss chard in the refrigerator in a plastic bag or container. It will keep for about a week. You can also freeze Swiss chard for longer storage. To freeze, blanch the leaves in boiling water for 2 minutes, then plunge them into ice water to stop the cooking process. Drain the leaves well and pack them into freezer bags or containers.
Can I grow Swiss chard in containers?
Yes, Swiss chard grows well in containers. Choose a pot that is at least 12 inches deep and wide to accommodate the plant’s root system. Use a well-draining potting mix and water regularly. Place the container in a location that receives at least 6 hours of sunlight per day.
Is Swiss chard a good source of nutrients?
Yes, Swiss chard is an excellent source of vitamins and minerals, including vitamins A, C, and K, as well as iron, potassium, and magnesium. It is also a good source of dietary fiber. Adding Swiss chard to your diet can help improve your overall health and well-being.

Leave a Comment