
Growing Carrots in Soil Bags: Unlock the secret to a bountiful carrot harvest, even without a traditional garden! Have you ever dreamed of pulling vibrant, sweet carrots straight from your own backyard, but thought you lacked the space or perfect soil? Well, dream no more! This DIY guide will revolutionize your gardening game, showing you how to cultivate delicious carrots using a simple, space-saving technique: soil bags.
Carrots, with their vibrant orange hue and earthy sweetness, have been cultivated for centuries. Originating in Afghanistan, these root vegetables have journeyed across continents, becoming a staple in cuisines worldwide. From ancient medicinal uses to modern-day culinary delights, carrots hold a rich history. But what if I told you that you don’t need acres of land to partake in this history and enjoy the fruits (or rather, roots!) of your labor?
Many gardeners struggle with poor soil quality, limited space, or pesky pests that wreak havoc on their carrot crops. That’s where the magic of growing carrots in soil bags comes in. This method provides a controlled environment, allowing you to tailor the soil composition to your carrots’ exact needs. Plus, it’s incredibly convenient for apartment dwellers, balcony gardeners, or anyone looking for a low-maintenance gardening solution. I’m excited to share this easy and effective method with you, so you can enjoy fresh, homegrown carrots all season long!
Karotten im Pflanzsack ziehen: Eine einfache DIY-Anleitung
Hallo liebe Gartenfreunde! Habt ihr wenig Platz, aber trotzdem Lust auf knackige, selbstgezogene Karotten? Dann ist das Ziehen von Karotten im Pflanzsack genau das Richtige für euch! Ich zeige euch, wie ihr mit einfachen Mitteln und wenig Aufwand eine reiche Karottenernte erzielen könnt. Keine Sorge, es ist wirklich kinderleicht!
Was ihr für euer Karotten-Pflanzsack-Projekt braucht:
* Pflanzsäcke: Am besten eignen sich stabile Pflanzsäcke aus Jute, Filz oder Kunststoff. Achtet darauf, dass sie mindestens 30 cm tief sind, damit die Karotten genügend Platz zum Wachsen haben. Je größer der Sack, desto mehr Karotten könnt ihr anbauen.
* Karottensamen: Wählt eine Karottensorte, die für den Anbau im Kübel geeignet ist. Kurze, runde Sorten wie “Pariser Markt” oder “Rondo” sind ideal, da sie weniger Platz benötigen.
* Pflanzerde: Verwendet eine lockere, sandige Pflanzerde. Schwere, lehmige Erde ist ungeeignet, da sie die Wurzelbildung behindert. Ihr könnt auch spezielle Gemüseerde verwenden.
* Sand: Sand verbessert die Drainage und sorgt für eine lockere Struktur der Erde.
* Kompost: Kompost ist ein natürlicher Dünger, der die Karotten mit wichtigen Nährstoffen versorgt.
* Gießkanne oder Gartenschlauch: Zum regelmäßigen Gießen der Karotten.
* Ggf. Langzeitdünger: Für eine zusätzliche Nährstoffversorgung während der Wachstumsphase.
* Ggf. Vlies: Zum Schutz vor Schädlingen und Kälte.
Schritt-für-Schritt-Anleitung: Karotten im Pflanzsack anbauen
1. Den Pflanzsack vorbereiten:
* Zuerst solltet ihr den Pflanzsack an seinen endgültigen Standort stellen. Gefüllt ist er schwer zu bewegen.
* Rollt den oberen Rand des Pflanzsacks etwas nach unten, um das Befüllen zu erleichtern.
* Falls euer Pflanzsack keine Löcher im Boden hat, solltet ihr ein paar Löcher hineinschneiden, damit überschüssiges Wasser ablaufen kann. Staunässe ist Gift für Karotten!
2. Die Erde mischen:
* Mischt die Pflanzerde mit Sand und Kompost. Das Verhältnis sollte etwa 2:1:1 sein (2 Teile Pflanzerde, 1 Teil Sand, 1 Teil Kompost).
* Wenn ihr möchtet, könnt ihr auch etwas Langzeitdünger unter die Erde mischen. Achtet dabei auf die Dosierungsanleitung des Herstellers.
* Die Erde sollte locker und krümelig sein.
3. Den Pflanzsack befüllen:
* Füllt den Pflanzsack mit der vorbereiteten Erde. Lasst etwa 5-10 cm Platz bis zum oberen Rand.
* Drückt die Erde leicht an.
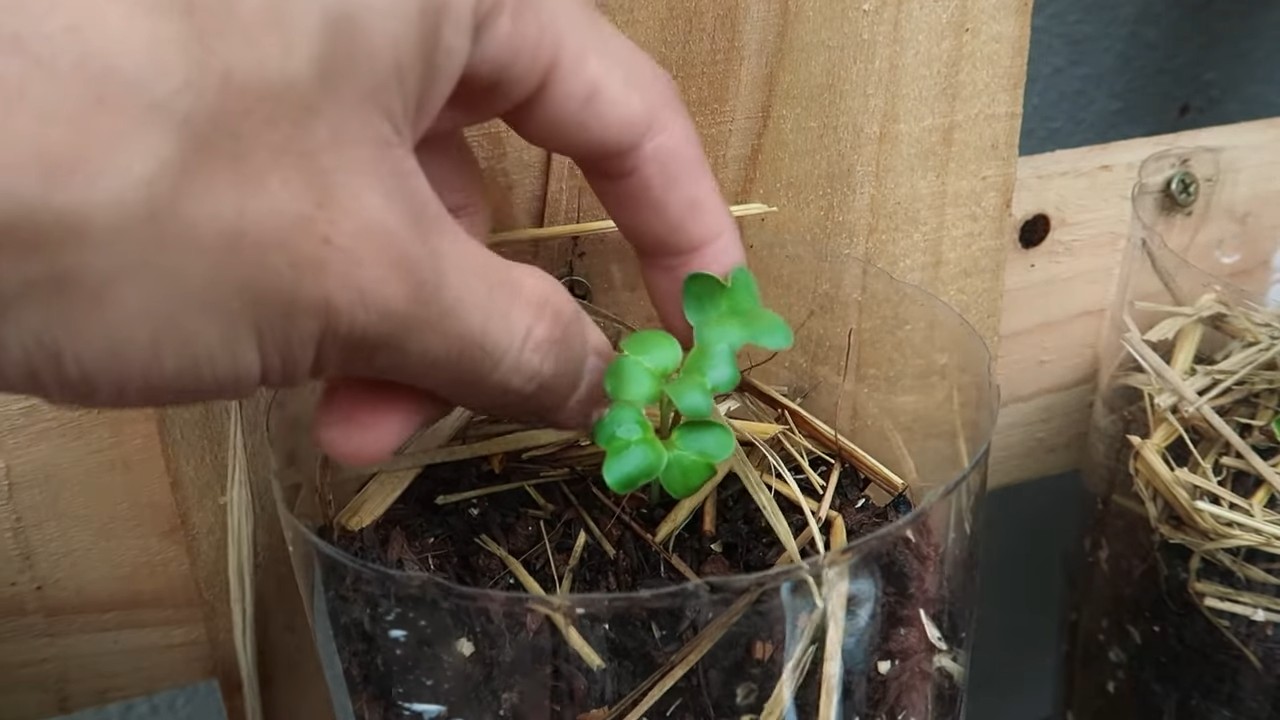
4. Die Karottensamen aussäen:
* Befeuchtet die Erde leicht mit einer Gießkanne.
* Verteilt die Karottensamen gleichmäßig auf der Oberfläche der Erde. Achtet darauf, dass die Samen nicht zu dicht liegen, da die Karotten sonst später zu eng stehen und sich nicht richtig entwickeln können. Ein Abstand von 3-5 cm zwischen den Samen ist ideal.
* Bedeckt die Samen mit einer dünnen Schicht Erde (ca. 0,5 cm).
* Drückt die Erde vorsichtig an.
5. Gießen und pflegen:
* Gießt die Erde vorsichtig an, sodass sie gut durchfeuchtet ist. Vermeidet Staunässe!
* Stellt den Pflanzsack an einen sonnigen Standort. Karotten brauchen viel Sonne, um gut zu wachsen.
* Haltet die Erde feucht, aber nicht nass. Gießt regelmäßig, besonders an heißen Tagen.
* Entfernt regelmäßig Unkraut, das im Pflanzsack wächst.
* Wenn die Karotten zu dicht stehen, könnt ihr sie vereinzeln. Zieht die schwächsten Pflanzen heraus, sodass die verbleibenden Pflanzen genügend Platz haben.
6. Schutz vor Schädlingen:
* Karotten sind anfällig für Schädlinge wie die Möhrenfliege. Um eure Karotten zu schützen, könnt ihr ein Vlies über den Pflanzsack spannen. Das Vlies hält die Schädlinge fern und schützt die Pflanzen vor Kälte.
* Achtet auf Anzeichen von Schädlingsbefall (z.B. Fraßspuren an den Blättern). Bei Bedarf könnt ihr biologische Schädlingsbekämpfungsmittel einsetzen.
7. Düngen:
* Karotten sind Starkzehrer und benötigen ausreichend Nährstoffe. Düngt die Karotten regelmäßig mit einem organischen Dünger oder Komposttee.
* Beginnt mit dem Düngen, sobald die Karottenpflanzen etwa 5 cm hoch sind.
* Achtet auf die Dosierungsanleitung des Düngers.
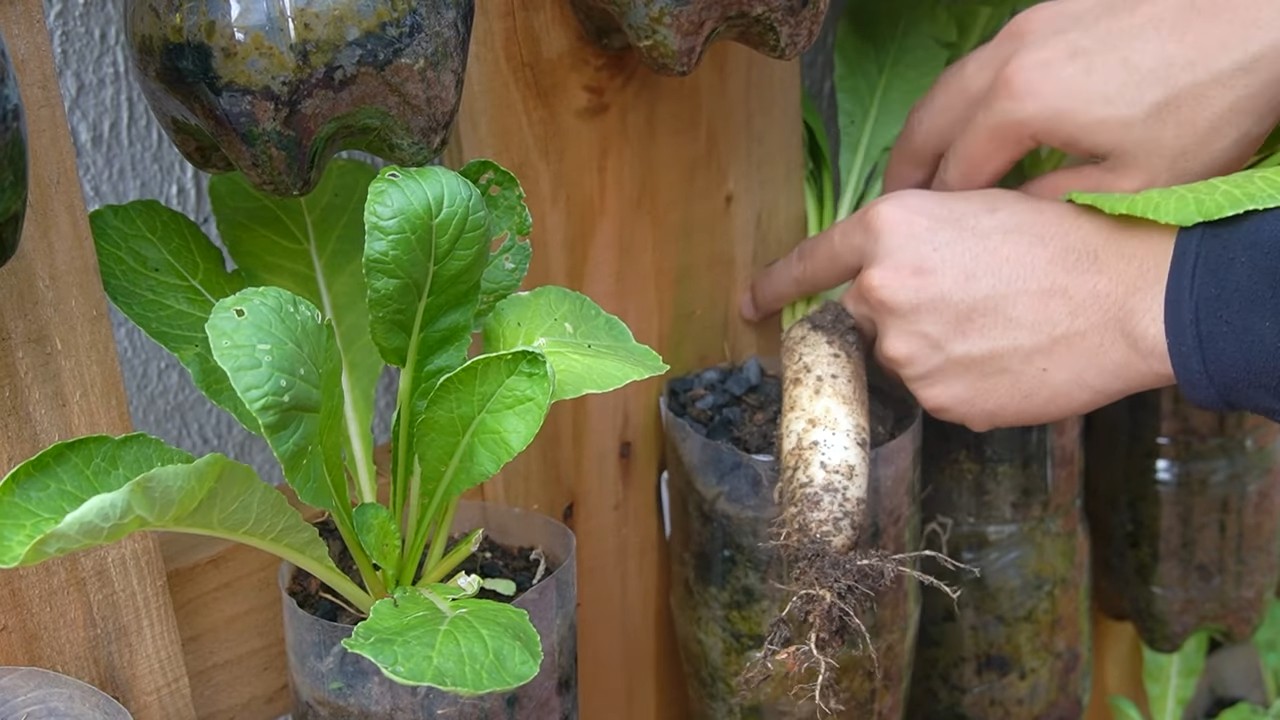
8. Ernten:
* Die Erntezeit hängt von der Karottensorte ab. In der Regel sind Karotten nach etwa 2-3 Monaten erntereif.
* Ihr könnt die Karotten ernten, sobald sie die gewünschte Größe erreicht haben.
* Zieht die Karotten vorsichtig aus der Erde. Wenn die Erde zu trocken ist, könnt ihr sie vorher etwas anfeuchten, um das Herausziehen zu erleichtern.
Zusätzliche Tipps für eine erfolgreiche Karottenernte im Pflanzsack:
* Die richtige Erde: Wie bereits erwähnt, ist die richtige Erde das A und O für eine erfolgreiche Karottenernte. Achtet darauf, dass die Erde locker, sandig und gut durchlässig ist. Ihr könnt auch spezielle Karottenerde im Fachhandel kaufen.
* Der richtige Standort: Karotten brauchen viel Sonne, um gut zu wachsen. Stellt den Pflanzsack an einen sonnigen Standort, an dem die Pflanzen mindestens 6 Stunden Sonne pro Tag bekommen.
* Regelmäßiges Gießen: Karotten brauchen regelmäßig Wasser, besonders während der Keimung und der Wachstumsphase. Achtet darauf, dass die Erde immer feucht ist, aber nicht nass.
* Schutz vor Schädlingen: Schützt eure Karotten vor Schädlingen wie der Möhrenfliege. Ein Vlies über dem Pflanzsack ist eine einfache und effektive Methode, um die Schädlinge fernzuhalten.
* Vereinzeln: Wenn die Karotten zu dicht stehen, solltet ihr sie vereinzeln. Zieht die schwächsten Pflanzen heraus, sodass die verbleibenden Pflanzen genügend Platz haben, um sich zu entwickeln.
* Düngen: Karotten sind Starkzehrer und benötigen ausreichend Nährstoffe. Düngt die Karotten regelmäßig mit einem organischen Dünger oder Komposttee.
* Geduld: Karotten brauchen Zeit, um zu wachsen. Habt Geduld und lasst euch nicht entmutigen, wenn die ersten Karotten nicht perfekt sind. Mit etwas Übung werdet ihr bald eine reiche Karottenernte erzielen.
Häufige Fehler beim Karottenanbau im Pflanzsack und wie man sie vermeidet:
* Falsche Erde: Schwere, lehmige Erde ist ungeeignet für den Karottenanbau. Sie behindert die Wurzelbildung und führt zu krummen, unförmigen Karotten. Verwendet stattdessen eine lockere, sandige Pflanzerde.
* Zu dichter Stand: Wenn die Karotten zu dicht stehen, konkurrieren sie um Nährstoffe und Wasser. Vereinzeln ist wichtig, um sicherzustellen, dass jede Pflanze genügend Platz hat, um sich zu entwickeln.
* Zu wenig Wasser: Trockenheit kann dazu führen, dass die Karotten schrumpfen und bitter schmecken. Gießt die Karotten regelmäßig, besonders an heißen Tagen.
* Zu viel Wasser: Staunässe ist Gift für Karotten. Sie führt zu Wurzelfäule und kann die Pflanzen absterben lassen. Achtet darauf, dass das Wasser gut ablaufen kann.
* Schädlingsbefall: Schädlinge wie die Möhrenfliege können die Karotten schädigen und die Ernte beeinträchtigen. Schützt eure Karotten mit einem Vlies oder biologischen Schädlingsbekämpfungsmitteln.
* Fals
Conclusion
So, there you have it! Growing carrots in soil bags is not just a gardening trend; it’s a game-changer for anyone looking to enjoy fresh, homegrown carrots, regardless of their space constraints or soil quality. We’ve walked you through the simple steps, highlighting the benefits and addressing potential challenges. But why is this DIY trick a must-try?
Firstly, it democratizes carrot cultivation. No longer are delicious, crunchy carrots the exclusive domain of those with sprawling gardens and perfectly tilled soil. Soil bags offer a controlled environment, allowing you to tailor the growing conditions to the specific needs of your carrot varieties. This means better germination rates, healthier root development, and ultimately, a more bountiful harvest.
Secondly, it’s incredibly convenient. Forget back-breaking digging and weeding in traditional garden beds. Soil bags are portable, making it easy to move your carrot crop to chase the sun or shelter them from harsh weather. They also minimize weed growth, reducing the need for constant maintenance.
Thirdly, it’s a fantastic way to recycle and repurpose. Using readily available soil bags transforms a potential waste product into a thriving mini-garden. This eco-friendly approach aligns with sustainable gardening practices and reduces your environmental footprint.
But the beauty of this method lies in its adaptability. Feel free to experiment with different carrot varieties. Shorter, round varieties like ‘Parisian’ or ‘Thumbelina’ are particularly well-suited for container growing, but don’t let that stop you from trying longer types. Just ensure your soil bag is deep enough to accommodate their growth.
Consider adding companion plants to your soil bags. Marigolds can help deter pests, while basil can improve the flavor of your carrots. Interplanting with radishes, which mature quickly, can also help break up the soil and provide shade for young carrot seedlings.
Another variation is to use different types of growing media. While a standard potting mix works well, you can also incorporate compost, vermicast, or coco coir to improve drainage and nutrient retention. Experiment with different combinations to find what works best for your local climate and carrot varieties.
Don’t be afraid to get creative with your soil bag setup. You can arrange them in rows, create a tiered garden, or even hang them from a sturdy structure. The possibilities are endless!
Ultimately, growing carrots in soil bags is a rewarding and accessible way to connect with nature and enjoy the fruits (or rather, roots) of your labor. The satisfaction of harvesting your own sweet, crisp carrots is unparalleled.
So, we wholeheartedly encourage you to give this DIY trick a try. Embrace the simplicity, the convenience, and the joy of homegrown carrots. And most importantly, share your experience with us! We’d love to hear about your successes, your challenges, and any creative variations you come up with. Post photos of your carrot-filled soil bags, share your tips and tricks, and let’s build a community of soil bag carrot enthusiasts! Happy gardening! Let us know how your **carrot growing** journey goes!
Frequently Asked Questions (FAQ)
What type of soil bag should I use?
Any sturdy, woven polypropylene bag designed for holding soil or other materials will work. Look for bags that are at least 12 inches deep to accommodate the root growth of most carrot varieties. You can often find these bags at garden centers, feed stores, or online retailers. Make sure the bag is clean and free of any harmful chemicals before using it. Avoid using plastic bags, as they don’t allow for proper drainage and can overheat in direct sunlight.
How do I ensure proper drainage in the soil bag?
Proper drainage is crucial for preventing root rot and ensuring healthy carrot growth. Before filling the bag with soil, create drainage holes in the bottom. You can use a drill, a knife, or even a pair of scissors to make several holes spaced evenly across the bottom of the bag. Consider adding a layer of gravel or small stones at the bottom of the bag to further improve drainage. When watering, make sure the water drains freely from the bottom of the bag.
What type of soil mix is best for growing carrots in soil bags?
A well-draining potting mix is ideal for growing carrots in soil bags. Avoid using garden soil, as it can be too heavy and compacted, hindering root development. Look for a potting mix that contains a blend of peat moss, perlite, and vermiculite. You can also amend the potting mix with compost or aged manure to provide additional nutrients. A slightly acidic soil pH of 6.0 to 6.8 is optimal for carrot growth.
How often should I water my carrots in soil bags?
The frequency of watering will depend on the weather conditions, the type of soil mix you’re using, and the size of the soil bag. Generally, you should water your carrots whenever the top inch of soil feels dry to the touch. Water deeply, ensuring that the water reaches the bottom of the bag. Avoid overwatering, as this can lead to root rot. During hot, dry weather, you may need to water your carrots daily.
How much sunlight do carrots need when grown in soil bags?
Carrots need at least 6 hours of direct sunlight per day to thrive. Choose a location for your soil bags that receives plenty of sunlight throughout the day. If you live in a hot climate, consider providing some afternoon shade to prevent the soil from overheating. You can also use shade cloth to protect your carrots from intense sunlight.
What are some common pests and diseases that affect carrots grown in soil bags?
Common pests that can affect carrots include carrot rust flies, aphids, and nematodes. Diseases that can affect carrots include leaf blight and root rot. To prevent pest and disease problems, use disease-resistant carrot varieties, practice good sanitation, and avoid overwatering. You can also use organic pest control methods, such as insecticidal soap or neem oil, to control pests.
How do I fertilize carrots grown in soil bags?
Carrots are heavy feeders and require regular fertilization to produce a good crop. Use a balanced fertilizer with a ratio of 5-10-10 or 10-20-20. Apply the fertilizer according to the package directions. You can also use organic fertilizers, such as compost tea or fish emulsion. Avoid over-fertilizing, as this can lead to excessive foliage growth and poor root development.
When is the best time to harvest carrots grown in soil bags?
The time to harvest carrots will depend on the variety and the growing conditions. Generally, carrots are ready to harvest when they reach the desired size and color. You can gently pull up a few carrots to check their size and maturity. To harvest, loosen the soil around the carrots and gently pull them out of the bag.
Can I reuse the soil bags for growing other vegetables?
Yes, you can reuse the soil bags for growing other vegetables, but it’s important to replenish the soil with nutrients. After harvesting your carrots, remove any remaining plant debris and amend the soil with compost or aged manure. You can then use the soil bags to grow other vegetables, such as lettuce, spinach, or radishes.
What if my carrots are forking or splitting?
Forking or splitting carrots are often caused by compacted soil, rocks, or uneven watering. To prevent this, make sure your soil mix is loose and well-draining. Remove any rocks or debris from the soil before planting. Water your carrots evenly and consistently, avoiding periods of drought or overwatering. You can also choose carrot varieties that are less prone to forking.

Leave a Comment