
Growing Parsley Windowsill: Imagine fresh, vibrant parsley always at your fingertips, ready to elevate your culinary creations. No more last-minute grocery store runs or settling for wilted, sad-looking herbs! This isn’t just a dream; it’s an achievable reality with a little DIY know-how. For centuries, parsley has been more than just a garnish. In ancient Greece, it was associated with victory and used to crown athletes. The Romans used it for medicinal purposes and even believed it could ward off evil spirits.
Today, we appreciate parsley for its bright, peppery flavor and nutritional benefits. But let’s face it, buying fresh parsley from the store can be expensive and wasteful. That’s where the magic of growing parsley windowsill gardens comes in. I’m here to show you how incredibly easy it is to cultivate your own thriving parsley patch right inside your home. This DIY guide will provide you with simple, step-by-step instructions, ensuring even those with the brownest thumbs can enjoy a bountiful harvest. Say goodbye to store-bought herbs and hello to fresh, flavorful parsley whenever you need it!
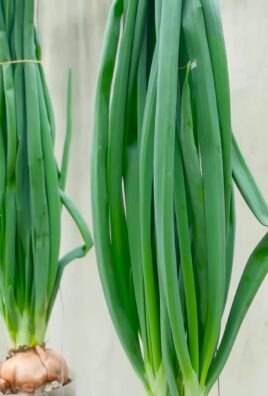
Growing Parsley on Your Windowsill: A Beginner’s Guide
Hey there, fellow plant enthusiasts! Ever dreamt of snipping fresh parsley right from your kitchen windowsill? Well, dream no more! Growing parsley indoors is surprisingly easy and rewarding. I’m going to walk you through everything you need to know to cultivate your own little parsley paradise.
What You’ll Need
Before we dive in, let’s gather our supplies. Here’s a checklist to make sure you’re all set:
* **Parsley Seeds or Seedlings:** You can start from seeds (more economical but takes longer) or buy small parsley plants from a nursery (faster gratification!). I personally prefer starting from seeds, it’s just so satisfying to watch them sprout.
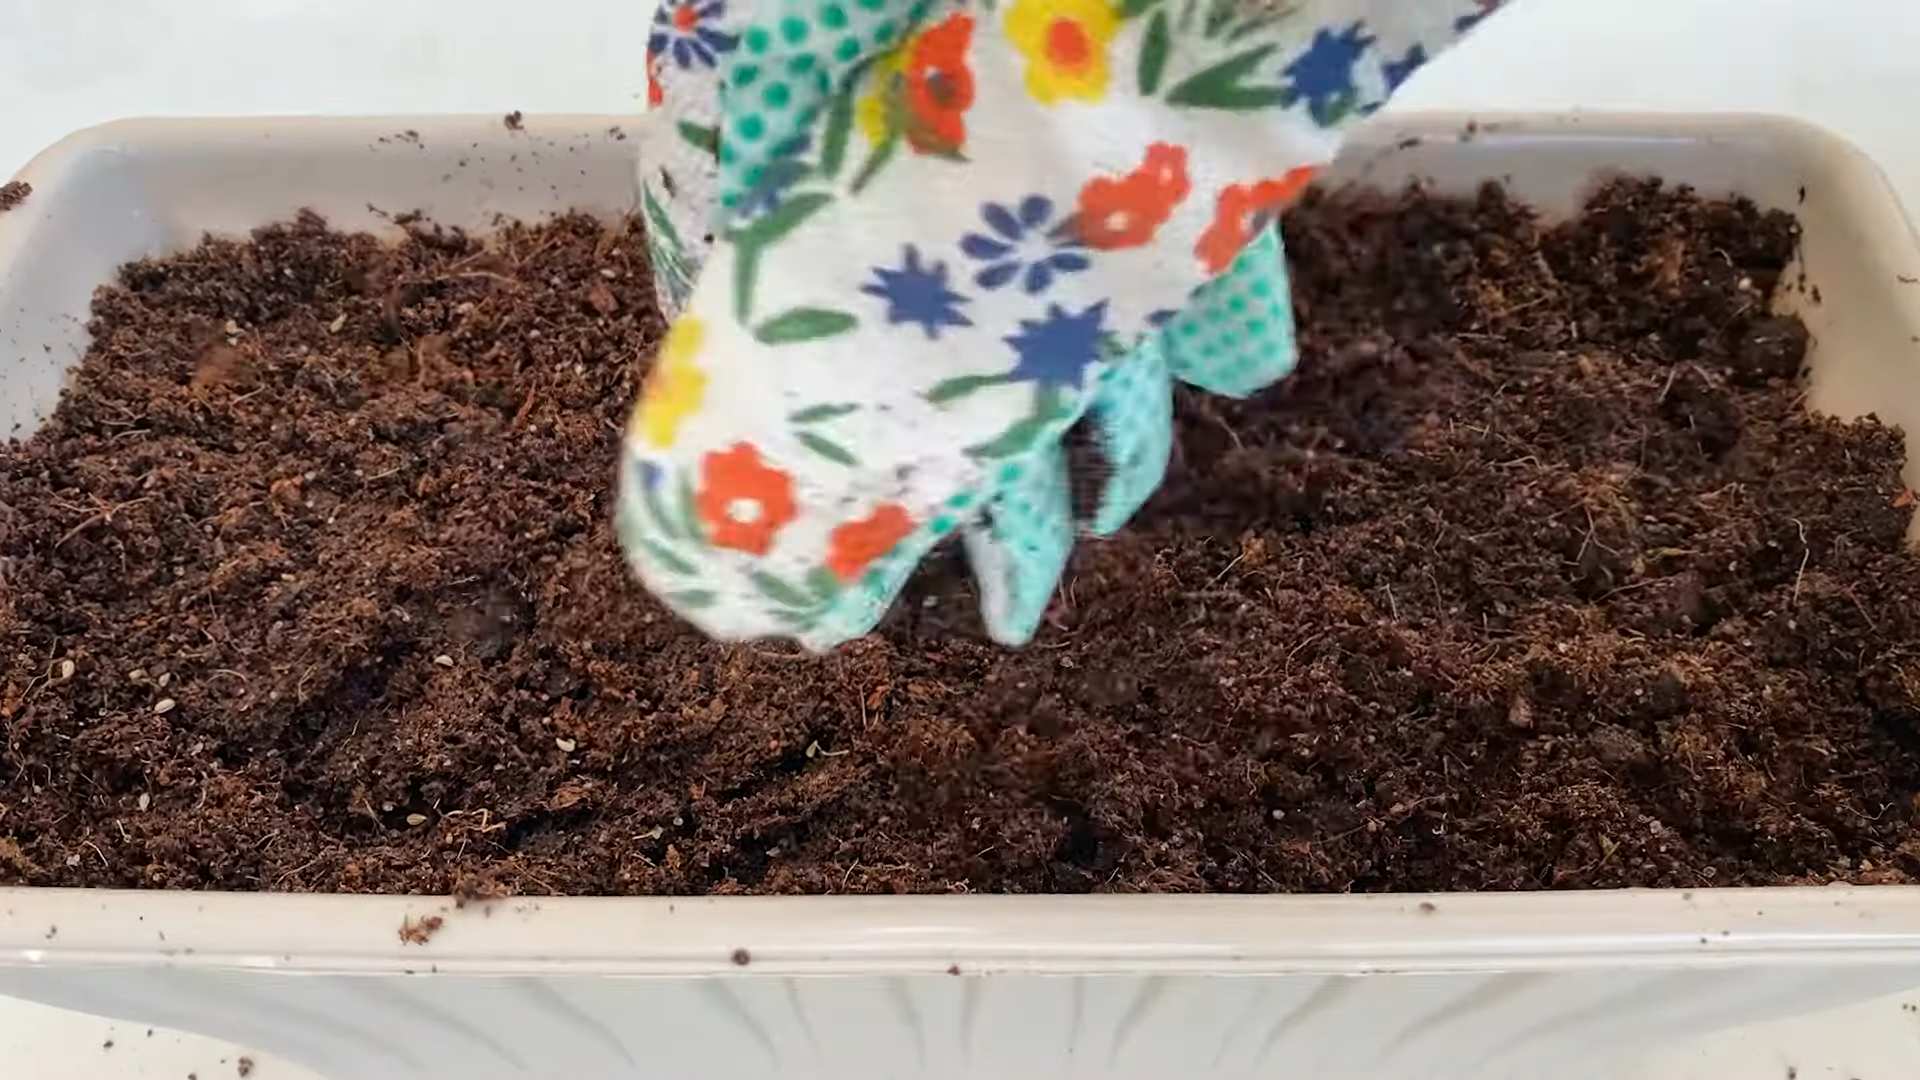
* **Potting Mix:** Use a high-quality potting mix specifically formulated for containers. Avoid using garden soil, as it can compact and not drain well in pots.
* **Pot with Drainage Holes:** Choose a pot that’s at least 6 inches deep and wide. Good drainage is crucial to prevent root rot.
* **Sunny Windowsill:** Parsley needs at least 6 hours of sunlight per day. A south-facing window is ideal, but an east or west-facing window can also work.
* **Watering Can or Spray Bottle:** For gentle watering.
* **Optional: Grow Light:** If you don’t have enough natural light, a grow light can supplement.
* **Optional: Seed Starting Tray (if starting from seeds):** Makes germination easier.
Starting from Seeds: The Patient Gardener’s Route
If you’re like me and enjoy the process of nurturing a plant from its very beginning, starting from seeds is the way to go. It takes a bit longer, but the reward is well worth it!
Sowing the Seeds
1. **Prepare the Seed Starting Tray (Optional):** If you’re using a seed starting tray, fill each cell with moist potting mix. Gently press the soil down. If you’re planting directly into your pot, skip to step 3.
2. **Sow the Seeds:** Sprinkle 2-3 parsley seeds per cell (or directly onto the surface of the potting mix in your pot). Parsley seeds can be a bit slow to germinate, so don’t be discouraged if you don’t see sprouts right away.
3. **Cover the Seeds:** Lightly cover the seeds with a thin layer of potting mix (about 1/4 inch).
4. **Water Gently:** Use a spray bottle to mist the soil thoroughly. You want the soil to be moist but not soggy.
5. **Create a Humid Environment:** Cover the seed starting tray (or pot) with a clear plastic lid or plastic wrap to create a humid environment. This helps the seeds germinate.
6. **Place in a Warm Location:** Place the tray or pot in a warm location (around 70-75°F). A heat mat can be helpful if your home is cool.
7. **Monitor and Water:** Check the soil moisture daily and mist as needed to keep it moist.
8. **Remove the Cover:** Once the seeds germinate (usually in 2-3 weeks, sometimes longer!), remove the plastic cover.
9. **Provide Light:** Place the seedlings under a grow light or on a sunny windowsill.
10. **Thin the Seedlings (if needed):** If more than one seedling sprouts in a cell (or in your pot), thin them out by snipping off the weaker ones at the soil line. This gives the remaining seedlings more room to grow.
Transplanting Seedlings (if using a seed starting tray)
1. **Prepare the Pot:** Fill your chosen pot with potting mix, leaving about an inch of space at the top.
2. **Gently Remove the Seedlings:** Carefully remove the parsley seedlings from the seed starting tray. Try to keep as much of the root ball intact as possible.
3. **Plant the Seedlings:** Dig a small hole in the potting mix and gently place the seedling in the hole.
4. **Backfill with Soil:** Fill the hole with potting mix and gently press down around the base of the seedling.
5. **Water Thoroughly:** Water the seedling thoroughly after transplanting.
Starting with Seedlings: The Quick Start
If you’re eager to have fresh parsley right away, buying seedlings is a great option. It skips the germination process and gets you closer to harvesting.
1. **Choose Healthy Seedlings:** Select seedlings that are vibrant green and have a good root system. Avoid plants that look wilted or have yellowing leaves.
2. **Prepare the Pot:** Fill your chosen pot with potting mix, leaving about an inch of space at the top.
3. **Gently Remove the Seedlings:** Carefully remove the parsley seedlings from their nursery containers. Gently loosen the roots if they are tightly packed.
4. **Plant the Seedlings:** Dig a small hole in the potting mix and gently place the seedling in the hole.
5. **Backfill with Soil:** Fill the hole with potting mix and gently press down around the base of the seedling.
6. **Water Thoroughly:** Water the seedling thoroughly after transplanting.
Caring for Your Parsley Plant
Now that your parsley is planted, it’s time to provide the care it needs to thrive.
1. **Watering:** Water your parsley plant when the top inch of soil feels dry to the touch. Avoid overwatering, as this can lead to root rot. Make sure the pot has good drainage. I usually check mine every other day.
2. **Sunlight:** Parsley needs at least 6 hours of sunlight per day. Place your pot on a sunny windowsill or under a grow light. If you notice the leaves are pale or leggy, it’s likely not getting enough light.
3. **Fertilizing:** Feed your parsley plant every 2-3 weeks with a diluted liquid fertilizer. Look for a fertilizer that’s balanced and formulated for herbs.
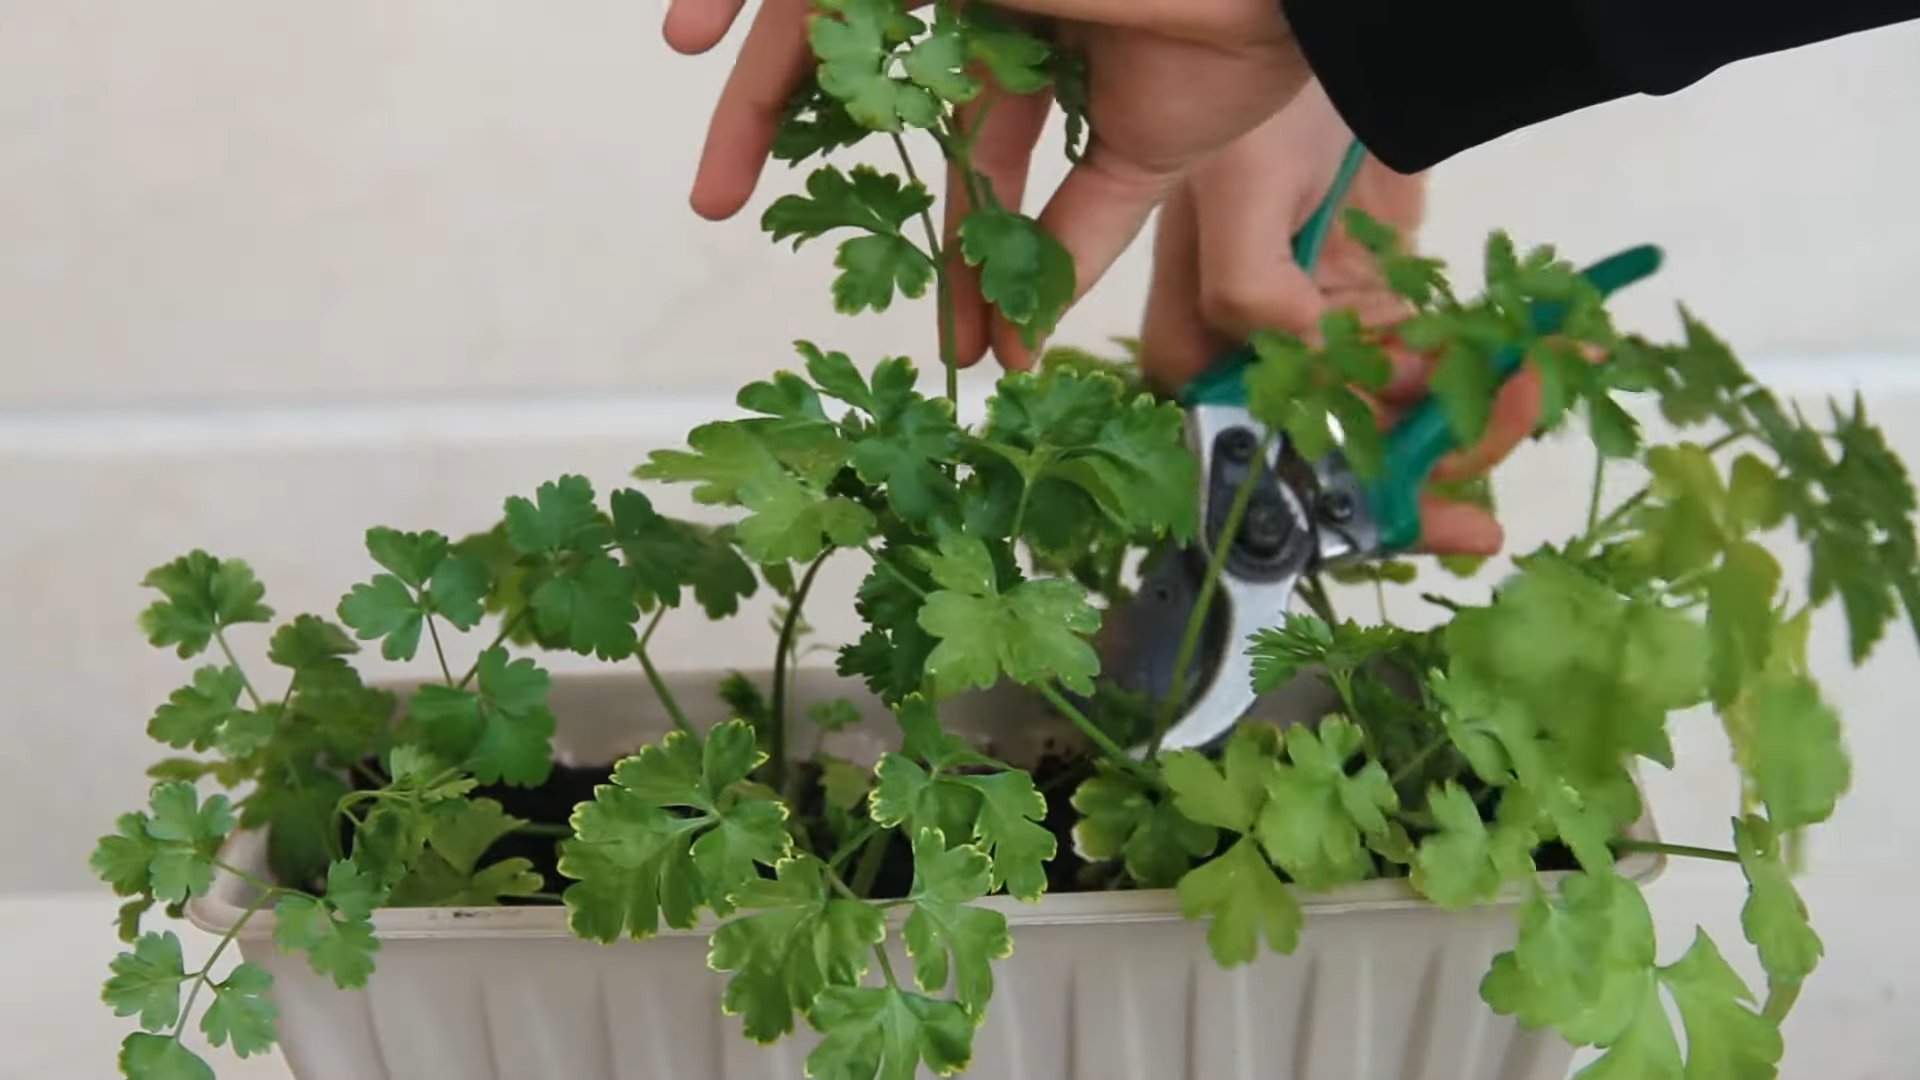
4. **Pruning:** Regular pruning encourages bushier growth. Snip off the outer stems of the parsley plant, leaving the inner stems to continue growing. This also prevents the plant from flowering, which can make the leaves taste bitter.
5. **Pest Control:** Keep an eye out for pests like aphids or spider mites. If you spot any, you can try washing them off with a strong stream of water or using an insecticidal soap.
6. **Temperature:** Parsley prefers temperatures between 60-75°F. Avoid placing your plant near drafts or extreme temperatures.
7. **Repotting:** As your parsley plant grows, it may need to be repotted into a larger container. You’ll know it’s time to repot when the roots start to circle the bottom of the pot.
Harvesting Your Parsley
The best part of growing your own parsley is, of course, harvesting it!
1. **When to Harvest:** You can start harvesting parsley once the plant has several stems that are at least 6 inches long.
2. **How to Harvest:** Use scissors or pruning shears to snip off the outer stems of the parsley plant, close to the base.
3. **Harvest Regularly:** Regular harvesting encourages the plant to produce more leaves.
4. **Storage:** Freshly harvested parsley can be stored in the refrigerator for several days. Wrap it in a damp paper towel and place it in a plastic bag. You can also freeze parsley for longer storage.
Troubleshooting
Even with the best care, you might encounter some issues while growing parsley. Here are a few common problems and how to address them:
* **Yellowing Leaves:** This can be caused by overwatering, underwatering, or nutrient deficiencies. Adjust your watering schedule and fertilize regularly.
* **Leggy Growth:** This is usually a sign of insufficient light. Move your plant to a sunnier location or supplement with a grow light.
* **Root Rot:** This is caused by overwatering and poor drainage. Make sure your pot has drainage holes and allow the soil to dry out slightly between waterings.
* **Pests:** Inspect your plant regularly for pests and take action promptly if you find any.
Enjoy Your Homegrown Parsley!
Growing parsley on your windowsill is a simple and rewarding way to add fresh flavor to your meals. With a little care and attention, you’ll have a constant supply of this versatile herb right at your fingertips. Happy gardening!
Conclusion
So, there you have it! Growing parsley on your windowsill isn’t just a charming way to add a touch of green to your kitchen; it’s a practical and rewarding endeavor that puts fresh, flavorful herbs right at your fingertips. We’ve walked through the simple steps, from selecting the right container and soil to providing the optimal light and watering conditions. You’ve learned how to nurture your parsley plants, ensuring a continuous supply of this versatile herb for all your culinary creations.
But why is this DIY trick a must-try? Beyond the obvious convenience of having fresh parsley readily available, growing your own offers several compelling advantages. First, you’re guaranteed a higher quality product. Store-bought parsley often wilts quickly and can lack the vibrant flavor of freshly harvested herbs. When you grow your own, you control the entire process, ensuring that your parsley is at its peak freshness and bursting with flavor.
Second, it’s incredibly cost-effective. A packet of parsley seeds or a small starter plant is a fraction of the cost of repeatedly buying bunches of parsley from the grocery store. Over time, you’ll save a significant amount of money, especially if you use parsley frequently.
Third, it’s an environmentally friendly choice. By growing your own parsley, you’re reducing your reliance on commercially grown herbs, which often travel long distances and contribute to carbon emissions. You’re also minimizing your use of plastic packaging, which is a major source of pollution.
Fourth, and perhaps most importantly, it’s incredibly satisfying. There’s something deeply rewarding about nurturing a plant from seed to harvest. Watching your parsley plants thrive on your windowsill is a constant reminder of the power of nature and the simple pleasures of life.
Now, let’s talk about variations. While we’ve focused on growing curly parsley, you can easily adapt this method to grow flat-leaf (Italian) parsley, which has a slightly stronger flavor. You can also experiment with different types of containers, from terracotta pots to repurposed jars. Just make sure your container has adequate drainage.
Another variation is to try companion planting. Parsley is known to be a good companion plant for tomatoes, peppers, and roses, as it can help to repel certain pests. You could consider growing these plants together in a larger container or garden bed.
Finally, don’t be afraid to get creative with your parsley. Use it in soups, stews, salads, sauces, and dips. Garnish your dishes with a sprig of fresh parsley for a pop of color and flavor. Add it to smoothies for a nutritional boost. The possibilities are endless!
We wholeheartedly encourage you to try this DIY trick and experience the joy of growing your own parsley. It’s a simple, rewarding, and sustainable way to add fresh flavor to your life. Once you’ve given it a try, we’d love to hear about your experience. Share your photos, tips, and recipes in the comments below. Let’s create a community of parsley-loving gardeners! Embrace the freshness and flavor that comes with growing parsley right in your own home. Happy gardening!
Frequently Asked Questions (FAQ)
What kind of parsley should I grow on my windowsill?
Both curly and flat-leaf (Italian) parsley are suitable for windowsill growing. Curly parsley is more commonly used as a garnish and has a milder flavor, while flat-leaf parsley has a stronger, more robust flavor and is often preferred for cooking. The choice is ultimately a matter of personal preference. Consider what you typically use parsley for in your cooking and choose the variety that best suits your needs. You can even grow both varieties side-by-side if you have enough space!
How much sunlight does my windowsill parsley need?
Parsley thrives in bright, indirect sunlight. Aim for at least 6 hours of sunlight per day. If your windowsill doesn’t receive enough natural light, you can supplement it with a grow light. Place the grow light a few inches above the plants and keep it on for 12-14 hours per day. Rotate your parsley plants regularly to ensure that all sides receive adequate light. This will prevent them from becoming leggy and growing towards the light source.
How often should I water my windowsill parsley?
Water your parsley plants when the top inch of soil feels dry to the touch. Avoid overwatering, as this can lead to root rot. Ensure that your container has adequate drainage to prevent water from pooling at the bottom. During the warmer months, you may need to water your parsley more frequently. Check the soil moisture regularly and adjust your watering schedule accordingly. A good rule of thumb is to water deeply but infrequently, allowing the soil to dry out slightly between waterings.
What kind of soil should I use for growing parsley?
Use a well-draining potting mix that is rich in organic matter. You can purchase a pre-made potting mix or create your own by combining equal parts of potting soil, compost, and perlite or vermiculite. The compost will provide essential nutrients, while the perlite or vermiculite will improve drainage. Avoid using garden soil, as it can be too heavy and compact for container gardening.
How do I harvest parsley from my windowsill plant?
Harvest parsley by snipping off the outer stems near the base of the plant. Avoid cutting off more than one-third of the plant at a time, as this can stunt its growth. Regular harvesting will encourage the plant to produce more leaves. You can use scissors or pruning shears to harvest the parsley. Wash the harvested parsley thoroughly before using it.
My parsley plant is turning yellow. What should I do?
Yellowing leaves can be a sign of several problems, including overwatering, underwatering, nutrient deficiency, or pest infestation. Check the soil moisture to ensure that you are not overwatering or underwatering. If the soil is consistently wet, reduce your watering frequency. If the soil is dry, water more frequently. You can also fertilize your parsley plant with a balanced liquid fertilizer to address any nutrient deficiencies. Inspect the plant for pests, such as aphids or spider mites, and treat accordingly.
Can I grow parsley from seed on my windowsill?
Yes, you can grow parsley from seed on your windowsill. Start by soaking the seeds in water for 24 hours to improve germination. Sow the seeds in a pot filled with well-draining potting mix. Cover the seeds lightly with soil and water gently. Keep the soil moist but not soggy. Place the pot in a warm, sunny location. Germination can take up to 2-3 weeks. Once the seedlings have developed a few sets of true leaves, thin them out, leaving only the strongest plants.
How long will my windowsill parsley plant last?
Parsley is a biennial plant, which means it typically lives for two years. However, in colder climates, it is often grown as an annual. With proper care, your windowsill parsley plant can last for several months or even a year. To prolong its life, provide it with adequate light, water, and nutrients. Prune it regularly to encourage new growth. If you live in a colder climate, you may need to bring your parsley plant indoors during the winter months.
Can I dry my windowsill grown parsley?
Yes, you can dry your windowsill grown parsley. There are several ways to dry parsley, including air drying, oven drying, and using a dehydrator. To air dry parsley, tie the stems together and hang them upside down in a cool, dry, well-ventilated place. To oven dry parsley, spread the leaves on a baking sheet and bake at a low temperature (170°F or 77°C) for several hours, until they are completely dry. To use a dehydrator, follow the manufacturer’s instructions. Store the dried parsley in an airtight container in a cool, dark place.
What are some common pests that affect parsley plants?
Some common pests that affect parsley plants include aphids, spider mites, and whiteflies. Aphids are small, soft-bodied insects that suck the sap from plants. Spider mites are tiny, spider-like creatures that create webs on the leaves. Whiteflies are small, white, flying insects that feed on plant sap. You can control these pests by spraying your parsley plants with insecticidal soap or neem oil. You can also try washing the pests off with a strong stream of water. Regularly inspect your parsley plants for pests and take action promptly to prevent infestations from spreading.
Leave a Comment