
Growing Kale at Home can seem daunting, but trust me, it’s easier than you think! Have you ever dreamt of stepping into your backyard and harvesting fresh, vibrant kale for a healthy smoothie or a delicious salad? I know I have, and let me tell you, the feeling of accomplishment is incredible. Forget those wilted, overpriced bunches at the grocery store; with a few simple tricks, you can cultivate your own thriving kale patch right outside your door.
Kale, a nutritional powerhouse, has a rich history dating back to ancient Greece and Rome, where it was a staple food. Over centuries, it has spread across the globe, becoming a symbol of healthy eating and sustainable living. But beyond its nutritional benefits, growing your own kale is incredibly rewarding.
In today’s fast-paced world, we’re all looking for ways to connect with nature and simplify our lives. Growing Kale at Home offers just that – a chance to nurture something from seed to harvest, providing you with fresh, healthy produce and a sense of accomplishment. Plus, these DIY tricks and hacks will save you money, reduce your carbon footprint, and give you complete control over what goes into your food. So, let’s dive in and discover the secrets to a bountiful kale harvest!
Growing Kale at Home: A Beginner’s Guide
Hey there, fellow gardening enthusiasts! I’m so excited to share my experience with growing kale at home. It’s surprisingly easy, incredibly rewarding, and you’ll have a constant supply of this superfood right at your fingertips. Trust me, nothing beats the taste of freshly harvested kale from your own garden. Let’s dive in!
Choosing Your Kale Variety
Before we get our hands dirty, let’s talk about kale varieties. There’s more to kale than just the curly stuff you see at the grocery store!
* **Curly Kale:** This is the classic, most common type. It has ruffled leaves and a slightly bitter taste, which mellows out when cooked. ‘Dwarf Blue Curled Vates’ is a popular and reliable variety.
* **Lacinato Kale (Dinosaur Kale or Tuscan Kale):** This variety has long, narrow, dark green leaves with a slightly bumpy texture. It’s milder and sweeter than curly kale and holds up well in cooking.
* **Red Russian Kale:** This kale has flat, fringed leaves with purple stems. It’s tender and has a slightly sweet, nutty flavor. It’s also incredibly beautiful in the garden!
* **Redbor Kale:** This variety is known for its vibrant purple, almost feathery leaves. It’s not only delicious but also adds a pop of color to your garden.
I personally love growing a mix of Lacinato and Red Russian kale for their flavor and visual appeal. Experiment and see which varieties you like best!
Starting from Seed vs. Buying Transplants
You have two options for getting your kale plants: starting from seed or buying transplants from a nursery. Both have their pros and cons.
* **Starting from Seed:** This is the more economical option, and it gives you more control over the entire growing process. You can start seeds indoors 6-8 weeks before the last expected frost or direct sow them in the garden after the danger of frost has passed.
* **Buying Transplants:** This is a quicker and easier option, especially if you’re short on time or space. Just make sure to choose healthy-looking plants with vibrant green leaves.
I usually start my kale from seed indoors to get a head start on the growing season. It’s so satisfying to watch those tiny seedlings emerge!
Preparing the Soil
Kale thrives in well-drained, fertile soil with a pH between 6.0 and 7.5. Before planting, it’s important to amend the soil with organic matter, such as compost or well-rotted manure.
* **Soil Testing:** If you’re unsure about your soil’s pH, you can purchase a soil testing kit from a garden center or send a sample to your local agricultural extension office.
* **Adding Organic Matter:** Dig in a generous amount of compost or manure to improve soil drainage, fertility, and water retention.
* **Fertilizing:** Kale is a heavy feeder, so it benefits from a balanced fertilizer. I like to use an organic fertilizer formulated for vegetables.
I always add plenty of compost to my garden beds before planting kale. It makes a huge difference in the health and productivity of the plants.
Planting Your Kale
Now for the fun part: planting!
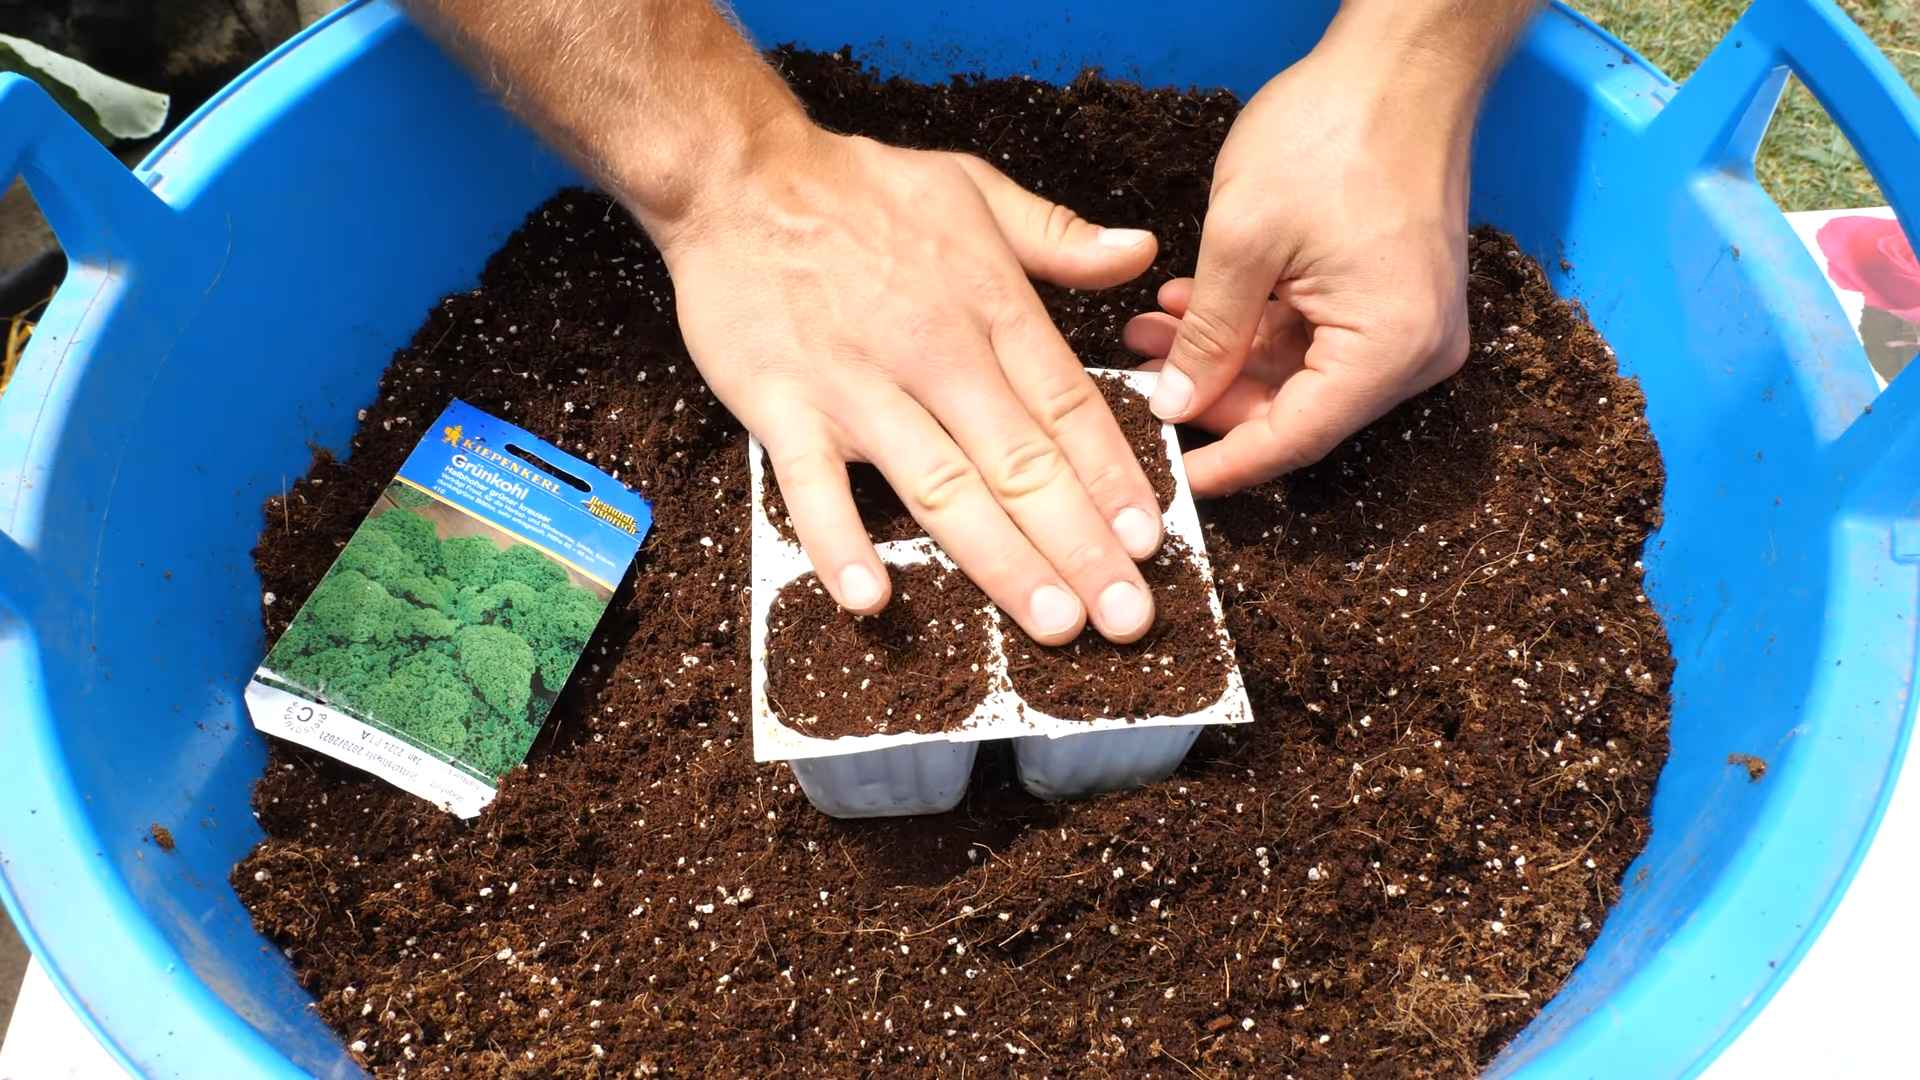
1. **Starting Seeds Indoors (Optional):**
* Fill seed trays or small pots with seed-starting mix.
* Sow seeds about 1/4 inch deep.
* Water gently and keep the soil moist.
* Place the trays in a warm, sunny location or under grow lights.
* Once the seedlings have a few sets of true leaves, transplant them into larger pots.
2. **Direct Sowing Seeds (Outdoor):**
* Sow seeds about 1/2 inch deep and 1 inch apart in rows.
* Thin the seedlings to 12-18 inches apart once they are a few inches tall.
3. **Planting Transplants:**
* Dig holes that are slightly larger than the root balls of the transplants.
* Gently remove the plants from their containers and loosen the roots.
* Place the plants in the holes and backfill with soil.
* Water thoroughly.
* Space plants 12-18 inches apart in rows that are 2-3 feet apart.
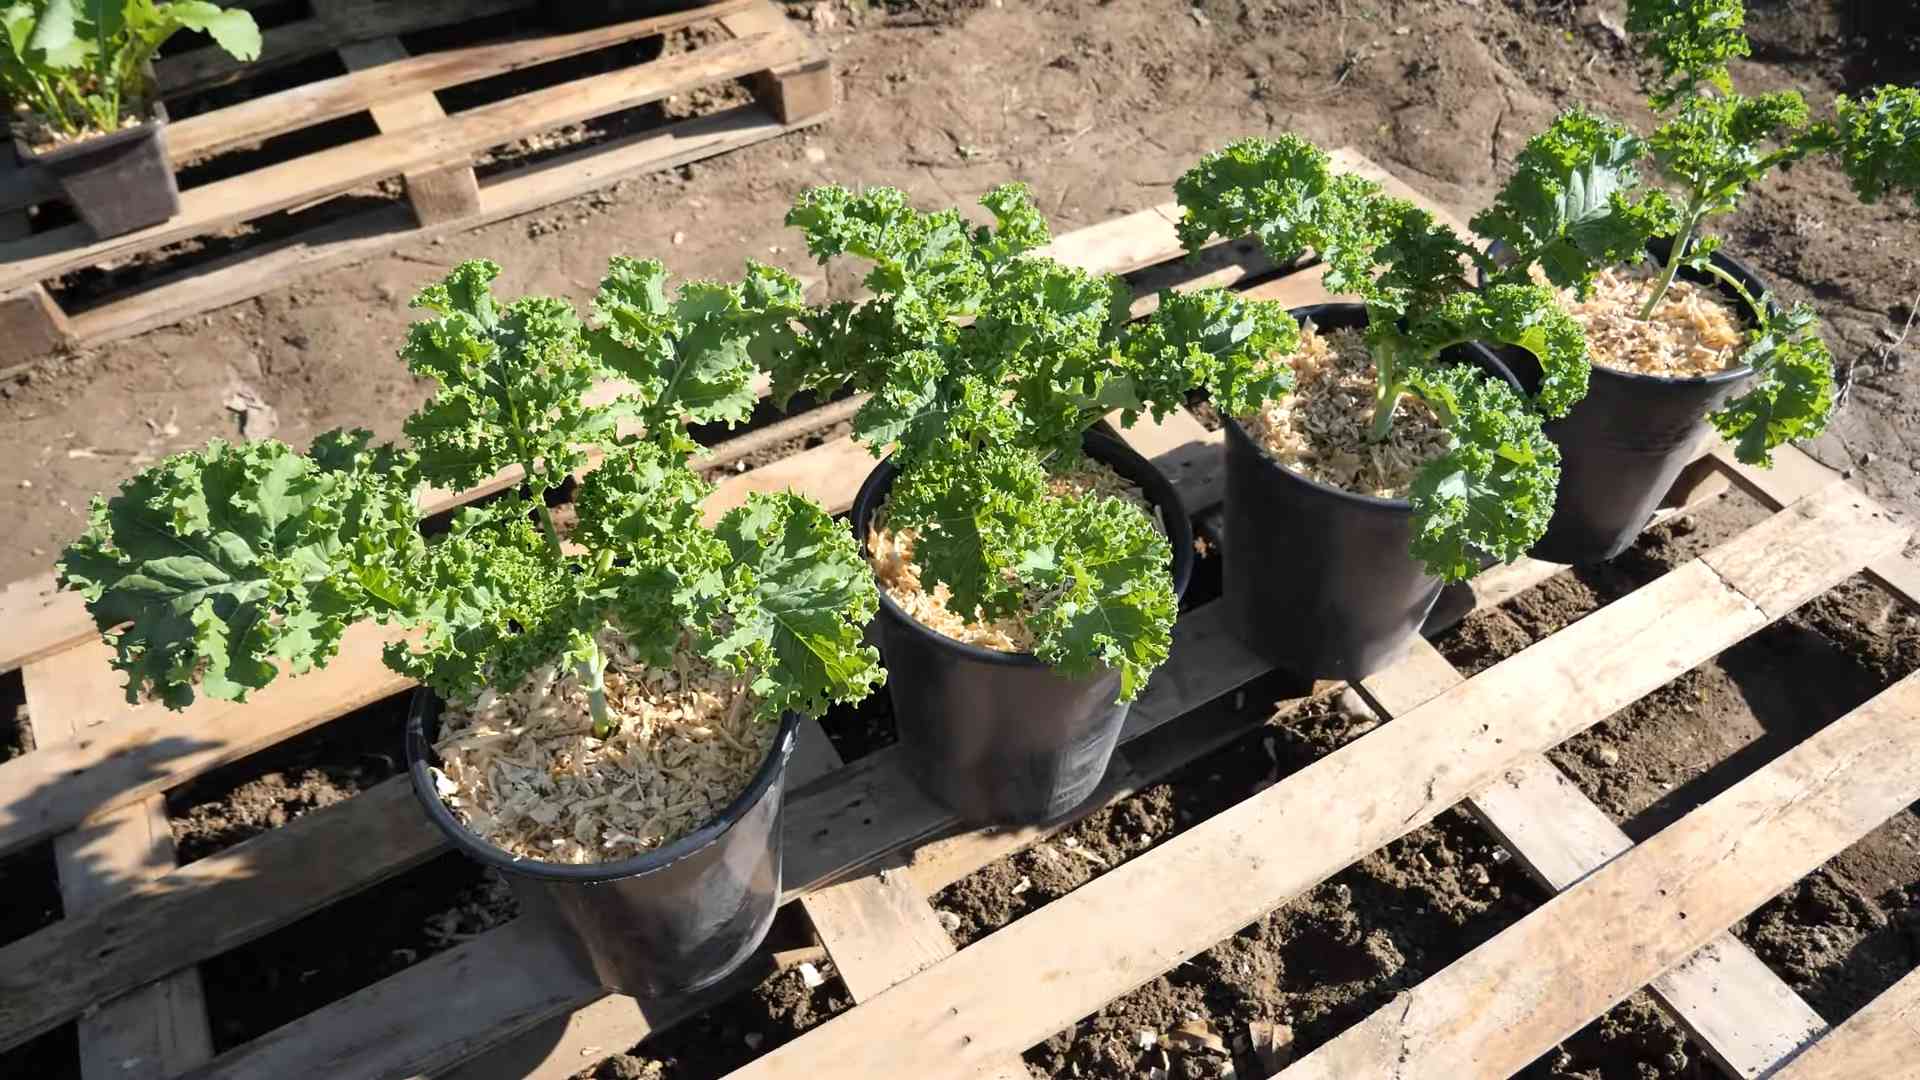
I like to plant my kale in rows to make it easier to weed and harvest. Remember to water the plants regularly, especially during dry spells.
Caring for Your Kale
Kale is relatively easy to care for, but here are a few tips to keep your plants healthy and productive:
* **Watering:** Water deeply and regularly, especially during hot, dry weather. Aim for about 1 inch of water per week.
* **Fertilizing:** Side-dress your kale plants with a balanced fertilizer every few weeks to provide them with the nutrients they need.
* **Weeding:** Keep the area around your kale plants free of weeds, which can compete for nutrients and water.
* **Mulching:** Apply a layer of mulch around your kale plants to help retain moisture, suppress weeds, and regulate soil temperature. I use straw or shredded leaves.
* **Pest Control:** Keep an eye out for common kale pests, such as aphids, cabbage worms, and flea beetles. Handpick pests off the plants or use organic pest control methods, such as insecticidal soap or neem oil.
* **Bolting:** Kale can bolt (go to seed) in hot weather. To prevent bolting, provide shade during the hottest part of the day and harvest regularly.
I’ve found that consistent watering and regular fertilizing are key to growing healthy, productive kale plants.
Dealing with Pests and Diseases
Even with the best care, kale can sometimes be affected by pests and diseases. Here’s what to watch out for:
* **Aphids:** These tiny insects suck sap from the leaves, causing them to curl and distort. Spray aphids with insecticidal soap or neem oil.
* **Cabbage Worms:** These green caterpillars can devour kale leaves. Handpick them off the plants or use Bacillus thuringiensis (Bt), a natural insecticide.
* **Flea Beetles:** These tiny beetles chew small holes in the leaves. Cover the plants with row covers or spray with neem oil.
* **Downy Mildew:** This fungal disease causes yellow spots on the leaves. Improve air circulation and avoid overhead watering.
* **Clubroot:** This soilborne disease causes swollen, distorted roots. Rotate crops and amend the soil with lime to raise the pH.
I always inspect my kale plants regularly for pests and diseases. Early detection is key to preventing serious problems.
Harvesting Your Kale
You can start harvesting kale leaves as soon as they are large enough to eat, usually about 6-8 inches long.
* **Harvesting Technique:** Harvest the outer leaves first, leaving the inner leaves to continue growing. This is known as “cut-and-come-again” harvesting.
* **Harvesting Time:** Harvest kale in the morning, after the dew has dried.
* **Storage:** Store kale in the refrigerator for up to a week.
I love harvesting kale and using it in salads, smoothies, soups, and stir-fries. It’s so versatile and nutritious!
Extending the Growing Season
Kale is a cool-season crop that can tolerate frost, so you can extend the growing season by planting it in the spring and fall.
* **Spring Planting:** Start seeds indoors 6-8 weeks before the last expected frost or direct sow them in the garden after the danger of frost has passed.
* **Fall Planting:** Start seeds indoors in mid-summer or direct sow them in the garden in late summer.
* **Winter Protection:** In colder climates, you can protect kale plants from frost and snow by covering them with row covers or a cold frame.
I’ve been able to harvest kale throughout the winter by protecting it with row covers. It’s such a treat to have fresh greens even when the rest of the garden is dormant.
Enjoying Your Homegrown Kale
Now that you’ve grown your own kale, it’s time to enjoy the fruits (or rather, leaves) of your labor! Here are a few ideas:
* **Salads:** Add chopped kale to salads for a boost of nutrients and flavor.
* **Smoothies:** Blend kale into smoothies for a healthy and delicious drink.
* **Soups:** Add kale to soups and stews for added texture and nutrition.
* **Stir-fries:** Stir-fry kale with other vegetables and protein for a quick and easy meal.
* **Kale Chips:** Bake kale leaves with olive oil and seasonings for a healthy snack.
* **Sautéed Kale:** Sauté kale with garlic and olive oil for a simple and flavorful side dish.
I hope this guide has inspired you to grow your own kale at home. It’s a rewarding experience that will provide you with a constant supply of fresh, nutritious greens. Happy gardening!
Conclusion
So, there you have it! Growing kale at home is not only achievable, but it’s also incredibly rewarding. From the vibrant, nutrient-packed leaves gracing your plate to the sheer satisfaction of nurturing something from seed to harvest, this DIY project is a game-changer for any home cook or gardening enthusiast. Forget those wilted, overpriced bunches at the grocery store. With a little effort and the right guidance, you can have a constant supply of fresh, organic kale right at your fingertips.
The benefits extend far beyond just convenience. Think about the environmental impact of reducing your reliance on commercially grown produce. Think about the cost savings over time. And most importantly, think about the unparalleled flavor and nutritional value of freshly picked kale. It’s a win-win-win!
But don’t just take our word for it. The real magic happens when you get your hands dirty and experience the joy of growing kale firsthand. Start small, experiment with different varieties like curly kale, dinosaur kale (lacinato), or red Russian kale to discover your favorites. Consider companion planting with herbs like rosemary or thyme to deter pests and enhance flavor. You can even try growing kale in containers on your balcony or patio if you’re short on space.
Don’t be afraid to experiment! Try different soil mixes, adjust your watering schedule based on your climate, and observe how your kale plants respond. The beauty of gardening is that it’s a constant learning process.
And once you’ve harvested your bounty, the culinary possibilities are endless. From hearty kale salads and smoothies to crispy kale chips and flavorful additions to soups and stews, this versatile green can elevate any dish.
We’re confident that once you try growing kale at home, you’ll be hooked. It’s a simple, sustainable, and incredibly satisfying way to bring fresh, healthy food to your table.
So, grab your seeds, prepare your soil, and get ready to embark on a kale-growing adventure! We can’t wait to hear about your experiences. Share your tips, tricks, and photos with us in the comments below. Let’s build a community of home kale growers and inspire others to embrace the joys of homegrown goodness. Happy gardening!
Frequently Asked Questions (FAQ)
1. What is the best time of year to start growing kale?
The best time to start growing kale depends on your climate. Kale is a cool-season crop, meaning it thrives in cooler temperatures. In most regions, you can plant kale in early spring for a summer harvest or in late summer/early fall for a winter harvest. If you live in a warmer climate, fall planting is generally preferred, as the cooler temperatures will prevent the kale from bolting (going to seed prematurely). For spring planting, start seeds indoors 6-8 weeks before the last expected frost. For fall planting, direct sow seeds outdoors 6-8 weeks before the first expected frost.
2. What kind of soil does kale need?
Kale prefers well-draining soil that is rich in organic matter. A slightly acidic to neutral pH (6.0-7.0) is ideal. Before planting, amend your soil with compost or well-rotted manure to improve its fertility and drainage. If your soil is heavy clay, consider adding sand or perlite to improve drainage. You can also perform a soil test to determine the pH and nutrient levels of your soil and amend accordingly.
3. How much sunlight does kale need?
Kale needs at least 6 hours of sunlight per day to thrive. However, in hotter climates, some afternoon shade can be beneficial to prevent the leaves from scorching. If you’re growing kale indoors, use grow lights to supplement natural sunlight. Rotate your kale plants regularly to ensure even light exposure.
4. How often should I water kale?
Kale needs consistent moisture to grow well. Water deeply whenever the top inch of soil feels dry to the touch. Avoid overwatering, as this can lead to root rot. Mulching around your kale plants can help retain moisture and suppress weeds. During hot, dry weather, you may need to water more frequently.
5. What are some common pests and diseases that affect kale?
Common pests that affect kale include aphids, cabbage worms, flea beetles, and slugs. To control these pests, you can use organic insecticides like neem oil or insecticidal soap. You can also handpick pests off your plants or use row covers to protect them. Common diseases that affect kale include black rot, clubroot, and downy mildew. To prevent these diseases, choose disease-resistant varieties, practice crop rotation, and avoid overhead watering. Ensure good air circulation around your plants to prevent fungal diseases.
6. How do I harvest kale?
You can start harvesting kale leaves when they are about 4-6 inches long. Harvest the outer leaves first, leaving the inner leaves to continue growing. Avoid harvesting more than one-third of the plant at a time. You can harvest kale leaves throughout the growing season. After harvesting, wash the leaves thoroughly and store them in the refrigerator for up to a week.
7. Can I grow kale in containers?
Yes, you can absolutely grow kale in containers! Choose a container that is at least 12 inches deep and wide to allow enough room for the roots to grow. Use a well-draining potting mix and water regularly. Container-grown kale may need more frequent watering and fertilization than kale grown in the ground.
8. What are some good companion plants for kale?
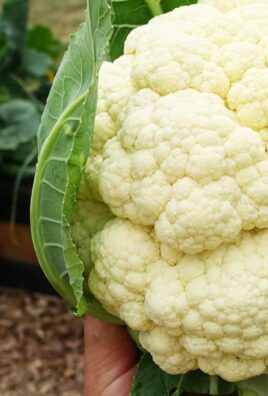
Good companion plants for kale include herbs like rosemary, thyme, and sage, which can deter pests. Other beneficial companion plants include onions, garlic, and marigolds. Avoid planting kale near other members of the brassica family, such as broccoli, cabbage, and cauliflower, as they can attract the same pests and diseases.
9. How do I prevent kale from bolting?
Bolting is when a plant prematurely goes to seed, usually due to stress from heat or lack of water. To prevent kale from bolting, plant it at the right time of year for your climate, provide consistent moisture, and protect it from extreme heat. You can also choose bolt-resistant varieties of kale. If your kale does start to bolt, you can still harvest the leaves, but they may become more bitter.
10. Is kale a good source of nutrients?
Yes, kale is an excellent source of nutrients! It is packed with vitamins A, C, and K, as well as calcium, iron, and antioxidants. Eating kale can help boost your immune system, improve bone health, and protect against chronic diseases. Incorporating homegrown kale into your diet is a delicious and nutritious way to improve your overall health.


Leave a Comment