
Harpic Toilet Cleaning: DIY Tricks and Hacks for a Sparkling Clean Bathroom
Let’s be honest, cleaning the toilet isn’t anyone’s favorite chore. But a sparkling clean toilet is essential for a healthy and hygienic home. That’s why I’m excited to share some amazing Harpic toilet cleaning DIY tricks and hacks that will make this task quicker, easier, and more effective than ever before! Forget harsh chemicals and expensive cleaners; we’re diving into natural and budget-friendly solutions that will leave your toilet gleaming.
The history of toilet cleaning is surprisingly fascinating! For centuries, people have devised ingenious methods to keep their facilities clean, ranging from simple scrubbing with natural materials to the development of modern chemical cleaners like Harpic. But even with the advancements in commercial products, many find themselves searching for more eco-friendly and cost-effective alternatives. That’s where these Harpic toilet cleaning DIY solutions come in.
Why You Need These DIY Hacks
These DIY tricks aren’t just about saving money; they’re about taking control of your cleaning routine and ensuring a healthier environment for your family. Many commercial cleaners contain harsh chemicals that can be irritating to the skin and potentially harmful to the environment. By using natural ingredients, you can avoid these risks while still achieving a brilliantly clean toilet. Plus, these methods are often quicker and more effective than you might think!
So, whether you’re a seasoned cleaning pro or a complete beginner, get ready to discover the secrets to effortless and effective Harpic toilet cleaning with these simple, yet powerful DIY hacks. Let’s get started!
Deep Cleaning Your Toilet Like a Pro: A DIY Harpic Hack
Let’s face it, cleaning the toilet isn’t anyone’s favorite chore. But with the right approach and a little elbow grease, you can achieve a sparkling clean toilet that will leave you feeling proud. This guide uses Harpic, but you can adapt it to your preferred toilet cleaner.
Phase 1: Preparation is Key
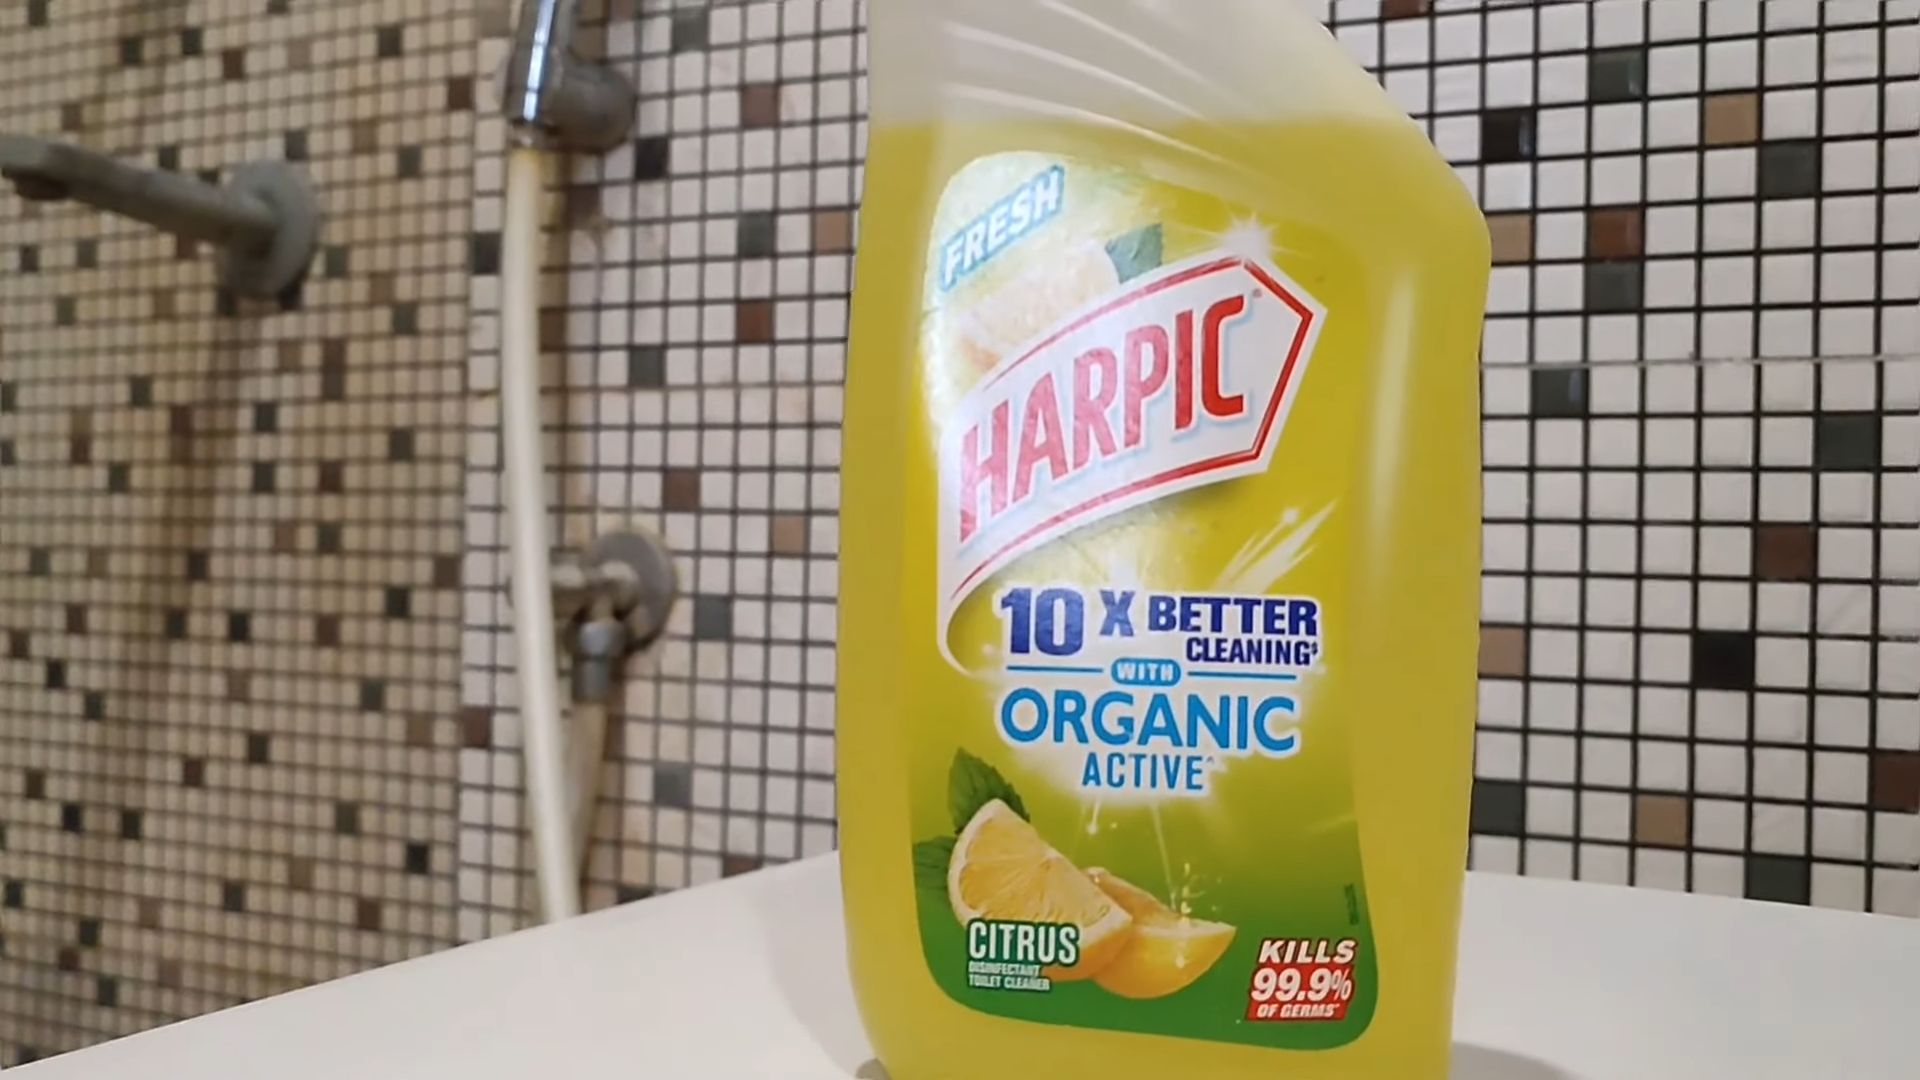
- Gather your supplies: You’ll need Harpic (your preferred scent and type), a toilet brush, rubber gloves (highly recommended!), a spray bottle filled with water, paper towels, and optionally, a pumice stone for stubborn stains.
- Protect yourself: Put on your rubber gloves. This protects your hands from harsh chemicals and bacteria.
- Ventilation: Open a window or turn on your bathroom fan to ensure good ventilation. Harpic, like most toilet cleaners, has a strong scent.
- Pre-Clean (Optional): If your toilet is exceptionally dirty, a quick pre-clean with hot water can help loosen up grime before applying Harpic.
Phase 2: Applying the Harpic
- Pour the Harpic: Follow the instructions on your Harpic bottle for the recommended amount. Generally, you’ll want to pour it under the rim of the toilet bowl. Try to distribute it evenly around the bowl.
- Let it sit: Allow the Harpic to sit for the recommended time on the bottle. This usually ranges from 10-30 minutes, allowing the chemicals to break down the grime and stains. Don’t rush this step! The longer it sits (within reason), the better the cleaning results.
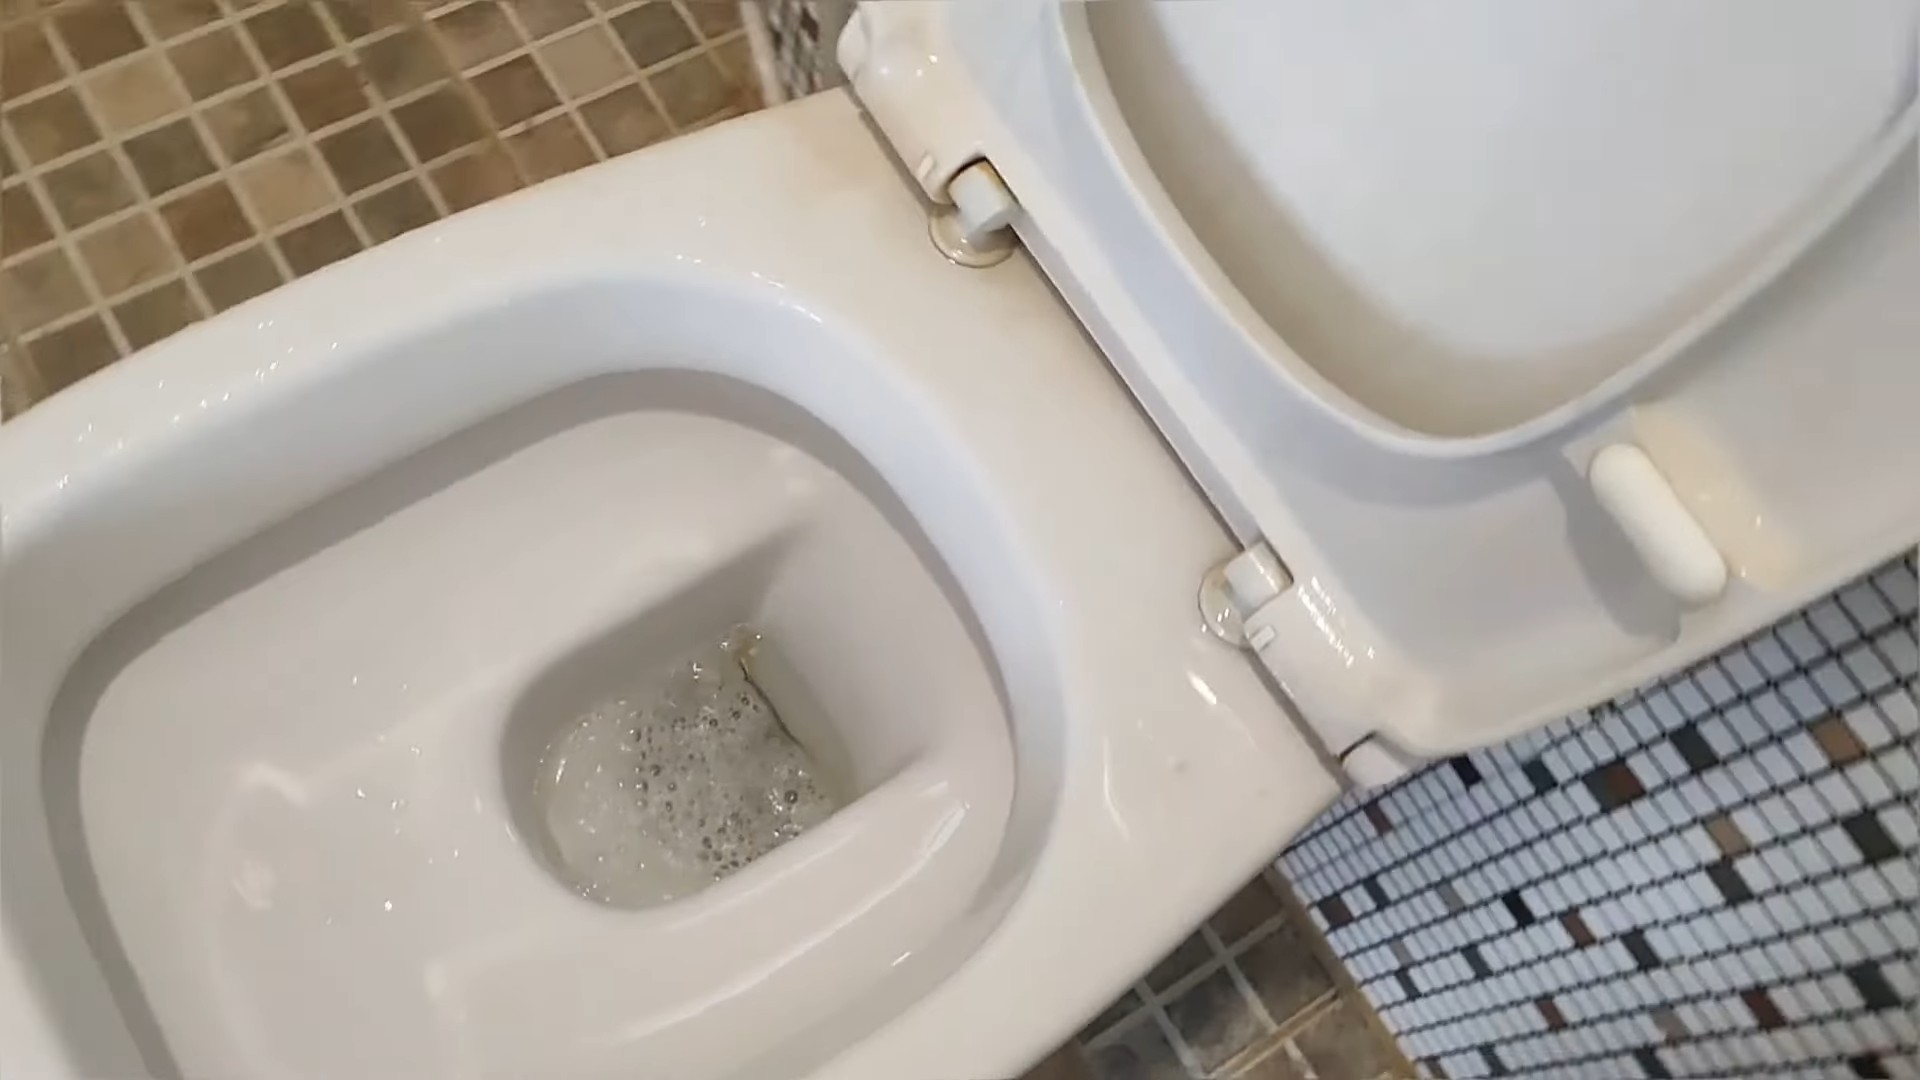
- Scrubbing the Bowl: After the recommended time, use your toilet brush to scrub the entire bowl thoroughly. Pay special attention to areas with stubborn stains or buildup under the rim. Scrub vigorously, but avoid splashing.
- Under the Rim: Use the brush to get under the rim of the toilet bowl. This is often where the most stubborn stains accumulate.
- The Waterline: Don’t forget to scrub the waterline where the water meets the bowl. This area often shows signs of mineral deposits and hard water stains.
Phase 3: Rinsing and Finishing Touches
- Flush the Toilet: After scrubbing, flush the toilet to rinse away the Harpic and loosened debris. You might need to flush a couple of times to ensure everything is completely gone.
- Inspect for Remaining Stains: Once flushed, inspect the bowl carefully. Are there any stubborn stains remaining? If so, proceed to the next step.
- Pumice Stone (Optional): For particularly stubborn stains that didn’t come off with the Harpic and scrubbing, gently rub a pumice stone over the affected areas. Be careful not to scratch the porcelain. Use a light touch and plenty of water.
- Final Rinse: Flush the toilet one last time to remove any remaining residue from the pumice stone (if used).
- Clean the Exterior: Don’t forget to clean the outside of the toilet! Use a toilet cleaner spray or a multi-purpose cleaner and a clean cloth or sponge to wipe down the exterior, including the seat, lid, and base.
- Disinfect: For extra hygiene, consider using a disinfectant spray or wipe on the toilet seat and handle after cleaning.
Phase 4: Maintaining a Clean Toilet
- Regular Cleaning: For best results, clean your toilet regularly, at least once a week. This prevents buildup and makes future cleanings much easier.
- Quick Clean: Between deep cleans, a quick wipe-down of the exterior and a quick scrub with the toilet brush can keep your toilet looking its best.
- Preventative Measures: Consider using toilet bowl cleaner tablets or drops to maintain cleanliness between deep cleans. These slowly release cleaning agents into the water, helping to prevent staining and buildup.
- Proper Flushing: Ensure you’re using the correct amount of toilet paper to avoid clogs. Clogs can lead to overflow and make cleaning much more difficult.
- Address Issues Promptly: If you notice any stains or buildup, address them immediately. The longer you wait, the harder they will be to remove.
Phase 5: Dealing with Specific Problems
Hard Water Stains
Hard water stains can be particularly stubborn. Soaking the affected area with white vinegar for a few hours before applying Harpic can help to loosen them. You can also try using a paste of baking soda and water to scrub the stains.
Rust Stains
Rust stains require a different approach. Try using a rust remover specifically designed for porcelain toilets. Always follow the manufacturer’s instructions carefully.
Mold and Mildew
If you notice mold or mildew growth, use a bleach-based cleaner (following safety precautions) to disinfect the affected areas. Ensure good ventilation when using bleach.
Scratches
Unfortunately, scratches on the porcelain are difficult to remove completely. You can try using a porcelain repair kit to minimize their appearance, but complete removal is unlikely.
By following these steps, you can achieve a sparkling clean toilet every time. Remember, consistency is key to maintaining a clean and hygienic bathroom!
Conclusion
So there you have it! Our guide to achieving a sparkling clean toilet using a simple, effective, and budget-friendly Harpic toilet cleaning DIY trick. This method isn’t just about saving money; it’s about taking control of your cleaning routine and achieving professional-level results without harsh chemicals. This DIY Harpic toilet cleaning solution offers a powerful, yet gentle, approach to tackling even the toughest toilet stains and grime. It’s a must-try for anyone looking to upgrade their cleaning game, whether you’re a seasoned cleaning enthusiast or a complete beginner. The satisfying feeling of a truly clean toilet, achieved with minimal effort and maximum impact, is truly rewarding.
Beyond the basic recipe, the possibilities for customization are endless. Experiment with adding a few drops of your favorite essential oil, like tea tree or lavender, for a refreshing and naturally scented clean. If you prefer a stronger cleaning power, consider increasing the amount of Harpic used, but always follow the product’s instructions for safe and effective use. For those with particularly stubborn stains, a pre-soak with a solution of baking soda and vinegar before applying the Harpic mixture can work wonders. Remember to always test any variations on a small, inconspicuous area first to ensure it doesn’t damage your toilet’s finish.
We encourage you to try this DIY Harpic toilet cleaning method and share your experience with us! Let us know in the comments below how it worked for you, what variations you tried, and any tips you discovered along the way. Your feedback will help other readers and inspire us to continue sharing helpful cleaning hacks. Don’t forget to share your sparkling clean toilet results on social media using #HarpicDIYClean! Let’s create a community of clean-toilet enthusiasts, sharing our successes and learning from each other. This simple DIY trick can transform your cleaning routine, making it easier, more effective, and more environmentally conscious. So, grab your supplies, give it a try, and experience the difference!
Frequently Asked Questions
We understand you might have some questions about this DIY Harpic toilet cleaning method. Here are some answers to the most frequently asked questions:
How often should I use this DIY Harpic toilet cleaning solution?
The frequency depends on your toilet’s usage and your personal preference. For most households, using this solution once a week is sufficient to maintain a clean and hygienic toilet. However, if you have a high-traffic bathroom, you might need to clean it more frequently. For particularly stubborn stains or build-up, you can use it more often, but remember to always follow the Harpic product instructions.
Can I use this method on all types of toilets?
While this method is generally safe for most toilets, it’s always recommended to test it on a small, inconspicuous area first, especially if you have a particularly delicate or antique toilet. Avoid using abrasive cleaners or scrubbing too hard, as this could damage the toilet’s surface. Always refer to your toilet manufacturer’s instructions for cleaning recommendations.
What if I don’t have Harpic? Can I use another toilet cleaner?
While this recipe is specifically designed for Harpic due to its effectiveness and readily available nature, you can experiment with other toilet bowl cleaners. However, the results might vary depending on the cleaner’s formulation. Always follow the instructions on the chosen cleaner’s label and ensure it’s compatible with your toilet type.
Is this DIY Harpic toilet cleaning method safe for the environment?
Compared to many commercial toilet cleaners, this method is relatively more environmentally friendly. However, it’s important to dispose of any used cleaning solution properly, following local guidelines for wastewater disposal. Always prioritize using eco-friendly cleaning products whenever possible.
What should I do if I accidentally spill the Harpic solution?
In case of accidental spills, immediately wipe up the solution with a clean cloth or paper towel. Ensure proper ventilation in the bathroom to avoid inhaling any fumes. If the spill is significant, refer to the Harpic product instructions for safety precautions and cleanup procedures.
My toilet still has stains after using this method. What should I do?
If stains persist after using this DIY Harpic toilet cleaning solution, you might need to try a more intensive cleaning method. Consider pre-soaking the toilet bowl with a solution of baking soda and vinegar before applying the Harpic mixture. For extremely stubborn stains, you might need to use a stronger commercial toilet cleaner, but always follow the product’s instructions carefully.
Can I use this method on my toilet seat and other toilet accessories?
This DIY Harpic toilet cleaning solution is primarily intended for the toilet bowl itself. For cleaning the toilet seat, lid, and other accessories, it’s best to use a separate, gentler cleaning solution to avoid damaging the materials. Always refer to the manufacturer’s instructions for cleaning recommendations for your specific toilet accessories.

Leave a Comment