
Harvest Sweet Potatoes at Home – the words themselves conjure images of bountiful autumn harvests and the satisfaction of enjoying food you’ve nurtured from seed to table. But did you know that growing and harvesting your own sweet potatoes is easier than you might think, even if you don’t have acres of farmland? For centuries, sweet potatoes have been a staple in diets around the world, from their origins in Central and South America to their widespread cultivation in Asia and Africa. They represent resilience, nourishment, and the simple joy of connecting with the earth.
I’m here to tell you that you don’t need a green thumb of legend to successfully harvest sweet potatoes at home. In fact, with a few simple tricks and DIY techniques, you can enjoy a delicious and rewarding harvest right from your own backyard, patio, or even a large container! Imagine the pride of serving a Thanksgiving dish made with sweet potatoes you personally grew. Or the delight of sharing your homegrown bounty with friends and family.
In this article, I’m going to share my favorite DIY hacks and tips for growing and harvesting sweet potatoes. I’ll guide you through the entire process, from preparing your soil to knowing exactly when to dig up those buried treasures. So, grab your gardening gloves, and let’s get ready to unearth some sweet success!
Harvesting Sweet Potatoes: A Beginner’s Guide to Digging Up Deliciousness
So, you’ve nurtured your sweet potato plants all season, and now the moment of truth has arrived! Harvesting your own sweet potatoes is incredibly rewarding, and with a little know-how, you can enjoy a bountiful crop of these nutritious and delicious tubers. Don’t worry if you’re a newbie; I’m here to guide you through the process step-by-step.
When to Harvest: Timing is Everything
Knowing when to harvest is crucial for getting the best flavor and storage life from your sweet potatoes. Here’s what to look for:
* Days to Maturity: Check the seed packet or plant tag for the “days to maturity.” This is a general guideline, usually around 90-120 days after planting slips (the sprouts that grow from sweet potatoes). Keep track of when you planted!
* Weather Forecast: This is super important! You want to harvest BEFORE the first frost. Frost can damage the tubers, making them susceptible to rot during storage. If a frost is predicted, get those sweet potatoes out of the ground ASAP!
* Vine Condition: The vines will start to yellow and may even die back a bit. This is a natural sign that the plant is putting its energy into the tubers. Don’t wait until the vines are completely dead, though, as this can also lead to rot.
* Test Dig: The best way to know for sure is to do a test dig! Gently excavate around one plant and check the size of the sweet potatoes. If they’re a good size for you (usually 3-5 inches long), it’s time to harvest.
Tools You’ll Need: Gathering Your Gear
Having the right tools makes the job much easier and prevents damage to your precious sweet potatoes. Here’s what I recommend:
* Garden Fork or Spading Fork: This is essential for loosening the soil around the plants. A garden fork is preferable to a shovel, as it’s less likely to slice into the tubers.
* Gloves: Protect your hands from dirt and potential scratches.
* Pruning Shears or Garden Scissors: For cutting back the vines.
* Trowel: A small trowel can be helpful for gently uncovering sweet potatoes close to the surface.
* Buckets or Baskets: To collect your harvested sweet potatoes.
* Cardboard Boxes or Crates: For curing the sweet potatoes after harvesting.
* Soft Brush: For gently removing excess soil.
* Sharp Knife or Scissors: To cut away any damaged roots.
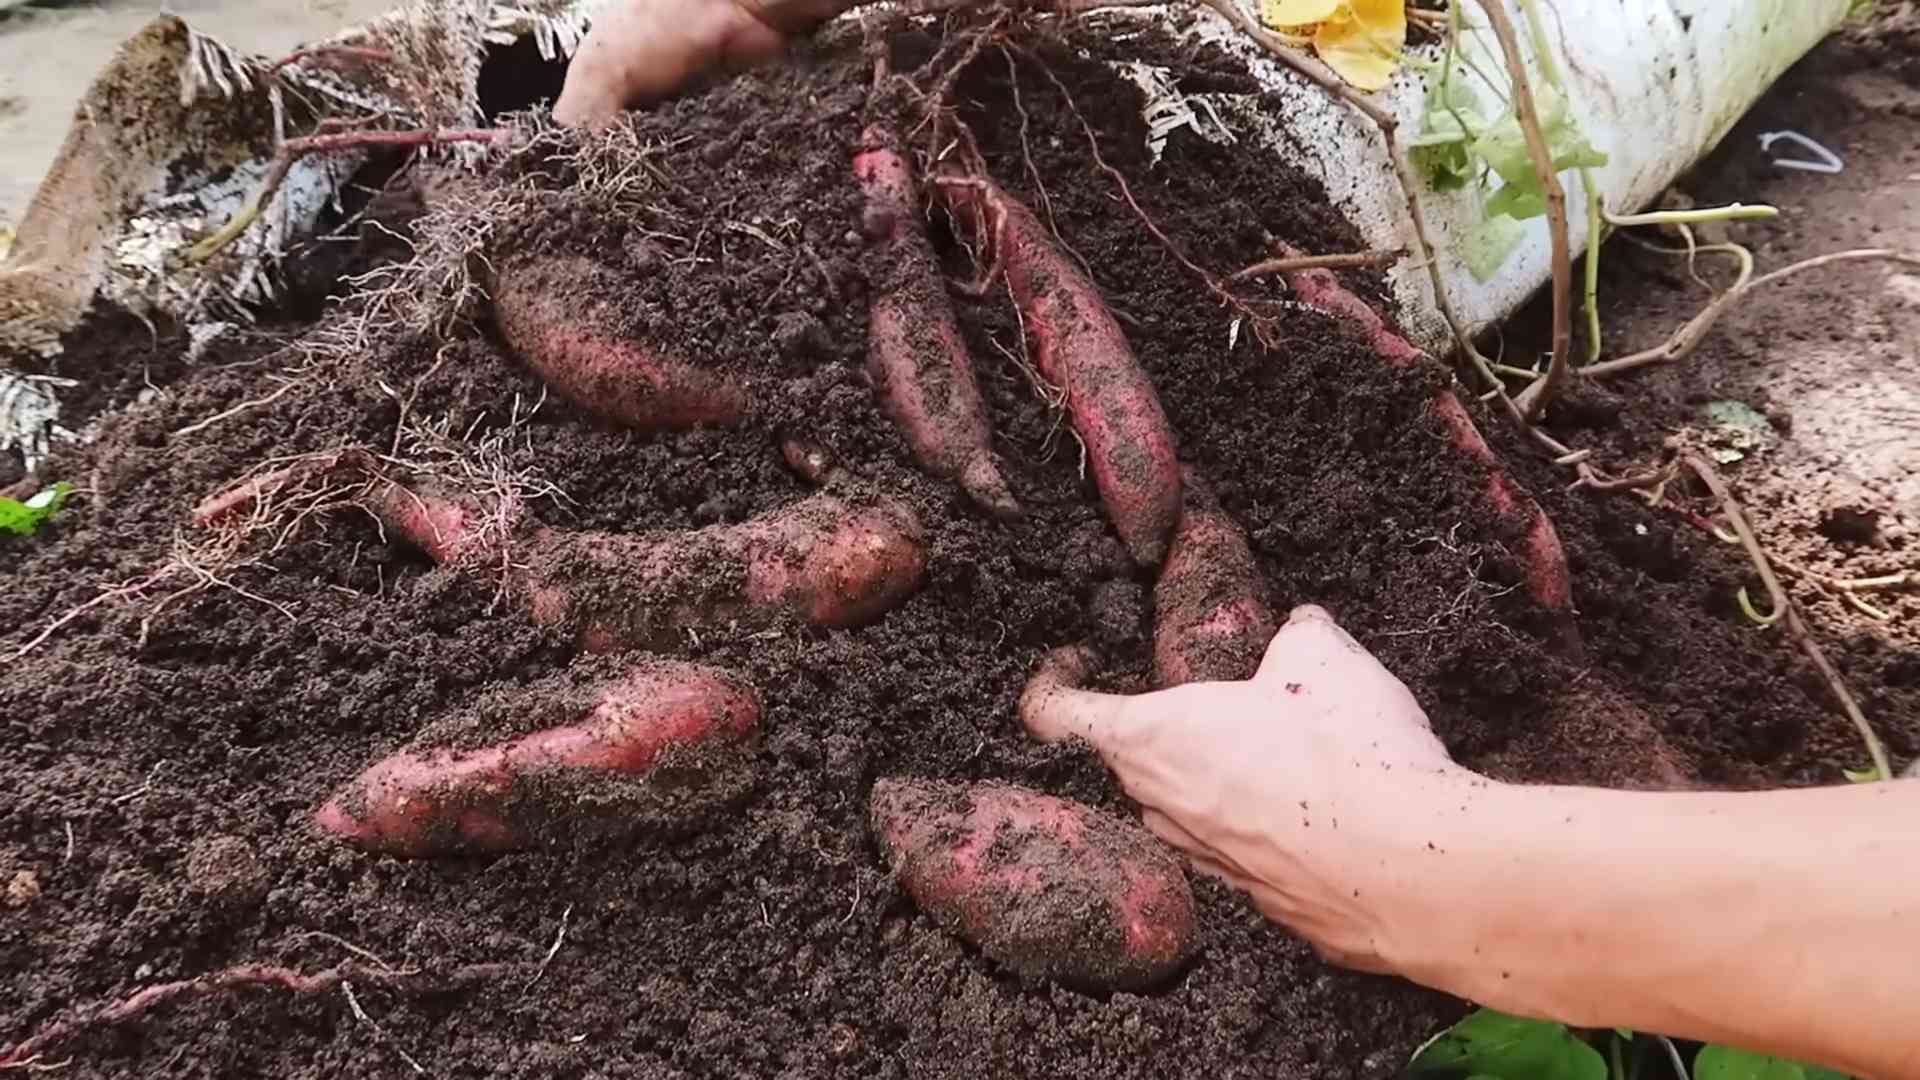
The Harvesting Process: Digging Up Your Treasure
Okay, let’s get down to the nitty-gritty! Here’s how to harvest your sweet potatoes:
1. Prepare the Area: A day or two before harvesting, stop watering your sweet potato plants. This will help the soil dry out a bit, making it easier to dig.
2. Cut Back the Vines: Using your pruning shears or garden scissors, cut back the vines to about 6 inches above the ground. This makes it easier to see where you’re digging and reduces the risk of damaging the tubers. Discard the vines (they can be composted if they’re healthy).
3. Loosen the Soil: This is the most important step! Insert your garden fork about 12-18 inches away from the base of the plant. Gently loosen the soil by rocking the fork back and forth. Be careful not to stab the sweet potatoes! Work your way around the plant, loosening the soil in a wide circle.
4. Carefully Dig: Now, gently lift the soil with the fork, being mindful of any sweet potatoes that might be close to the surface. Use your hands to carefully remove the soil around the tubers. Sweet potatoes can be surprisingly close to the surface, so take your time.
5. Unearth the Sweet Potatoes: Once you’ve loosened the soil and removed the excess dirt, you should be able to see the sweet potatoes. Gently lift them out of the ground. Be careful not to bruise or damage them.
6. Inspect and Sort: As you harvest, inspect each sweet potato for damage. Set aside any bruised, cut, or diseased tubers. These should be used immediately, as they won’t store well.
7. Repeat: Continue this process for all your sweet potato plants.
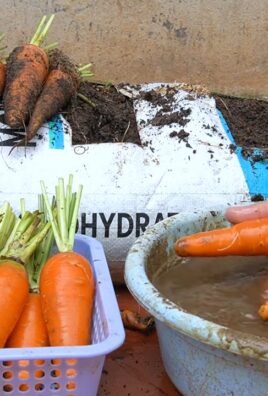
8. Clean Gently: Use a soft brush to gently remove any excess soil from the sweet potatoes. Do NOT wash them with water, as this can promote rot.
Curing Your Sweet Potatoes: The Secret to Long-Term Storage
Curing is essential for healing any minor wounds and converting starches to sugars, resulting in sweeter and longer-lasting sweet potatoes.
1. Choose a Curing Location: Find a warm, humid place to cure your sweet potatoes. The ideal temperature is 80-85°F (27-29°C) with 85-90% humidity. A greenhouse, enclosed porch, or even a bathroom with a humidifier can work well.
2. Prepare Your Curing Containers: Line cardboard boxes or crates with newspaper or burlap. This will help absorb excess moisture.
3. Arrange the Sweet Potatoes: Place the sweet potatoes in the boxes or crates, making sure they don’t touch each other. Good air circulation is important to prevent rot.
4. Cure for 7-10 Days: Maintain the warm, humid conditions for 7-10 days. Check the sweet potatoes regularly for any signs of rot. Remove any that are starting to spoil.
5. Monitor Humidity: If you don’t have a hygrometer, you can simulate humidity by placing a pan of water in the curing area.
Storing Your Sweet Potatoes: Keeping Them Fresh
After curing, your sweet potatoes are ready for long-term storage.
1. Choose a Cool, Dark Place: Store your cured sweet potatoes in a cool, dark, and well-ventilated place. A basement, root cellar, or unheated garage are good options. The ideal temperature is 55-60°F (13-16°C).
2. Maintain Air Circulation: Store the sweet potatoes in well-ventilated containers, such as cardboard boxes or crates. Don’t pile them too high, as this can restrict air flow.
3. Avoid Refrigeration: Do NOT refrigerate sweet potatoes. This will cause them to develop a hard core and lose their flavor.
4. Check Regularly: Check your stored sweet potatoes regularly for any signs of rot. Remove any that are starting to spoil to prevent the rot from spreading.
5. Enjoy Your Harvest: With proper curing and storage, your sweet potatoes should last for several months. Enjoy the fruits (or rather, tubers!) of your labor!
Troubleshooting: Common Issues and Solutions
Even with the best planning, things can sometimes go wrong. Here are some common issues you might encounter and how to deal with them:
* Sweet Potatoes Rotting in Storage: This is usually caused by improper curing or storage conditions. Make sure you’re curing your sweet potatoes in a warm, humid environment and storing them in a cool, dark, and well-ventilated place. Remove any rotting sweet potatoes immediately to prevent the rot from spreading.
* Sweet Potatoes are Small: This could be due to several factors, including poor soil, insufficient watering, or a short growing season. Make sure you’re planting your sweet potatoes in well-drained soil and providing them with adequate water. You can also try adding compost or other organic matter to the soil to improve its fertility.
* Sweet Potatoes are Damaged During Harvesting: This is often caused by using a shovel instead of a garden fork or being too rough when digging. Be gentle when loosening the soil and use your hands to carefully remove the sweet potatoes.
* Pest Damage: Sweet potatoes can be susceptible to pests such as sweet potato weevils. Inspect your plants regularly for signs of pest damage and take appropriate action.
Enjoying Your Homegrown Sweet Potatoes: Recipes and Ideas
Now that you’ve harvested and stored your sweet potatoes, it’s time to enjoy them! Here are a few ideas:
* Roasted Sweet Potatoes: A simple and delicious way to enjoy the natural sweetness of sweet potatoes. Just toss them with olive oil, salt, and pepper, and roast them in the oven until tender.
* Sweet Potato Fries: A healthier alternative to regular fries. Cut the sweet potatoes into fries, toss them with olive oil and spices, and bake or air fry them until crispy.
* Sweet Potato Pie: A classic Thanksgiving dessert.
* Sweet Potato Soup: A creamy and comforting soup perfect for a cold day.
* Mashed Sweet Potatoes: A delicious and nutritious side dish.
Harvesting your own sweet potatoes is a rewarding experience that allows you to enjoy fresh, homegrown produce. With a little planning and effort, you can have a bountiful harvest of these delicious and
Conclusion
So, there you have it! Harvesting sweet potatoes at home isn’t just about getting fresh produce; it’s about connecting with the earth, understanding the growing cycle, and enjoying the unparalleled flavor of homegrown goodness. This DIY trick, while requiring a little patience and effort, is undeniably rewarding. Imagine the satisfaction of pulling those vibrant, earthy treasures from the soil, knowing you nurtured them from start to finish.
Why is this a must-try? Because store-bought sweet potatoes simply can’t compare to the taste and texture of freshly harvested ones. The sweetness is more pronounced, the flesh is creamier, and the overall experience is just…better. Plus, you control the entire process, ensuring your sweet potatoes are grown without harmful chemicals or pesticides. You’re not just getting food; you’re getting peace of mind.
But the fun doesn’t stop there! Feel free to experiment with different varieties of sweet potatoes. Try growing Beauregard for its classic orange flesh and sweet flavor, or perhaps venture into the world of purple sweet potatoes for a unique and visually stunning dish. You can also adjust your planting schedule to stagger your harvest, ensuring a continuous supply of fresh sweet potatoes throughout the fall and winter. Consider companion planting with herbs like basil or rosemary to deter pests and enhance the flavor of your sweet potatoes.
Don’t be afraid to get your hands dirty and embrace the learning process. Every garden is different, and every season brings its own challenges and rewards. The key is to observe, adapt, and most importantly, enjoy the journey.
We wholeheartedly encourage you to try this DIY trick for harvesting sweet potatoes at home. It’s a fantastic way to get closer to nature, enjoy delicious and healthy food, and learn a valuable skill. And once you’ve experienced the joy of harvesting your own sweet potatoes, we’d love to hear about it! Share your photos, tips, and stories with us in the comments below. Let’s build a community of home gardeners who are passionate about growing their own food and sharing their knowledge with others. Your experience could inspire someone else to take the plunge and discover the magic of homegrown sweet potatoes. So, grab your gardening gloves, get ready to dig, and prepare to be amazed by the bounty that awaits you beneath the soil! This is more than just a recipe; it’s an invitation to a more sustainable and fulfilling way of life. And remember, the best sweet potatoes are the ones you grow yourself!
Frequently Asked Questions (FAQ)
When is the best time to harvest my sweet potatoes?
The ideal time to harvest sweet potatoes is typically about 90-120 days after planting, or just before the first frost in your area. Look for signs like yellowing leaves and a general decline in the plant’s vigor. You can also gently dig around one plant to check the size of the sweet potatoes. If they’re a good size and the skin is firm, it’s time to harvest! Don’t wait too long, as frost can damage the sweet potatoes and affect their storage life.
How do I know if my sweet potatoes are ready to harvest?
Several visual cues indicate that your sweet potatoes are ready for harvest. The most obvious is the yellowing and browning of the leaves. The vines may also start to die back. Another way to check is to gently dig around one plant and feel the size of the sweet potatoes. They should be a good size, and the skin should be firm and relatively smooth. Avoid harvesting after a heavy rain, as the soil will be too wet and the sweet potatoes will be more susceptible to damage.
What’s the best way to dig up sweet potatoes without damaging them?
The key to harvesting sweet potatoes without damage is to be gentle and patient. Use a garden fork or shovel to carefully loosen the soil around the plants, starting about a foot away from the base of the vines. Gently lift the vines and use your hands to carefully dig around the sweet potatoes, freeing them from the soil. Avoid pulling on the vines, as this can break the sweet potatoes off and leave them in the ground. Be extra careful when digging near the sweet potatoes, as they can be easily bruised or cut.
What should I do with my sweet potatoes after I harvest them?
After harvesting, it’s crucial to cure your sweet potatoes to improve their flavor and storage life. Gently brush off any excess soil, but don’t wash them. Place the sweet potatoes in a warm, humid place (around 80-85°F and 85-90% humidity) for about 7-10 days. This allows the skins to harden and any minor cuts or bruises to heal. A greenhouse, enclosed porch, or even a warm room with a humidifier can work well. After curing, store the sweet potatoes in a cool, dry, and dark place (around 55-60°F) with good ventilation. Avoid storing them in the refrigerator, as this can cause them to develop a hard core and lose their flavor.
How long can I store my homegrown sweet potatoes?
With proper curing and storage, homegrown sweet potatoes can last for several months. Check them regularly for any signs of spoilage, such as soft spots or mold. Remove any damaged sweet potatoes to prevent them from affecting the others. Remember that different varieties of sweet potatoes may have different storage life, so it’s always a good idea to research the specific variety you’re growing.
Can I eat sweet potatoes that have been slightly damaged during harvest?
Yes, you can eat sweet potatoes that have been slightly damaged during harvest, but it’s best to use them as soon as possible. Cut away any bruised or damaged areas and cook the remaining portion. Avoid storing damaged sweet potatoes for long periods, as they are more susceptible to rot.
What are some common problems I might encounter when harvesting sweet potatoes?
Some common problems you might encounter include accidentally cutting or bruising the sweet potatoes during digging, finding that the sweet potatoes are smaller than expected, or discovering that some of the sweet potatoes have been damaged by pests or diseases. To minimize damage during digging, be gentle and use the right tools. If your sweet potatoes are smaller than expected, it could be due to poor soil, insufficient watering, or a short growing season. To prevent pest and disease problems, choose disease-resistant varieties, practice crop rotation, and monitor your plants regularly for any signs of trouble.
What if I don’t have a lot of space to grow sweet potatoes?
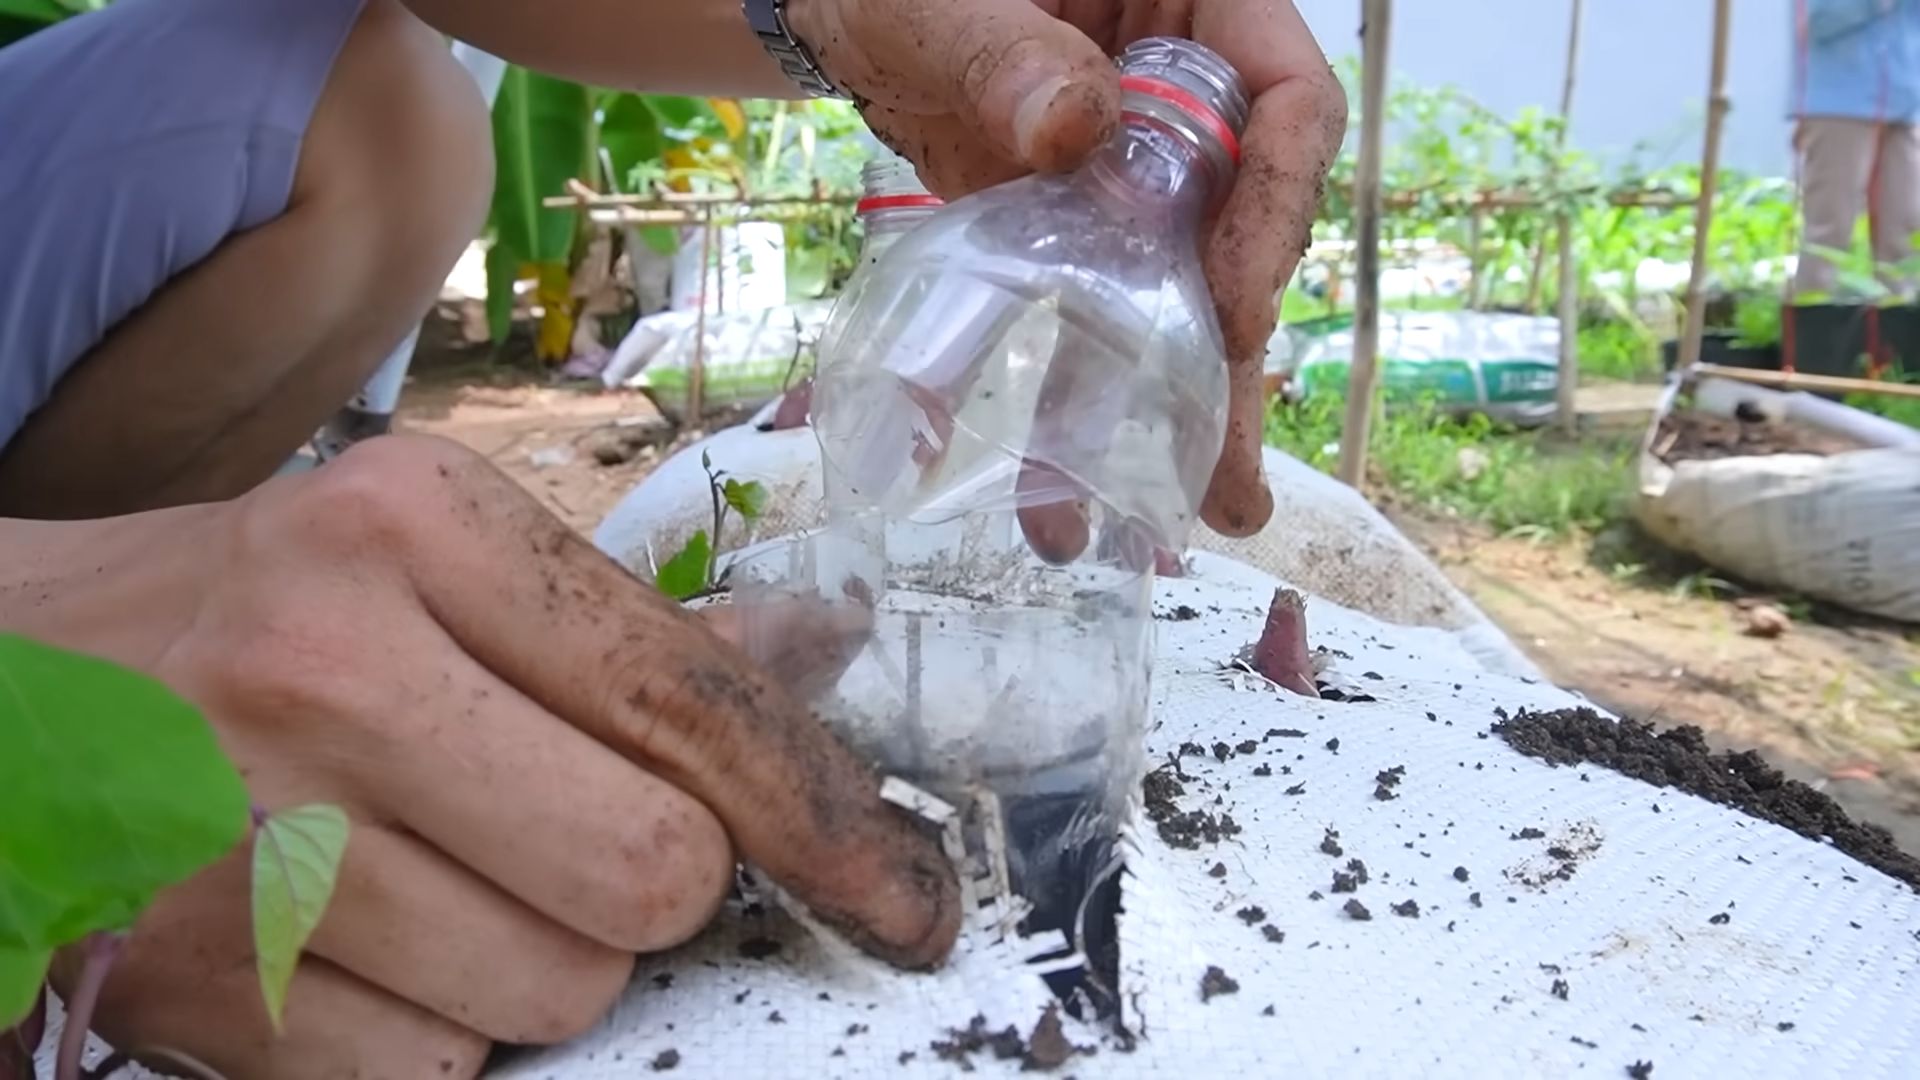
Even if you don’t have a large garden, you can still grow sweet potatoes in containers. Choose a large container (at least 20 gallons) with good drainage and fill it with a well-draining potting mix. Plant one or two sweet potato slips per container and provide them with plenty of sunlight and water. You may not get as many sweet potatoes as you would from growing them in the ground, but you can still enjoy a decent harvest.
Can I grow sweet potatoes from store-bought sweet potatoes?
While it’s possible to grow sweet potatoes from store-bought sweet potatoes, it’s not always successful. Some store-bought sweet potatoes may have been treated to prevent sprouting. If you want to try it, choose an organic sweet potato and suspend it in a jar of water, with the bottom half submerged. Place the jar in a warm, sunny location and wait for sprouts to emerge. Once the sprouts are a few inches long, you can carefully remove them and plant them in the ground or in containers. However, keep in mind that the resulting sweet potatoes may not be true to type, meaning they may not have the same characteristics as the original sweet potato. It’s generally best to start with certified disease-free slips from a reputable source.
Leave a Comment