
Indoor Microgreens Setup: Ready to ditch those bland, lifeless salads and embark on a flavor-packed adventure, all from the comfort of your own home? I’m so excited to share how easy it is to create your very own indoor microgreens setup! For centuries, cultures around the globe have recognized the power of sprouts and young greens, incorporating them into their diets for a boost of vitality. Think of the ancient Egyptians, who valued sprouted grains, or the traditional use of cress in European cuisine.
But you don’t need to be an expert gardener to enjoy these tiny powerhouses. In fact, setting up your own indoor microgreens garden is surprisingly simple and incredibly rewarding. Imagine having a constant supply of fresh, nutrient-rich greens right at your fingertips, ready to add a burst of flavor and color to your meals. No more trips to the grocery store for wilted, overpriced greens!
This DIY guide will walk you through every step of the process, from choosing the right seeds to harvesting your delicious microgreens. Whether you’re a seasoned gardener or a complete beginner, I’ll show you how to create a thriving indoor microgreens setup that will transform your kitchen into a mini-farm. Let’s get growing!
DIY Indoor Microgreens Setup: Grow Your Own Greens Year-Round!
Hey there, fellow plant enthusiasts! I’m so excited to share my tried-and-true method for setting up an indoor microgreens garden. Trust me, it’s easier than you think, and the reward of fresh, nutrient-packed greens at your fingertips is totally worth it. This guide will walk you through every step, from gathering your supplies to harvesting your delicious microgreens. Let’s get growing!
What You’ll Need: The Supply List
Before we dive in, let’s make sure you have everything you need. This is crucial for a smooth and successful microgreens growing experience.
* Growing Trays: You’ll need two types – one with drainage holes (the growing tray) and one without (the drip tray). Standard 10×20 inch trays are a great starting point.
* Growing Medium: I prefer coco coir, but you can also use seed starting mix, potting soil (avoid those with added fertilizers), or even hydroponic mats. Coco coir is my go-to because it’s sustainable, holds moisture well, and is relatively inexpensive.
* Microgreen Seeds: This is where the fun begins! Choose your favorite varieties. Radish, broccoli, sunflower, pea shoots, and kale are all excellent choices for beginners. Make sure you buy seeds specifically intended for microgreens, as they are usually untreated.
* Spray Bottle: A good spray bottle is essential for keeping your microgreens moist without overwatering.
* Grow Lights (Optional, but Recommended): While you can grow microgreens near a sunny window, grow lights provide consistent and reliable light, leading to faster and more even growth. LED grow lights are energy-efficient and work wonders.
* Heat Mat (Optional): If your home is particularly cold, a heat mat can help speed up germination.
* Weight (Optional): A small weight, like a book or a brick wrapped in plastic, can help with even germination, especially for taller microgreens like sunflower or pea shoots.
* Scissors or Knife: For harvesting your microgreens.
* Measuring Cup or Spoon: For accurate seed sowing.
* Water: Filtered water is best, but tap water that has sat out for 24 hours to allow chlorine to dissipate is also fine.
Step-by-Step Guide to Growing Microgreens
Alright, let’s get our hands dirty (or, well, coco coir-y)! Follow these steps carefully, and you’ll be enjoying your own homegrown microgreens in no time.
1. Prepare Your Growing Medium:
* If you’re using coco coir, you’ll need to hydrate it. Place the coco coir brick or block in a large bucket or container.
* Add warm water gradually, following the instructions on the coco coir packaging. Usually, it’s about 5-6 times the volume of the coco coir.
* Mix well until the coco coir is fully hydrated and has a fluffy, soil-like consistency. It should be moist but not soggy.
* If you’re using seed starting mix or potting soil, simply moisten it with water until it’s evenly damp.
2. Fill the Growing Tray:
* Place the growing tray (the one with drainage holes) inside the drip tray (the one without drainage holes). This will catch any excess water.
* Fill the growing tray with your prepared growing medium, leaving about half an inch of space at the top.
* Gently level the surface of the growing medium with your hand or a small trowel.
* Lightly compact the surface.
3. Sow the Seeds:
* This is where the magic happens! The key to successful microgreens is even seed distribution.
* Refer to your seed packet for recommended seeding density. As a general rule, you want to sow the seeds densely but not overlapping.
* For small seeds like radish or broccoli, you can sprinkle them evenly over the surface of the growing medium.
* For larger seeds like sunflower or pea shoots, you might want to pre-soak them in water for a few hours to help with germination. This is especially helpful for pea shoots.
* Gently press the seeds into the growing medium with your hand or a flat object. You don’t need to bury them completely; just ensure they make good contact with the soil.
4. Water the Seeds:
* Using your spray bottle, gently mist the surface of the growing medium until it’s thoroughly moist. Be careful not to dislodge the seeds.
* The goal is to keep the seeds consistently moist during germination.
5. Cover and Weigh (Optional but Recommended):
* Cover the growing tray with a lid or another tray. This will create a dark, humid environment that promotes germination.
* Place a weight on top of the lid or tray. This will help the seeds germinate evenly and prevent them from becoming leggy. A book or a brick wrapped in plastic works well.
* For taller microgreens like sunflower or pea shoots, weighing them down is particularly important to encourage strong, straight stems.
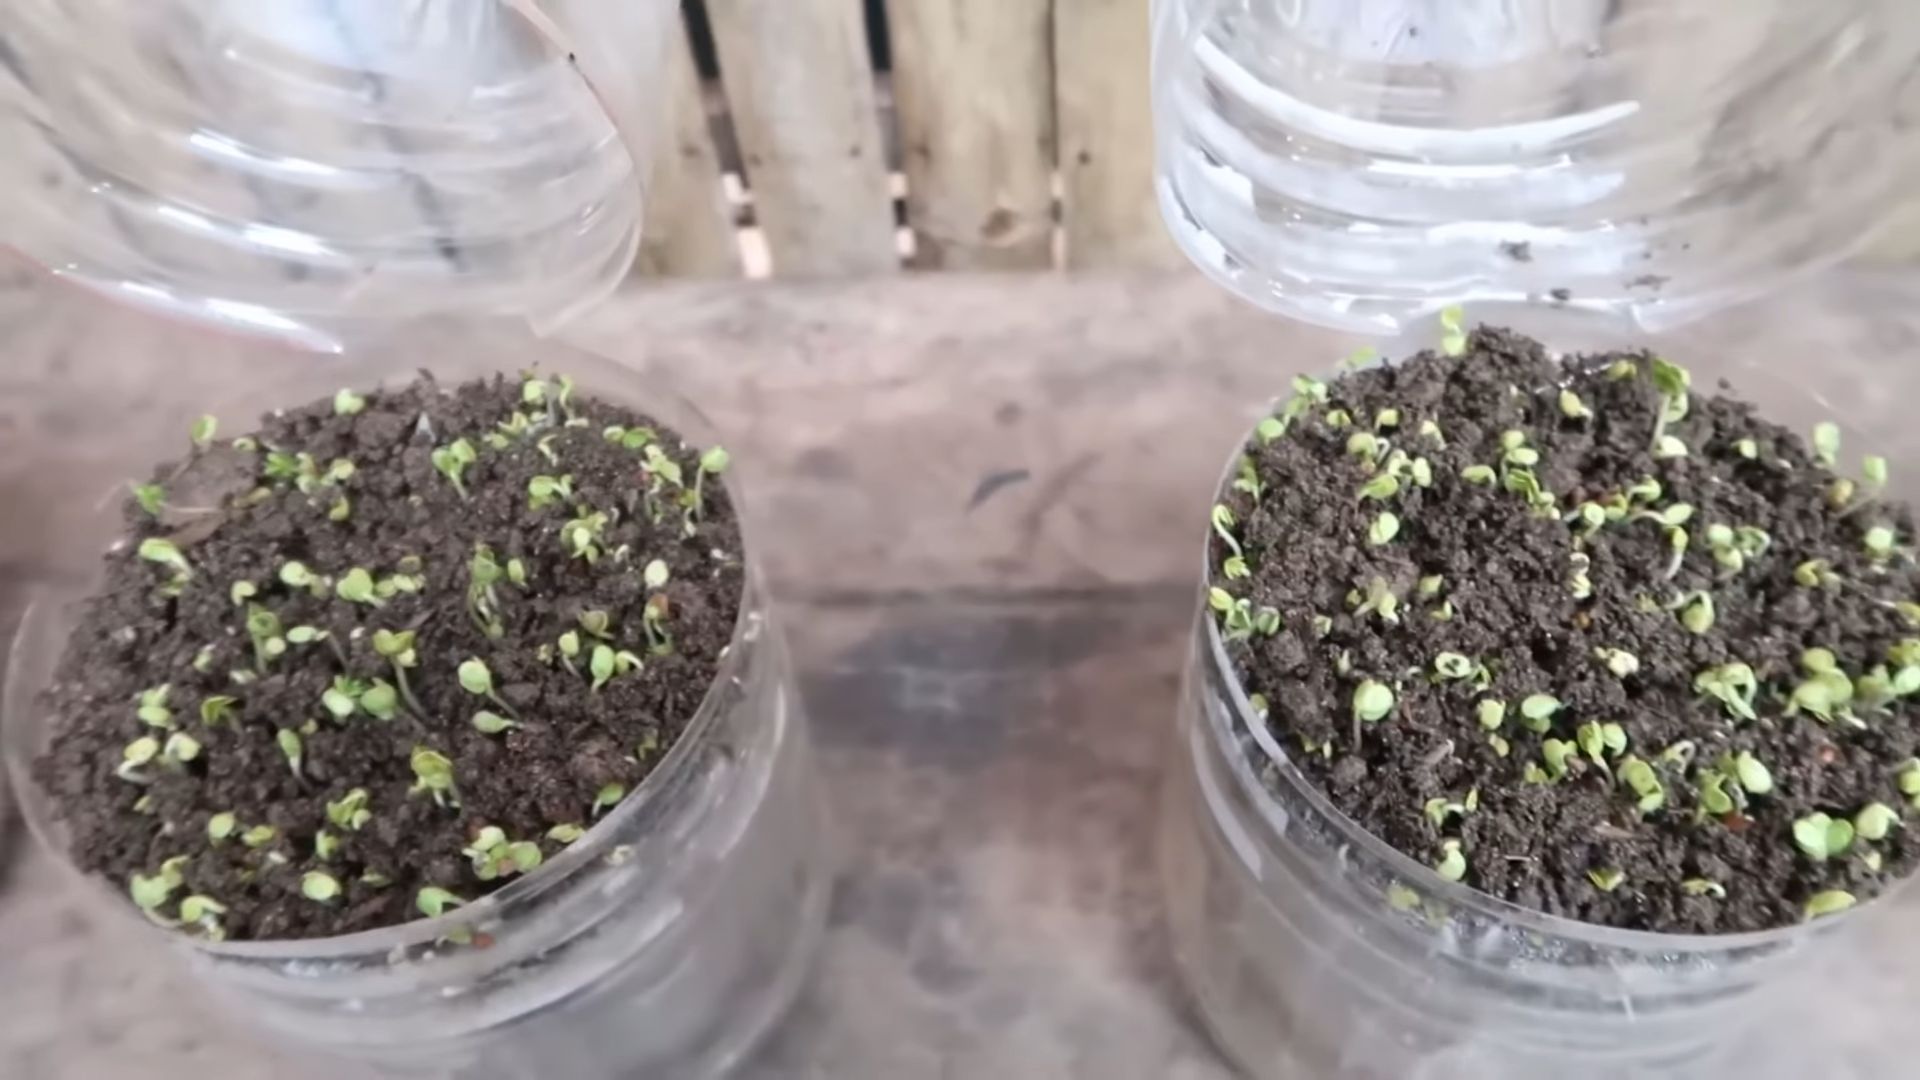
6. Germination Phase:
* Place the tray in a warm, dark location. A closet or cupboard works perfectly.
* Check the tray daily to ensure the growing medium remains moist. Mist with water as needed.
* The germination time will vary depending on the type of seed. Radish and broccoli usually germinate within 2-3 days, while sunflower and pea shoots may take 3-5 days.
7. Light Exposure:
* Once the seeds have germinated and you see tiny sprouts emerging, remove the cover and weight.
* Place the tray under your grow lights or near a sunny window.
* If using grow lights, position them a few inches above the microgreens.
* If using a window, rotate the tray regularly to ensure even light exposure.
8. Watering During Growth:
* Continue to water the microgreens regularly, keeping the growing medium moist but not soggy.
* Water from the bottom by pouring water into the drip tray. This will encourage the roots to grow downwards.
* Avoid overwatering, as this can lead to mold or fungal growth.
9. Monitoring and Maintenance:
* Keep a close eye on your microgreens. Look for any signs of mold or disease.
* If you notice any mold, remove the affected area immediately and improve ventilation.
* Ensure the microgreens are getting enough light. If they are looking pale or leggy, they need more light.
10. Harvesting Your Microgreens:
* Your microgreens are ready to harvest when they have developed their first set of true leaves. This usually takes about 7-14 days, depending on the variety.
* Using scissors or a sharp knife, cut the microgreens just above the growing medium.
* Wash the harvested microgreens gently in cool water.
* Dry them thoroughly with a salad spinner or paper towels.
* Store the harvested microgreens in an airtight container in the refrigerator for up to a week.
Troubleshooting Tips for Microgreen Success
Even with the best intentions, sometimes things don’t go exactly as planned. Here are a few common issues and how to address them:
* Mold Growth: This is usually caused by overwatering or poor ventilation. Ensure you’re not overwatering and provide adequate airflow around the trays. You can also try using a diluted hydrogen peroxide solution to spray the affected area.
* Leggy Microgreens: This means your microgreens aren’t getting enough light. Move them closer to your grow lights or to a sunnier location.
* Uneven Germination: This can be caused by uneven seed distribution or inconsistent moisture levels. Make sure you sow the seeds evenly and keep the growing medium consistently moist.
* Slow Growth: This could be due to low temperatures or insufficient light. Use a heat mat to warm the trays and ensure your microgreens are getting enough light.
Choosing the Right Microgreen Seeds
The possibilities are endless when it comes to choosing microgreen seeds! Here are some of my favorites and their unique characteristics:
* Radish: Spicy and peppery flavor, fast-growing, and adds a vibrant red color to your dishes.
* Broccoli: Mild and slightly sweet flavor, packed with nutrients, and a great source of antioxidants.
* Sunflower: Nutty and slightly sweet flavor, crunchy texture, and a good source of protein and healthy fats.
* Pea Shoots: Sweet and tender flavor, delicate texture, and a good source of vitamins and minerals.
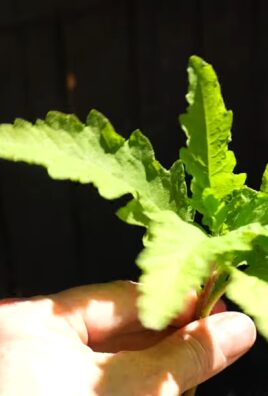
* Kale: Earthy and slightly bitter flavor, nutrient-rich, and a great addition to salads and smoothies.
* Arugula: Peppery and slightly bitter flavor, adds a zesty kick
Conclusion
So, there you have it! Creating your own indoor microgreens setup is not just a fun project; it’s a gateway to a healthier, more sustainable lifestyle. We’ve walked you through the simple steps, highlighting the ease and affordability of growing these nutrient-packed powerhouses right in your own home. Forget those expensive, pre-packaged greens from the grocery store that often lack freshness and flavor. With a minimal investment of time and resources, you can have a constant supply of vibrant, delicious microgreens at your fingertips.
Why is this DIY trick a must-try? Because it empowers you to take control of your food source. You know exactly what you’re eating – no hidden pesticides, no long transportation times diminishing the nutritional value. Plus, the sheer satisfaction of nurturing something from seed to harvest is incredibly rewarding. Imagine adding a sprinkle of spicy radish microgreens to your salad, a handful of sweet pea shoots to your sandwich, or a vibrant garnish of sunflower sprouts to your soup – all grown by you!
But the benefits extend beyond just taste and nutrition. Growing your own microgreens is an environmentally friendly choice. You’re reducing your carbon footprint by eliminating the need for transportation and packaging. You’re also minimizing food waste, as you only harvest what you need. It’s a small change that can make a big difference.
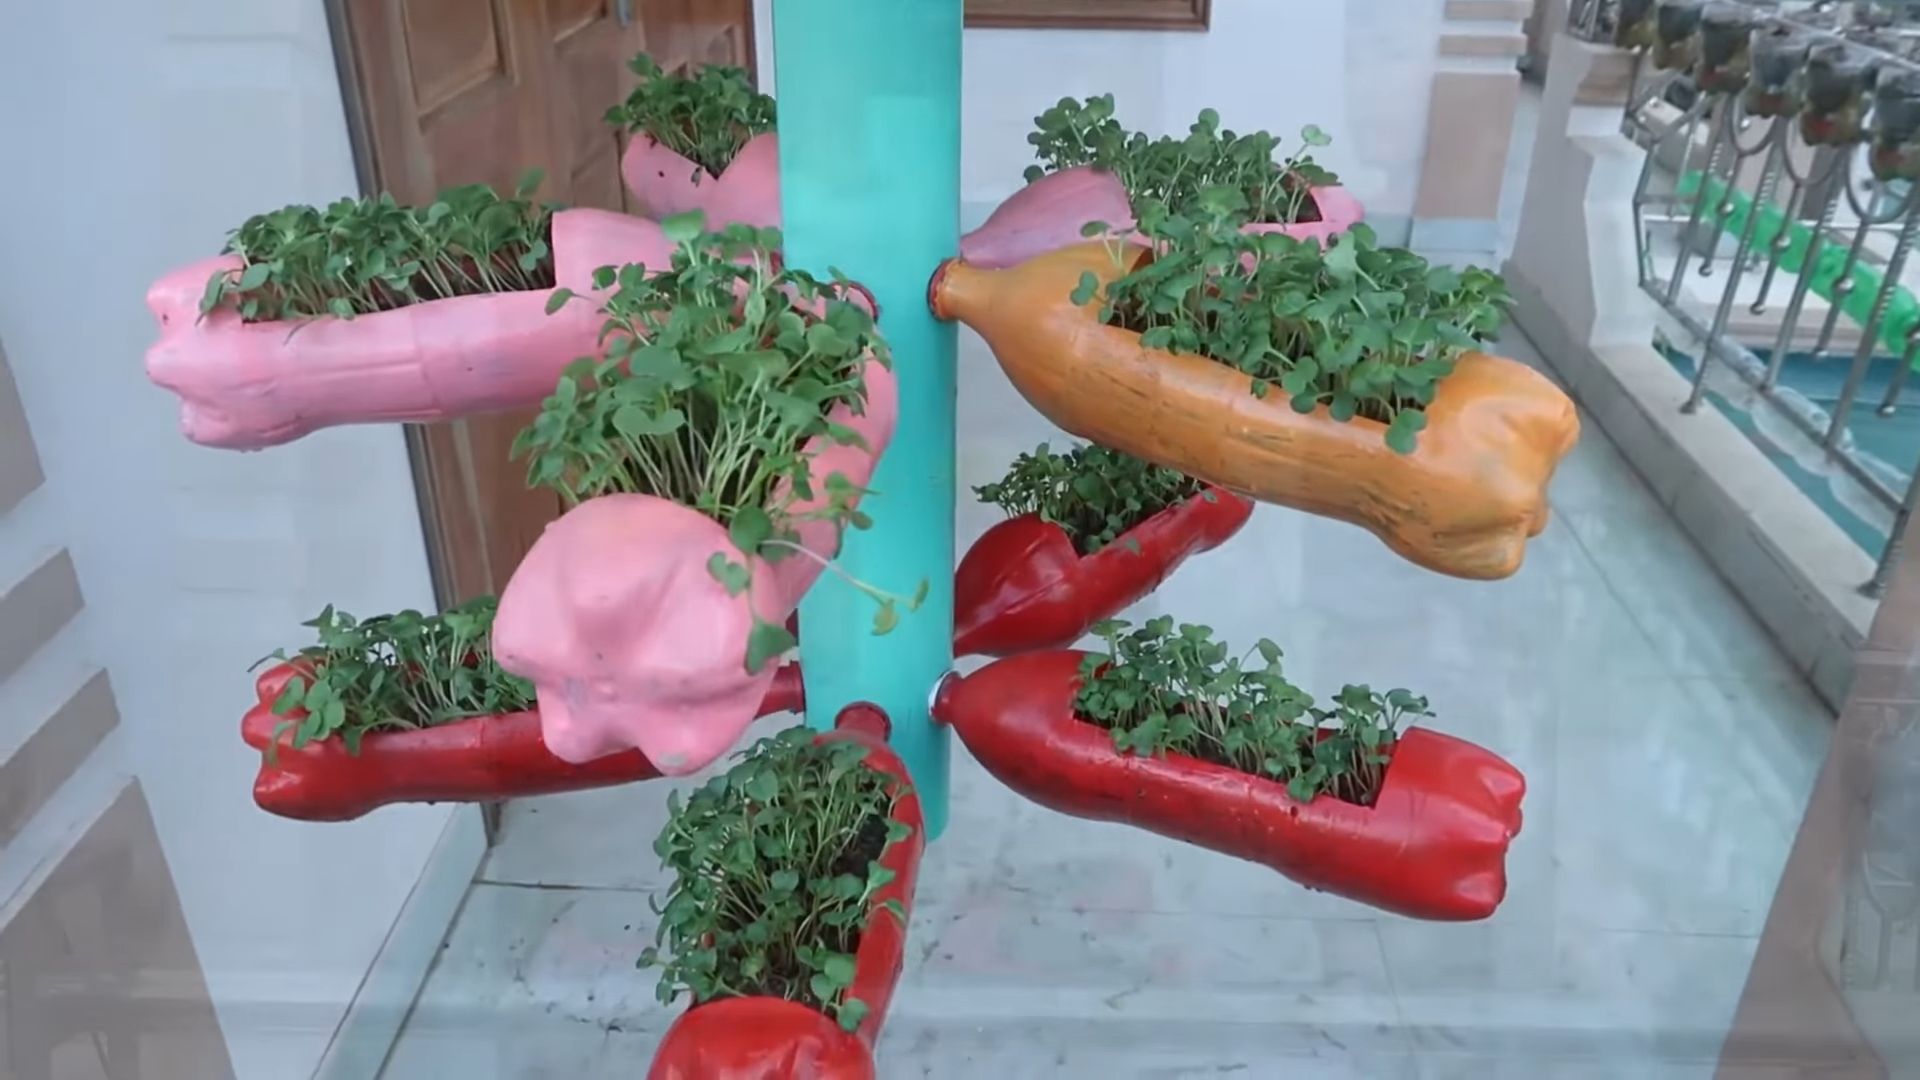
Looking for variations? Absolutely! Experiment with different types of seeds. Try a spicy mix of mustard, arugula, and cress for a peppery kick. Or go for a milder blend of broccoli, kale, and cabbage for a more subtle flavor. You can also adjust the growing medium to suit your preferences. Some people prefer soil, while others opt for soilless options like coconut coir or hemp mats. The possibilities are endless! Consider using different containers as well. Upcycle old plastic containers, repurpose glass jars, or invest in a multi-tiered growing system for maximum yield.
Don’t be afraid to get creative and personalize your indoor microgreens setup to fit your space and lifestyle. The key is to start small, experiment, and learn as you go. Even if you encounter a few hiccups along the way, don’t get discouraged. Every gardener, even the most experienced, has faced challenges. The important thing is to keep learning and adapting.
We are confident that once you experience the joy of harvesting your own fresh, flavorful microgreens, you’ll be hooked. It’s a simple, sustainable, and incredibly rewarding way to enhance your diet and connect with nature. So, what are you waiting for? Gather your supplies, plant your seeds, and get ready to enjoy the delicious bounty of your own indoor microgreens setup.
We encourage you to try this DIY trick and share your experience with us! Post photos of your setup on social media using #IndoorMicrogreensDIY and tell us about your favorite varieties and growing tips. We can’t wait to see what you create! Let’s build a community of microgreen enthusiasts and inspire others to embrace the joys of homegrown goodness.
Frequently Asked Questions (FAQ)
What exactly are microgreens, and why should I grow them?
Microgreens are young vegetable greens that are harvested just after the cotyledon leaves have developed, typically within 7-14 days of germination. They are packed with nutrients, often containing higher concentrations of vitamins and minerals than their mature counterparts. Growing them yourself ensures freshness, allows you to control the growing environment, and provides a sustainable source of healthy food. Plus, they add a burst of flavor and visual appeal to any dish.
What kind of seeds can I use for growing microgreens?
The possibilities are vast! Popular choices include broccoli, kale, radish, mustard, arugula, sunflower, pea shoots, and beet greens. Avoid using seeds that are treated with fungicides or other chemicals. Look for seeds specifically labeled for sprouting or microgreens. You can find a wide variety of seeds online or at your local garden center. Experiment with different combinations to discover your favorite flavors.
What kind of lighting do I need for my indoor microgreens setup?
While microgreens can technically grow with natural sunlight, they often benefit from supplemental lighting, especially in areas with limited sunlight or during the winter months. LED grow lights are an excellent choice because they are energy-efficient and provide the full spectrum of light that microgreens need to thrive. Fluorescent lights can also be used, but they tend to generate more heat. Position the lights a few inches above the microgreens to prevent burning. A timer can be helpful to ensure consistent light exposure, typically around 12-16 hours per day.
What kind of growing medium should I use?
There are several options for growing microgreens, each with its own advantages. Soil is a traditional choice and provides essential nutrients. However, it can be messy and requires more maintenance. Soilless options like coconut coir, hemp mats, and peat moss are cleaner and easier to manage. These mediums provide good drainage and aeration, which are crucial for healthy growth. Experiment with different mediums to see which one works best for you.
How often should I water my microgreens?
Microgreens need consistent moisture to thrive, but overwatering can lead to mold and fungal growth. Water them gently once or twice a day, depending on the humidity and temperature of your environment. Use a spray bottle to mist the microgreens evenly. The growing medium should be moist but not soggy. Check the moisture level regularly by feeling the surface of the medium. If it feels dry, it’s time to water.
How long does it take for microgreens to grow?
The growing time varies depending on the type of seed and the growing conditions. Generally, microgreens are ready to harvest within 7-14 days of germination. Look for the development of the cotyledon leaves (the first set of leaves) and the emergence of the first true leaves. The microgreens should be about 1-3 inches tall.
How do I harvest my microgreens?
Harvesting microgreens is easy! Simply use a pair of scissors or a sharp knife to cut the stems just above the growing medium. Wash the microgreens gently before using them. It’s best to harvest them just before you’re ready to use them for optimal freshness and flavor.
How do I prevent mold growth in my microgreens setup?
Mold growth is a common problem in microgreens setups, but it can be prevented with proper ventilation and hygiene. Ensure that your growing area has good airflow. Avoid overwatering, as this creates a damp environment that encourages mold growth. Use a clean growing medium and sanitize your containers regularly. If you notice any mold, remove the affected area immediately.
Can I reuse the growing medium after harvesting my microgreens?
It’s generally not recommended to reuse the growing medium after harvesting microgreens, especially if you’ve experienced any mold or fungal growth. The medium may be depleted of nutrients and could harbor harmful bacteria. It’s best to start with fresh medium for each batch of microgreens.
What are some creative ways to use microgreens in my meals?
Microgreens are incredibly versatile and can be used in a wide variety of dishes. Add them to salads, sandwiches, wraps, and smoothies. Use them as a garnish for soups, stews, and entrees. Sprinkle them on top of pizzas, tacos, and omelets. Incorporate them into dips, spreads, and sauces. The possibilities are endless! Let your creativity guide you and experiment with different flavor combinations.

Leave a Comment