
Pink Radish Container Gardening: Ever dreamed of harvesting vibrant, peppery radishes right from your balcony or patio? I know I have! There’s something incredibly satisfying about growing your own food, even if it’s just a small batch of these crunchy delights. Forget those bland, store-bought radishes – imagine the burst of flavor from a freshly picked, homegrown beauty!
Radishes have a surprisingly long and fascinating history, dating back to ancient Egypt where they were a staple food. They were even used as currency at one point! Today, while we might not be paying our bills with radishes, they remain a popular and easy-to-grow vegetable, perfect for beginner gardeners.
But let’s face it, not everyone has a sprawling backyard. That’s where pink radish container gardening comes in! This DIY guide will show you how to cultivate these peppery gems in pots, even if you’re short on space. I’ll share my favorite tricks and hacks to ensure a bountiful harvest, from choosing the right container to preventing common radish problems. So, grab your gardening gloves, and let’s get started on your own radish-growing adventure! You’ll be amazed at how easy and rewarding it is to grow your own fresh, delicious radishes.
Growing Pink Radishes in Containers: A Beginner’s Guide
Hey there, fellow gardening enthusiasts! Ever thought about growing your own radishes? They’re super easy, quick to harvest, and add a delightful peppery crunch to salads and snacks. Plus, those vibrant pink hues are just gorgeous! Today, I’m going to walk you through the process of growing pink radishes in containers, perfect for small spaces like balconies, patios, or even a sunny windowsill. Let’s get our hands dirty!
Choosing the Right Container and Soil
First things first, we need to set the stage for our radishy adventure. The right container and soil are crucial for success.
* Container Size: Radishes don’t need a ton of space, but they do need enough room to develop their roots. A container that’s at least 6 inches deep and 6 inches wide is a good starting point. For a larger harvest, consider a wider container that can accommodate multiple plants. I personally love using rectangular planters, as they maximize space and look great on my balcony.
* Drainage: This is non-negotiable! Radishes hate soggy feet. Make sure your container has drainage holes at the bottom. If not, you can drill some yourself. Trust me, it’s worth the effort to prevent root rot.
* Soil: Radishes thrive in loose, well-draining soil that’s rich in organic matter. Avoid heavy clay soils, as they can hinder root development. I recommend using a good quality potting mix specifically formulated for vegetables. You can also amend your own soil by mixing equal parts garden soil, compost, and perlite or vermiculite. This will improve drainage and aeration.
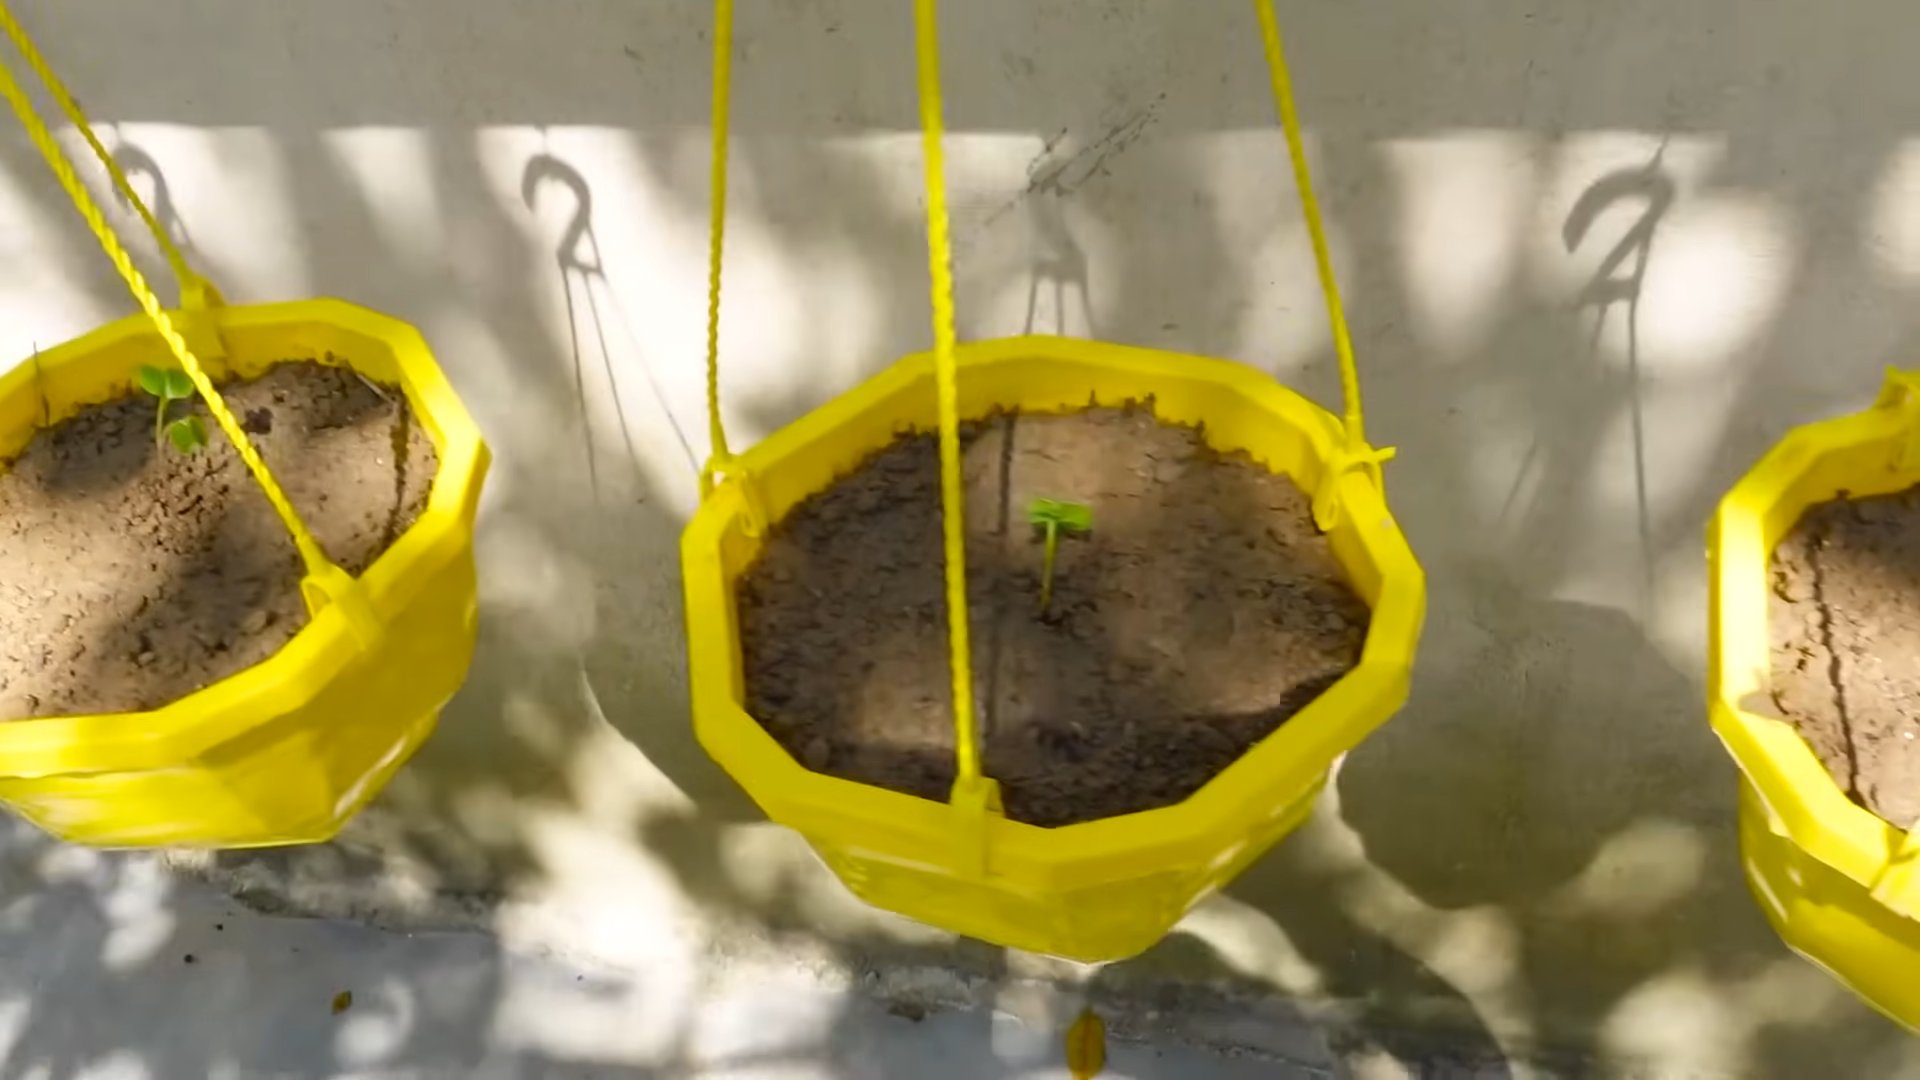
Planting Your Radish Seeds
Now for the fun part – planting those tiny seeds!
1. Prepare the Soil: Fill your container with the chosen potting mix, leaving about an inch of space at the top. Gently pat down the soil to create a firm, even surface.
2. Sowing the Seeds: Radish seeds are small, so handle them with care. Sprinkle the seeds evenly over the surface of the soil, spacing them about an inch apart. You can also create shallow furrows (about ½ inch deep) and sow the seeds along the furrows.
3. Covering the Seeds: Lightly cover the seeds with a thin layer of soil. You don’t want to bury them too deep, as this can prevent germination.
4. Watering: Gently water the soil using a watering can or a spray bottle. Avoid overwatering, as this can wash away the seeds. The goal is to moisten the soil without saturating it.
5. Labeling: Don’t forget to label your container with the date and the type of radish you’re growing. This will help you keep track of your progress and avoid any confusion later on. I like to use popsicle sticks and a permanent marker for this.
Caring for Your Radish Plants
Once your seeds are planted, it’s time to provide them with the care they need to thrive.
1. Sunlight: Radishes need at least 6 hours of sunlight per day. Place your container in a sunny location, such as a south-facing balcony or a windowsill. If you don’t have enough natural light, you can supplement with grow lights.
2. Watering: Radishes need consistent moisture to grow quickly and develop crisp roots. Water your plants regularly, especially during hot, dry weather. Check the soil moisture by sticking your finger into the soil. If the top inch feels dry, it’s time to water. Avoid overwatering, as this can lead to root rot.
3. Thinning: Once your seedlings emerge, you’ll need to thin them out to provide them with enough space to grow. Thin the seedlings to about 2 inches apart. This will allow the radishes to develop properly without overcrowding. Don’t throw away the thinned seedlings! You can add them to salads for a peppery kick.
4. Fertilizing: Radishes are relatively light feeders, but they can benefit from a light feeding of fertilizer. Use a balanced fertilizer (such as 10-10-10) diluted to half strength. Apply the fertilizer every two weeks, following the instructions on the label. Avoid over-fertilizing, as this can lead to excessive foliage growth and small roots.
5. Weed Control: Keep your container free of weeds, as they can compete with your radishes for nutrients and water. Hand-pull any weeds that emerge, being careful not to disturb the radish roots.
Dealing with Pests and Diseases
Radishes are generally pest-resistant, but they can occasionally be affected by certain pests and diseases.
* Flea Beetles: These tiny beetles can chew small holes in the leaves of your radish plants. To control flea beetles, you can use row covers to protect your plants or spray them with insecticidal soap.
* Root Maggots: These pests can tunnel into the roots of your radishes, causing them to become distorted and unmarketable. To prevent root maggots, you can use row covers or apply a soil drench of beneficial nematodes.
* Downy Mildew: This fungal disease can cause yellow spots on the leaves of your radish plants. To prevent downy mildew, avoid overwatering and provide good air circulation. If you see signs of downy mildew, remove the affected leaves and spray your plants with a fungicide.
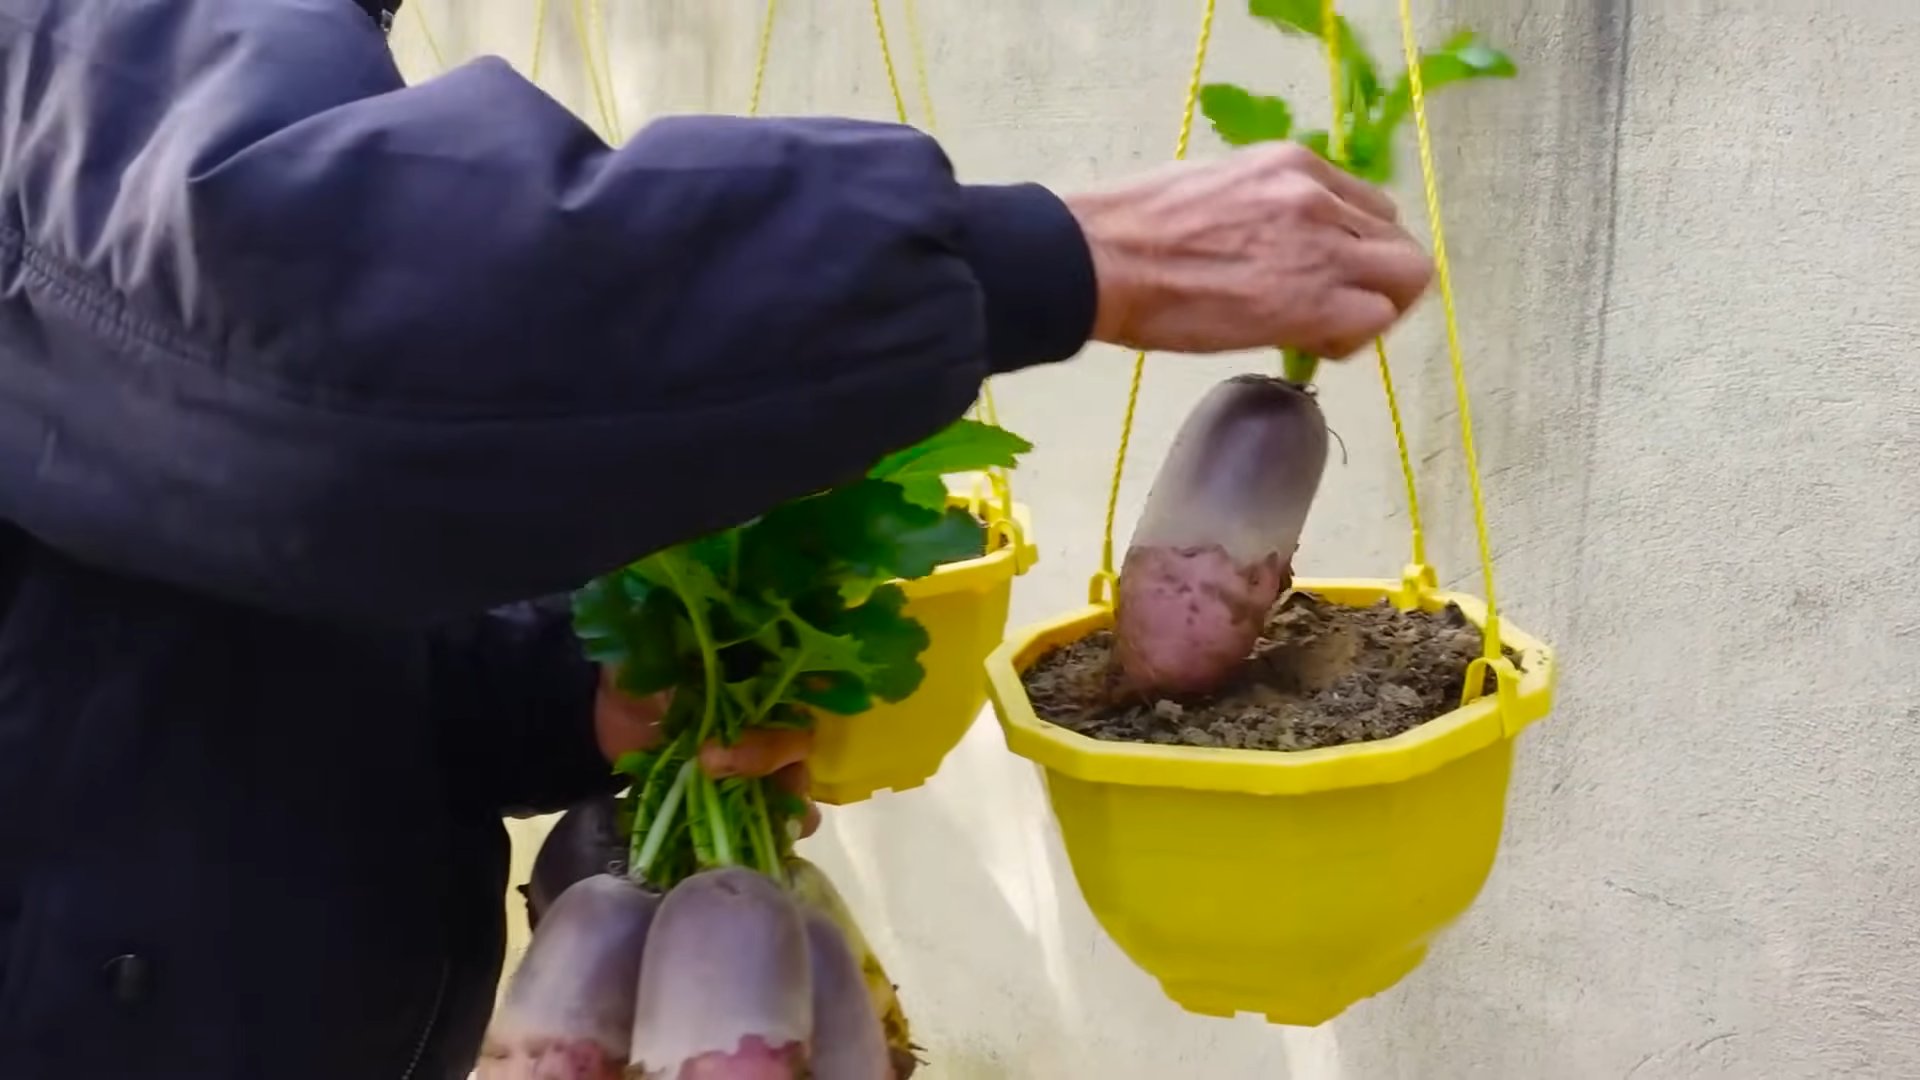
Harvesting Your Radishes
The best part! Radishes are incredibly fast growers, and you can usually harvest them within 3-4 weeks of planting.
1. Check for Maturity: Radishes are ready to harvest when their roots are about 1 inch in diameter. You can gently brush away the soil around the base of the plant to check the size of the root.
2. Harvesting: To harvest your radishes, gently pull them from the soil. If the soil is dry, you may need to loosen it with a trowel first.
3. Cleaning: Wash the radishes thoroughly to remove any dirt or debris.
4. Storage: Store your radishes in the refrigerator in a plastic bag or container. They will keep for several days.
Choosing the Right Radish Variety
While this article focuses on pink radishes, there are many different varieties to choose from, each with its own unique flavor and appearance. Here are a few of my favorites:
* Cherry Belle: This is a classic pink radish variety that’s known for its mild flavor and crisp texture. It’s a great choice for beginners.
* French Breakfast: This variety has elongated roots with a red top and a white tip. It has a slightly spicier flavor than Cherry Belle.
* Easter Egg: This variety produces a mix of radishes in different colors, including pink, red, purple, and white. It’s a fun and colorful addition to any garden.
* Watermelon Radish: This variety has a green exterior and a bright pink interior, resembling a watermelon. It has a mild, slightly sweet flavor.
Succession Planting for Continuous Harvest
To enjoy a continuous harvest of radishes throughout the growing season, consider succession planting. This involves planting a new batch of seeds every 1-2 weeks. This will ensure that you always have a supply of fresh radishes ready to harvest. I usually plant a new batch every other week, and it works like a charm!
Troubleshooting Common Problems
Even with the best care, you may encounter some problems when growing radishes. Here are a few common issues and how to address them:
* Radishes are too small: This can be caused by overcrowding, lack of sunlight, or poor soil. Thin your seedlings, provide adequate sunlight, and amend your soil with compost.
* Radishes are cracked: This can be caused by inconsistent watering. Water your plants regularly and avoid letting the soil dry out completely.
* Radishes are too spicy: This can be caused by hot weather or stress. Harvest your radishes early in the morning or late in the evening, when the weather is cooler.
* Radishes are woody: This can be caused by letting the radishes grow too large. Harvest your radishes when they are about 1 inch in diameter.
Creative Ways to Use Your Radish Harvest
Now that you’ve harvested your beautiful pink radishes, it’s time to enjoy them! Here are a few creative ways to use your radish harvest:
* Salads: Radishes add a peppery crunch to salads. Slice them thinly and toss them with your favorite greens, vegetables, and dressing.
* Snacks: Radishes are a healthy and refreshing snack. Serve them with hummus, guacamole, or other dips.
* Sandwiches: Add sliced radishes to sandwiches for a peppery kick.
* Pickled Radishes: Pickled radishes are a delicious and tangy condiment. They’re great on tacos, sandwiches, or salads.
* Radish Greens: Don’t throw away the radish greens! They’re edible and
Conclusion
So, there you have it! Growing your own pink radishes in containers is not only surprisingly simple, but also incredibly rewarding. Forget those bland, store-bought radishes – imagine the crisp, peppery bite of freshly harvested radishes, bursting with flavor and vibrant color, all grown right on your patio or balcony. This DIY container gardening trick is a game-changer for anyone who wants to enjoy fresh produce, regardless of space constraints.
This isn’t just about convenience; it’s about control. You know exactly what goes into your radishes – no mystery pesticides or questionable growing practices. Plus, the satisfaction of nurturing a plant from seed to table is an experience that’s hard to beat.
But the best part? The possibilities are endless! Experiment with different varieties of pink radishes. Try French Breakfast radishes for a milder flavor, or Watermelon radishes for a stunning visual contrast. You can also companion plant your radishes with other cool-season crops like lettuce or spinach in the same container to maximize your yield. Consider adding a layer of mulch to help retain moisture and suppress weeds.
Don’t be afraid to get creative with your container choices, too. While a standard pot works perfectly well, you can also use repurposed containers like old buckets or even grow bags. Just make sure your container has adequate drainage to prevent waterlogging.
This pink radish container gardening method is more than just a gardening project; it’s a gateway to a healthier, more sustainable lifestyle. It’s a chance to connect with nature, learn new skills, and enjoy the freshest, most flavorful radishes imaginable.
We wholeheartedly encourage you to give this DIY trick a try. It’s easy, affordable, and incredibly satisfying. And once you’ve harvested your first batch of homegrown pink radishes, we’d love to hear about your experience! Share your photos, tips, and any variations you’ve tried in the comments below. Let’s build a community of radish-loving container gardeners!
Frequently Asked Questions (FAQs)
What kind of container is best for growing pink radishes?
The ideal container for growing pink radishes should be at least 6 inches deep and wide. Radishes have relatively short roots, so they don’t require a very deep container. However, adequate space is crucial for proper root development. A pot that is 8-12 inches in diameter is generally sufficient for growing a good number of radishes.
Consider the material of the container as well. Terracotta pots are porous and allow for good air circulation, but they can dry out quickly, especially in warmer climates. Plastic pots retain moisture better but can overheat in direct sunlight. Fabric pots are a good option as they provide excellent drainage and aeration.
Ultimately, the best container is one that suits your climate, watering habits, and aesthetic preferences. Just ensure it has drainage holes to prevent waterlogging, which can lead to root rot.
How often should I water my container radishes?
Radishes need consistent moisture to grow quickly and develop crisp, flavorful roots. The soil should be kept consistently moist, but not waterlogged. Water deeply whenever the top inch of soil feels dry to the touch.
The frequency of watering will depend on several factors, including the weather, the type of container you’re using, and the soil composition. In hot, dry weather, you may need to water your radishes daily. In cooler, more humid weather, you may only need to water them every few days.
A good way to check if your radishes need watering is to stick your finger into the soil. If the top inch feels dry, it’s time to water. Avoid letting the soil dry out completely, as this can cause the radishes to become tough and bitter.
What kind of soil is best for growing pink radishes in containers?
Radishes prefer well-draining, loose soil that is rich in organic matter. A good potting mix specifically formulated for vegetables is an excellent choice. Avoid using garden soil in containers, as it can become compacted and doesn’t drain well.
You can also amend your potting mix with compost or other organic matter to improve its fertility and drainage. A mix of equal parts potting mix, compost, and perlite or vermiculite will provide a good growing medium for your radishes.
The ideal soil pH for radishes is between 6.0 and 7.0. You can test your soil pH using a soil testing kit and amend it as needed with lime to raise the pH or sulfur to lower it.
How much sunlight do pink radishes need?
Radishes need at least 6 hours of sunlight per day to grow well. However, they can tolerate some shade, especially in hot climates. If you live in a very hot area, providing some afternoon shade can help prevent the radishes from bolting (going to seed prematurely).
Place your container radishes in a location that receives full sun for most of the day. If you don’t have a sunny spot, you can supplement with grow lights.
How long does it take for pink radishes to mature in containers?
One of the great things about radishes is that they are quick to mature. Most varieties of pink radishes will be ready to harvest in just 3-4 weeks from planting.
The exact time to maturity will depend on the variety of radish you’re growing, the weather conditions, and the growing conditions. Check the seed packet for specific information on the maturity time for your chosen variety.
To harvest your radishes, gently pull them from the soil when they reach the desired size. Don’t let them get too large, as they can become tough and bitter.
What are some common problems when growing pink radishes in containers?
Some common problems when growing radishes in containers include:
* **Bolting:** This is when the radishes go to seed prematurely, usually due to hot weather or inconsistent watering. To prevent bolting, provide some shade in hot weather and keep the soil consistently moist.
* **Root maggots:** These are small, white larvae that feed on the roots of radishes. To prevent root maggots, use a floating row cover to protect your plants.
* **Flea beetles:** These are small, jumping insects that chew holes in the leaves of radishes. To control flea beetles, use insecticidal soap or neem oil.
* **Cracked radishes:** This can be caused by inconsistent watering. Make sure to keep the soil consistently moist, but not waterlogged.
Can I grow different varieties of pink radishes in the same container?
Yes, you can grow different varieties of pink radishes in the same container, as long as they have similar maturity times and growing requirements. This can be a fun way to experiment with different flavors and colors.
However, be aware that some varieties may be more vigorous than others and could outcompete the less vigorous varieties. To prevent this, give each variety enough space to grow and monitor their growth closely.
Can I eat the radish greens?
Absolutely! Radish greens are edible and nutritious. They have a peppery flavor similar to the radishes themselves. You can add them to salads, soups, or stir-fries.
Harvest the greens when they are young and tender. Avoid harvesting too many greens from a single plant, as this can weaken the plant and reduce the size of the radishes.
How do I store harvested pink radishes?
To store harvested radishes, remove the greens and wash the radishes thoroughly. Place them in a plastic bag or container with a damp paper towel and store them in the refrigerator. They should last for several weeks.
The greens can also be stored in the refrigerator in a separate plastic bag or container. They will last for a few days.

Leave a Comment