
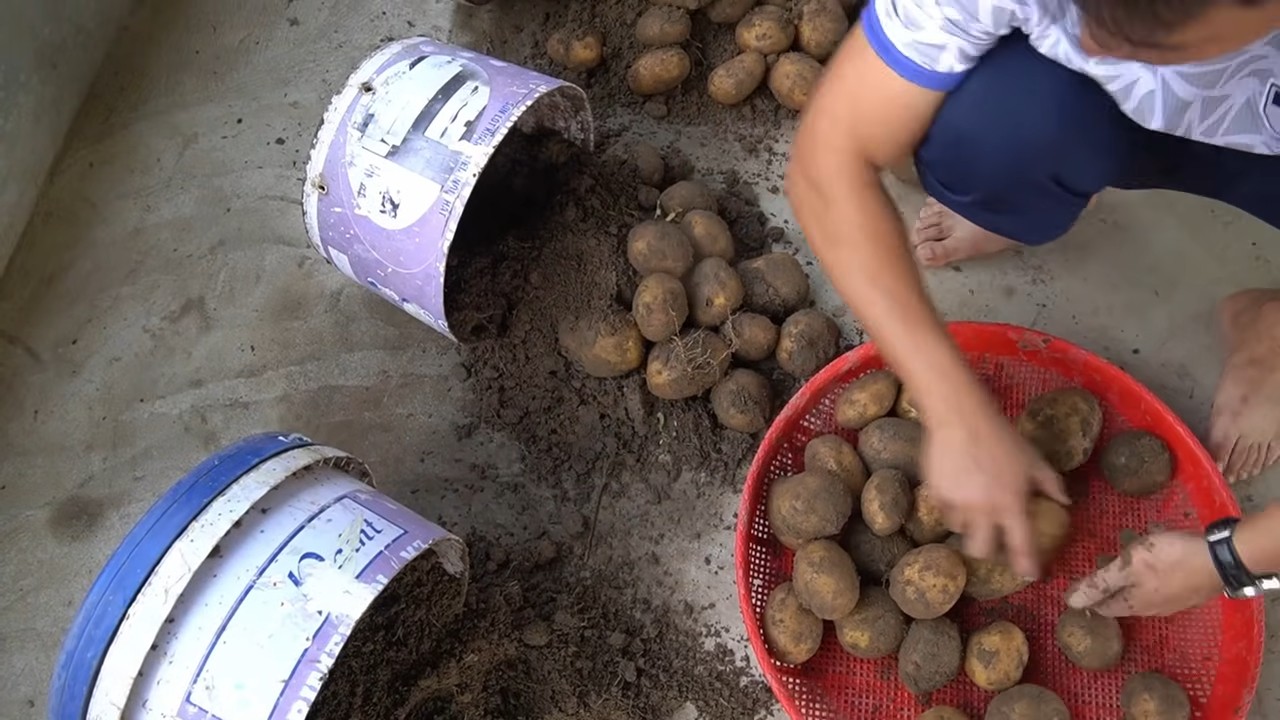
Potato harvest plastic bottle – sounds a bit unusual, right? But trust me, this simple trick can revolutionize your home gardening experience, especially when it’s time to reap the rewards of your hard work! For centuries, humans have cultivated potatoes, from their origins in the Andes Mountains to becoming a staple food across the globe. But harvesting them has always been a bit of a back-breaking task, hasn’t it?
I remember my own struggles, digging around with a trowel, inevitably slicing into a few precious potatoes in the process. That’s where this ingenious DIY hack comes in. Imagine effortlessly extracting your potatoes from the soil, minimizing damage and maximizing your yield. No more bruised spuds or aching backs!
This article will guide you through a simple, step-by-step process of using a humble plastic bottle to create a mini potato harvesting system. It’s not just about ease; it’s about sustainability, resourcefulness, and enjoying the fruits (or rather, vegetables!) of your labor. So, let’s dive into this clever potato harvest plastic bottle technique and make your next harvest your best one yet!
DIY Potato Harvesting Hack: The Upside-Down Bottle Method
Hey there, fellow gardeners! Are you tired of back-breaking work when it comes to harvesting your potatoes? I know I was! Digging around, trying not to damage those precious spuds, felt like a never-ending treasure hunt. That’s why I’m so excited to share this super simple, yet incredibly effective, DIY potato harvesting hack using something you probably already have lying around: a plastic bottle!
This method is perfect for small gardens, container gardens, or even just a few potato plants you want to harvest easily. It minimizes damage to the potatoes, making them last longer in storage, and it’s a whole lot easier on your back. Trust me, your body will thank you!
What You’ll Need:
* A large plastic bottle (think a 2-liter soda bottle or a juice bottle). The wider the bottle, the better!
* A sharp knife or box cutter.
* Duct tape (because duct tape fixes everything, right?).
* A trowel or small shovel.
* Gloves (optional, but recommended to keep your hands clean).
* Your potato plants, ready for harvest!
Is it Time to Harvest?
Before we dive into the hack itself, let’s make sure your potatoes are actually ready to be harvested. Here are a few telltale signs:
* The foliage is starting to die back: This is the most obvious sign. When the leaves turn yellow or brown and start to wither, it means the plant is putting its energy into the tubers (the potatoes) underground.
* Flowering has stopped: Once the plant stops flowering, it’s a good indication that the potatoes are mature enough to harvest.
* Check a test potato: Carefully dig around one plant and pull out a small potato. If the skin is thick and doesn’t rub off easily, it’s time to harvest!
Building Your Potato Harvesting Tool
Okay, let’s get to the fun part! This is where we transform that humble plastic bottle into a potato-harvesting marvel.
1. Prepare the Bottle: First, make sure your plastic bottle is clean and dry. Remove any labels or sticky residue. This will help the duct tape adhere better.
2. Cut the Bottle: Using your sharp knife or box cutter, carefully cut the bottom off the plastic bottle. You want to create a wide opening that will allow you to easily scoop up the potatoes. Be careful not to cut yourself! I recommend using a sawing motion rather than trying to force the knife through the plastic.
3. Shape the Opening (Optional): If you want to make the scooping process even easier, you can shape the opening of the bottle. I like to cut a slight curve into the edge, making it easier to slide under the potatoes. You can also round off any sharp edges to prevent them from damaging the potatoes.
4. Reinforce the Edges: This is where the duct tape comes in! Apply duct tape around the cut edge of the bottle to reinforce it and prevent it from cracking or splitting. This will also make the tool more comfortable to hold. Overlap the tape slightly as you go around the edge to create a strong, durable seal.
5. Create a Handle (Optional): For added comfort and control, you can create a handle for your potato harvesting tool. Cut a strip of duct tape and fold it in half lengthwise, sticky side to sticky side, to create a strong, non-sticky handle. Attach the handle to the side of the bottle with more duct tape. You can experiment with different handle lengths and positions to find what works best for you.
Harvesting Your Potatoes with the Bottle Hack
Now that you’ve built your potato harvesting tool, it’s time to put it to the test! This method is gentle and efficient, minimizing damage to your precious potatoes.
1. Loosen the Soil: Using your trowel or small shovel, carefully loosen the soil around the base of the potato plant. Be gentle and avoid digging too deep, as you don’t want to damage the potatoes.
2. Position the Bottle: Slide the open end of your plastic bottle tool under the base of the plant, angling it slightly to scoop up the potatoes.
3. Gently Lift and Scoop: Gently lift the plant and scoop up the potatoes with the bottle. The wide opening of the bottle will allow you to gather multiple potatoes at once.
4. Separate the Potatoes: Carefully separate the potatoes from the plant and any remaining soil. You can use your hands or the trowel to gently loosen them.
5. Inspect for Damage: As you harvest, inspect the potatoes for any cuts, bruises, or other damage. Damaged potatoes should be used immediately, as they won’t store as well.
6. Repeat the Process: Repeat steps 1-5 for each potato plant until you’ve harvested all your potatoes.
Tips for a Successful Harvest
Here are a few extra tips to help you have a successful and enjoyable potato harvest:
* Harvest on a dry day: Harvesting potatoes on a dry day will help them dry out quickly and prevent rot.
* Handle the potatoes gently: Potatoes are delicate, so handle them with care to avoid bruising or damaging them.
* Cure the potatoes: After harvesting, cure the potatoes by spreading them out in a cool, dark, and well-ventilated place for about a week. This will help them develop a thicker skin and improve their storage life.
* Store the potatoes properly: Store cured potatoes in a cool, dark, and dry place, such as a root cellar or basement. Avoid storing them near apples or onions, as these fruits and vegetables release gases that can cause the potatoes to sprout.
* Don’t wash them until you’re ready to use them: Washing potatoes before storing them can encourage rot. Wait until you’re ready to use them before washing them.
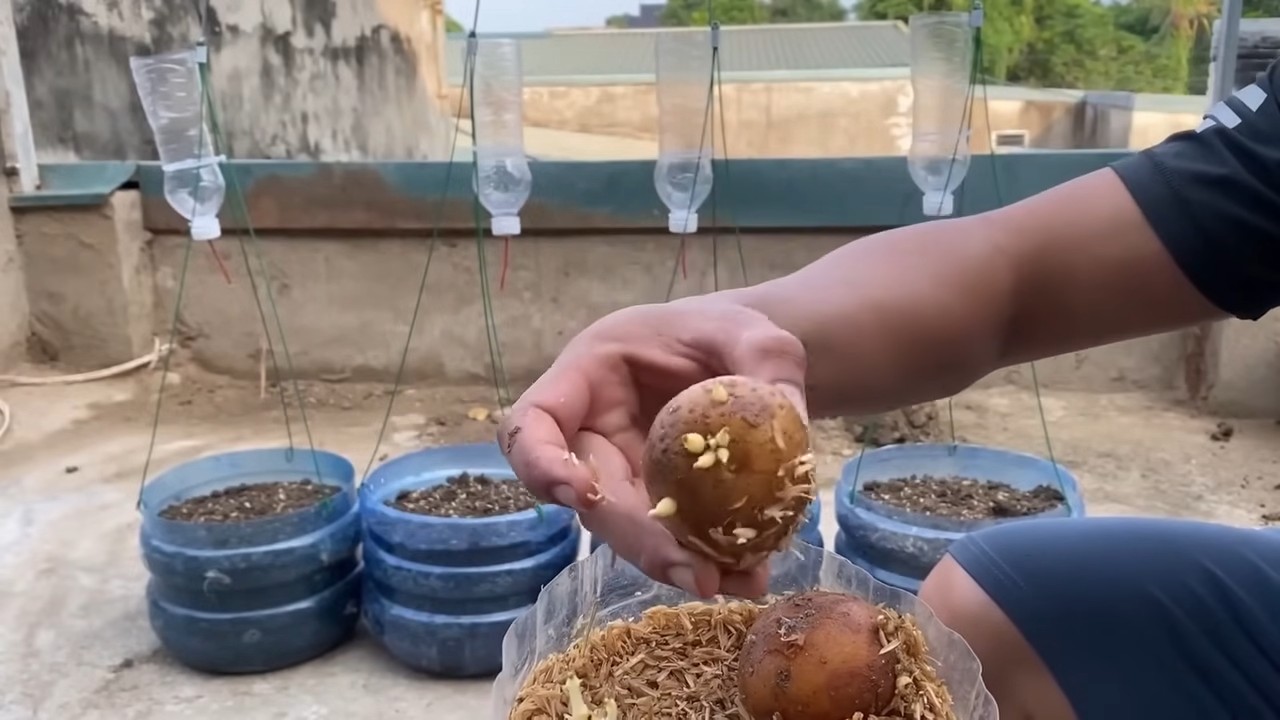
* Consider “new” potatoes: If you want to enjoy “new” potatoes (small, tender potatoes with thin skins), you can harvest them a few weeks before the foliage dies back completely. Just dig around the plant and carefully remove a few potatoes, leaving the rest to mature.
Troubleshooting
Even with the best tools and techniques, sometimes things don’t go exactly as planned. Here are a few common problems you might encounter and how to solve them:
* The bottle is too small: If you’re harvesting large potatoes, you might find that the bottle is too small to scoop them up easily. In this case, try using a larger bottle or cutting the bottle in half lengthwise to create a wider scoop.
* The soil is too compacted: If the soil is very compacted, it can be difficult to loosen it with a trowel or shovel. Try using a garden fork to loosen the soil before using the bottle to scoop up the potatoes.
* The potatoes are damaged: If you’re finding that you’re damaging a lot of potatoes during the harvest, try being more gentle with the bottle and the trowel. You can also try using your hands to carefully loosen the potatoes from the soil before scooping them up.
* The bottle keeps breaking: If the plastic bottle is breaking easily, it might be too thin or brittle. Try using a thicker bottle or reinforcing the edges with more duct tape.
Beyond Potatoes: Other Uses for Your Bottle Tool
The beauty of this DIY hack is that it’s not just limited to harvesting potatoes! You can also use your plastic bottle tool for other gardening tasks, such as:
* Transplanting seedlings: The wide opening of the bottle makes it easy to scoop up seedlings and transplant them into larger pots or into the garden.
* Scooping compost or fertilizer: The bottle can be used to scoop compost or fertilizer and apply it to your plants.
* Collecting fallen fruit: If you have fruit trees, you can use the bottle to collect fallen fruit from the ground.
* Weeding: The bottle can be used to scoop up weeds and their roots.
So, there you have it! A simple, effective, and budget-friendly way to harvest your potatoes with a plastic bottle. I hope this hack makes your gardening experience a little bit easier and a lot more enjoyable. Happy harvesting!
Conclusion
So, there you have it! Transforming a simple plastic bottle into a surprisingly effective potato harvesting tool is more than just a quirky DIY project; it’s a game-changer for small-scale gardeners and anyone looking to minimize potato damage during harvest. We’ve explored how this ingenious method can save you time, reduce back strain, and, most importantly, protect your precious potatoes from accidental nicks and bruises that can lead to spoilage.
Why is this DIY potato harvesting trick a must-try? Because it’s incredibly accessible, affordable, and environmentally conscious. You’re repurposing a plastic bottle that might otherwise end up in a landfill, giving it a new lease on life and contributing to a more sustainable gardening practice. The simplicity of the design means that anyone, regardless of their DIY skills, can create and use this tool. And the gentle scooping action minimizes the risk of damaging your potatoes, ensuring a higher yield of usable, storable produce.
But don’t just take our word for it! We encourage you to experiment with variations to suit your specific needs and preferences. For example, if you’re harvesting a particularly large variety of potatoes, you might consider using a larger bottle or modifying the opening to accommodate their size. You could also add padding to the inside of the bottle to provide extra cushioning and protection. Another variation is to create multiple bottle scoops attached to a single handle for faster harvesting in larger gardens. Think about adding a small, sturdy handle to the bottle for a more comfortable grip, especially if you plan on harvesting a large number of potatoes.
This DIY potato harvesting method is a testament to the power of simple solutions. It’s a reminder that you don’t always need expensive, specialized equipment to achieve great results in the garden. Sometimes, the most effective tools are the ones you create yourself, using readily available materials and a little bit of ingenuity.
We’re confident that once you try this DIY potato harvesting trick, you’ll be amazed by its effectiveness and simplicity. It’s a fun, rewarding project that will not only make your potato harvest easier but also give you a sense of accomplishment.
So, grab a plastic bottle, follow our simple instructions, and get ready to revolutionize your potato harvesting experience. We can’t wait to hear about your results! Share your experiences, tips, and variations in the comments below. Let’s build a community of resourceful gardeners who are passionate about finding innovative and sustainable solutions. Happy harvesting!
Frequently Asked Questions (FAQ)
What type of plastic bottle works best for this DIY potato harvesting tool?
Ideally, you want to use a sturdy plastic bottle that can withstand some pressure without cracking or bending too easily. A thicker plastic bottle, like those used for juice or some cleaning products, is generally better than a thin water bottle. The size of the bottle should also be considered. A larger bottle will allow you to scoop more potatoes at once, but it might also be more difficult to maneuver. Experiment with different sizes to find what works best for you and the size of your potato crop. Remember to thoroughly clean the bottle before using it in your garden.
How do I prevent the plastic bottle from damaging the potatoes during harvest?
The key is to create a smooth, rounded edge on the bottle opening. Use sandpaper or a file to carefully smooth any sharp edges or burrs that could potentially scratch or bruise the potatoes. You can also consider adding padding to the inside of the bottle. A thin layer of foam or even a piece of cloth can provide extra cushioning and protection. Avoid forcing the bottle into the soil. Instead, gently scoop around the potatoes, allowing the bottle to lift them out with minimal contact.
Is this DIY potato harvesting method suitable for all soil types?
This method works best in loose, well-drained soil. If your soil is heavy clay or compacted, it might be more difficult to maneuver the bottle and extract the potatoes without damaging them. In such cases, you might need to loosen the soil around the potatoes with a garden fork or trowel before using the bottle scoop. Adding organic matter to your soil can improve its texture and drainage, making it easier to harvest potatoes with any method.
How do I clean the plastic bottle after harvesting potatoes?
After each use, rinse the bottle thoroughly with water to remove any soil or debris. If necessary, use a mild soap and a brush to scrub away any stubborn dirt. Allow the bottle to dry completely before storing it to prevent mold or mildew growth. You can also disinfect the bottle with a diluted bleach solution to kill any bacteria or fungi that might be present.
Can I use this method to harvest other root vegetables besides potatoes?
While this DIY tool is primarily designed for harvesting potatoes, it can also be used to harvest other root vegetables, such as carrots, beets, and turnips, especially if they are grown in loose soil. However, you might need to adjust the size of the bottle opening to accommodate the shape and size of the specific vegetable. For example, you might need a narrower opening for carrots and a wider opening for beets. Always be gentle when scooping to avoid damaging the vegetables.
What if the plastic bottle breaks during harvesting?
While sturdy plastic bottles are recommended, accidents can happen. If the bottle breaks during harvesting, stop immediately and carefully remove any sharp pieces from the soil to prevent injury. You can then simply grab another plastic bottle and create a new harvesting tool. This is one of the advantages of this DIY method – it’s quick and easy to replace the tool if it gets damaged.
How does this DIY method compare to using a traditional potato fork?
A traditional potato fork can be effective for harvesting potatoes, but it also carries a higher risk of damaging the potatoes if you’re not careful. The tines of the fork can easily pierce or bruise the potatoes, leading to spoilage. The plastic bottle method, on the other hand, provides a gentler scooping action that minimizes the risk of damage. It’s also lighter and easier to maneuver than a heavy potato fork, which can reduce back strain. However, a potato fork might be more efficient for harvesting large quantities of potatoes in very loose soil.
Is this DIY potato harvesting method environmentally friendly?
Yes, this method is considered environmentally friendly because it repurposes a plastic bottle that might otherwise end up in a landfill. By giving the bottle a new use, you’re reducing waste and contributing to a more sustainable gardening practice. You can further enhance the environmental benefits by using recycled plastic bottles or by composting the potato plants after harvesting.
Leave a Comment