
Romanesco Cauliflower Growing Guide: Unlock the secrets to cultivating this stunning and delicious vegetable right in your own backyard! Have you ever seen a Romanesco cauliflower at the farmer’s market and been mesmerized by its intricate, fractal patterns? I know I have! It looks like something straight out of a science fiction movie, but trust me, growing your own is easier than you might think.
While its unique appearance might seem modern, the Romanesco cauliflower actually has roots tracing back to 16th-century Italy. For centuries, it has been prized not only for its visual appeal but also for its delicate, nutty flavor, a delightful alternative to regular cauliflower. Imagine serving a dish featuring your homegrown Romanesco – a conversation starter and a culinary delight all in one!
But why should you embark on this gardening adventure? Well, beyond the bragging rights, growing your own Romanesco cauliflower allows you to control the quality of your food, ensuring it’s free from harmful pesticides and packed with nutrients. Plus, let’s be honest, there’s something incredibly satisfying about nurturing a plant from seed to table. This Romanesco Cauliflower Growing Guide will provide you with all the essential tips and tricks you need to succeed, from selecting the right seeds to harvesting your beautiful, fractal florets. So, grab your gardening gloves, and let’s get started!
Growing Romanesco Cauliflower: A DIY Guide for the Adventurous Gardener
Hey there, fellow gardening enthusiasts! Ever seen a Romanesco cauliflower and thought, “Wow, that looks like something from another planet”? Well, you’re not alone! This fractal vegetable is as fascinating to grow as it is to look at (and eat!). I’m going to walk you through everything you need to know to cultivate your own Romanesco masterpiece. It might seem intimidating, but trust me, with a little patience and these tips, you’ll be harvesting your own geometric wonders in no time.
Understanding Romanesco Cauliflower
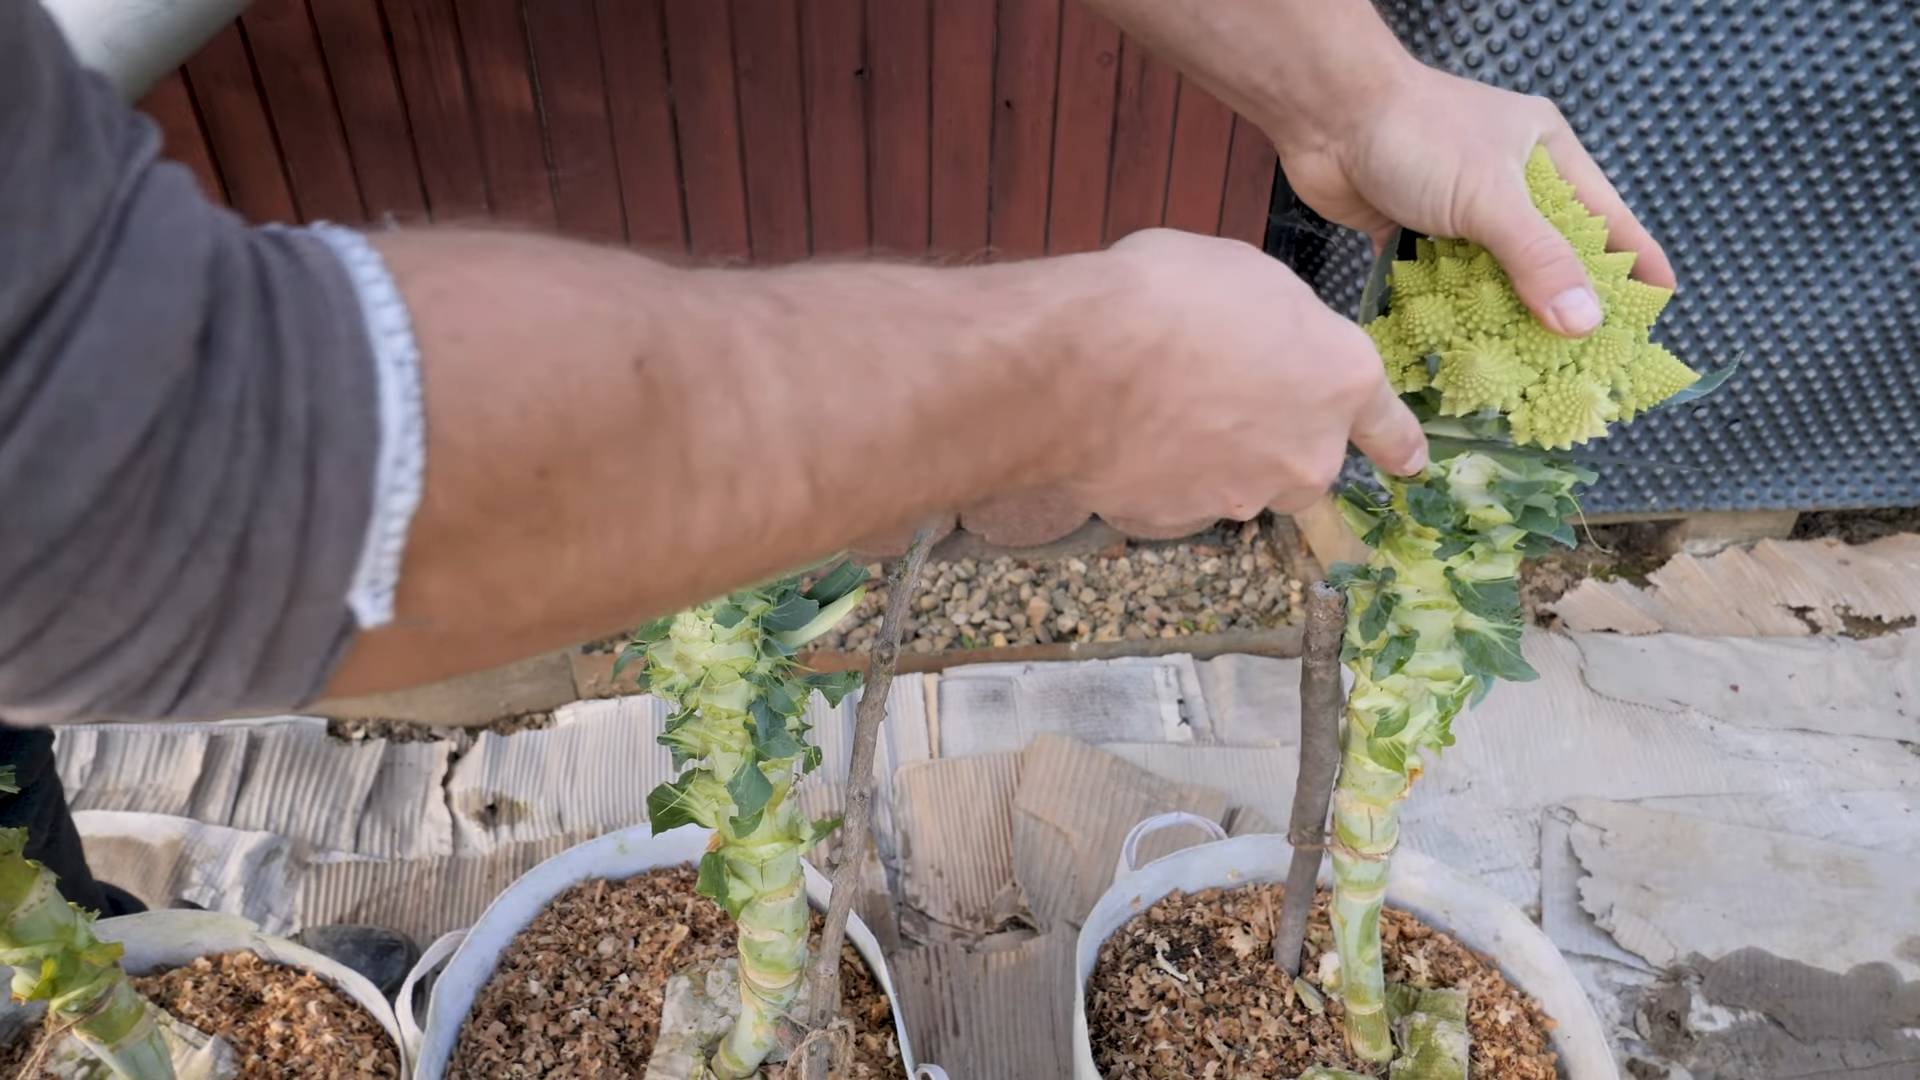
Before we dive into the nitty-gritty, let’s talk a bit about what makes Romanesco so special. It’s a variant of cauliflower, but instead of a smooth, dense head, it forms a naturally repeating fractal pattern. Each bud is made up of smaller buds, and so on, creating a stunning visual effect. The taste is also a bit different – milder and nuttier than regular cauliflower, with a slightly firmer texture.
Key Considerations for Success:
* Timing is Crucial: Romanesco needs cool weather to thrive. We’re talking spring or fall planting, depending on your climate. Hot weather will cause it to bolt (go to seed) and ruin the head.
* Soil Preparation is Key: Romanesco is a heavy feeder, meaning it needs nutrient-rich soil.
* Consistent Watering: Like all brassicas, Romanesco needs consistent moisture to develop properly.
* Pest Control: Cabbage worms, aphids, and other pests can wreak havoc on your crop. Be prepared to defend your plants!
Getting Started: Seeds vs. Transplants
You have two options when starting your Romanesco journey: starting from seed or buying transplants. Both have their pros and cons.
* Starting from Seed: This gives you more control over the entire process and is generally more economical. However, it requires more time and attention.
* Buying Transplants: This is a quicker and easier option, especially if you’re short on time or space. Just make sure you’re buying healthy, vigorous plants from a reputable source.
I personally prefer starting from seed because I enjoy the whole process, but either way works!
Phase 1: Starting Seeds (If Applicable)
If you’re going the seed route, here’s how to get those little guys germinating:
1. Choose Your Seeds: Select a reputable seed supplier and ensure the seeds are fresh. Romanesco varieties can vary slightly, so read the descriptions carefully.
2. Sow Indoors (Recommended): Start your seeds indoors about 4-6 weeks before the last expected frost in spring, or 6-8 weeks before the first expected frost in fall. This gives them a head start.
3. Prepare Your Seed Starting Mix: Use a well-draining seed starting mix. You can buy this pre-made or make your own by mixing equal parts peat moss, vermiculite, and perlite.
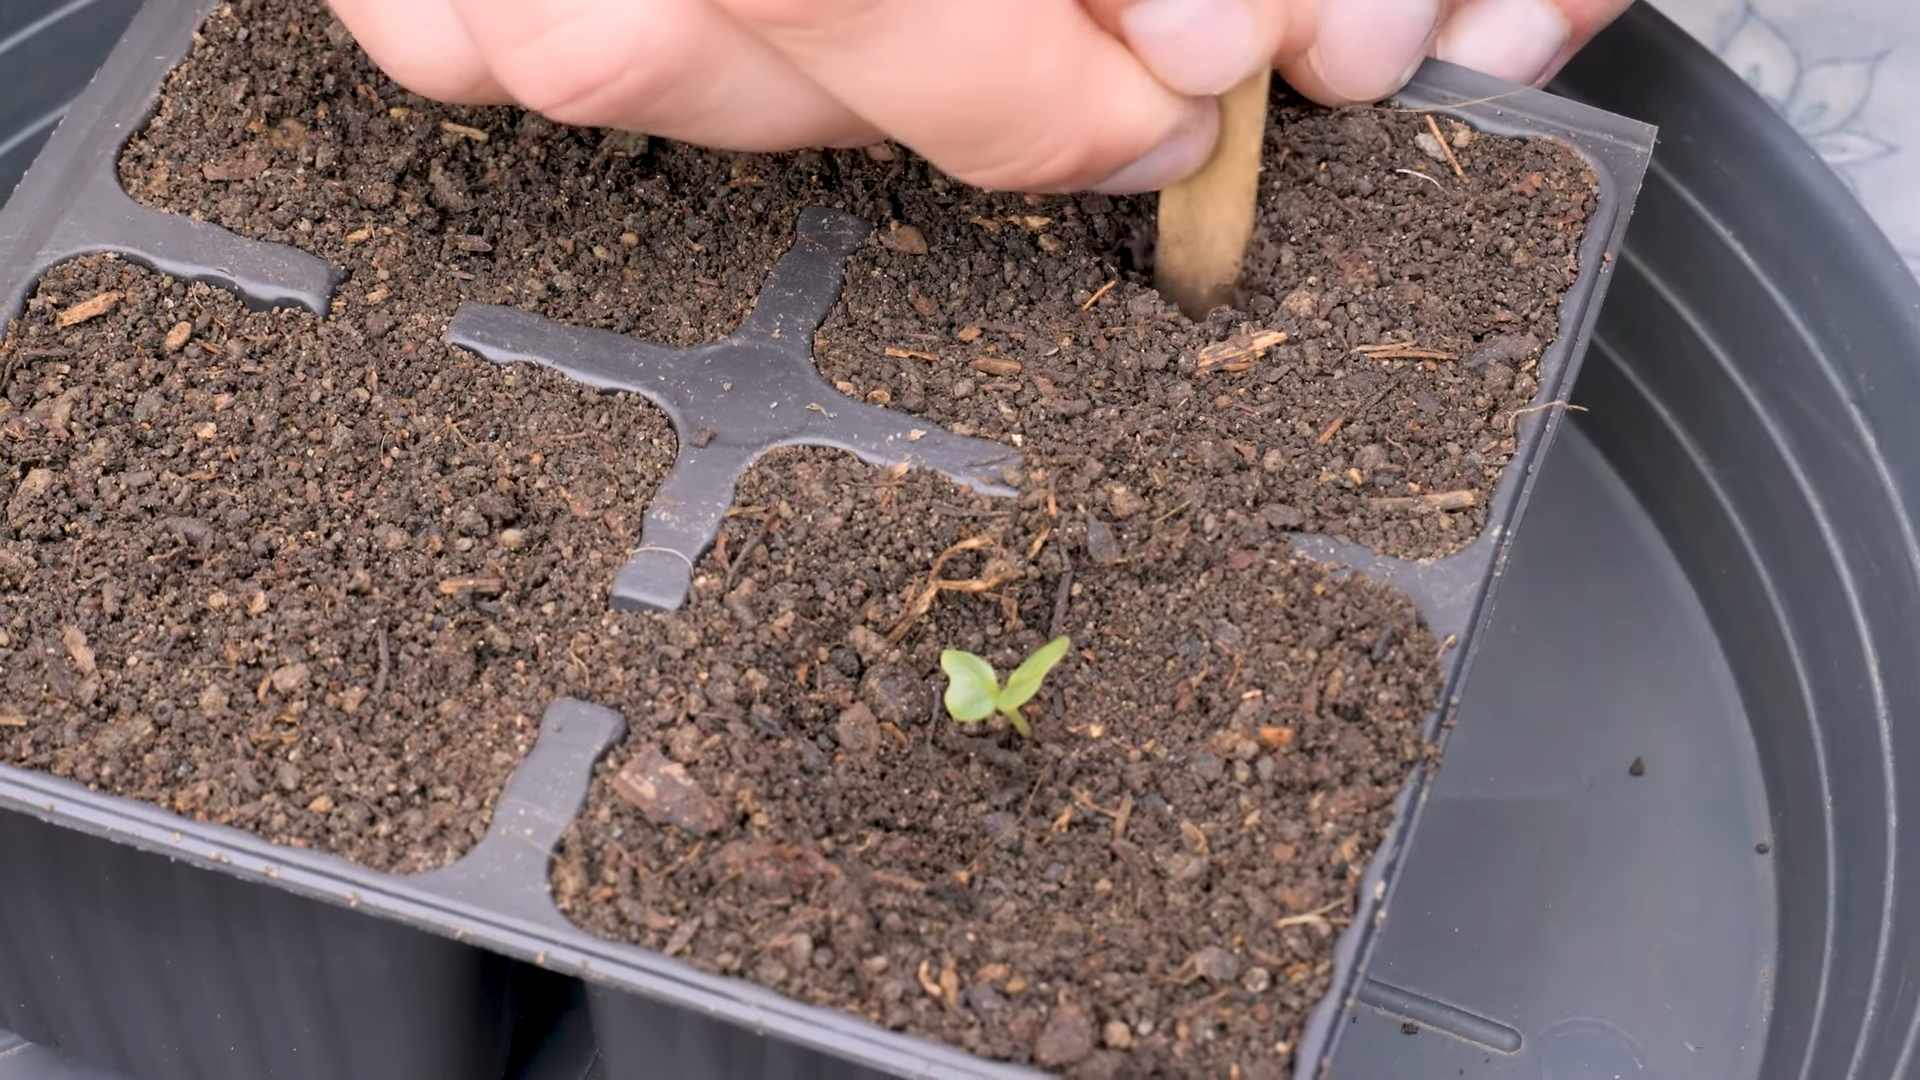
4. Sow the Seeds: Fill your seed starting trays or pots with the mix. Make a small indentation (about ¼ inch deep) in each cell and sow 2-3 seeds per cell.
5. Cover and Water: Gently cover the seeds with the mix and water thoroughly. You want the soil to be moist but not soggy.
6. Provide Warmth and Light: Place the trays in a warm location (around 70-75°F) and provide plenty of light. A heat mat can help speed up germination. If you don’t have a sunny window, use grow lights.
7. Thin Seedlings: Once the seedlings emerge (usually within 5-10 days), thin them to one strong seedling per cell. Snip off the weaker seedlings at the soil line with scissors.
8. Harden Off: Before transplanting outdoors, you need to “harden off” the seedlings. This gradually acclimates them to outdoor conditions. Start by placing them outside for a few hours each day, gradually increasing the time over a week or two. Protect them from direct sunlight and strong winds at first.
Phase 2: Preparing the Garden Bed
Whether you’re using transplants or seedlings you’ve grown yourself, proper bed preparation is essential.
1. Choose a Sunny Location: Romanesco needs at least 6 hours of sunlight per day.
2. Test Your Soil: A soil test will tell you the pH and nutrient levels of your soil. Romanesco prefers a slightly acidic to neutral pH (around 6.0-7.0).
3. Amend the Soil: Based on your soil test results, amend the soil with compost, well-rotted manure, or other organic matter. This will improve drainage, fertility, and water retention. I usually add a generous amount of compost and some bone meal for phosphorus.
4. Work the Soil: Dig or till the soil to a depth of at least 12 inches. This will loosen the soil and make it easier for the roots to grow.
5. Consider Raised Beds: Raised beds are a great option for growing Romanesco, especially if you have poor soil drainage.
Phase 3: Planting Your Romanesco
Now for the exciting part – getting those plants in the ground!
1. Timing is Key (Again!): Plant your seedlings or transplants after the last expected frost in spring, or about 6-8 weeks before the first expected frost in fall.
2. Spacing: Space the plants about 18-24 inches apart in rows that are 24-36 inches apart. This gives them enough room to grow and allows for good air circulation.
3. Planting Depth: Dig a hole that is slightly larger than the root ball of the seedling or transplant. Gently remove the plant from its container and loosen the roots. Place the plant in the hole and backfill with soil, making sure the top of the root ball is level with the surrounding soil.
4. Water Thoroughly: Water the plants thoroughly after planting. This will help settle the soil and encourage root growth.
5. Mulch: Apply a layer of mulch around the plants. This will help retain moisture, suppress weeds, and regulate soil temperature. I like to use straw or shredded leaves.
Phase 4: Caring for Your Romanesco
Once your Romanesco is planted, it’s time to provide the ongoing care it needs to thrive.
1. Watering: Water regularly, especially during dry periods. Aim for about 1-1.5 inches of water per week. Avoid overhead watering, as this can promote fungal diseases. Drip irrigation is ideal.
2. Fertilizing: Romanesco is a heavy feeder, so it needs regular fertilization. Side-dress the plants with a balanced fertilizer every 2-3 weeks. You can also use a liquid fertilizer, such as fish emulsion or seaweed extract.
3. Weeding: Keep the garden bed free of weeds. Weeds compete with the Romanesco for nutrients and water. Hand-pull weeds regularly or use a hoe.
4. Pest Control: Keep an eye out for pests, such as cabbage worms, aphids, and flea beetles.
* Cabbage Worms: These green caterpillars can decimate your plants. Hand-pick them off or use Bacillus thuringiensis (Bt), a natural insecticide.
* Aphids: These tiny insects suck the sap from plants. Spray them with a strong stream of water or use insecticidal soap.
* Flea Beetles: These small beetles chew tiny holes in the leaves. Cover the plants with row covers to prevent them from reaching the plants.
5. Row Covers: Using row covers can protect your plants from pests and frost, especially early in the season.
6. Blanching (Optional): Some gardeners blanch Romanesco heads to keep them white. To do this, tie the outer leaves together over the developing head when it’s about half its mature size. This will block sunlight and prevent the head from turning green. I personally don’t bother with this, as I like the slightly green hue.
Phase 5: Harvesting Your Romanesco
The moment you’ve been waiting for!
1. Timing: Romanesco is typically ready to harvest about 75-100 days after planting.
2. Check the Head: The head should be firm and compact, with tightly packed florets. It should be about 6-8 inches in diameter.
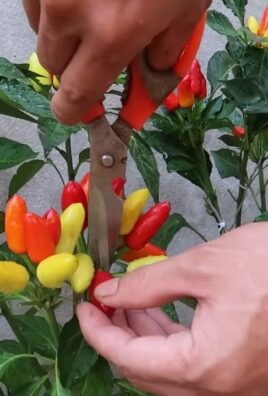
3. Cut the Head: Use a sharp knife to cut the head from the plant, leaving a few inches of stem attached.
4. Enjoy! Romanesco can be eaten raw, steamed, roasted, or stir-fried. It’s a delicious and nutritious addition to any meal.
Troubleshooting Common Problems
Even with the best care, you might encounter some problems along the way. Here are a few common issues and how to address them:
* Bolting (Premature Flowering): This is usually
Conclusion
So, there you have it! Growing your own Romanesco cauliflower isn’t just about adding another vegetable to your garden; it’s about embarking on a rewarding journey that culminates in a truly spectacular and delicious harvest. From selecting the right seeds and preparing the soil to nurturing your plants through their various growth stages and protecting them from pests and diseases, every step of the process is an opportunity to connect with nature and hone your gardening skills.
We’ve covered everything from understanding the unique needs of Romanesco cauliflower to troubleshooting common problems. Remember, patience is key. Romanesco can be a bit more demanding than regular cauliflower, but the payoff is well worth the effort. Imagine the pride you’ll feel when you harvest your first perfectly formed, fractal-patterned head of Romanesco!
But the real beauty of growing your own food lies in the ability to experiment and personalize the process. Consider these variations to further enhance your Romanesco growing experience:
* Succession Planting: Plant seeds every few weeks to ensure a continuous harvest throughout the growing season. This is especially useful if you enjoy Romanesco regularly.
* Companion Planting: Plant Romanesco alongside beneficial companions like marigolds (to deter pests) or herbs like rosemary and thyme (to improve flavor and attract pollinators).
* Soil Amendments: Experiment with different soil amendments like compost tea or bone meal to see how they affect the size and quality of your Romanesco heads.
* Colored Varieties: While the classic Romanesco is a vibrant chartreuse green, you can also find purple and orange varieties. Try growing a mix for a visually stunning and diverse harvest.
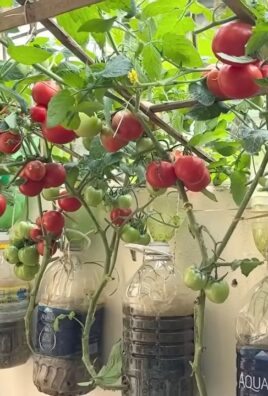
* Container Gardening: If you have limited space, Romanesco can be grown in large containers. Just make sure to choose a pot that’s at least 18 inches in diameter and provide adequate drainage.
Ultimately, the best way to learn is by doing. Don’t be afraid to get your hands dirty, make mistakes, and learn from them. Growing Romanesco cauliflower is a learning experience, and every season will bring new insights and opportunities for improvement.
We strongly encourage you to give this DIY trick a try. Not only will you enjoy the satisfaction of growing your own food, but you’ll also have access to fresh, delicious, and visually stunning Romanesco cauliflower that you won’t find in most grocery stores. Plus, you’ll be contributing to a more sustainable food system by reducing your reliance on commercially grown produce.
So, grab your seeds, prepare your soil, and get ready to embark on your Romanesco growing adventure! And most importantly, don’t forget to share your experiences with us. We’d love to hear about your successes, challenges, and any tips or tricks you’ve discovered along the way. Share your photos and stories in the comments below – let’s build a community of Romanesco enthusiasts! Let us know if this **Romanesco cauliflower growing guide** helped you.
Frequently Asked Questions (FAQ)
Q: How long does it take to grow Romanesco cauliflower?
A: Romanesco cauliflower typically takes between 75 and 100 days to mature from seed. This can vary depending on the variety, climate, and growing conditions. Start seeds indoors 6-8 weeks before the last expected frost for an earlier harvest. If you’re direct sowing, wait until the soil has warmed up to at least 60°F (15°C).
Q: What are the ideal growing conditions for Romanesco cauliflower?
A: Romanesco thrives in full sun (at least 6 hours of direct sunlight per day) and well-drained, fertile soil with a pH between 6.0 and 7.0. Consistent moisture is crucial, especially during head formation. Avoid letting the soil dry out completely, but also avoid overwatering, which can lead to root rot.
Q: How do I know when my Romanesco cauliflower is ready to harvest?
A: The head of the Romanesco cauliflower is ready to harvest when it reaches a good size (typically 6-8 inches in diameter) and the florets are tightly packed together. The head should feel firm to the touch. Don’t wait too long to harvest, as the florets can start to separate and become loose if the head is overripe.
Q: What are some common pests and diseases that affect Romanesco cauliflower?
A: Common pests include cabbage worms, aphids, flea beetles, and cabbage root maggots. Diseases include clubroot, black rot, and downy mildew. Regular inspection of your plants and prompt action are essential for preventing and controlling these problems. Use organic pest control methods whenever possible, such as insecticidal soap, neem oil, or row covers. Ensure good air circulation to minimize the risk of fungal diseases.
Q: How do I prevent clubroot in my Romanesco cauliflower?
A: Clubroot is a soilborne disease that can be devastating to brassicas like Romanesco. To prevent clubroot, ensure proper soil drainage, maintain a soil pH above 7.0 (by adding lime), and practice crop rotation. Avoid planting brassicas in the same location for at least three years. You can also use clubroot-resistant varieties if available.
Q: Can I grow Romanesco cauliflower in containers?
A: Yes, Romanesco can be grown in containers, but you’ll need a large pot (at least 18 inches in diameter) with good drainage. Use a high-quality potting mix and provide regular watering and fertilization. Container-grown plants may dry out more quickly than those grown in the ground, so check the soil moisture frequently.
Q: How do I store Romanesco cauliflower after harvesting?
A: To store Romanesco cauliflower, wrap the head in a damp paper towel and place it in a plastic bag in the refrigerator. It will typically keep for up to a week. You can also blanch and freeze Romanesco for longer storage.
Q: What are some ways to cook Romanesco cauliflower?
A: Romanesco cauliflower can be cooked in a variety of ways, including steaming, roasting, sautéing, and grilling. It can also be eaten raw in salads or as a crudité. Its unique flavor and texture make it a versatile ingredient for many dishes. Try roasting it with olive oil, garlic, and herbs, or adding it to soups, stews, and stir-fries.
Q: Is Romanesco cauliflower more nutritious than regular cauliflower?
A: Romanesco cauliflower is similar in nutritional value to regular cauliflower, but it may contain slightly higher levels of certain vitamins and minerals, such as vitamin C and carotenoids. It’s also a good source of fiber and antioxidants.
Q: What if my Romanesco cauliflower doesn’t form a head?
A: Several factors can contribute to a lack of head formation in Romanesco cauliflower, including insufficient sunlight, poor soil fertility, inconsistent watering, and extreme temperatures. Ensure that your plants are getting at least 6 hours of direct sunlight per day, fertilize regularly with a balanced fertilizer, and provide consistent moisture. Protect plants from extreme heat or cold. If the problem persists, consider testing your soil to identify any nutrient deficiencies.
Leave a Comment