
Snap Peas Kitchen Fresh Harvest: Imagine stepping into your kitchen, not to rummage through the crisper drawer, but to pluck plump, juicy snap peas straight from your own little garden oasis. Sounds dreamy, right? Well, it’s more achievable than you think! For centuries, cultivating your own food, even in a small space, has been a source of immense satisfaction and connection to nature. From ancient Roman rooftop gardens to the modern-day victory gardens of World War II, the desire to grow our own has deep roots.
But let’s be honest, not everyone has acres of land or the time for intensive gardening. That’s where these DIY tricks and hacks come in! I’m going to share some simple, effective methods to ensure you get a Snap Peas Kitchen Fresh Harvest, even if you’re a complete beginner with limited space. We’ll cover everything from choosing the right varieties to maximizing your yield with clever container gardening techniques.
Why do you need these tricks? Because store-bought snap peas simply can’t compare to the burst of flavor and satisfying crunch of homegrown ones. Plus, you’ll know exactly where your food is coming from and avoid harmful pesticides. So, get ready to roll up your sleeves and transform your kitchen into a source of fresh, delicious snap peas!
DIY Snap Pea Trellis: From Seed to Supper!
Hey there, fellow gardeners! I’m so excited to share my favorite way to grow snap peas – vertically! Building a DIY trellis is not only super rewarding, but it also maximizes your garden space and makes harvesting a breeze. Plus, it looks pretty darn cute! Let’s dive in and get those snap peas climbing.
Why Trellis Snap Peas?
Before we get our hands dirty, let’s talk about why trellising snap peas is a game-changer.
* Space Saver: Snap peas can get pretty sprawling if left to their own devices. A trellis keeps them contained and growing upwards, freeing up valuable ground space for other veggies.
* Improved Air Circulation: Vertical growth allows for better airflow around the plants, which helps prevent fungal diseases like powdery mildew.
* Easier Harvesting: No more bending over and searching through tangled vines! The peas are right there at eye level, making harvesting a quick and enjoyable task.
* Increased Sunlight Exposure: Trellising ensures that all parts of the plant receive adequate sunlight, leading to healthier growth and more abundant yields.
* Aesthetically Pleasing: Let’s be honest, a trellis covered in lush green vines and colorful snap peas is just plain beautiful! It adds a touch of charm to any garden.
Choosing Your Trellis Design
There are tons of trellis options out there, but I’m going to show you how to build a simple and sturdy A-frame trellis that’s perfect for snap peas. It’s easy to customize to fit your garden’s needs. Here are a few considerations:
* Size: Consider the mature height of your snap pea variety. Most varieties grow to be 4-6 feet tall, so plan accordingly.
* Materials: You can use a variety of materials, such as wood, bamboo, or metal. I prefer wood because it’s readily available, relatively inexpensive, and easy to work with.
* Stability: Make sure your trellis is sturdy enough to support the weight of the mature plants, especially during windy conditions.
Materials You’ll Need
Okay, let’s gather our supplies! This is what I used for my A-frame trellis, but feel free to adapt it based on what you have on hand.
* Six 8-foot long wooden stakes or posts: I used 2×2 lumber, but you can use thicker posts for added stability.
* Heavy-duty twine or garden netting: This will provide the climbing surface for the snap peas.
* Wood screws or nails: For assembling the frame.
* Drill or hammer: Depending on whether you’re using screws or nails.
* Measuring tape: To ensure accurate cuts and measurements.
* Saw: To cut the wood to the desired length.
* Gloves: To protect your hands.
* Optional: Wood stain or sealant: To protect the wood from the elements and extend its lifespan.
Building Your A-Frame Snap Pea Trellis: Step-by-Step
Alright, let’s get building! This is where the fun begins.
Phase 1: Constructing the A-Frames
1. Cut the Wood: First, cut four of the 8-foot stakes in half, so you have eight 4-foot pieces. These will be the legs of your A-frames.
2. Assemble the First A-Frame: Take two of the 4-foot pieces and lay them on the ground in an A-shape. The top ends should be touching, and the bottom ends should be about 2-3 feet apart. This will determine the width of your trellis.
3. Secure the Top: Use wood screws or nails to securely fasten the two pieces together at the top. Make sure the joint is strong and stable. I like to pre-drill holes to prevent the wood from splitting.
4. Repeat for the Second A-Frame: Repeat steps 2 and 3 to create a second A-frame. Now you should have two identical A-shaped structures.
Phase 2: Connecting the A-Frames
1. Position the A-Frames: Stand the two A-frames upright, parallel to each other, and about 6-8 feet apart. This distance will determine the length of your trellis.
2. Attach the Top Support: Take one of the remaining 8-foot stakes and lay it across the top of the A-frames, connecting them together. This will provide stability and support for the climbing vines.
3. Secure the Top Support: Use wood screws or nails to securely fasten the top support to the top of each A-frame. Again, pre-drilling holes is a good idea.
4. Attach the Bottom Support: Repeat steps 6 and 7 with the last 8-foot stake, attaching it to the bottom of the A-frames, about 6-12 inches above the ground. This will further stabilize the trellis and prevent it from spreading apart.
Phase 3: Adding the Climbing Surface
1. Attach the Twine or Netting: Now it’s time to create the climbing surface for your snap peas. Start at the bottom of one A-frame and tie the twine or netting securely to the bottom support.
2. Weave the Twine or Netting: Weave the twine or netting up and over the top support, then down to the bottom support on the other A-frame. Continue weaving back and forth, creating a grid-like pattern.
3. Secure the Twine or Netting: Secure the twine or netting to the supports every 6-12 inches, using knots or staples. Make sure the climbing surface is taut and evenly spaced. I prefer using twine because it’s biodegradable and easy to adjust as the plants grow. Garden netting is also a great option, especially if you want a more uniform look.
4. Reinforce the Structure (Optional): For added stability, you can add diagonal braces to the A-frames. Simply cut two pieces of wood at a 45-degree angle and attach them from the top of the A-frame to the bottom support.
Planting Your Snap Peas
Now that your trellis is built, it’s time to plant those snap peas!
1. Prepare the Soil: Choose a sunny spot in your garden with well-drained soil. Amend the soil with compost or other organic matter to improve its fertility.
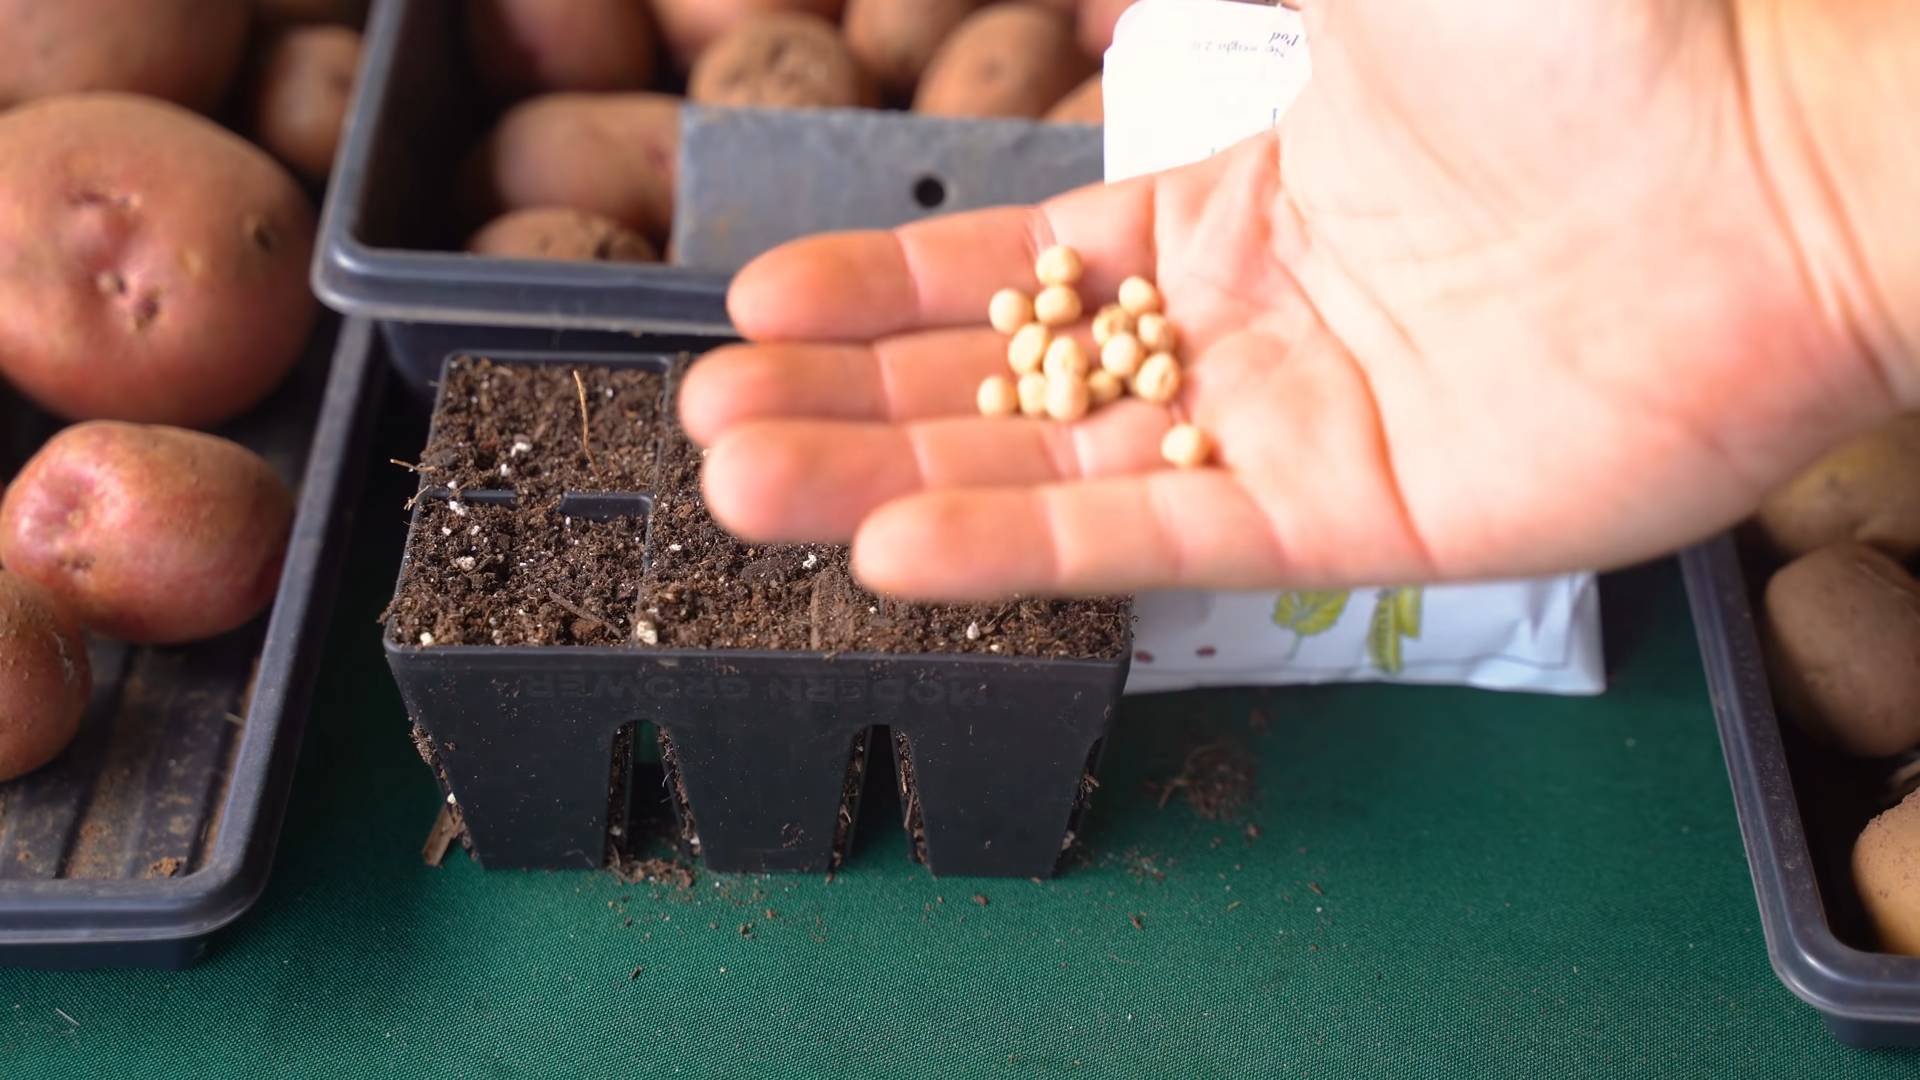
2. Sow the Seeds: Sow the snap pea seeds directly into the soil at the base of the trellis, spacing them about 2-3 inches apart. Plant the seeds about 1 inch deep.
3. Water Thoroughly: Water the seeds thoroughly after planting.
4. Provide Support: As the snap peas begin to grow, gently guide their tendrils towards the trellis. They will naturally start to climb on their own. You might need to initially tie them to the trellis with small pieces of twine.
5. Water Regularly: Keep the soil consistently moist, but not waterlogged. Snap peas need plenty of water, especially during hot weather.
6. Fertilize (Optional): Fertilize the snap peas every few weeks with a balanced fertilizer.
7. Watch Them Grow: Keep an eye out for pests and diseases. Pick off any yellowing leaves or damaged pods.
Harvesting Your Snap Peas
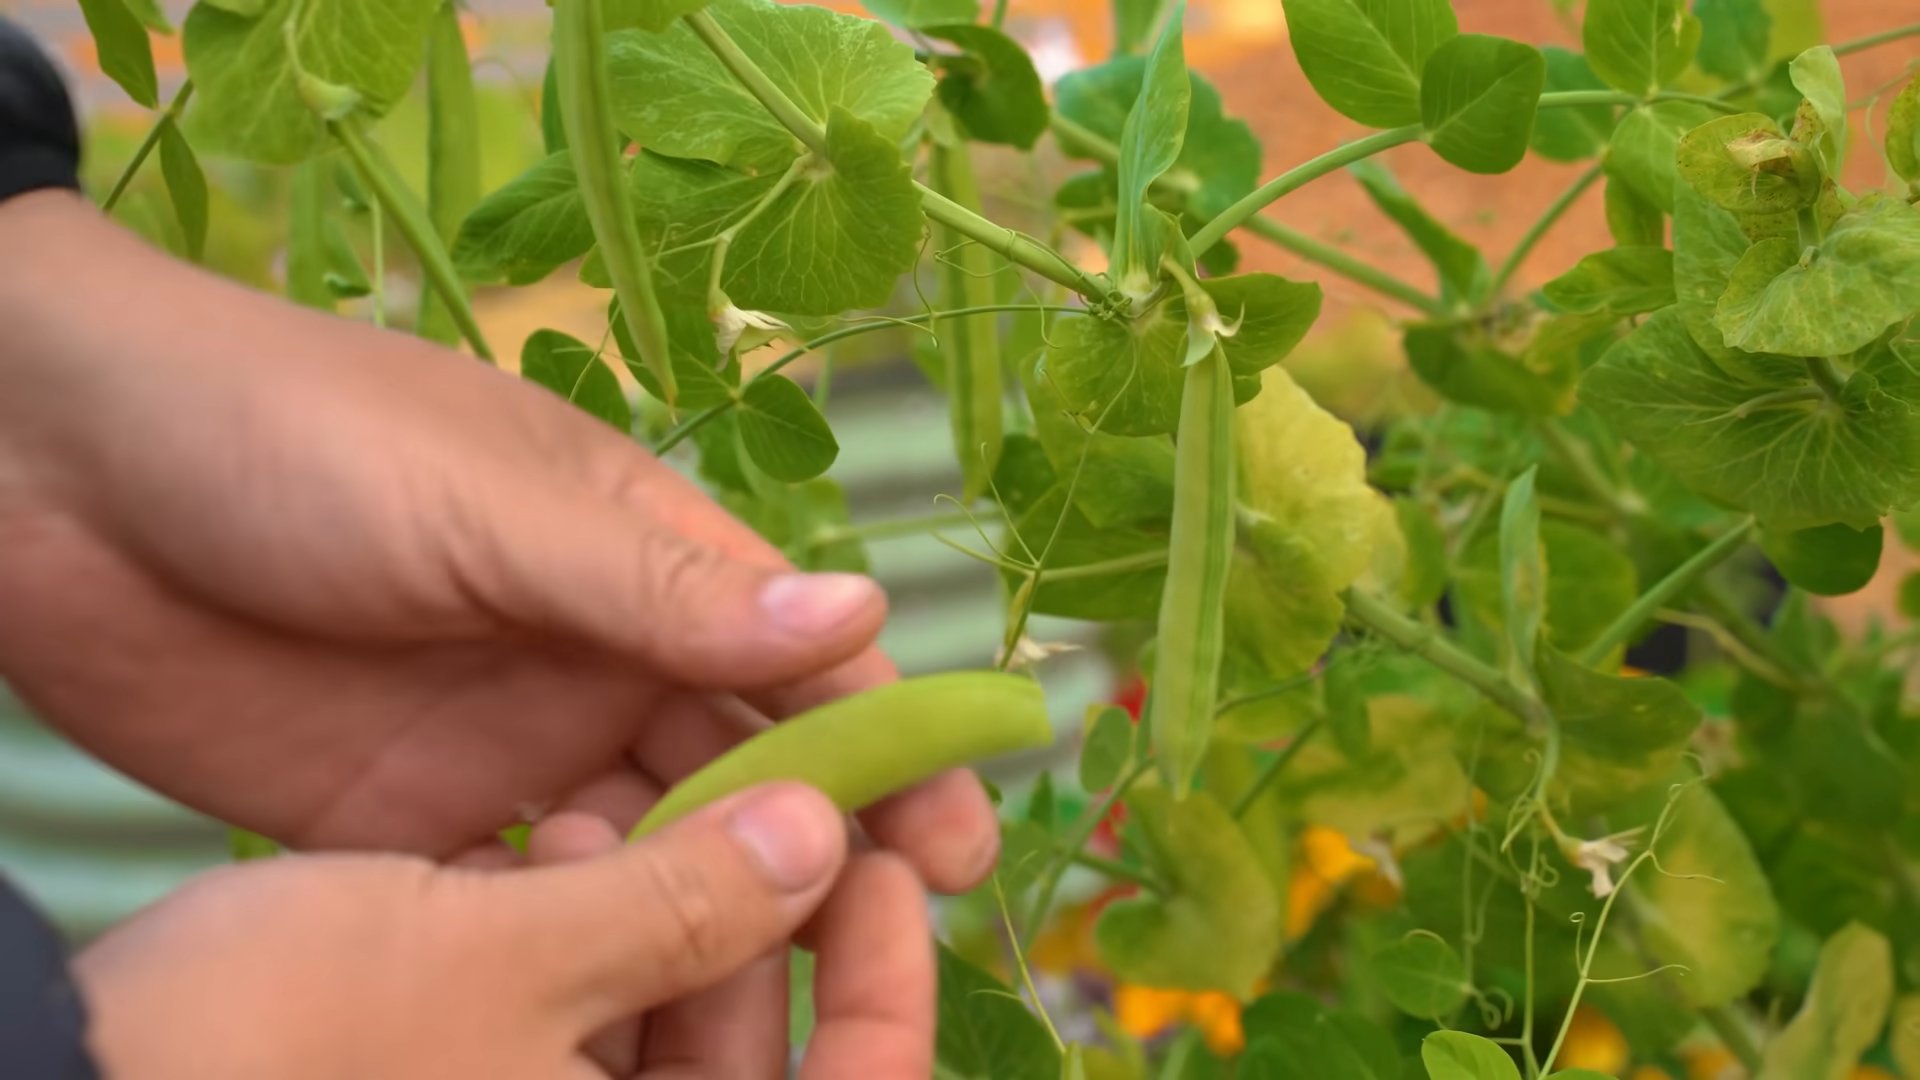
The best part! Harvesting your own homegrown snap peas is incredibly satisfying.
1. Harvest When Ready: Snap peas are ready to harvest when the pods are plump and the peas inside are well-developed. The pods should be bright green and crisp.
2. Pick Regularly: Harvest the snap peas regularly to encourage continued production.
3. Enjoy! Eat them fresh, stir-fry them, or add them to salads. The possibilities are endless!
Tips and Tricks for Success
Here are a few extra tips to help you grow the best snap peas ever:
* Choose the Right Variety: There are many different varieties of snap peas available. Choose one that is well-suited to your climate and growing conditions. Some popular varieties include Sugar Snap, Super Sugar Snap, and Cascadia.
* Plant at the Right Time: Snap peas are a cool-season crop, so plant them in early spring or late summer. Avoid planting them during the hottest months of the year.
* Provide Adequate Sunlight: Snap peas need at least 6 hours of sunlight per day.
* Protect from Pests: Common pests that attack snap peas include aphids, slugs, and snails. Use organic pest control methods to protect your plants.
* Rotate Your Crops: Avoid planting snap peas in the same location year after year. Crop rotation helps to prevent soilborne diseases.
* Mulch Around the Plants: Mulching helps to retain moisture in the soil and suppress weeds.
Troubleshooting Common Problems
Even with the best planning, sometimes things don’t go exactly as expected. Here are a
Conclusion
So, there you have it! Transforming ordinary snap peas into a kitchen-fresh harvest experience is not only incredibly simple, but it also elevates your snacking and cooking game to a whole new level. We’ve explored how a few simple steps can unlock the true potential of these crisp, sweet pods, making them even more enjoyable and versatile.
Why is this DIY trick a must-try? Because it’s about more than just washing your snap peas. It’s about maximizing their flavor, extending their shelf life, and ensuring you’re getting the most out of your produce. Think of it as a mini spa day for your snap peas, resulting in a revitalized, more delicious snack or ingredient. The difference between a limp, slightly bitter snap pea and a crisp, sweet one is significant, and this method consistently delivers the latter. Plus, it’s a fantastic way to reduce food waste by keeping your snap peas fresher for longer.
But the fun doesn’t stop there! Feel free to experiment with variations to tailor this technique to your own preferences. For example, if you prefer a slightly sweeter snap pea, try adding a teaspoon of honey or maple syrup to the ice bath. This will subtly enhance their natural sweetness. Alternatively, if you’re planning to use the snap peas in a stir-fry or salad with Asian-inspired flavors, consider adding a splash of rice vinegar to the ice bath for a tangy twist. You could also add a few sprigs of fresh mint or basil to the ice bath for an aromatic infusion. The possibilities are endless!
Another great variation is to blanch the snap peas very briefly (30-60 seconds) in boiling water before shocking them in the ice bath. This can help to brighten their color and further enhance their crispness, especially if you find that your snap peas are a little on the tougher side. Just be careful not to overcook them, as they will become mushy.
And don’t forget about the leftover ice bath water! It’s packed with nutrients and flavor, so don’t just toss it down the drain. Use it to water your plants, or add it to your next batch of vegetable broth for an extra boost of flavor.
Ultimately, this DIY trick is about empowering you to take control of your kitchen and elevate your culinary creations. It’s about transforming a simple ingredient into something truly special. So, ditch the pre-packaged, lackluster snap peas and embrace the joy of preparing your own kitchen-fresh harvest.
We’re confident that once you try this method, you’ll never go back to eating snap peas any other way. The difference is truly remarkable.
So, what are you waiting for? Grab a bag of snap peas, gather your supplies, and get ready to experience the freshest, crispiest snap peas you’ve ever tasted. We encourage you to try this simple yet effective DIY trick and share your experience with us! Let us know in the comments below how it worked for you, what variations you tried, and what delicious dishes you created with your kitchen-fresh snap peas. We can’t wait to hear from you! Share your photos and tag us on social media – we love seeing your culinary creations! Let’s spread the word about the joy of perfectly prepared snap peas!
FAQ
Frequently Asked Questions About Preparing Kitchen-Fresh Snap Peas
Q: How long will the snap peas stay fresh after using this method?
A: When properly stored in an airtight container in the refrigerator, snap peas prepared using this method can stay fresh for up to a week, sometimes even longer. The ice bath helps to slow down the enzymatic processes that cause them to wilt and lose their crispness. However, it’s always best to use them as soon as possible for optimal flavor and texture. Keep an eye out for any signs of spoilage, such as sliminess or a sour odor.
Q: Can I use this method for other vegetables besides snap peas?
A: Absolutely! This method of shocking vegetables in an ice bath after a brief blanching or washing is effective for a variety of other vegetables, including green beans, broccoli, asparagus, and even carrots. The key is to adjust the blanching time (if using) according to the vegetable’s density and desired level of crispness. For example, broccoli florets may require a slightly longer blanching time than snap peas.
Q: What if I don’t have ice? Can I still use this method?
A: While an ice bath is ideal for quickly cooling the snap peas and stopping the cooking process, you can still achieve decent results without it. If you don’t have ice, use the coldest water you can get from your tap. You can also place a metal bowl in the freezer for a few minutes before adding the water to help chill it down. The key is to cool the snap peas as quickly as possible to preserve their crispness and color.
Q: Do I need to remove the strings from the snap peas before or after washing them?
A: It’s generally recommended to remove the strings from the snap peas before washing them. This makes it easier to clean them thoroughly and ensures that no dirt or debris gets trapped in the strings. However, if you prefer to remove the strings after washing, that’s perfectly fine too. Just make sure to dry them well afterwards to prevent them from becoming soggy.
Q: Can I freeze snap peas after using this method?
A: Yes, you can definitely freeze snap peas after preparing them using this method. In fact, blanching them before freezing is highly recommended, as it helps to preserve their color, texture, and flavor. After blanching and shocking them in the ice bath, pat them dry thoroughly and spread them out in a single layer on a baking sheet. Freeze them for a couple of hours, or until they are solid, then transfer them to a freezer-safe bag or container. This will prevent them from clumping together and make it easier to use them in smaller portions.
Q: How do I know if my snap peas are fresh to begin with?
A: Fresh snap peas should be bright green in color and firm to the touch. Avoid snap peas that are wilted, discolored, or have soft spots. The pods should be plump and filled with peas, but not overly bulging. If the snap peas have a strong, unpleasant odor, they are likely past their prime.
Q: What are some creative ways to use kitchen-fresh snap peas?
A: The possibilities are endless! You can enjoy them raw as a healthy snack, add them to salads for a burst of freshness and crunch, stir-fry them with your favorite vegetables and protein, or use them as a garnish for soups and noodle dishes. They’re also delicious when roasted with a drizzle of olive oil and a sprinkle of salt and pepper. Try adding them to pasta dishes, omelets, or even pizza for a unique and flavorful twist. Don’t be afraid to experiment and get creative!
Q: Is there a specific type of salt that works best for washing snap peas?
A: Regular table salt or sea salt works perfectly fine for washing snap peas. The purpose of the salt is to help draw out any dirt or insects that may be hiding in the pods. You don’t need to use expensive or fancy salt for this purpose. Just a simple pinch of salt will do the trick.
Q: Can I use this method to revive snap peas that have already started to wilt?
A: While this method is primarily designed to maintain the freshness of snap peas, it can also help to revive snap peas that have started to wilt. The ice bath will help to rehydrate them and restore some of their crispness. However, if the snap peas are severely wilted or have already started to turn yellow, they may not fully recover. It’s always best to use fresh, high-quality snap peas for the best results.

Leave a Comment