
Soil bags for bigger carrots? Yes, you read that right! Forget wrestling with rocky soil and disappointing harvests. I’m about to let you in on a little secret that can transform your carrot-growing game, and it all starts with humble soil bags. For centuries, gardeners have toiled, trying to coax the perfect carrot from the earth. From ancient Persia, where carrots were originally purple and white, to modern-day kitchen gardens, the quest for a sweet, crunchy, and impressively sized carrot has been a constant pursuit.
But let’s face it, not everyone has the ideal soil conditions for these root vegetables. Heavy clay, compacted earth, or even just too many rocks can lead to stunted, misshapen carrots that are more frustrating than fulfilling. That’s where this DIY trick comes in! Using soil bags allows you to create a perfectly controlled environment, ensuring your carrots have the loose, well-draining soil they crave. Plus, it’s a fantastic solution for those with limited space or poor native soil. I’m excited to show you how this simple hack can lead to a bumper crop of beautiful, brag-worthy carrots. Get ready to ditch the disappointment and embrace the joy of harvesting truly impressive carrots, all thanks to the magic of soil bags for bigger carrots!
DIY: Karottenanbau in Säcken für Riesen-Ernten!
Hey Gartenfreunde! Habt ihr auch immer von riesigen, knackigen Karotten geträumt, aber euer Gartenboden spielt nicht mit? Keine Sorge, ich habe die Lösung! Mit dieser einfachen DIY-Methode könnt ihr Karotten in Säcken anbauen und euch über eine reiche Ernte freuen, selbst wenn euer Gartenboden steinig, lehmig oder einfach nicht ideal ist. Das Beste daran? Es ist super einfach und macht Spaß!
Warum Karotten in Säcken anbauen?
Bevor wir loslegen, lasst mich euch kurz erklären, warum diese Methode so genial ist:
* Bessere Bodenbedingungen: Ihr könnt die perfekte Erde für eure Karotten mischen, unabhängig von eurem Gartenboden.
* Weniger Schädlinge: Karottenfliegen und andere Schädlinge haben es schwerer, eure Pflanzen zu erreichen.
* Einfachere Ernte: Kein mühsames Ausgraben mehr! Einfach den Sack umkippen und die Karotten herausholen.
* Platzsparend: Ideal für Balkone, Terrassen oder kleine Gärten.
* Längere Karotten: Durch die Tiefe des Sacks können sich die Karotten optimal entwickeln und werden länger und gerader.
Was ihr braucht:
* Säcke: Stabile Säcke aus Jute, Polypropylen oder ähnlichem Material. Sie sollten mindestens 40-50 cm tief sein. Alte Futtersäcke, Kartoffelsäcke oder sogar große Pflanzsäcke sind perfekt. Achtet darauf, dass sie sauber sind.
* Erde: Eine Mischung aus Gartenerde, Kompost und Sand. Das Verhältnis sollte etwa 1:1:1 sein. Ihr könnt auch spezielle Gemüseerde verwenden.
* Dünger: Organischer Dünger wie Hornspäne oder Komposttee.
* Karottensamen: Wählt eure Lieblingssorte! Ich empfehle Sorten wie ‘Nantaise’ oder ‘Amsterdam Forcing’ für den Anbau in Säcken.
* Gießkanne oder Schlauch: Zum Bewässern der Pflanzen.
* Schere oder Messer: Zum Anpassen der Säcke (optional).
* Handschuhe: Zum Schutz eurer Hände.
Schritt-für-Schritt-Anleitung:
1. Säcke vorbereiten:
* Überprüft die Säcke auf Löcher und Risse. Kleine Löcher könnt ihr mit Klebeband oder Nadel und Faden reparieren.
* Wenn ihr sehr große Säcke habt, könnt ihr sie eventuell etwas kürzen, um sie handlicher zu machen. Achtet aber darauf, dass sie immer noch tief genug für die Karotten sind.
* Reinigt die Säcke gründlich, falls sie vorher für etwas anderes verwendet wurden.
* Wichtig: Wenn eure Säcke keine Löcher am Boden haben, solltet ihr ein paar Löcher hineinschneiden, damit das Wasser ablaufen kann und Staunässe vermieden wird.
2. Erde mischen:
* Mischt die Gartenerde, den Kompost und den Sand in einem großen Behälter oder auf einer Plane gründlich durch.
* Fügt den organischen Dünger hinzu und vermischt alles gut.
* Die Erde sollte locker, gut durchlässig und nährstoffreich sein.
3. Säcke befüllen:
* Füllt die Säcke mit der Erdmischung. Lasst oben etwa 5-10 cm Platz frei.
* Drückt die Erde leicht an, aber nicht zu fest.
4. Säen der Karottensamen:
* Befeuchtet die Erde in den Säcken leicht mit einer Gießkanne.
* Streut die Karottensamen gleichmäßig auf die Erde. Achtet darauf, dass sie nicht zu dicht liegen, da die Karotten sonst zu eng wachsen und sich gegenseitig behindern.
* Bedeckt die Samen mit einer dünnen Schicht Erde (ca. 0,5-1 cm).
* Drückt die Erde leicht an und befeuchtet sie erneut.
5. Standort wählen:
* Stellt die Säcke an einen sonnigen Standort. Karotten brauchen mindestens 6 Stunden Sonne pro Tag.
* Achtet darauf, dass der Standort windgeschützt ist, damit die Säcke nicht umfallen.
6. Bewässerung:
* Haltet die Erde in den Säcken feucht, aber nicht nass. Gießt regelmäßig, besonders bei trockenem Wetter.
* Vermeidet Staunässe, da dies zu Wurzelfäule führen kann.
* Gießt am besten morgens oder abends, um Verdunstung zu vermeiden.
7. Pflege:
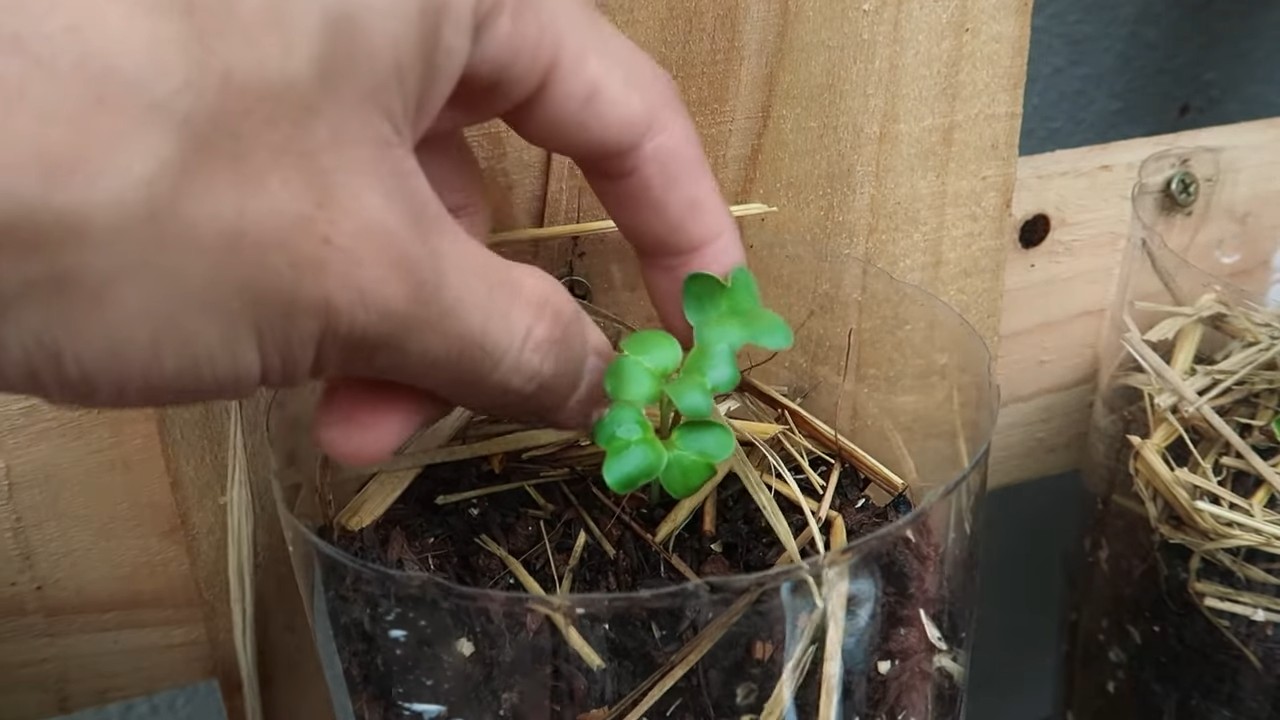
* Vereinzeln: Sobald die Karottenpflanzen etwa 5 cm hoch sind, solltet ihr sie vereinzeln, damit sie genügend Platz zum Wachsen haben. Lasst zwischen den Pflanzen etwa 5-7 cm Abstand.
* Unkraut entfernen: Entfernt regelmäßig Unkraut, das in den Säcken wächst.
* Düngen: Düngt die Karotten alle paar Wochen mit Komposttee oder einem anderen organischen Dünger.
* Schutz vor Schädlingen: Beobachtet die Pflanzen regelmäßig auf Schädlinge. Bei Bedarf könnt ihr natürliche Schädlingsbekämpfungsmittel verwenden.
8. Ernte:
* Die Karotten sind erntereif, wenn sie die gewünschte Größe erreicht haben. Dies dauert je nach Sorte etwa 60-80 Tage.
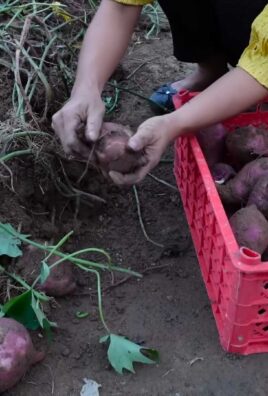
* Um die Karotten zu ernten, könnt ihr entweder vorsichtig an den Blättern ziehen oder den Sack umkippen und die Karotten herausholen.
* Lagert die Karotten kühl und dunkel, um sie länger haltbar zu machen.
Zusätzliche Tipps und Tricks:
* Sortenwahl: Wählt Karottensorten, die für den Anbau in Containern geeignet sind. Kurze, runde Sorten wie ‘Paris Market’ eignen sich besonders gut.
* Fruchtfolge: Baut Karotten nicht jedes Jahr am selben Standort an, um Krankheiten und Schädlingen vorzubeugen.
* Mulchen: Mulcht die Erde in den Säcken mit Stroh oder Rasenschnitt, um die Feuchtigkeit zu halten und Unkrautwachstum zu reduzieren.
* Begleitpflanzen: Pflanzt Begleitpflanzen wie Ringelblumen oder Knoblauch in die Nähe der Karotten, um Schädlinge abzuschrecken.
* Bodenverbesserung: Wenn ihr merkt, dass die Erde in den Säcken mit der Zeit verdichtet, könnt ihr sie mit etwas Kompost oder Sand auflockern.
* Sack-Material: Jute ist biologisch abbaubar, aber nicht so langlebig wie Polypropylen. Überlegt, welches Material für euch am besten geeignet ist.
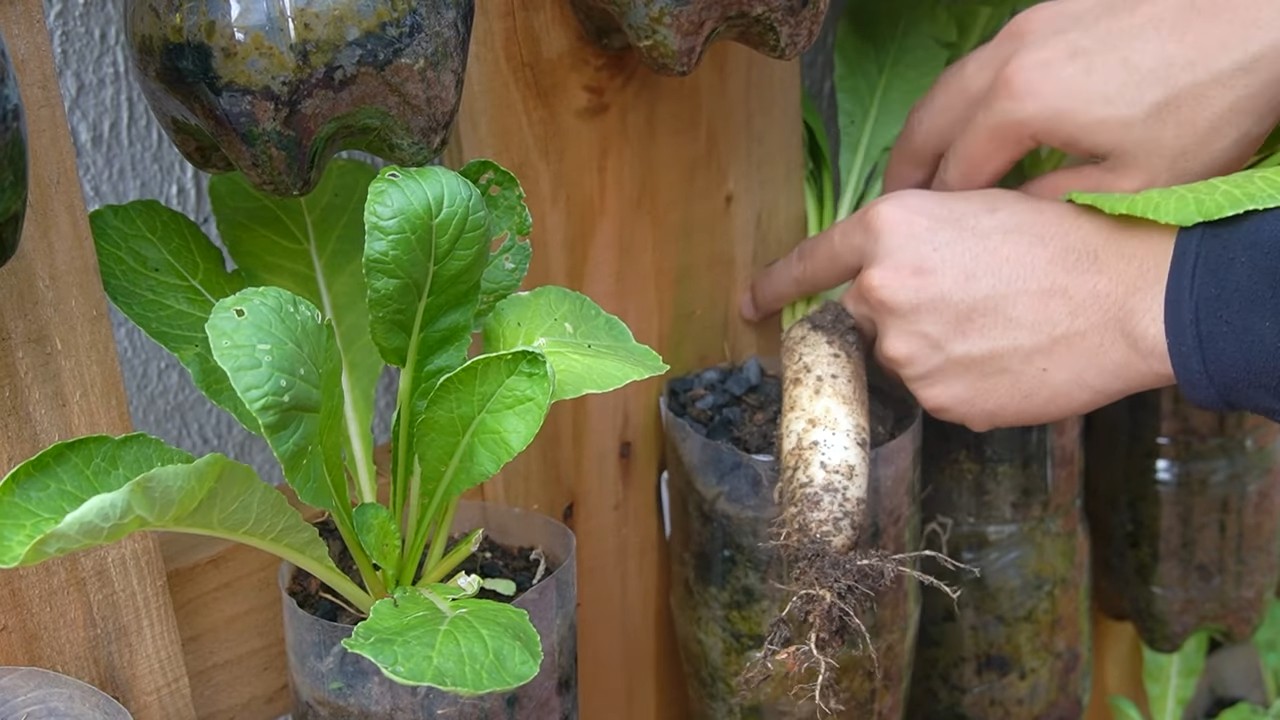
* Vertikaler Anbau: Ihr könnt die Säcke auch an einer Wand oder einem Zaun aufhängen, um Platz zu sparen. Achtet aber darauf, dass die Säcke stabil befestigt sind.
H3 Probleme und Lösungen
Manchmal läuft es nicht ganz glatt. Hier sind ein paar häufige Probleme und wie ihr sie lösen könnt:
* Problem: Karotten sind klein und dünn.
* Lösung: Wahrscheinlich haben die Karotten nicht genügend Nährstoffe oder Wasser bekommen. Düngt regelmäßig und achtet auf eine ausreichende Bewässerung. Vereinzeln ist auch wichtig, damit jede Karotte genug Platz hat.
* Problem: Karotten sind verzweigt oder deformiert.
* Lösung: Das kann an steinigem Boden oder Wurzelschädlingen liegen. Achtet darauf, dass die Erde locker und frei von Steinen ist. Bei Wurzelschädlingen könnt ihr Nematoden einsetzen.
* Problem: Karottenfliegenbefall.
* Lösung: Decken die Säcke mit einem Insektenschutznetz ab. Pflanzt Knoblauch oder Zwiebeln in die Nähe der Karotten, um die Karottenfliegen abzuschrecken.
* Problem: Staunässe.
* Lösung: Achtet darauf, dass die Säcke ausreichend Drainagelöcher haben. Gießt weniger und lockert die Erde auf.
* Problem: Die Säcke fallen um.
* Lösung: Stellt die Säcke
Conclusion
So, there you have it! Ditching the limitations of your garden’s native soil and embracing the power of DIY soil bags for bigger carrots is more than just a gardening hack; it’s a pathway to unlocking the full potential of your carrot crop. We’ve explored how this simple yet effective technique can overcome common challenges like rocky soil, poor drainage, and nutrient deficiencies, all of which can stunt carrot growth and leave you with disappointing results.
The beauty of this method lies in its adaptability. You’re in complete control of the growing environment, from the soil composition to the drainage. This means you can tailor the perfect conditions for your carrots, ensuring they receive the ideal blend of nutrients, moisture, and support they need to thrive. Imagine pulling up vibrant, uniformly sized carrots, free from blemishes and deformities – a testament to your gardening prowess and the effectiveness of this DIY approach.
But the benefits extend beyond just size. By creating a loose, well-draining soil mix within the bags, you’re also promoting healthier root development. Carrots grown in these conditions are less likely to split or fork, resulting in a more visually appealing and ultimately more delicious harvest. Plus, the contained environment helps to minimize weed competition and pest infestations, further contributing to the overall health and productivity of your carrot plants.
Don’t be afraid to experiment with different soil mixes to find what works best for your specific climate and carrot varieties. Consider adding compost for extra nutrients, perlite for improved drainage, or even a touch of bone meal for enhanced root development. You could also try different bag sizes to accommodate various carrot types, from short and stubby Nantes carrots to long and slender Imperator varieties. The possibilities are endless!
This isn’t just about growing bigger carrots; it’s about taking control of your gardening experience and achieving results you can be proud of. It’s about connecting with nature, learning new skills, and enjoying the satisfaction of harvesting your own homegrown produce.
We wholeheartedly encourage you to give this DIY soil bag method a try. It’s a relatively inexpensive and easy way to significantly improve your carrot growing success. And once you’ve experienced the joy of harvesting those impressive, homegrown carrots, we’d love to hear about it! Share your experiences, tips, and photos with us in the comments below. Let’s build a community of passionate gardeners who are dedicated to growing the best possible carrots, one soil bag at a time. Let us know what soil mixes you used, what varieties you planted, and any challenges you overcame. Your insights could help other gardeners achieve their carrot-growing dreams!
Ready to Grow Bigger Carrots?
Don’t wait any longer! Gather your supplies, prepare your soil bags, and get ready to witness the transformation in your carrot harvest. With a little effort and this simple DIY trick, you’ll be amazed at the difference it makes. Happy gardening!
Frequently Asked Questions (FAQ)
What type of soil should I use for my DIY soil bags for bigger carrots?
The ideal soil mix for growing carrots in soil bags is a well-draining, loose, and nutrient-rich blend. A good starting point is a mix of equal parts:
* **Compost:** Provides essential nutrients and improves soil structure.
* **Potting Soil:** Offers good drainage and aeration.
* **Sand or Perlite:** Further enhances drainage and prevents compaction.
Avoid using heavy clay soil, as it can restrict root growth and lead to deformed carrots. You can also amend the soil with organic fertilizers like bone meal or kelp meal to provide additional nutrients. Remember to adjust the mix based on your local climate and the specific needs of your carrot variety.
How big should the soil bags be?
The size of the soil bags will depend on the variety of carrots you plan to grow. For shorter, rounder varieties like Nantes, a bag that is at least 12 inches deep and 12 inches in diameter should suffice. For longer, more slender varieties like Imperator, you’ll need a bag that is at least 18 inches deep and 12 inches in diameter. Ensure the bag is wide enough to allow for adequate root development without overcrowding. You can use grow bags, burlap sacks, or even repurposed plastic containers with drainage holes.
How often should I water my carrots grown in soil bags?
Carrots grown in soil bags tend to dry out faster than those grown directly in the ground, so regular watering is crucial. Check the soil moisture level daily, especially during hot and dry weather. Water deeply whenever the top inch of soil feels dry to the touch. Avoid overwatering, as this can lead to root rot. A good rule of thumb is to water until you see water draining from the bottom of the bag. Consider using a soaker hose or drip irrigation system for efficient and consistent watering.
What kind of fertilizer should I use for carrots in soil bags?
Carrots are heavy feeders, so regular fertilization is essential for optimal growth. Use a balanced fertilizer with a slightly higher phosphorus content to promote root development. A 5-10-5 or 6-12-6 fertilizer is a good choice. You can also use organic fertilizers like compost tea, fish emulsion, or bone meal. Apply fertilizer according to the package instructions, typically every 2-3 weeks. Avoid over-fertilizing, as this can lead to excessive top growth and reduced root development.
How do I prevent pests and diseases in my carrot soil bags?
To minimize pest and disease problems, start with healthy, disease-free seeds. Ensure good air circulation around the plants by spacing the bags adequately. Regularly inspect the plants for signs of pests or diseases, such as aphids, carrot rust flies, or leaf blight. If you spot any problems, take action immediately. You can use organic pest control methods like insecticidal soap, neem oil, or diatomaceous earth. For fungal diseases, ensure good drainage and avoid overhead watering. Crop rotation and companion planting can also help to prevent pest and disease problems.
Can I reuse the soil bags for multiple seasons?
Yes, you can reuse the soil bags for multiple seasons, but it’s important to replenish the soil with nutrients and address any potential pest or disease issues. Before reusing the bags, remove any remaining plant debris and amend the soil with fresh compost and fertilizer. You may also want to sterilize the soil by solarizing it or using a soil steamer to kill any pathogens or pests. If the bags are damaged or worn, consider replacing them to ensure proper drainage and support.
What are the benefits of using soil bags compared to growing carrots directly in the ground?
Using soil bags offers several advantages over growing carrots directly in the ground:
* **Improved Soil Quality:** You have complete control over the soil composition, ensuring optimal drainage, aeration, and nutrient content.
* **Reduced Weed Competition:** The contained environment minimizes weed growth, reducing the need for weeding.
* **Pest and Disease Control:** Soil bags can help to isolate plants from soilborne pests and diseases.
* **Easier Harvesting:** Harvesting carrots from soil bags is much easier than digging them out of the ground.
* **Portability:** You can easily move the bags to different locations to optimize sunlight exposure or protect them from harsh weather.
* **Space Saving:** Soil bags are ideal for small gardens or balconies where space is limited.
What if my carrots are still small even with soil bags?
If your carrots are still small despite using soil bags, consider these factors:
* **Sunlight:** Carrots need at least 6 hours of direct sunlight per day.
* **Watering:** Ensure consistent and adequate watering, especially during dry periods.
* **Fertilization:** Provide regular fertilization with a balanced fertilizer.
* **Thinning:** Thin out the seedlings to allow adequate space for root development.
* **Soil Temperature:** Carrots prefer cooler soil temperatures. Mulch around the plants to help keep the soil cool.
* **Variety:** Some carrot varieties are naturally smaller than others.
By addressing these factors, you can improve your chances of growing bigger and healthier carrots in soil bags.

Leave a Comment