
Spotless home easy cleaning hacks – who doesn’t dream of having one? I know I do! Imagine walking into a home that sparkles, smells fresh, and feels utterly inviting, all without spending hours scrubbing and stressing. That’s the promise of easy cleaning hacks, and trust me, it’s a promise you can keep!
For centuries, people have sought clever ways to maintain their homes. From ancient civilizations using natural remedies to clean and disinfect, to the rise of modern cleaning products, the quest for a tidy and healthy living space is timeless. But let’s be honest, in today’s busy world, who has time for complicated cleaning routines? That’s where these DIY cleaning tricks come in.
Life gets hectic, and cleaning often falls to the bottom of the to-do list. But a cluttered and dirty home can impact your mood, productivity, and even your health. That’s why I’m so excited to share these simple, effective, and often surprising spotless home easy cleaning hacks. They’ll help you reclaim your weekends, reduce stress, and create a sanctuary you truly love. Get ready to transform your cleaning routine and enjoy a cleaner, happier home!
DIY Cleaning Hacks for a Spotless Home: My Secret Weapons!
Okay, friends, let’s talk cleaning! I know, it’s not the most glamorous topic, but a clean home is a happy home, right? And honestly, who wants to spend their entire weekend scrubbing? That’s why I’ve compiled my favorite DIY cleaning hacks that are not only effective but also super easy on the wallet. Get ready to ditch those harsh chemicals and embrace a sparkling clean home with these simple tricks!
Hack #1: The Magic Microwave Cleaner
Is your microwave looking like a Jackson Pollock painting gone wrong? Don’t worry, mine does too sometimes! This hack is a lifesaver and requires minimal effort.
What you’ll need:
* 1 cup of water
* 2 tablespoons of white vinegar
* Microwave-safe bowl
* Sponge or cloth
Step-by-step instructions:
1. Combine water and vinegar: In your microwave-safe bowl, mix the water and white vinegar. The vinegar smell might be a bit strong, but trust me, it’s worth it!
2. Microwave the mixture: Place the bowl in the microwave and heat it on high for 5-10 minutes. You want the mixture to boil and create steam. The steam is what loosens all the grime and splatters.
3. Let it sit: Once the timer goes off, don’t open the microwave immediately! Let the bowl sit inside for another 5-10 minutes. This allows the steam to really work its magic.
4. Wipe it clean: Carefully remove the bowl (it will be hot!) and use a sponge or cloth to wipe down the inside of the microwave. You’ll be amazed at how easily the dirt comes off! For stubborn spots, you might need a little extra elbow grease, but most of the mess should wipe away with ease.
Hack #2: Sparkling Shower Head with Vinegar
Hard water got your shower head looking crusty and clogged? This is a super simple way to restore its shine and water pressure.
What you’ll need:
* White vinegar
* Plastic bag (sandwich bag or larger, depending on the size of your shower head)
* Rubber band or twist tie
Step-by-step instructions:
1. Fill the bag with vinegar: Pour enough white vinegar into the plastic bag to completely submerge your shower head.
2. Secure the bag: Carefully place the bag over the shower head, making sure the entire head is submerged in the vinegar. Use a rubber band or twist tie to secure the bag tightly around the shower head’s neck.
3. Soak overnight: Let the shower head soak in the vinegar overnight (or for at least a few hours). This allows the vinegar to dissolve the mineral deposits.
4. Remove and rinse: In the morning, remove the bag and discard the vinegar. Run the shower for a few minutes to flush out any remaining vinegar and loosened debris. You might want to use an old toothbrush to scrub away any stubborn bits.
5. Enjoy your sparkling shower head! You should notice a significant improvement in water pressure and a much cleaner shower head.
Hack #3: DIY All-Purpose Cleaner
Store-bought all-purpose cleaners can be expensive and full of harsh chemicals. This DIY version is just as effective and much gentler on your skin and the environment.
What you’ll need:
* Spray bottle
* 1/4 cup white vinegar
* 1 tablespoon baking soda
* Water
* Optional: A few drops of your favorite essential oil (lemon, lavender, or tea tree are great choices)
Step-by-step instructions:
1. Combine ingredients: In your spray bottle, add the white vinegar and baking soda. Be careful, as the mixture will fizz!
2. Add water: Slowly fill the rest of the spray bottle with water.
3. Add essential oils (optional): If you want to add a pleasant scent, add a few drops of your favorite essential oil.
4. Shake well: Secure the spray nozzle and shake the bottle well to combine all the ingredients.
5. Use and enjoy! This all-purpose cleaner can be used on countertops, sinks, appliances, and more. Just spray and wipe clean. Avoid using it on marble or granite surfaces, as the vinegar can damage them.
Hack #4: Grout Whitening Power
Dirty grout can make even the cleanest tiles look dingy. This simple paste will brighten your grout and make your bathroom sparkle.
What you’ll need:
* Baking soda
* Hydrogen peroxide
* Old toothbrush or grout brush
Step-by-step instructions:
1. Make a paste: In a small bowl, mix baking soda and hydrogen peroxide to form a thick paste. The consistency should be similar to toothpaste.
2. Apply the paste: Using your old toothbrush or grout brush, apply the paste to the grout lines.
3. Let it sit: Allow the paste to sit on the grout for 5-10 minutes.
4. Scrub and rinse: Scrub the grout lines with the brush to loosen the dirt and grime. Rinse thoroughly with water. You might need to repeat the process for heavily soiled grout.
Hack #5: Mattress Refresher
We spend a lot of time on our mattresses, so it’s important to keep them clean and fresh. This simple trick will deodorize and sanitize your mattress.
What you’ll need:
* Baking soda
* Essential oil (optional)
* Vacuum cleaner with upholstery attachment
* Sieve or strainer (optional)
Step-by-step instructions:
1. Prepare the baking soda: In a bowl, mix baking soda with a few drops of your favorite essential oil (optional). This will add a pleasant scent to your mattress. If you want to ensure even distribution, you can sift the baking soda through a sieve or strainer.
2. Sprinkle the baking soda: Generously sprinkle the baking soda mixture over the entire surface of your mattress.
3. Let it sit: Allow the baking soda to sit on the mattress for at least 30 minutes, or even better, for a few hours. This allows the baking soda to absorb odors and moisture.
4. Vacuum thoroughly: Use your vacuum cleaner with the upholstery attachment to thoroughly vacuum up all the baking soda. Make sure to get into all the crevices and seams.
Hack #6: Cleaning Blinds Like a Pro
Cleaning blinds can be a tedious task, but this hack makes it much easier.
What you’ll need:
* Old sock
* White vinegar
* Water
* Spray bottle
Step-by-step instructions:
1. Prepare the cleaning solution: In a spray bottle, mix equal parts white vinegar and water.
2. Put the sock on your hand: Dampen the sock with the vinegar and water solution.
3. Clean the blinds: Slide your hand (with the sock on) along each slat of the blinds, wiping away the dust and grime. You can use your fingers to pinch the slats and clean both sides at once.
4. Rinse the sock: Rinse the sock with clean water as needed to remove any accumulated dirt.
5. Dry the blinds: Allow the blinds to air dry completely.
Hack #7: Stainless Steel Shine
Get your stainless steel appliances looking brand new with this simple trick.
What you’ll need:
* White vinegar
* Microfiber cloth
* Olive oil (optional)
Step-by-step instructions:
1. Wipe with vinegar: Dampen a microfiber cloth with white vinegar and wipe down your stainless steel appliances, following the grain of the metal. This will remove fingerprints, smudges, and water spots.
2. Dry with a clean cloth: Use a clean, dry microfiber cloth to buff the surface and remove any remaining vinegar.
3. Add shine (optional): For extra shine, you can apply a small amount of olive oil to a clean microfiber cloth and buff the surface. Be careful not to use too much oil, as it can leave a greasy residue.
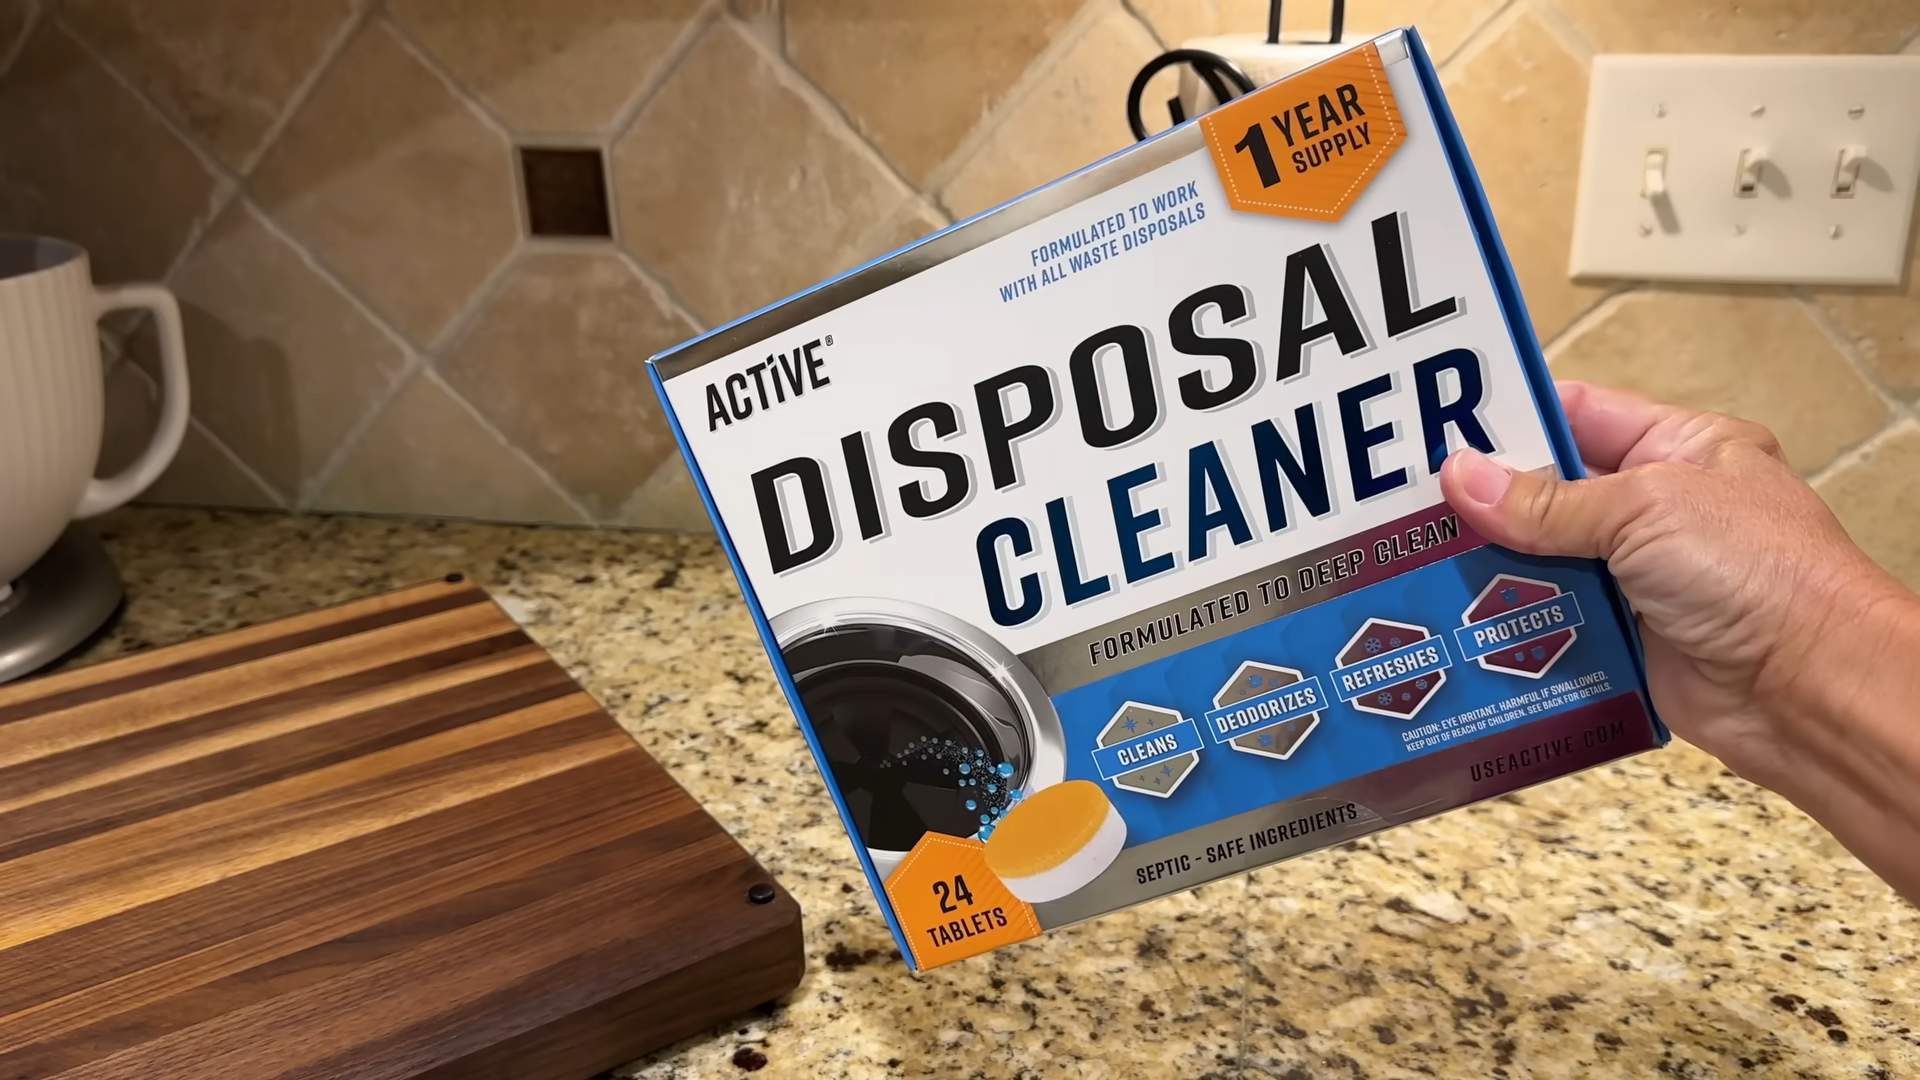
Hack #8: Garbage Disposal Freshener
Keep your garbage disposal smelling fresh and clean with these easy DIY fresheners.
What you’ll need:
* Ice cubes
* Lemon or lime peels
* Salt
Step-by-step instructions:
1. Combine ingredients: Fill an ice cube tray with water and add small pieces of lemon or lime peels and a pinch of salt to each cube.
2. Freeze: Freeze the ice cubes until solid.
3. Grind: Drop a few of the frozen cubes into your garbage disposal and run it for a few seconds. The ice will help to dislodge any food particles, the citrus peels

Conclusion
So, there you have it! These easy cleaning hacks are more than just shortcuts; they’re a pathway to reclaiming your time and enjoying a truly spotless home. We’ve explored simple, effective methods that utilize everyday items to tackle common cleaning challenges, from banishing stubborn stains to achieving a sparkling shine. The beauty of these DIY solutions lies in their accessibility and affordability. You no longer need to rely on harsh chemicals or expensive cleaning products to achieve professional-level results.
Why is this a must-try? Because it empowers you to take control of your cleaning routine, offering a sustainable and budget-friendly approach to maintaining a pristine living space. Imagine the satisfaction of knowing you’ve created a clean and healthy environment for yourself and your loved ones, all while saving money and reducing your environmental impact.
But the journey doesn’t end here! Feel free to experiment with these techniques and adapt them to your specific needs and preferences. For instance, if you’re dealing with particularly stubborn grime, try adding a few drops of essential oil, like tea tree or lemon, to your cleaning solution for an extra boost of disinfecting power. Or, if you prefer a more natural scent, infuse your vinegar cleaning solution with citrus peels for a refreshing aroma.
Consider these variations:
* For a deeper clean of your microwave: Add a tablespoon of baking soda to the lemon water mixture before microwaving.
* To freshen up your garbage disposal: Freeze vinegar in ice cube trays and toss a few cubes down the disposal to eliminate odors and break down buildup.
* To polish stainless steel appliances: Use a microfiber cloth dampened with a small amount of olive oil to buff away fingerprints and smudges.
The possibilities are endless! The key is to embrace a spirit of experimentation and discover what works best for you and your home.
We’re confident that these easy cleaning hacks will revolutionize your cleaning routine and transform your home into a haven of cleanliness and comfort. But don’t just take our word for it – try them out for yourself! We encourage you to put these tips into practice and witness the remarkable difference they can make.
And most importantly, we want to hear about your experience! Share your success stories, challenges, and any variations you’ve discovered in the comments section below. Let’s create a community of cleaning enthusiasts who are passionate about sharing their knowledge and helping each other achieve a spotless home. Your insights could inspire others to embrace these DIY solutions and experience the joy of a clean and healthy living space. So, go ahead, give these easy cleaning hacks a try and let us know what you think! We can’t wait to hear from you.
Frequently Asked Questions (FAQ)
Q: Are these cleaning hacks safe for all surfaces?
A: While most of these cleaning hacks are generally safe for a variety of surfaces, it’s always a good idea to test them in an inconspicuous area first, especially on delicate or sensitive materials like wood, marble, or painted surfaces. For example, vinegar, while a powerful cleaner, can be acidic and may damage certain types of stone or wood finishes. Similarly, baking soda can be abrasive and should be used with caution on easily scratched surfaces. When in doubt, consult the manufacturer’s instructions for your specific surface or appliance. If you are unsure about using a particular cleaning solution on a specific surface, it’s best to err on the side of caution and opt for a gentler cleaning method or consult a professional cleaner. Remember, prevention is always better than cure when it comes to protecting your valuable belongings.
Q: How often should I use these cleaning hacks?
A: The frequency with which you use these cleaning hacks will depend on your individual needs and lifestyle. For high-traffic areas or surfaces that are prone to dirt and grime, such as kitchen countertops or bathroom sinks, you may want to incorporate these cleaning hacks into your daily or weekly routine. For less frequently used areas, such as guest rooms or storage spaces, a monthly or quarterly cleaning may suffice. The key is to establish a cleaning schedule that works for you and helps you maintain a consistently clean and healthy home. Regular cleaning not only prevents the buildup of dirt and grime but also helps to extend the lifespan of your belongings and create a more comfortable and inviting living environment. Listen to your home and adjust your cleaning schedule accordingly.
Q: Can I use these cleaning hacks if I have allergies or sensitivities?
A: If you have allergies or sensitivities to certain cleaning products or ingredients, it’s essential to exercise caution when using these cleaning hacks. While many of these solutions are made with natural ingredients, such as vinegar, baking soda, and lemon juice, they can still trigger allergic reactions in some individuals. Before using any new cleaning solution, it’s always a good idea to perform a patch test on a small area of skin to check for any adverse reactions. Additionally, consider wearing gloves and a mask while cleaning to minimize your exposure to potential allergens. If you experience any symptoms of an allergic reaction, such as skin irritation, respiratory problems, or eye irritation, discontinue use immediately and consult a healthcare professional. You can also explore alternative cleaning solutions that are specifically designed for individuals with allergies or sensitivities.
Q: Are these cleaning hacks environmentally friendly?
A: One of the great advantages of these cleaning hacks is that they are generally more environmentally friendly than conventional cleaning products. By using natural ingredients like vinegar, baking soda, and lemon juice, you can reduce your reliance on harsh chemicals that can pollute the environment and harm your health. However, it’s important to note that even natural cleaning solutions can have an environmental impact if used excessively or disposed of improperly. To minimize your environmental footprint, use these cleaning hacks sparingly and dispose of any leftover solutions responsibly. Consider composting food scraps and recycling packaging whenever possible. By making conscious choices about your cleaning habits, you can contribute to a more sustainable and eco-friendly lifestyle.
Q: What are some other easy cleaning hacks I can try?
A: Beyond the cleaning hacks mentioned in the article, there are countless other DIY cleaning solutions you can explore. For example, you can use coffee filters to clean windows and mirrors, as they leave a streak-free shine. You can also use denture tablets to clean stained coffee mugs or vases. Another popular cleaning hack is to use a mixture of baking soda and water to remove stubborn stains from carpets and upholstery. The internet is a treasure trove of cleaning tips and tricks, so don’t be afraid to experiment and discover what works best for you. Remember to always research any new cleaning solution thoroughly before using it and to test it in an inconspicuous area first. With a little creativity and resourcefulness, you can transform your home into a sparkling clean oasis without breaking the bank or harming the environment.
Leave a Comment