
Umbrella repurposing ideas – ever thought your broken brolly could have a life beyond shielding you from the rain? I know, it sounds crazy, but stick with me! We’ve all been there: a sudden gust of wind turns our trusty umbrella inside out, leaving us with a mangled mess of fabric and metal. Instead of tossing it straight into the trash, let’s explore some fantastic and creative ways to give it a second life.
Historically, umbrellas have been symbols of status and protection, dating back to ancient civilizations like Egypt and China. While their primary function remains the same, their potential for repurposing is often overlooked. In a world increasingly focused on sustainability and reducing waste, finding innovative ways to reuse everyday items is more important than ever.
Why should you care about umbrella repurposing ideas? Well, for starters, it’s a fantastic way to reduce landfill waste and contribute to a more eco-friendly lifestyle. Plus, it’s a fun and rewarding DIY project that can unleash your creativity. From crafting stylish shopping bags to creating unique garden decorations, the possibilities are endless. I’m excited to share some simple yet effective tricks and hacks that will transform your broken umbrella into something beautiful and functional. Let’s get started and turn that rainy-day disaster into a DIY triumph!
Repurpose Your Old Umbrellas: Creative DIY Projects
Okay, so you’ve got a graveyard of broken umbrellas lurking in your closet, right? Don’t toss them! Those trusty rain shields can be transformed into surprisingly useful and stylish items. I’m going to walk you through a few of my favorite umbrella repurposing projects. Let’s get crafty!
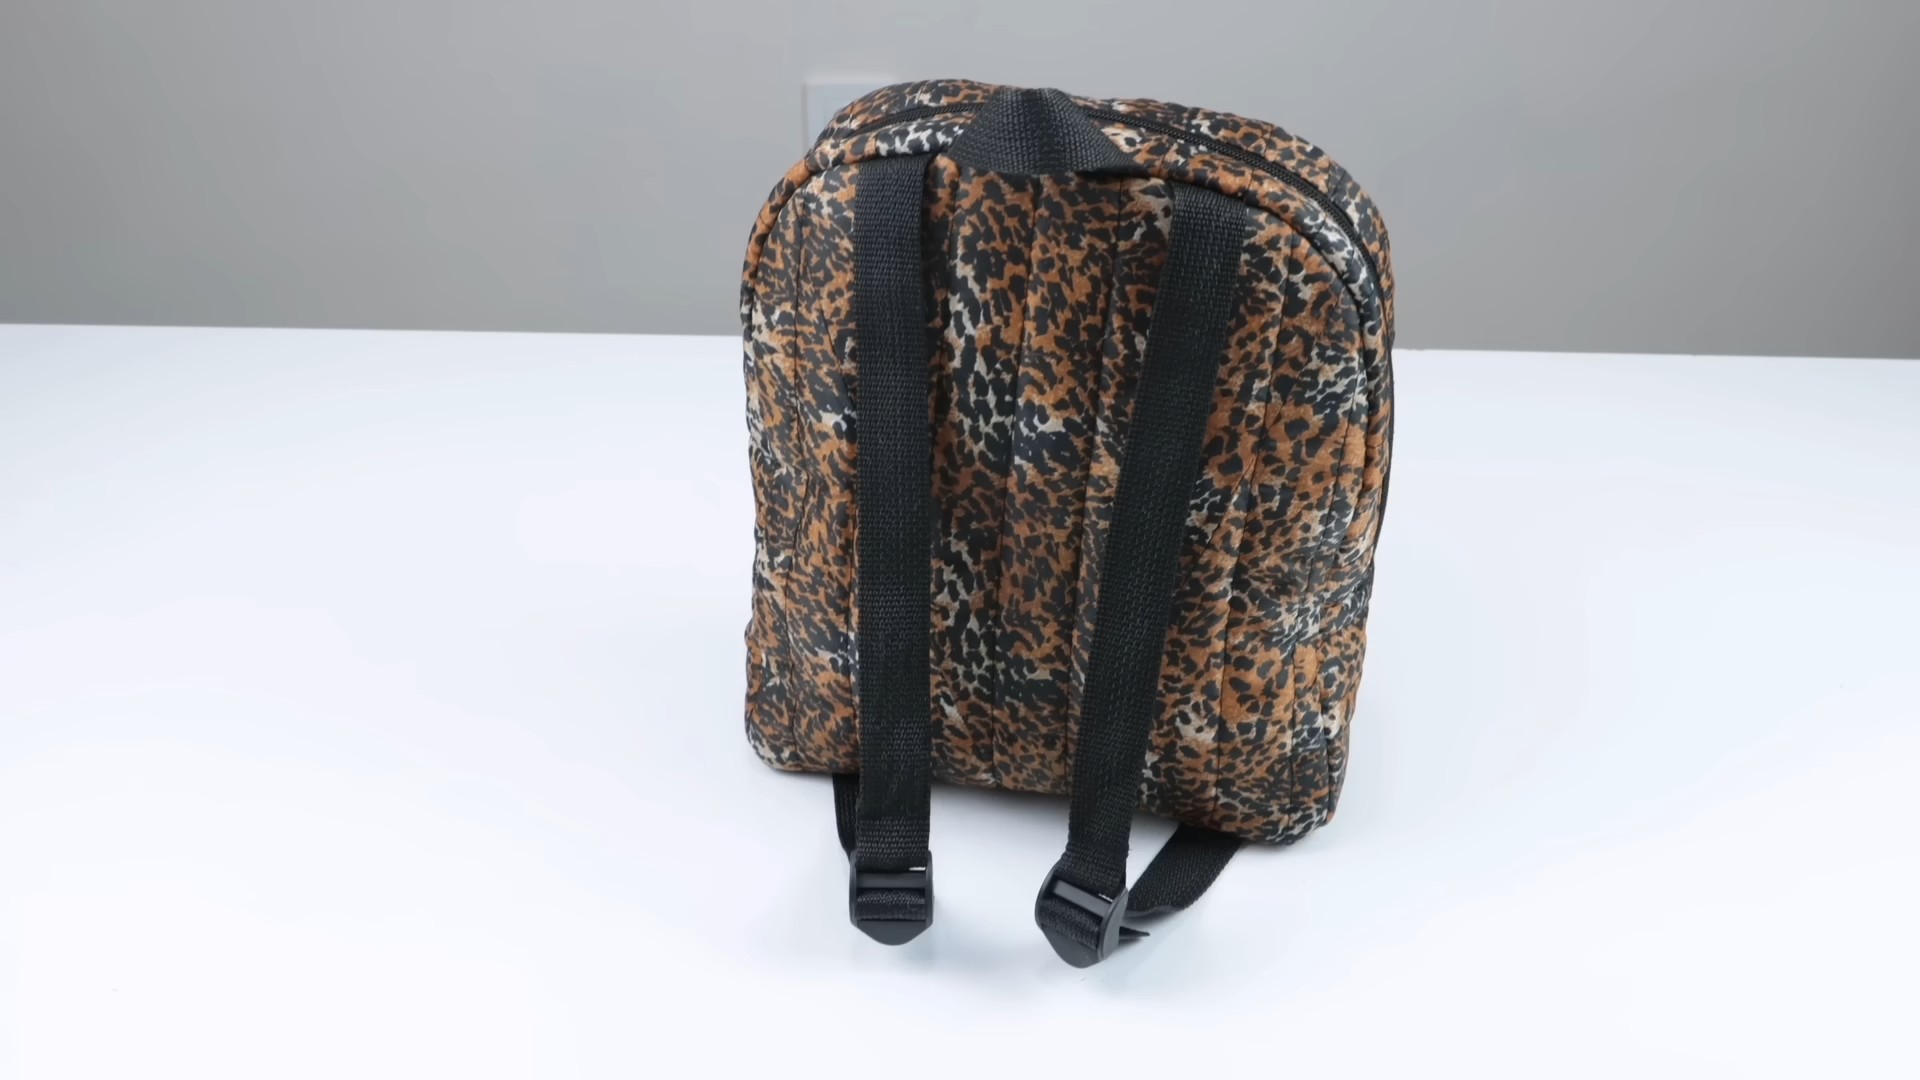
Project 1: Stylish Shopping Bag
This is a great way to reduce your plastic bag usage and create a unique, waterproof shopping bag.
Materials You’ll Need:
* An old umbrella (preferably one with a fun pattern)
* Scissors
* Seam ripper
* Sewing machine (or needle and thread if you’re feeling ambitious!)
* Pins
* Measuring tape or ruler
* Fabric for lining (optional, but recommended for durability)
* Handles (you can repurpose handles from an old bag, use sturdy webbing, or even make your own from the umbrella fabric)
Step-by-Step Instructions:
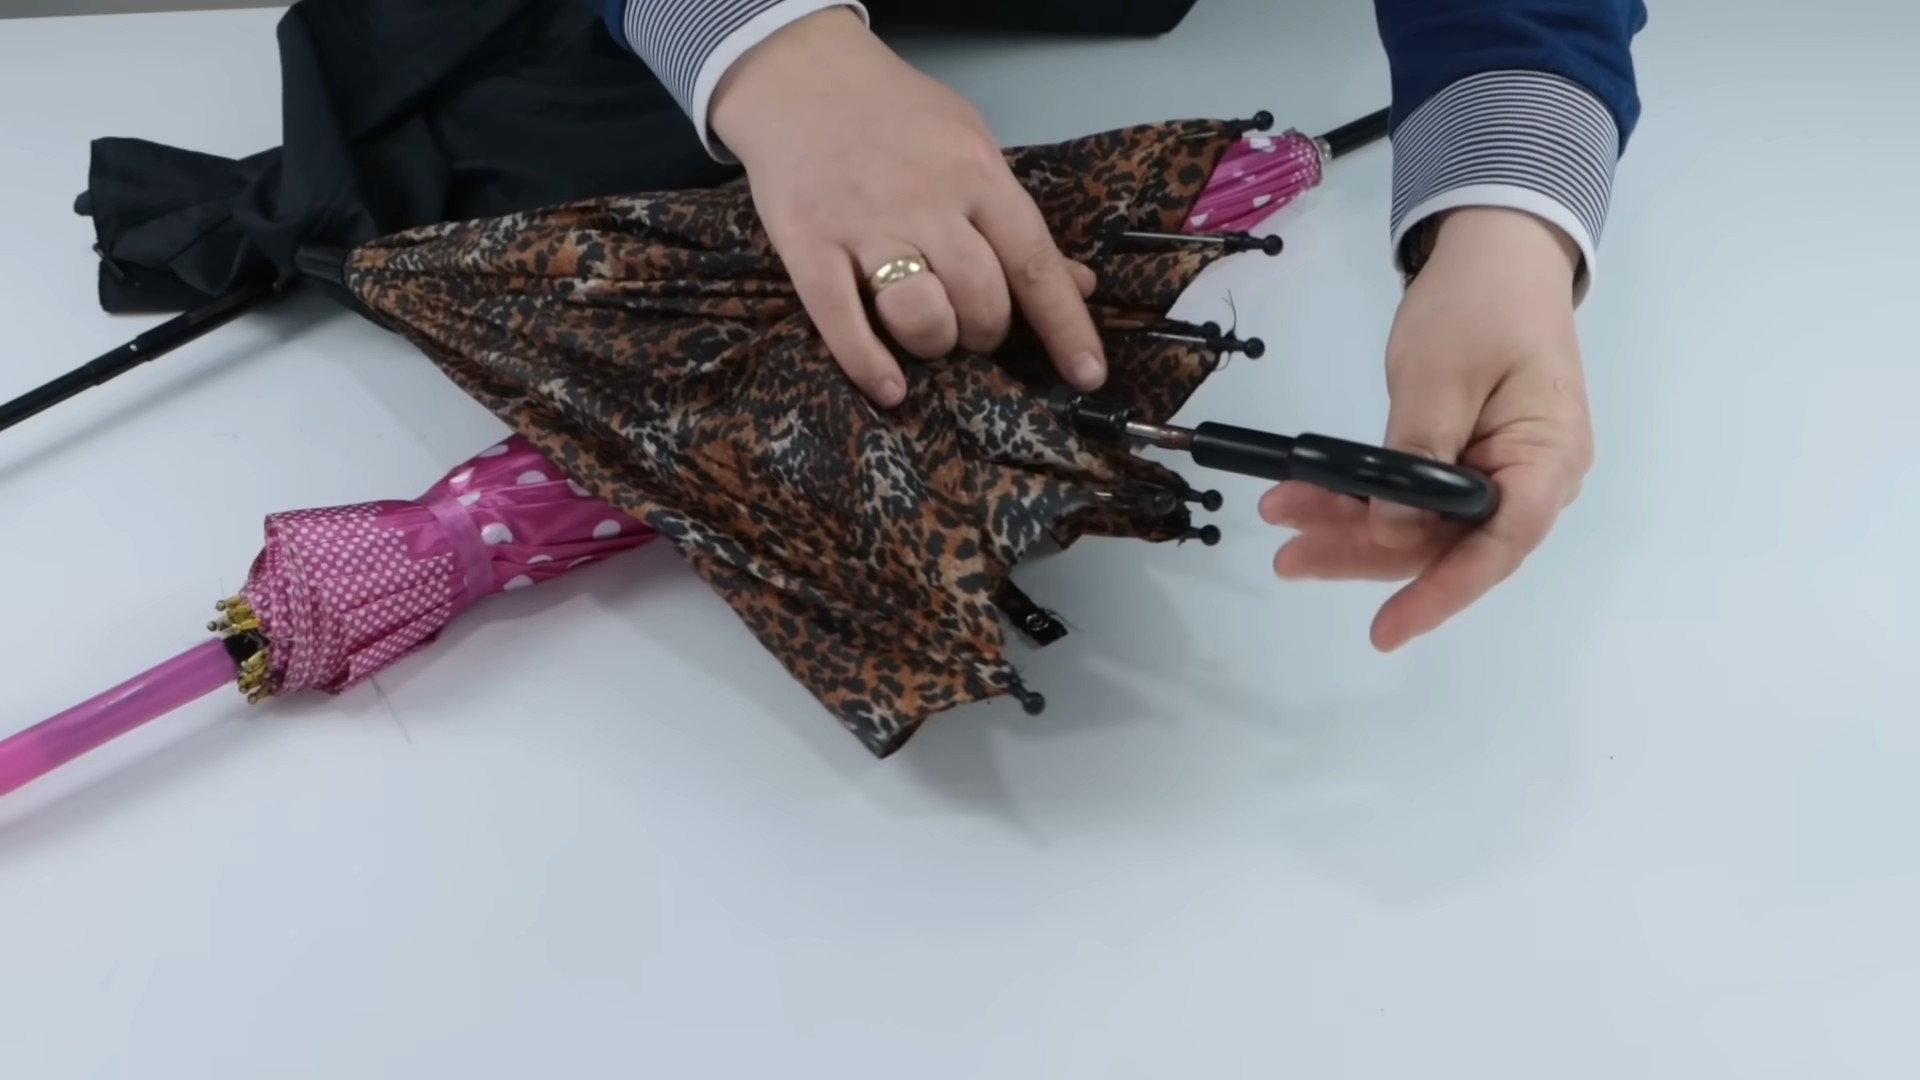
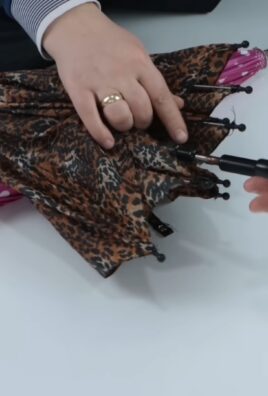
1. Disassemble the Umbrella: Carefully use the seam ripper to detach the umbrella fabric from the frame. This can be a little tedious, but take your time to avoid tearing the fabric. Remove all the metal tips and any other hardware attached to the fabric.
2. Prepare the Fabric: Once the fabric is detached, lay it flat. You’ll notice it’s usually made up of triangular panels. Decide how large you want your shopping bag to be. I usually aim for a bag that’s about 15 inches wide and 18 inches tall.
3. Cut the Fabric: Using your measuring tape and scissors, cut out the main body of the bag. You can use one or more umbrella panels, depending on the size and design you want. Remember to add seam allowances (about 1/2 inch) to all sides. If you’re using multiple panels, sew them together to create a single piece of fabric large enough for the bag.
4. Cut the Lining (Optional): If you’re adding a lining (which I highly recommend for extra strength and a professional finish), cut out a piece of lining fabric that’s the same size as the umbrella fabric you just cut.
5. Sew the Main Body: Fold the umbrella fabric in half, right sides together, and sew along the two side seams and the bottom seam. This creates the basic bag shape.
6. Sew the Lining (Optional): Repeat step 5 with the lining fabric.
7. Attach the Lining: Turn the umbrella fabric bag right side out. Place it inside the lining bag, with right sides together. Align the top edges of both bags and pin them together.
8. Sew the Top Edge: Sew around the entire top edge of the bag, attaching the lining to the umbrella fabric. Leave a 4-5 inch opening for turning the bag right side out.
9. Turn and Topstitch: Carefully turn the bag right side out through the opening you left. Push the lining inside the umbrella fabric bag. Press the top edge flat with an iron. Topstitch around the top edge of the bag, closing the opening and giving it a neat finish.
10. Create the Handles: If you’re repurposing handles from an old bag, simply attach them to the top of the shopping bag, evenly spaced. If you’re using webbing, cut two pieces of webbing to your desired length (usually around 24 inches each). Sew the ends of the webbing securely to the top of the bag, reinforcing the stitching for extra strength. If you’re making handles from the umbrella fabric, cut two long strips of fabric, fold them in half lengthwise, and sew along the open edge to create tubes. Turn the tubes right side out, press them flat, and then sew them to the top of the bag.
11. Reinforce the Seams: For extra durability, reinforce the seams of the bag, especially the bottom corners and where the handles are attached. You can do this by sewing over the seams multiple times or using a zigzag stitch.
And there you have it! A stylish and waterproof shopping bag made from an old umbrella.
Project 2: Waterproof Seat Covers
Perfect for protecting your car seats after a muddy hike or a trip to the beach!
Materials You’ll Need:
* An old umbrella (or two, depending on the size of your seats)
* Scissors
* Seam ripper
* Sewing machine (or needle and thread)
* Pins
* Elastic (about 1/4 inch wide)
* Measuring tape or ruler
Step-by-Step Instructions:
1. Disassemble the Umbrella: Just like with the shopping bag, carefully detach the umbrella fabric from the frame using a seam ripper. Remove all the metal tips and hardware.
2. Measure Your Car Seat: Use your measuring tape to measure the width and length of your car seat. Add a few inches to each measurement for seam allowances and to allow for a comfortable fit.
3. Cut the Fabric: Lay the umbrella fabric flat and cut out a piece that’s large enough to cover your car seat, based on the measurements you took. You may need to use multiple umbrella panels and sew them together to create a single piece of fabric.
4. Create the Seat Back Cover: Cut a separate piece of fabric for the seat back. The size will depend on the height of your seat back.
5. Sew the Seat Back to the Seat Cover: Sew the seat back piece to the main seat cover piece along the top edge. This creates the basic shape of the seat cover.
6. Create the Elastic Casing: Along the bottom edge of the seat cover, fold the fabric over about 1 inch and press it with an iron. Sew along the folded edge, leaving a small opening for inserting the elastic. This creates a casing for the elastic.
7. Insert the Elastic: Use a safety pin to thread the elastic through the casing. Once the elastic is all the way through, sew the ends of the elastic together securely.
8. Close the Casing: Sew the opening in the elastic casing closed.
9. Optional: Add Ties: For extra security, you can add ties to the sides of the seat cover. Cut two strips of fabric (or use ribbon or webbing) and sew them to the sides of the seat cover, near the bottom. These ties can be used to secure the seat cover to the car seat.
10. Repeat for Other Seats: Repeat these steps to create seat covers for the other seats in your car.
Now you have waterproof seat covers that will protect your car seats from spills, dirt, and mud!
Project 3: Adorable Kids’ Apron
Turn that old umbrella into a cute and practical apron for your little ones.
Materials You’ll Need:
* An old umbrella
* Scissors
* Seam ripper
* Sewing machine (or needle and thread)
* Pins
* Bias tape (for finishing the edges)
* Fabric for ties (or ribbon)
* Measuring tape or ruler
Step-by-Step Instructions:
1. Disassemble the Umbrella: Remove the fabric from the umbrella frame using a seam ripper.
2. Create the Apron Shape: Lay the umbrella fabric flat. You’ll want to cut out a shape that resembles a child’s apron. I usually start with a rectangle and then round off the corners. You can use a pattern if you have one, or simply freehand it. The size will depend on the age of the child. For a toddler, a rectangle that’s about 18 inches wide and 20 inches long is a good starting point.
3. Cut the Fabric: Cut out the apron shape from the umbrella fabric.
4. Finish the Edges with Bias Tape: Use bias tape to finish all the raw edges of the apron. This will give it a clean and professional look. Pin the bias tape around the edges of the apron, and then sew it in place.
5. Create the Neck Strap: Cut a strip of fabric (or use ribbon) that’s long enough to go around the child’s neck and tie in the back. Sew the ends of the neck strap to the top corners of the apron.
6. Create the Waist Ties: Cut two strips of fabric (or use ribbon) for the waist ties. Sew the ends of the waist ties to the sides of the apron, near the waist.
7. Optional: Add Pockets: If you want to add pockets to the apron, cut out small squares or rectangles of fabric and sew them to the front of the apron.
Your child now has a waterproof apron for all their messy adventures!
Project 4: Unique Wall Art
Transform umbrella fabric into eye-catching wall art.
Materials You’ll Need:
* An old umbrella
* Scissors
* Canvas frame (any size you like)
* Staple gun
* Measuring tape or
Conclusion
So, there you have it! Transforming old umbrellas into something new and useful is not only a fantastic way to reduce waste, but also a chance to unleash your creativity. We’ve explored several exciting possibilities, from stylish tote bags and protective garden covers to whimsical wind chimes and even unique wall art. The beauty of this DIY project lies in its adaptability. You’re not confined to rigid instructions; instead, you’re encouraged to experiment and personalize each creation to suit your own taste and needs.
Why is this DIY umbrella repurposing trick a must-try? Because it’s sustainable, budget-friendly, and incredibly rewarding. Instead of contributing to landfills, you’re giving these discarded items a second life, transforming them into something beautiful and functional. Plus, the sense of accomplishment you’ll feel after completing your project is truly unmatched.
Looking for variations? Consider using different parts of the umbrella for different projects. The canopy fabric is perfect for sewing projects, while the frame can be used for structural elements in your garden or home decor. You can even combine multiple umbrellas to create larger, more elaborate pieces. For example, use several umbrella canopies to create a waterproof picnic blanket or a colorful sunshade for your patio. If you’re feeling particularly ambitious, try disassembling the umbrella frame and using the individual ribs to create a sculptural mobile.
Don’t be afraid to get creative with embellishments, too. Add buttons, beads, or embroidery to your finished projects to give them a personal touch. You can also use fabric paint or stencils to create unique designs on the umbrella canopy before you start cutting and sewing. Remember, the possibilities are endless!
We wholeheartedly encourage you to try this DIY umbrella repurposing project. It’s a fun and fulfilling way to express your creativity, reduce waste, and add a touch of unique charm to your home and garden. Once you’ve completed your masterpiece, we’d love to see it! Share your creations with us on social media using #UmbrellaUpcycle and tell us about your experience. What challenges did you face? What did you learn? What are you most proud of? Your insights and inspiration could help others discover the joy of repurposing and create their own amazing umbrella transformations. Let’s start a movement of creative reuse and show the world the incredible potential hidden within everyday objects. So, grab that old umbrella, gather your supplies, and get ready to transform trash into treasure!
Frequently Asked Questions (FAQ)
What types of umbrellas are best for repurposing?
Almost any type of umbrella can be repurposed, but some are better suited for certain projects than others. Old, broken umbrellas with intact canopies are ideal for sewing projects like tote bags, aprons, or rain covers. Umbrellas with sturdy frames are great for creating garden structures or decorative items. Golf umbrellas, due to their larger size, offer more material for larger projects. However, even small, compact umbrellas can be used for smaller crafts like coin purses or keychains. Consider the condition of the umbrella and the type of project you have in mind when making your selection. Avoid using umbrellas with heavily rusted frames or severely damaged canopies, as these may be difficult to work with and may not produce the best results.
How do I safely disassemble an umbrella?
Disassembling an umbrella requires caution, as the metal frame can be sharp. Start by carefully removing the canopy fabric from the frame. You may need to use a seam ripper or small scissors to detach the fabric from the ribs. Once the canopy is removed, you can disassemble the frame by detaching the ribs from the central shaft. Be careful not to bend or break the ribs, as they can be used for various projects. Wear gloves to protect your hands from sharp edges and avoid applying excessive force when disassembling the umbrella. If you encounter any resistance, try using pliers or a screwdriver to loosen the connections. Always dispose of any sharp or broken pieces responsibly.
What tools and materials do I need for umbrella repurposing?
The tools and materials you’ll need will depend on the specific project you’re undertaking. However, some common essentials include:
* Scissors or a rotary cutter
* Seam ripper
* Sewing machine (for sewing projects)
* Needle and thread
* Pins
* Measuring tape or ruler
* Pliers
* Screwdriver
* Fabric glue or adhesive
* Embellishments (buttons, beads, fabric paint, etc.)
* Safety glasses (especially when working with the frame)
* Gloves
Having a well-stocked craft kit will make the repurposing process much smoother and more enjoyable.
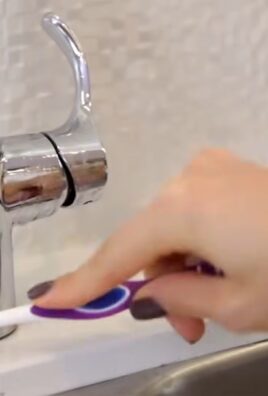
How do I clean the umbrella fabric before repurposing it?
Cleaning the umbrella fabric before repurposing is essential to remove any dirt, stains, or mildew. You can hand wash the fabric with mild soap and water, or machine wash it on a gentle cycle. If machine washing, place the fabric in a mesh laundry bag to protect it from damage. Avoid using harsh detergents or bleach, as these can damage the fabric’s waterproof coating. After washing, hang the fabric to dry in a well-ventilated area. Do not put it in the dryer, as the heat can cause it to shrink or melt. If the fabric has stubborn stains, try using a stain remover specifically designed for waterproof materials.
Are there any safety precautions I should take?
Yes, safety is paramount when repurposing umbrellas. Always wear safety glasses when disassembling the frame to protect your eyes from flying debris. Wear gloves to protect your hands from sharp edges. Use caution when working with sharp tools like scissors, seam rippers, and pliers. If you’re using a sewing machine, follow the manufacturer’s instructions carefully. When working with adhesives or fabric paints, ensure proper ventilation to avoid inhaling harmful fumes. Keep children and pets away from your work area to prevent accidents. Dispose of any sharp or broken pieces responsibly.
What are some easy projects for beginners?
If you’re new to umbrella repurposing, start with simple projects like tote bags, aprons, or rain covers. These projects require basic sewing skills and minimal materials. You can also try creating small items like coin purses, keychains, or phone cases. Another easy project is to use the umbrella canopy as a protective cover for plants in your garden. Simply cut the canopy to the desired size and drape it over your plants to shield them from rain or frost. As you gain experience, you can move on to more complex projects like wind chimes, wall art, or garden structures.
How can I waterproof my repurposed umbrella creations?
Many umbrella canopies are already waterproof, but if you’re using a different fabric or want to enhance the water resistance of your project, you can apply a waterproofing spray or sealant. These products are available at most craft stores and home improvement stores. Follow the manufacturer’s instructions carefully when applying the waterproofing spray or sealant. Ensure proper ventilation and allow the product to dry completely before using your repurposed creation. You can also use waterproof fabric glue or seam sealant to reinforce seams and prevent water from seeping through.
Where can I find inspiration for umbrella repurposing projects?
The internet is a treasure trove of inspiration for umbrella repurposing projects. Browse websites like Pinterest, Etsy, and Instructables for ideas and tutorials. You can also find inspiration in magazines, books, and craft blogs. Don’t be afraid to experiment and come up with your own unique designs. Look around your home and garden for items that could be enhanced or protected with repurposed umbrella fabric. The possibilities are endless!
How do I store my repurposed umbrella creations?
Store your repurposed umbrella creations in a dry, well-ventilated area to prevent mildew or damage. If you’re storing fabric items, fold them neatly and place them in a drawer or storage container. For larger items like garden structures, cover them with a tarp or plastic sheet to protect them from the elements. Avoid storing your creations in direct sunlight, as this can cause the fabric to fade or deteriorate. Regularly inspect your repurposed items for any signs of wear and tear and repair them as needed.

Leave a Comment